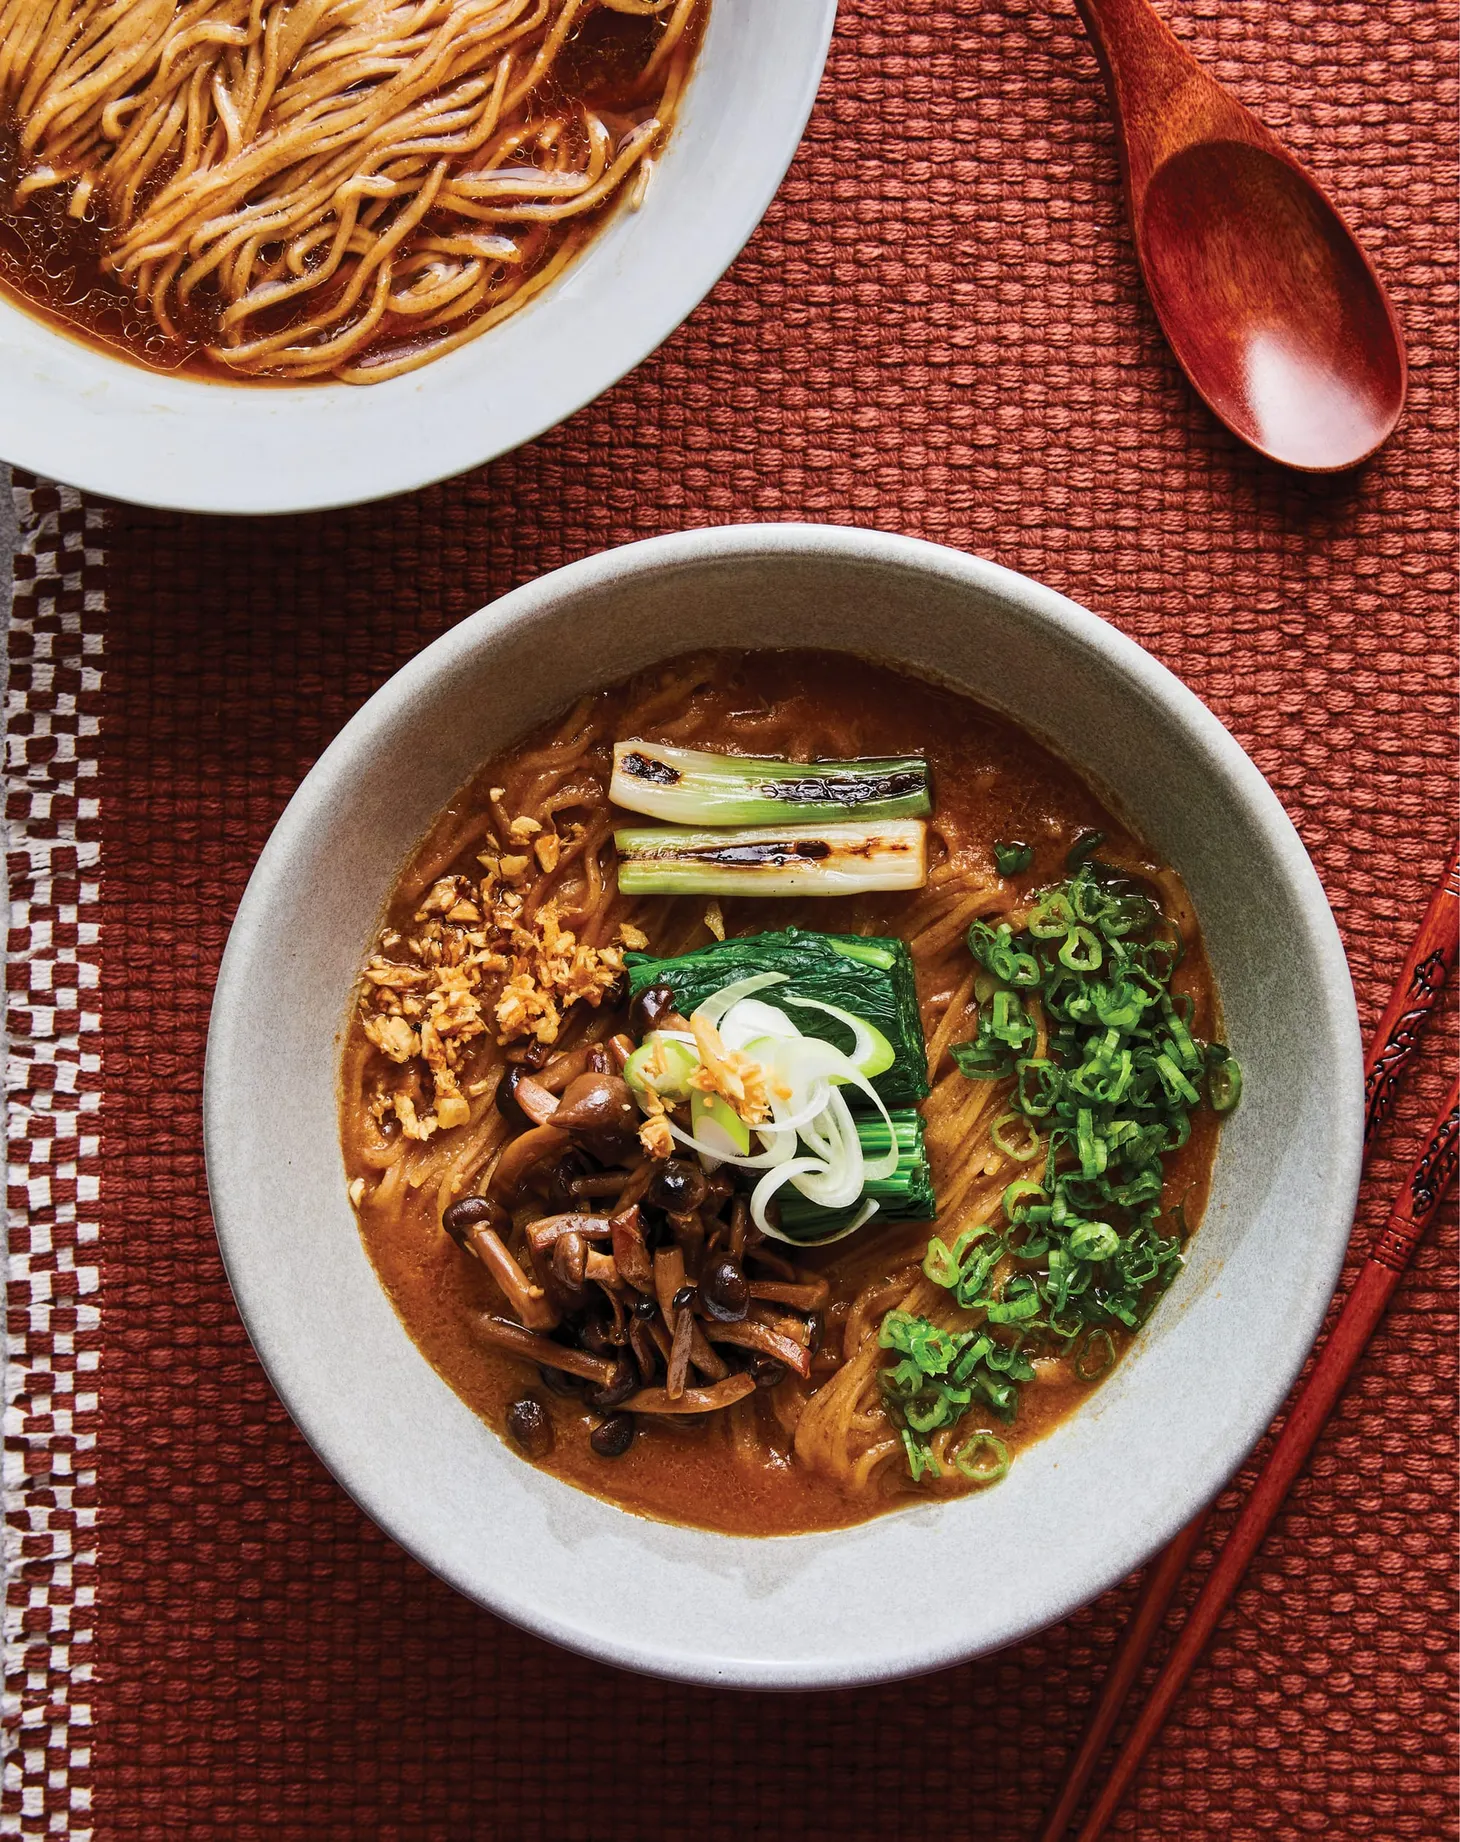
Recipe: 38%-Hydration Homemade Noodles
From Sho Spaeth's 'Homemade Ramen'
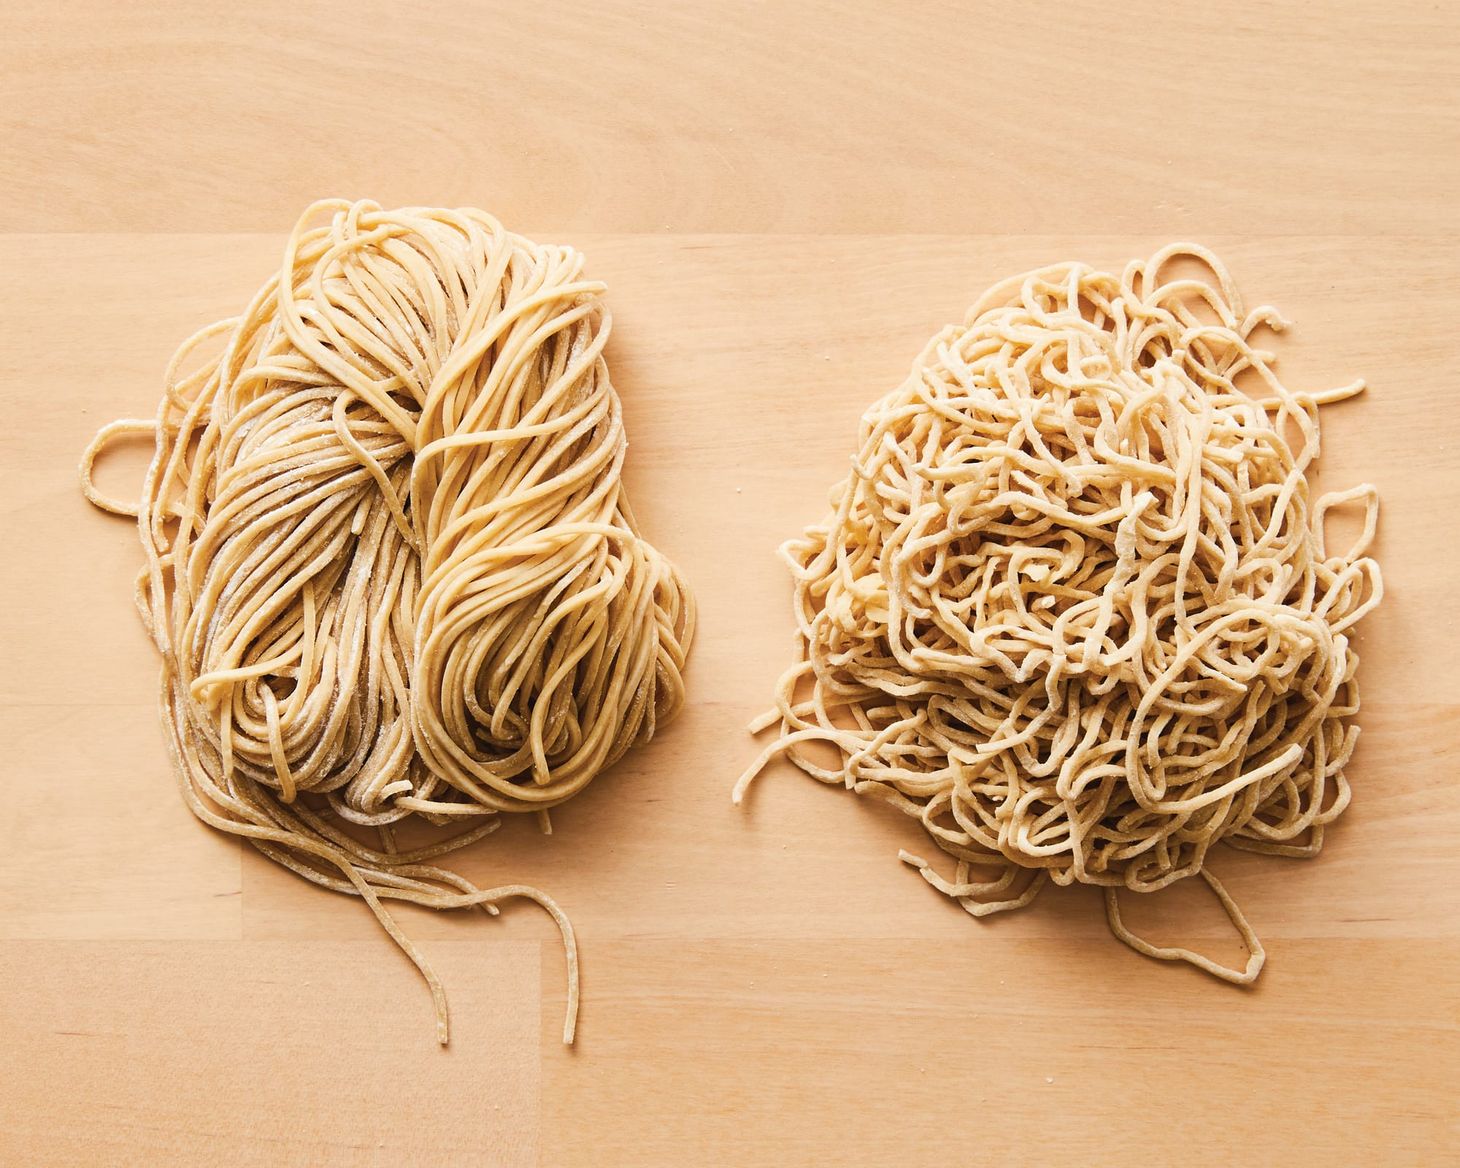
Table of Contents
Every noodle recipe in this book gives you the base formula and the ingredient amounts to make a specific number of servings, along with a suggested thickness setting and suggested cook time.
Formula
38%-Hydration Noodles | |||
Cook time: 1 minute 30 seconds Thickness: 1 mm (setting #8 on KitchenAid, #7 on Marcato Atlas pasta machine) | |||
Ingredients | Baker’s percentages | 1 serving (grams) | 8 servings (grams) |
Bread flour | 100.0% | 90 | 720 |
Tapioca starch | 11.1% | 10 | 80 |
Salt | 1.1% | 1 | 8 |
Sodium carbonate | 0.8% | 0.75 | 6 |
Potassium carbonate | 0.3% | 0.25 | 2 |
Water | 42.2% | 38 | 304 |
Method
Please be sure to press your initial dough to a thickness no greater than ¼ inch. Always check and double-check that the pasta rollers are set to the widest setting when you begin each iteration of the process. This will prevent damage to your rollers.
- Combine the sodium carbonate, potassium carbonate, if using, salt, and water in a measuring cup or deli container and, using a spoon, stir gently to completely dissolve the dry ingredients, about 2 minutes. If necessary, break up any large clumps of salts with the tip of the spoon.
- Combine the remaining dry ingredients (flours, starches, egg white powder) in the bowl of a stand mixer fitted with the paddle attachment or in the bowl of a food processor fitted with the steel blade (not the dough blade). Turn on the mixer to low, or turn on the food processor, and run until the mixture is thoroughly combined, about 1 minute for the stand mixer, 20 seconds for the food processor.
- With the machine running, add the alkalized water one-third at a time in a slow, steady stream, allowing time after each addition for the liquid to be thoroughly incorporated (about 3 minutes for the stand mixer, 1 minute for the food processor). After the final addition, allow the machine to run for 2 minutes if using a stand mixer, 1 minute if using a food processor, then stop the machine. If using a stand mixer, using your hands, release any wet pockets of dough from the sides of the bowl and the beater or blade by rubbing it with some of the drier pebbly mixture in the bottom of the bowl. Turn the machine on again and let it run for another 1 to 2 minutes.
- Lay a 3- to 4-foot-long sheet of plastic wrap on a work surface. Spread the dough mixture out evenly on the plastic wrap to form a rough rectangle (for 6 portions, the rectangle should be about 6 inches by 2 feet). Using your hands or fists, and using the plastic wrap to help corral any loose bits of dough, compress the dough into a single plank no more than 1/4 inch (5 mm) thick. Wrap tightly in plastic wrap, using more wrap if necessary, and press the dough sheet so that there are no cracks on its surface or edges and it seems to be a cohesive whole.
- Place the wrapped dough on a (clean) floor or a large sheet pan. Place a sheet pan on top of it and then stand on the sheet pan. (Or, if it doesn’t bother you, you can stand directly on the wrapped dough—wearing clean socks.) Shift your weight around and use it to compress the dough all over. Return the wrapped dough to your work surface and, using your hands, press down on it so there are no visible cracks. Let it rest for at least 1 hour, and up to 8 hours, at room temperature.
- Set up a stand mixer fitted with a pasta-rolling attachment or a manual pasta-rolling machine.
- Unwrap the sheet of dough and, using a bench scraper or knife, divide it evenly into as many portions as the recipe indicates. Wrap the portions completely in plastic to prevent them from drying out. If using a stand mixer, set the speed to medium. Check that the roller attachment is on its widest setting. You want to be extra careful that the setting is right; using a setting that’s too thin for the dough can result in the rollers getting knocked out of alignment or breaking.
- Feed one portion of the dough through the rollers, applying pressure to the dough to ensure it passes through evenly. Run the resulting sheet through the second-widest roller setting, and then the third-widest setting. Set it aside.
- Repeat the rolling process with another portion of the dough.
- Stack the 2 rolled sheets of dough on top of each other and press them firmly all along their length to encourage them to adhere to one another. Run the sheets together through the widest setting of the pasta roller, followed by the second-widest setting, the third-widest setting, and then the fourth-widest setting. Fold the dough sheet crosswise in half, making it half of its original length. Press down on the seam to flatten it, then run the sheet seam side first through the widest setting, followed by the second-widest, third-widest, and then the fourth-widest setting. The dough should feel cohesive and strong, not pebbly or grainy.
- Fold the dough sheet crosswise in half again. Press down on the seam to flatten it and cut off both corners of the seam diagonally, so that the seam of the dough sheet fits easily into the rollers. Run the sheet seam side first through the widest setting of the pasta rollers, and then through the second-widest, third-widest, and fourth-widest setting. Fold it crosswise in half, press down on the seam, cut off the corners, and repeat the process. If this is done correctly, longitudinal lines will form in the sheet of dough, and the sheet itself will be smooth and pliable. If you do not see these lines, repeat the process until they appear—they are an indication that the gluten has been properly developed.
- Fold the sheet over itself into a compact bundle and wrap it in plastic to prevent it from drying out. Repeat steps 8 through 11 with the remaining portions of dough. Let the dough rest for at least 30 minutes before proceeding.
- If you’re working with a lower-hydration dough (35% to 39%): Repeat the kneading process once or twice with each portion of dough. Let rest for at least 30 minutes before proceeding.
- Working with one dough portion at a time, unfold the bundle, fold the sheet crosswise in half, press down on the seam, and cut off the corners of the seam. Run the sheet seam side first through the widest setting of the rollers, and then through progressively narrower settings until it reaches the thickness indicated in the recipe.
- Cut the sheets into halves or thirds, depending on your preference for the lengths of the noodles.
- Run each cut sheet through the spaghetti-cutting attachment of your pasta machine. Dust the noodles with potato starch or cornstarch to prevent sticking, shake off excess starch, and fold the noodles into loose nests of about 130 grams each.
- Place the noodles in a zip-top bag, seal it almost completely (so the noodles can dry slightly), and let rest at room temperature at least overnight, and up to 24 hours. Then seal the bag and place it in the refrigerator; the noodles can be used immediately but are at their best after 2 to 4 days in the fridge.
- To Cook the Noodles: Bring a large pot of unsalted water to a rolling boil over high heat. If using noodle baskets, add a single portion of noodles to each basket and plunge into the water, stirring the noodles rapidly with tongs or chopsticks to prevent them from sticking together. If not using noodle baskets, add the noodles one portion at a time directly to the boiling water and stir vigorously with tongs or chopsticks to prevent them from sticking together. Cook the noodles, stirring occasionally, for the time indicated in the recipe. (The exact cooking time will depend on your preference for doneness and the thickness of the noodles.) Drain the noodles thoroughly, shaking off as much excess water as possible, and add to hot ramen broth for serving.
Aging Noodles
Cut noodles can be used immediately, but they benefit immensely from aging, either at room temperature or in the refrigerator. Different noodle formulas require different aging periods to reach their “peak.” If they are allowed to age past their peak, the quality starts to suffer, so it’s best to use or freeze the noodles when they’re at their peak.
Frozen fresh noodles are every bit as good as freshly made (and aged) ones. In fact, they are sometimes better than fresh noodles, as freezing results in changes in the gluten and starch networks, evident in the fact that frozen noodles are more translucent and glossier than nonfrozen noodles. The fact that noodles can be stored in the freezer for extended periods of time and even improve is one of the great arguments in favor of making your own ramen noodles.
Temomi
Temomi, or hand-massaged, noodles are noodles with a highly irregular texture. If most noodles are effectively long cylinders, massaging them will produce irregular surfaces and dimensions along their length. As discussed on pages 146–49, part of the point of developing a gluten network is to improve elasticity, or resistance to deformation; a noodle with a well-developed gluten network will barely be affected by a light “massage.” You have to use a considerable amount of force, so I like to think a better translation is “hand-smushed.” This may seem counterintuitive, even wrong, after you’ve spent quite a lot of time producing the noodles, and raw noodles seem like delicate things. But if you do just a gentle temomi, the noodles will in fact spring back to their original shape, particularly during cooking, and you’ll notice very little difference between a massaged noodle and an un-massaged one.
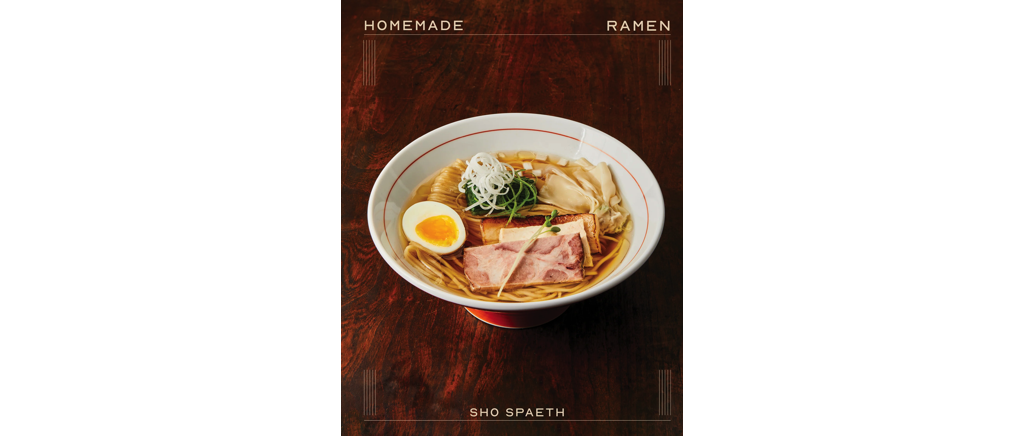
Excerpted with permission from Homemade Ramen, by Sho Spaeth, courtesy of W. W. Norton & Company. Photographs by Linda Xiao. Copyright © 2025.
wordloaf Newsletter
Join the newsletter to receive the latest updates in your inbox.