It's Kown!
Corn, corn, corn, and more corn
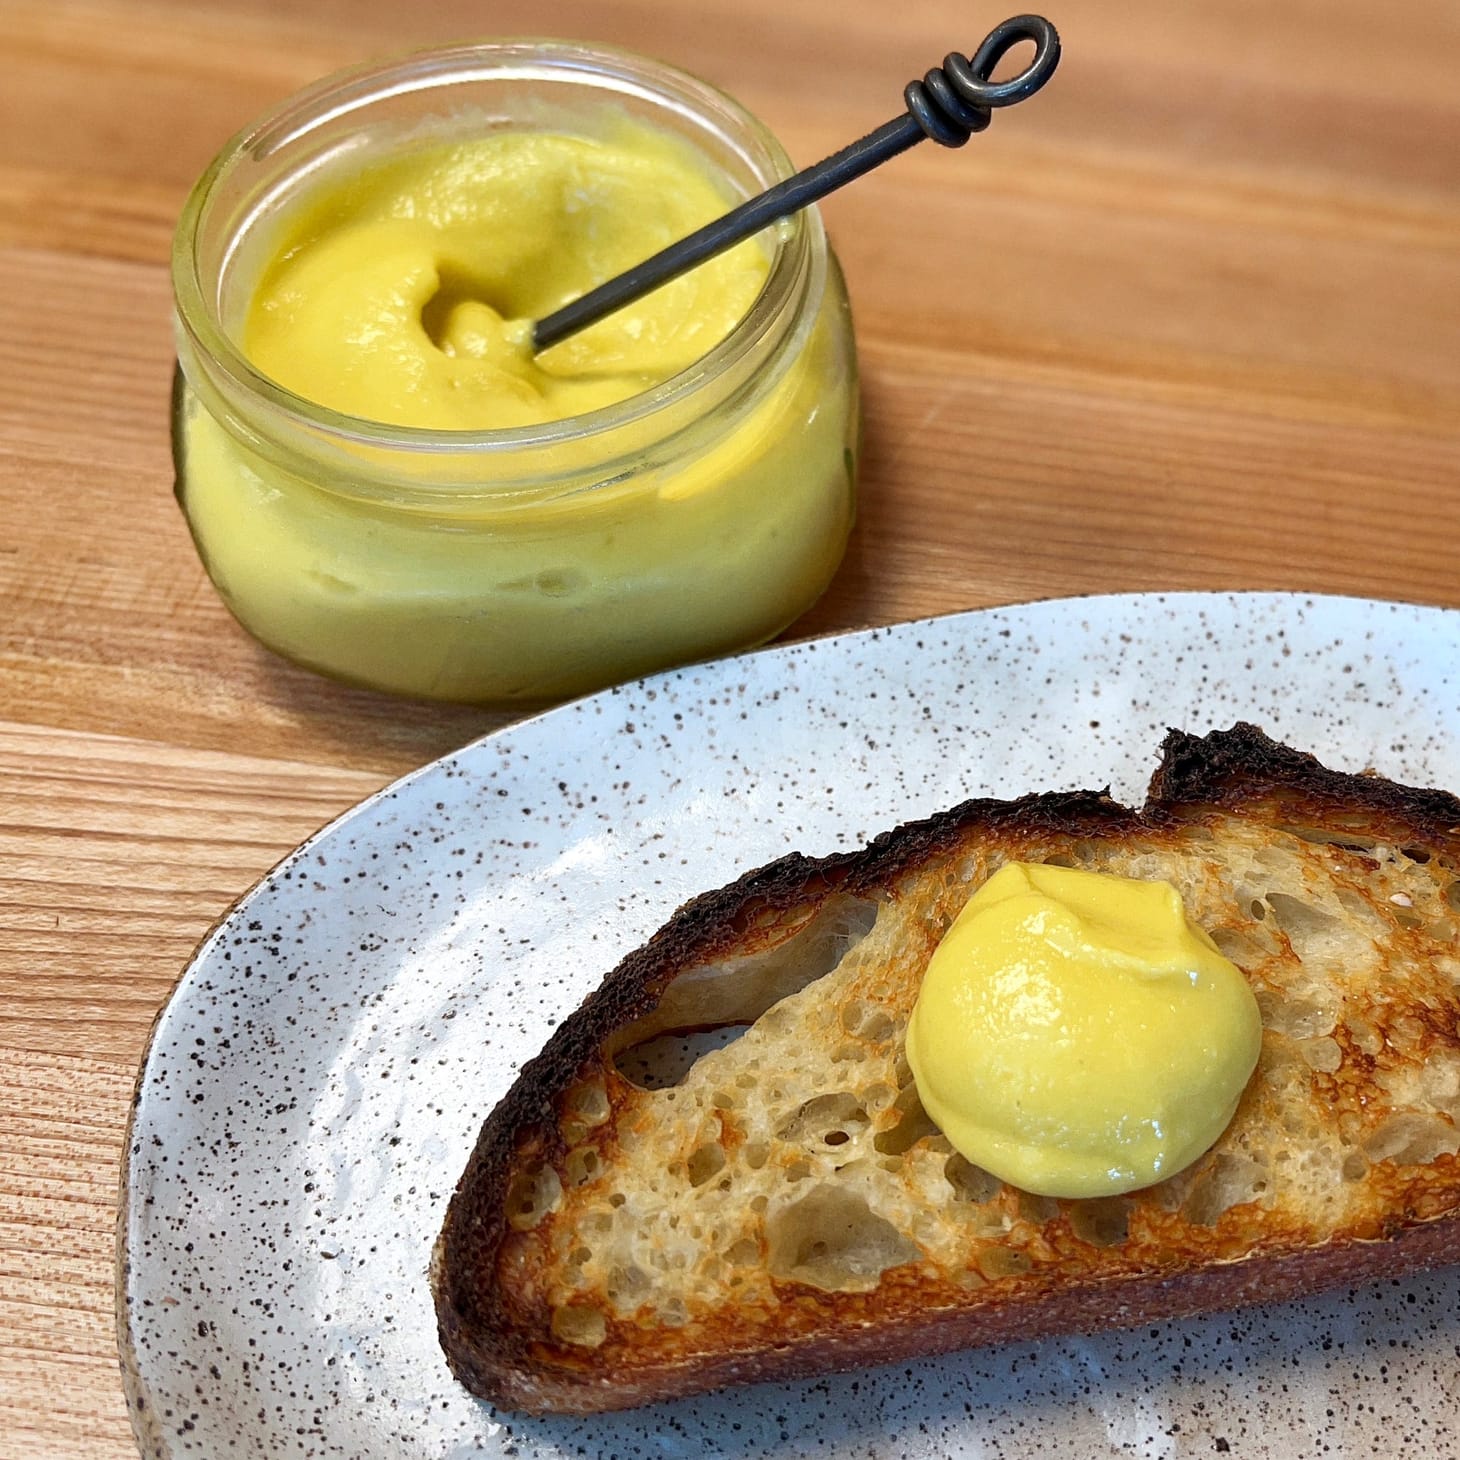
Table of Contents
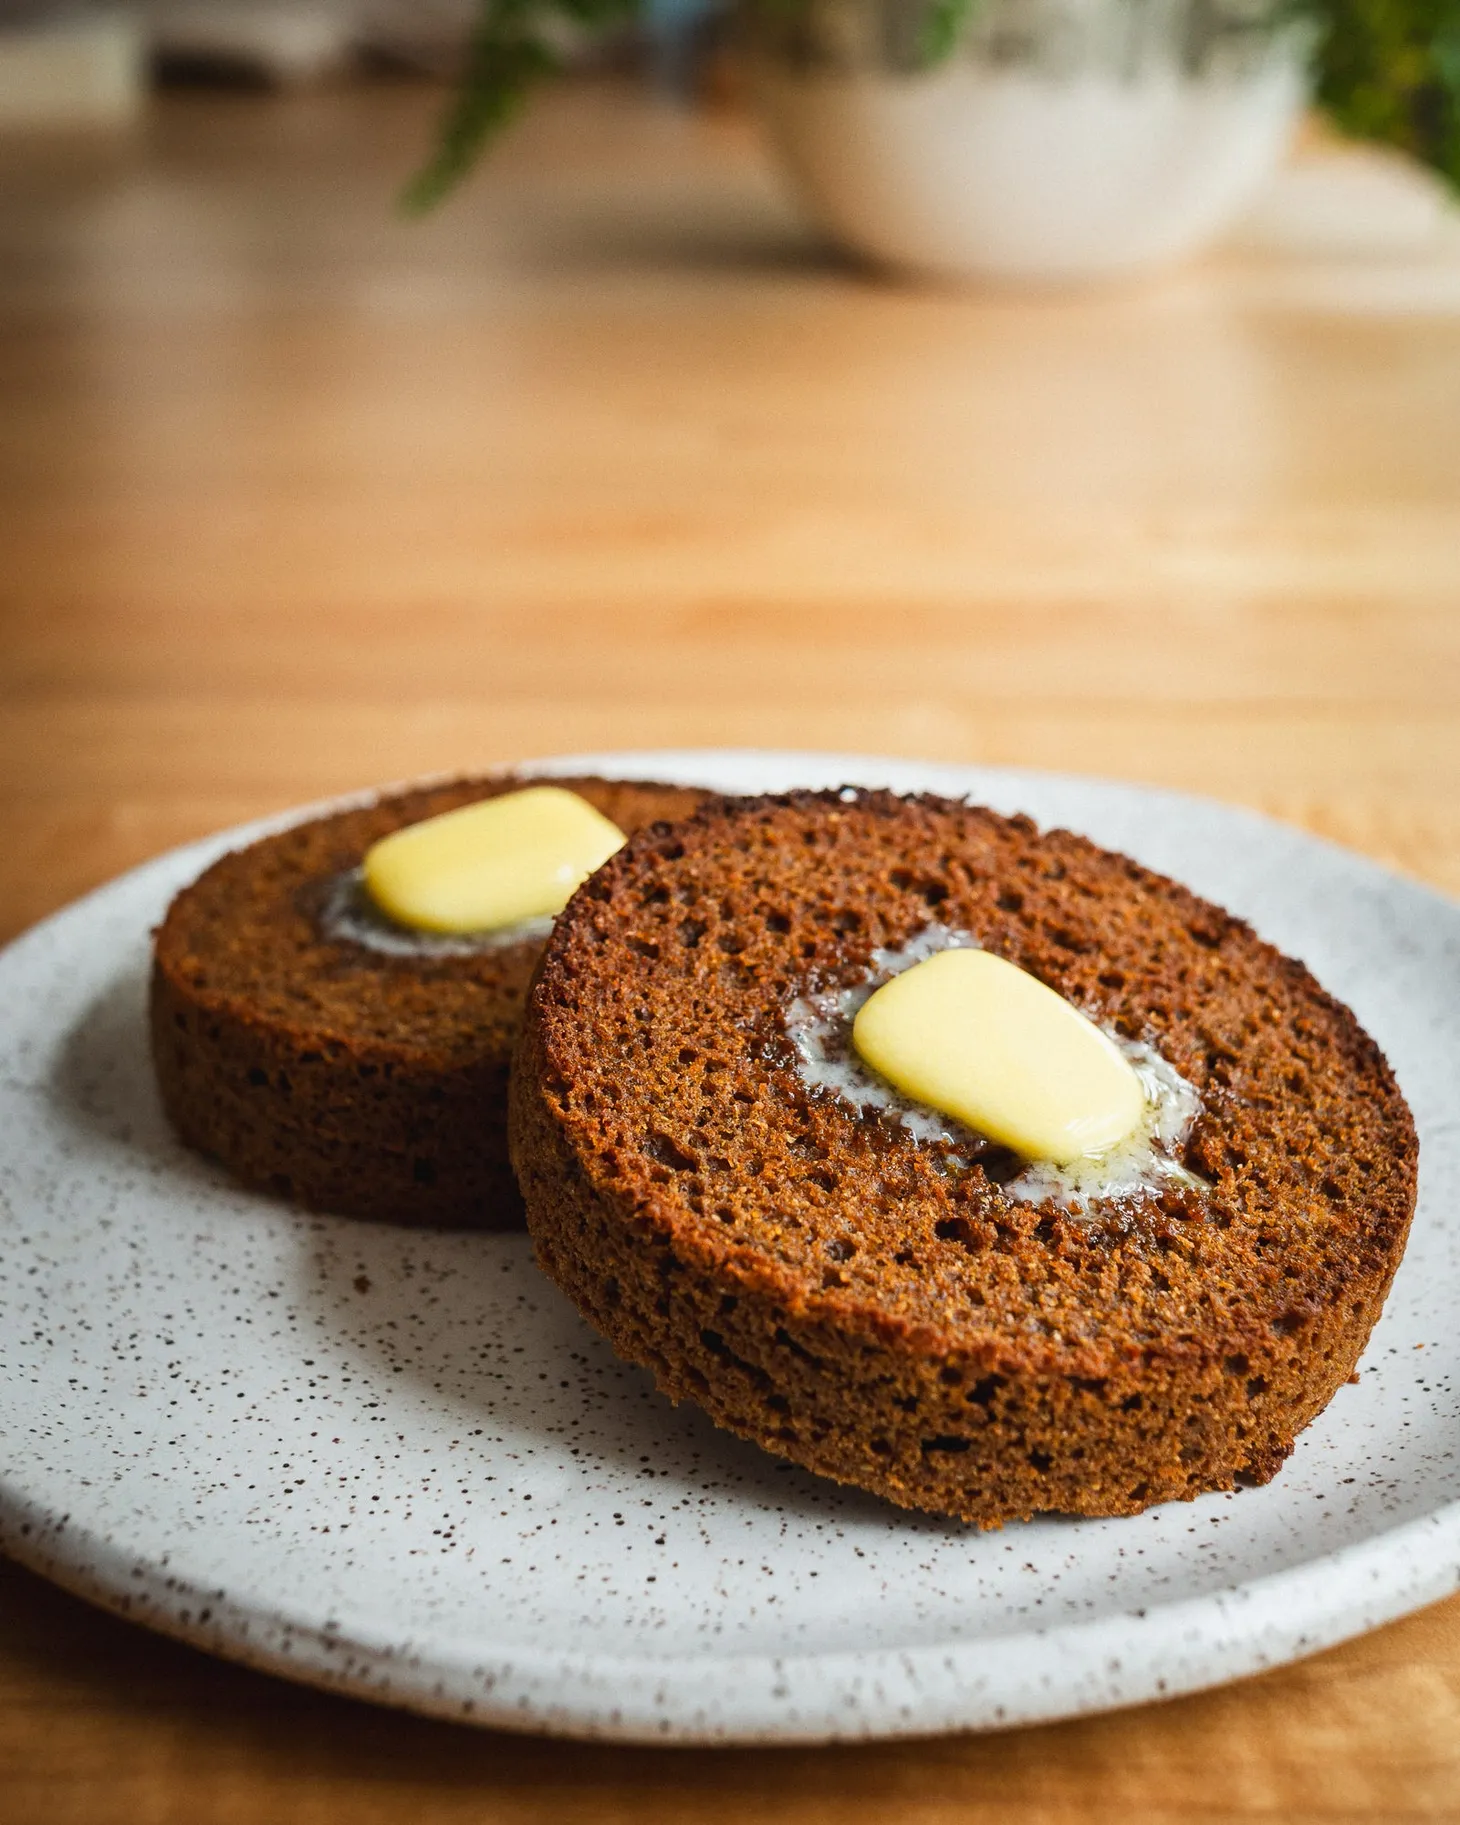
This bread is my attempt to cram as much corn, in as many forms as possible, into one sourdough loaf: corn grits—dry toasted and cooked into a porridge and used to coat the loaf—corn butter, and the corn kernel bits that remain after straining off the corn butter. (You can and should also spread some of the remaining corn butter on toasted slices of the bread, adding one more layer of corntastic goodness.)
The formula was inspired by a bunch of things. One: The excellent recipe for grits bread in my pal Tara Jensen’s new book Flour Power, which students made in the class we taught together in July. Two: 7-year old Tariq, aka ‘The Corn Kid’, whose newfound love for corn captured the hearts of everyone in the known universe this summer. (I’m assuming that “everyone” includes you, but in case not, here's a good primer on The Corn Kid.) And three: As I mentioned on Monday, I dread the end of summer, so I am doing my best to hang onto its joys, including fresh, delicious sweet corn.
Kiss my grits
I first toast the grits lightly until in a dry pan they smell like popcorn. Then I add water and cooked them into a thick porridge. I use a minimal amount of water here—less than you’d use if you were making grits to eat—in order to have enough water left over to do the dough autolyse comfortably. (I didn’t do this on an early test of the recipe and the autolysed dough was so stiff that it took forever to work in the remaining ingredients, a mistake I won’t make twice.) Which means that you need to be very careful cooking it, or it can scorch. Once it comes to a boil, I cover the pot and turn the heat down as low as possible. And I stir it often during the 20-minute cook. As I mention in the recipe, it’s not necessary to cook the grits until they are fully tender, since they’ll tenderize the rest of the way once the bread is baked.
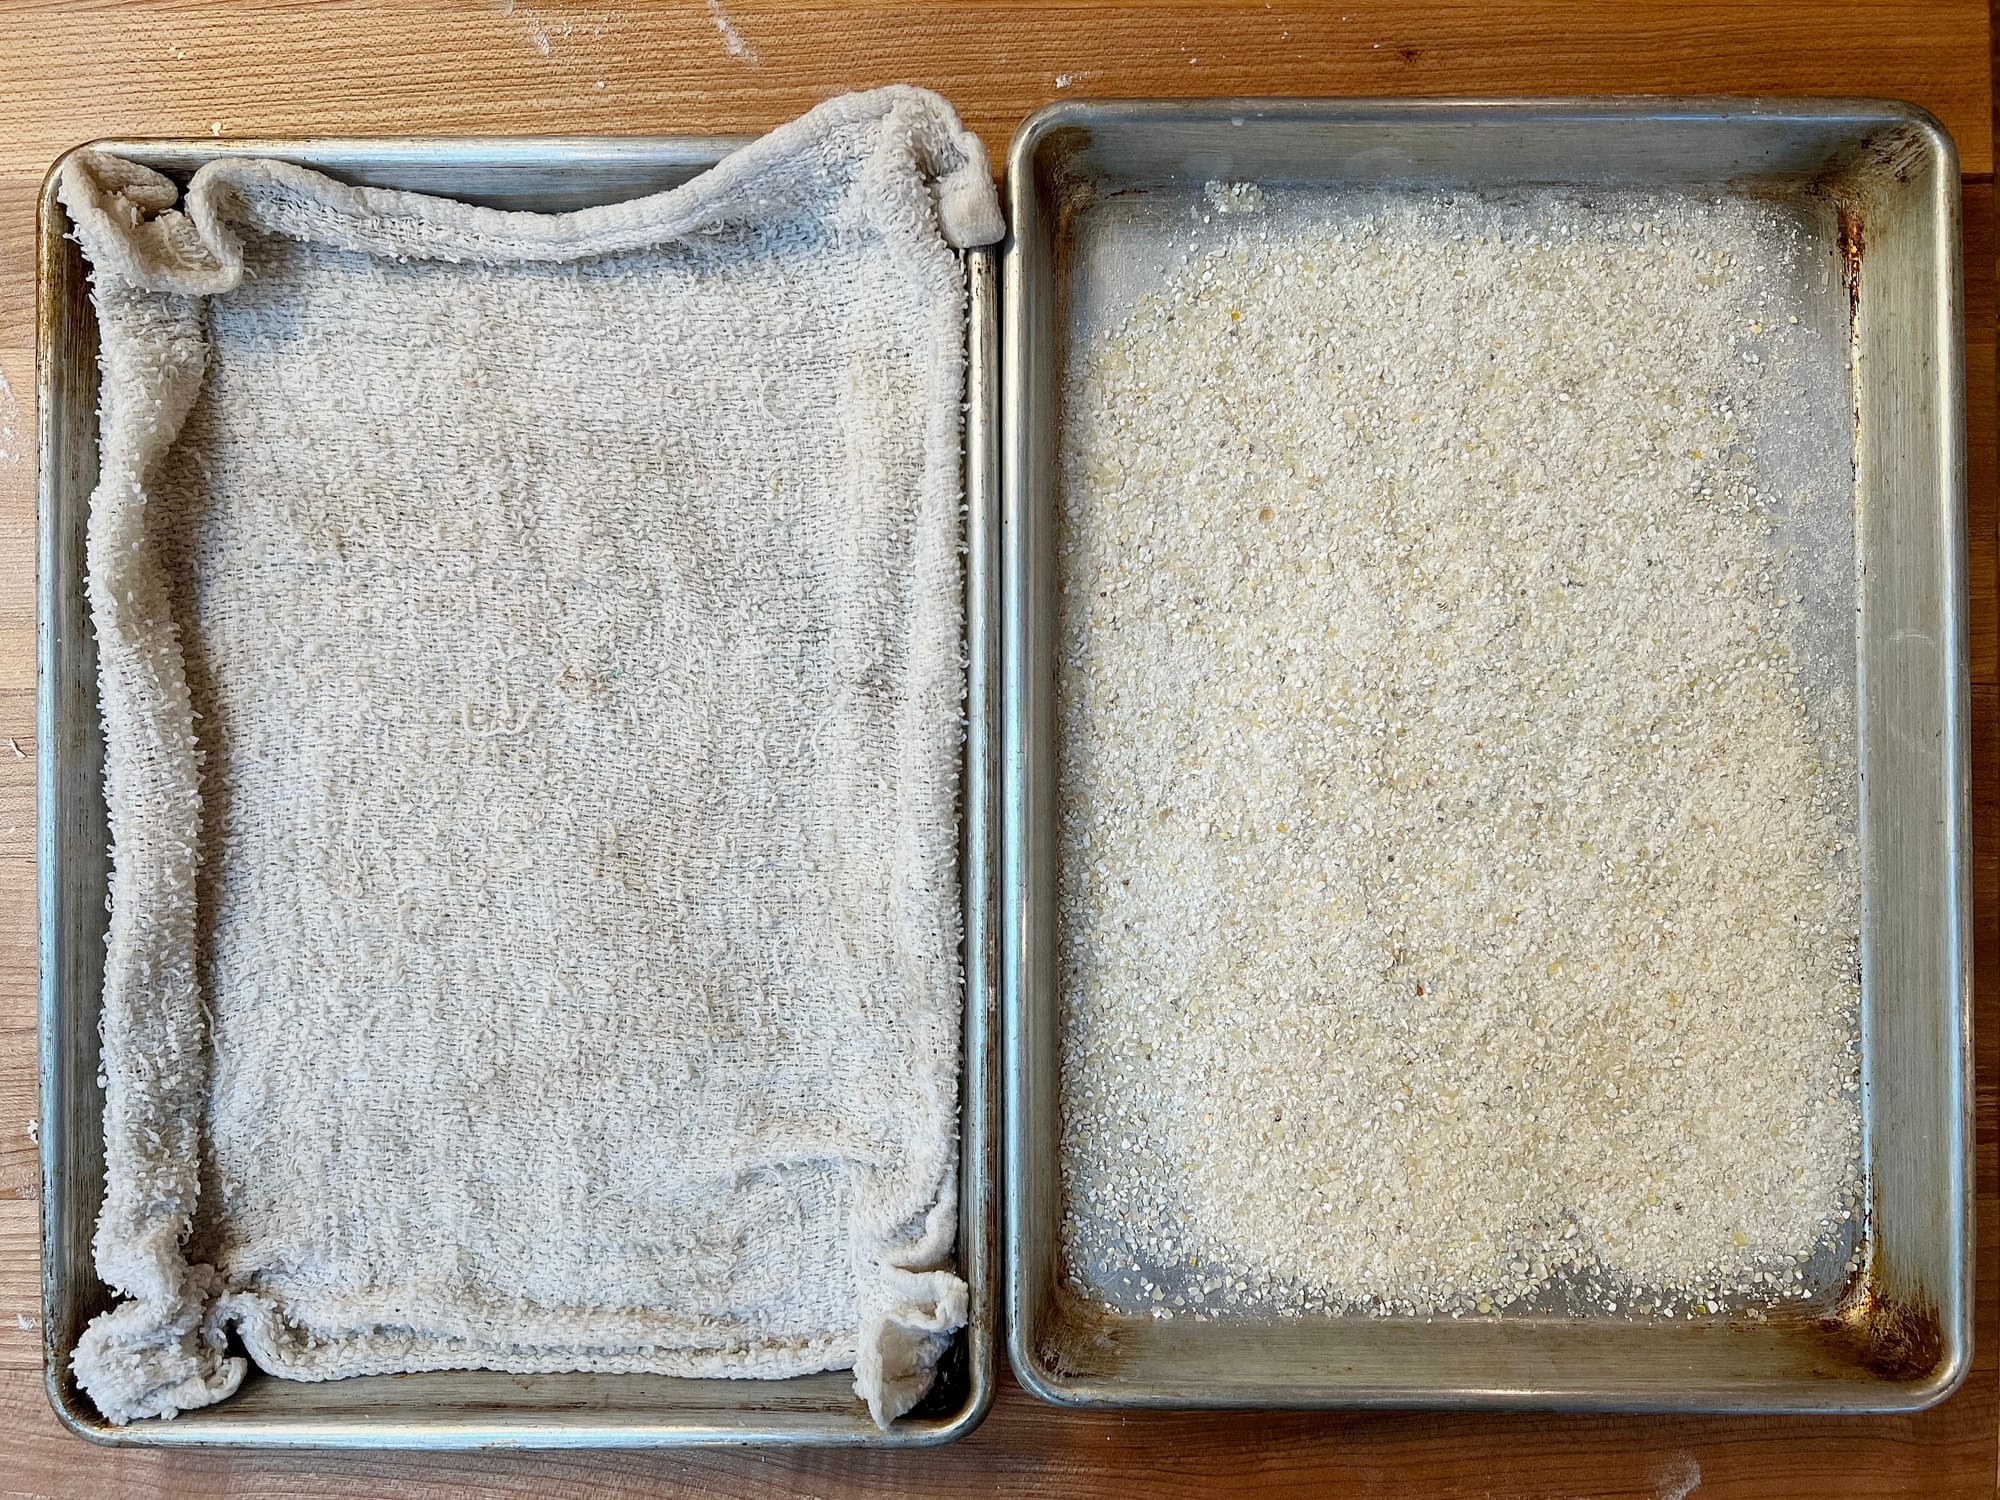
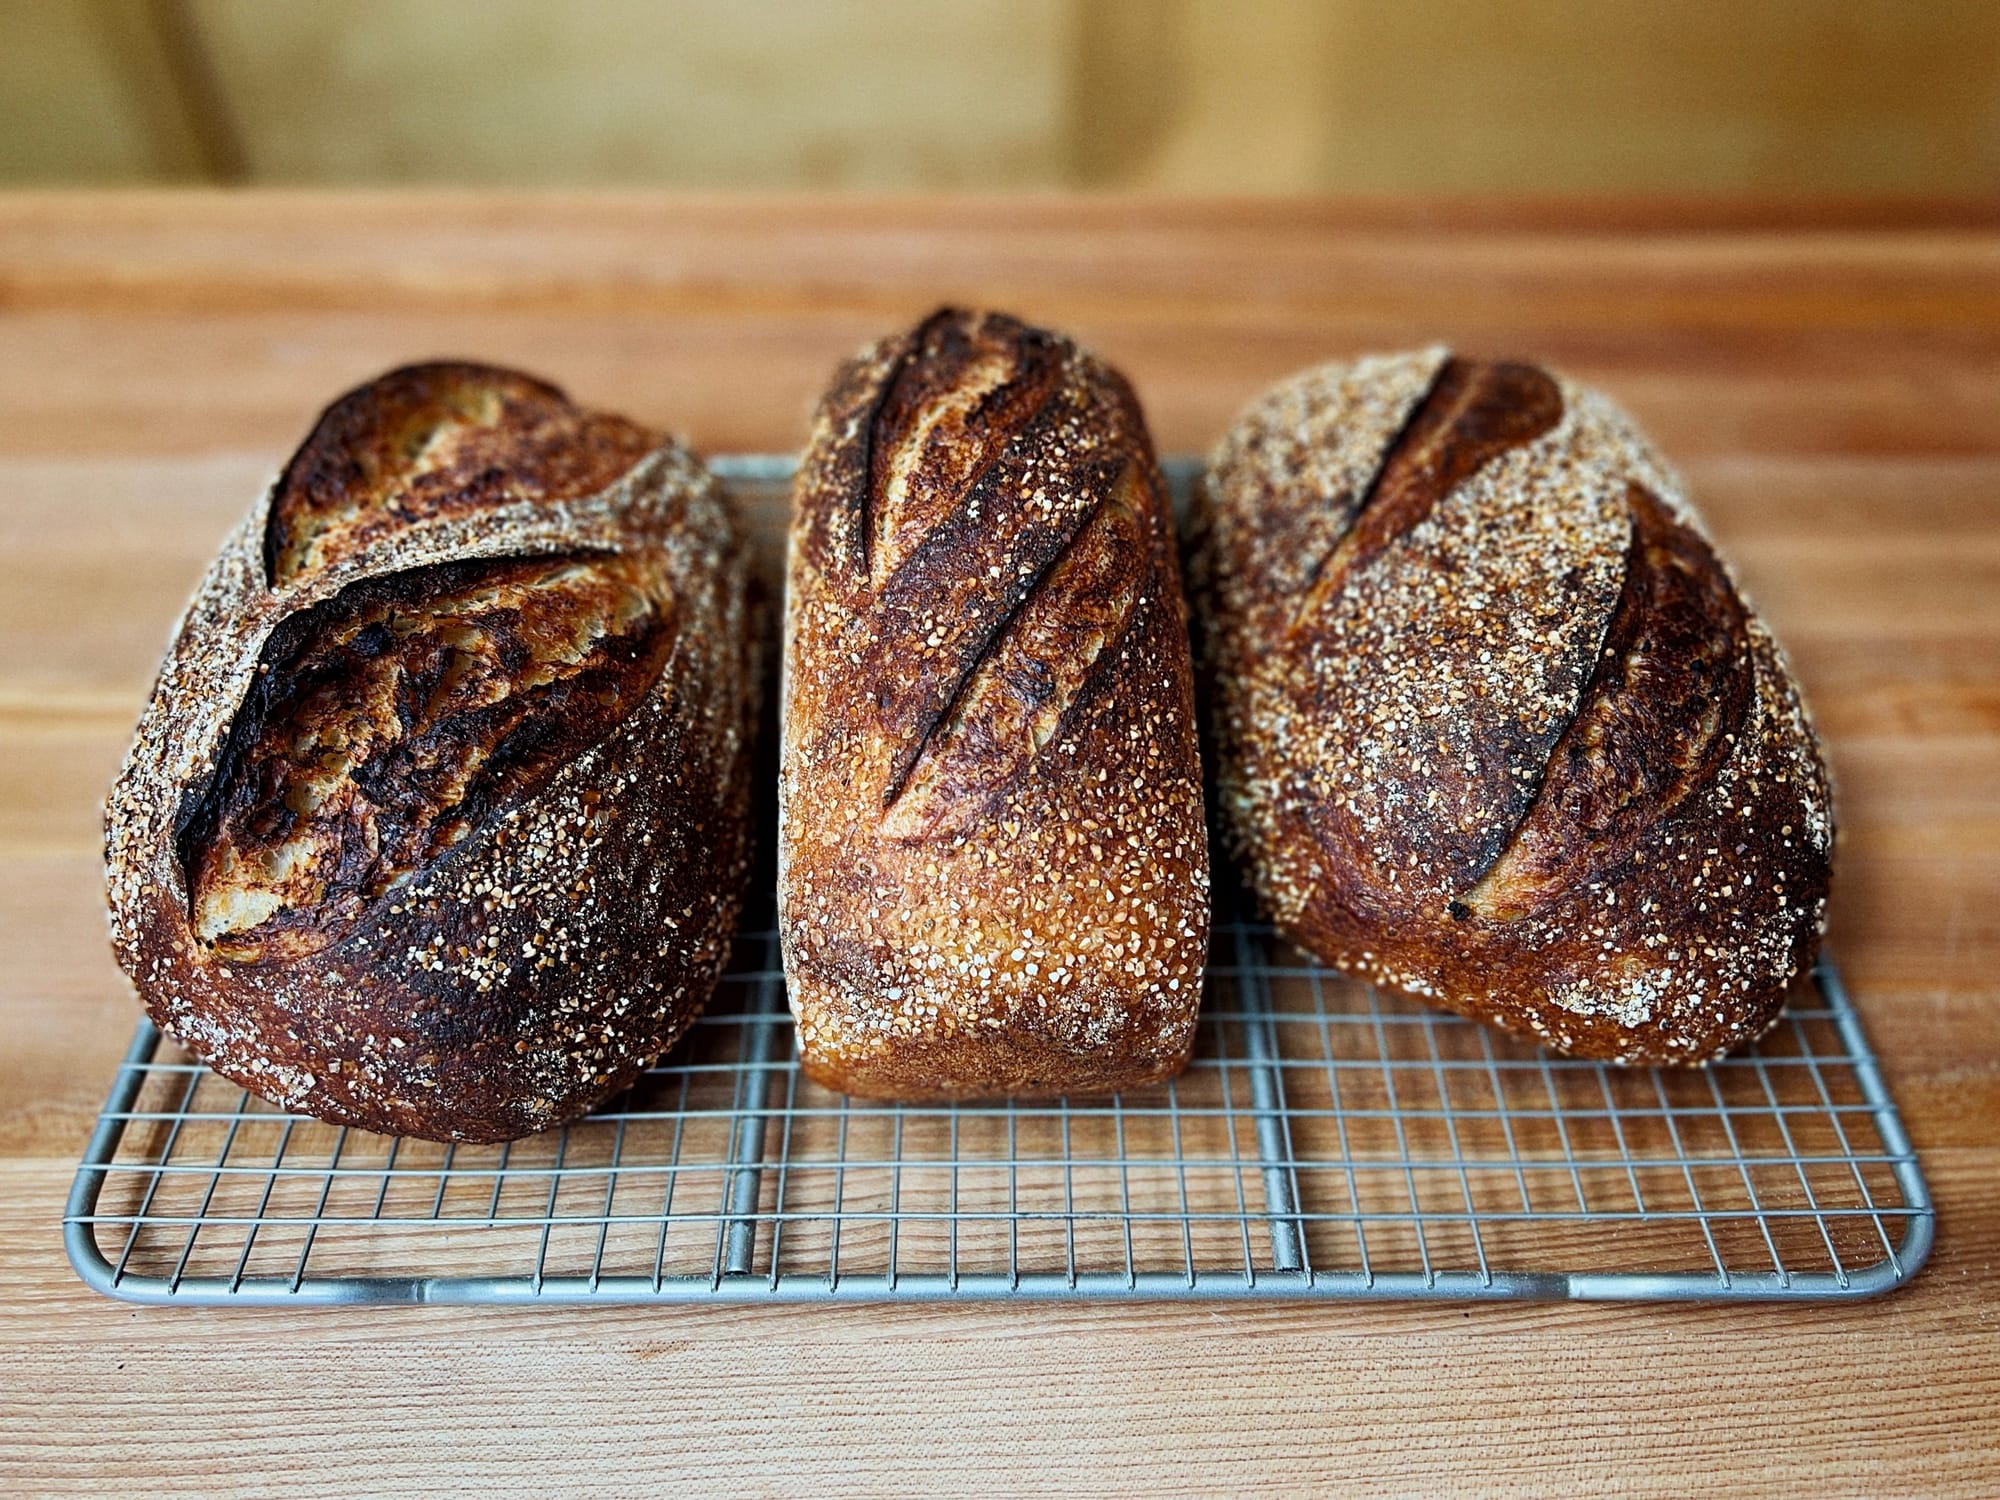
Coating the loaf in grits gives it a pretty look, but it also gives the edges of the bread an amazing crunch and a nutty corn flavor, especially when the bread is toasted. (I kinda want to use grits like this elsewhere, say in an everything mix, or on the exterior of a fougasse.) To coat a loaf with seeds or grains, line one baking sheet with a wet, wrung-out kitchen towel and another with a thick, even layer of grits (you can also do this on a single sheet, with the towel and grits side-by-side, but I like to use two separate quarter-sheets). Then roll the loaf back and forth over the wet towel to moisten its exterior, and then roll it over the grits until the top and sides are completely coated (coat as much of the bottom as you can too, but don’t stress it, because you can sprinkle-coat the remainder once the loaf is in the banneton).
As for the grits themselves, use the coarsest cornmeal you can find, either actual yellow, white, blue, or red grits, or polenta.
I can’t believe it’s corn butter!
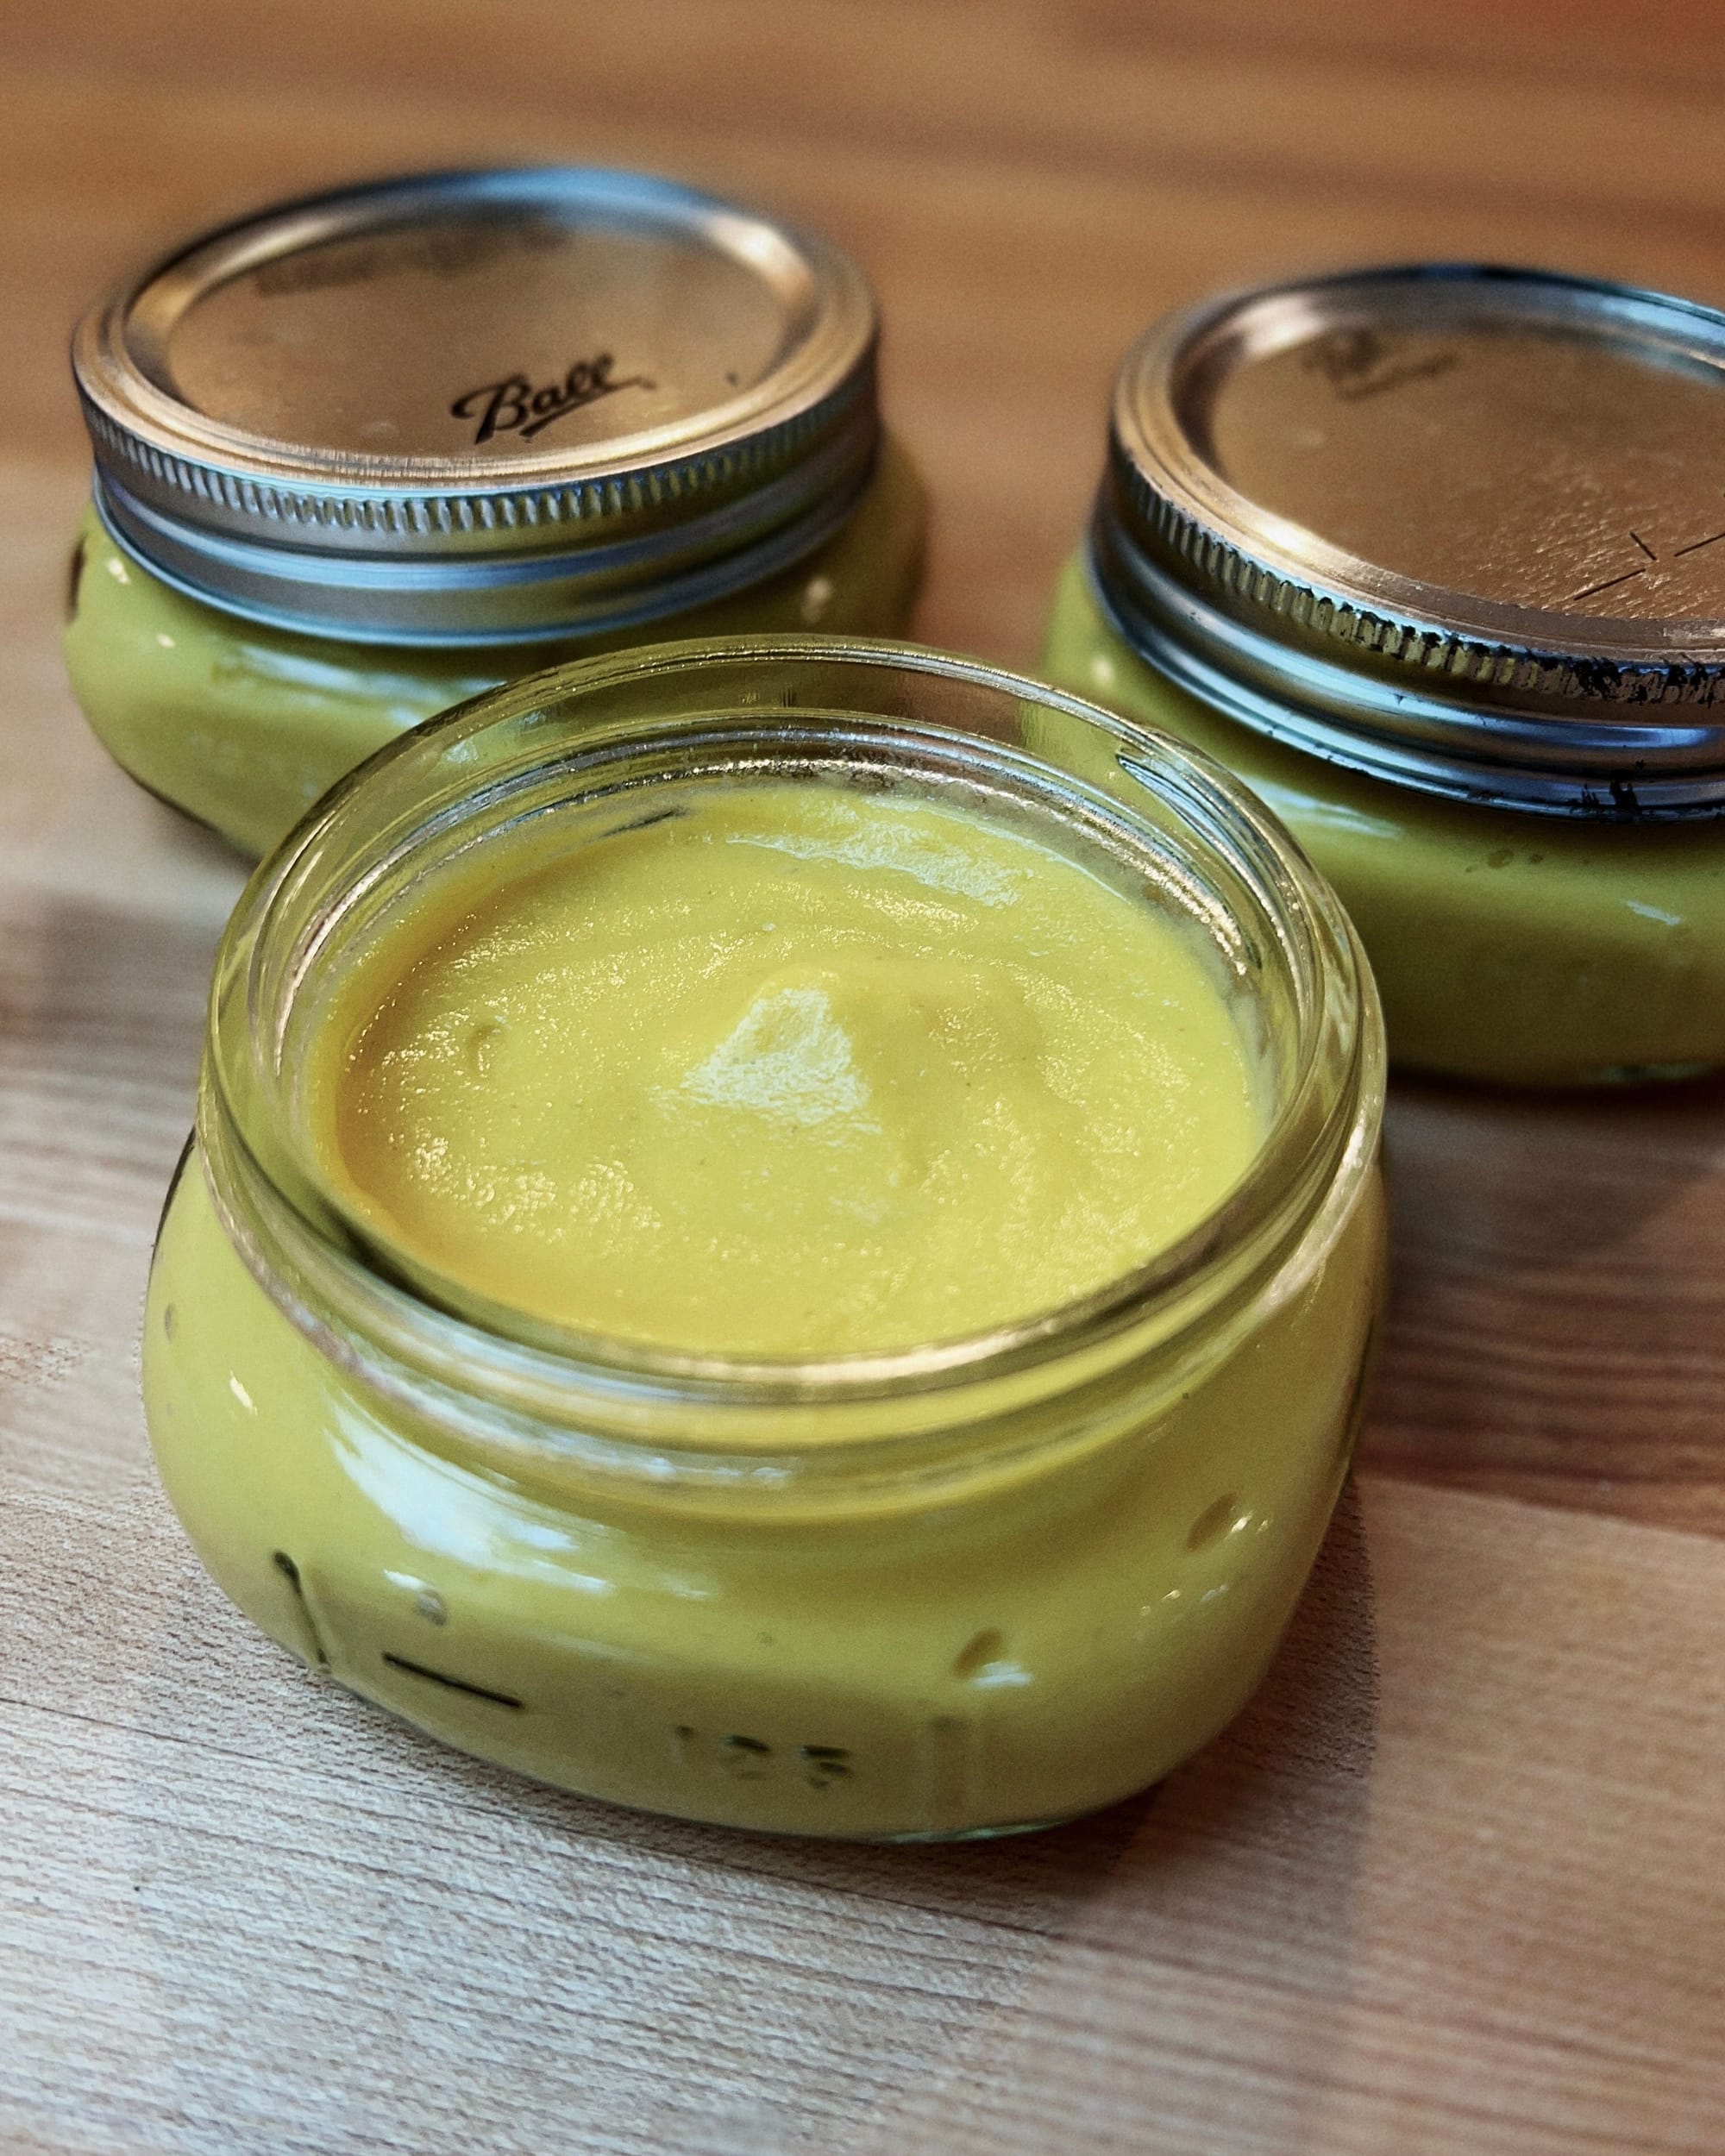
Next up, the corn butter. As I mentioned on Monday, corn butter is a spread made by “juicing” fresh corn and gently cooking the juice until the corn starch it contains gels to thicken it. Though it is used as a spread, in some ways it’s a fresh corn juice porridge, which means this bread actually contains two porridges, giving it a super tender crumb, one that stays moist for ages. Corn butter is not really “buttery” in flavor or texture, but it is delicious stuff nonetheless. (Some people add actual butter to it once it is cooked, which can push it further into butter territory. Just whisk it in a chunk at a time, off heat.)
It’s easy to make, and this Food 52 recipe from Whitney Wright will give you all the intel you need. Here are a few notes on how I make it:
The Food 52 recipe calls for 8 ears, but you can also do fewer. I did a 3-ear batch yesterday, which yielded 800g kernels, 140g of strained-off corn bits, and more than a pint of corn butter. (All of which is more than enough for a double batch of this recipe, plus plenty of butter to spread on the bread.)
To remove the kernels from the cobs, stand each one in the center of a large, wide bowl and trim off as much possible a sharp paring knife. Then use a vegetable peeler to strip off the remainder.
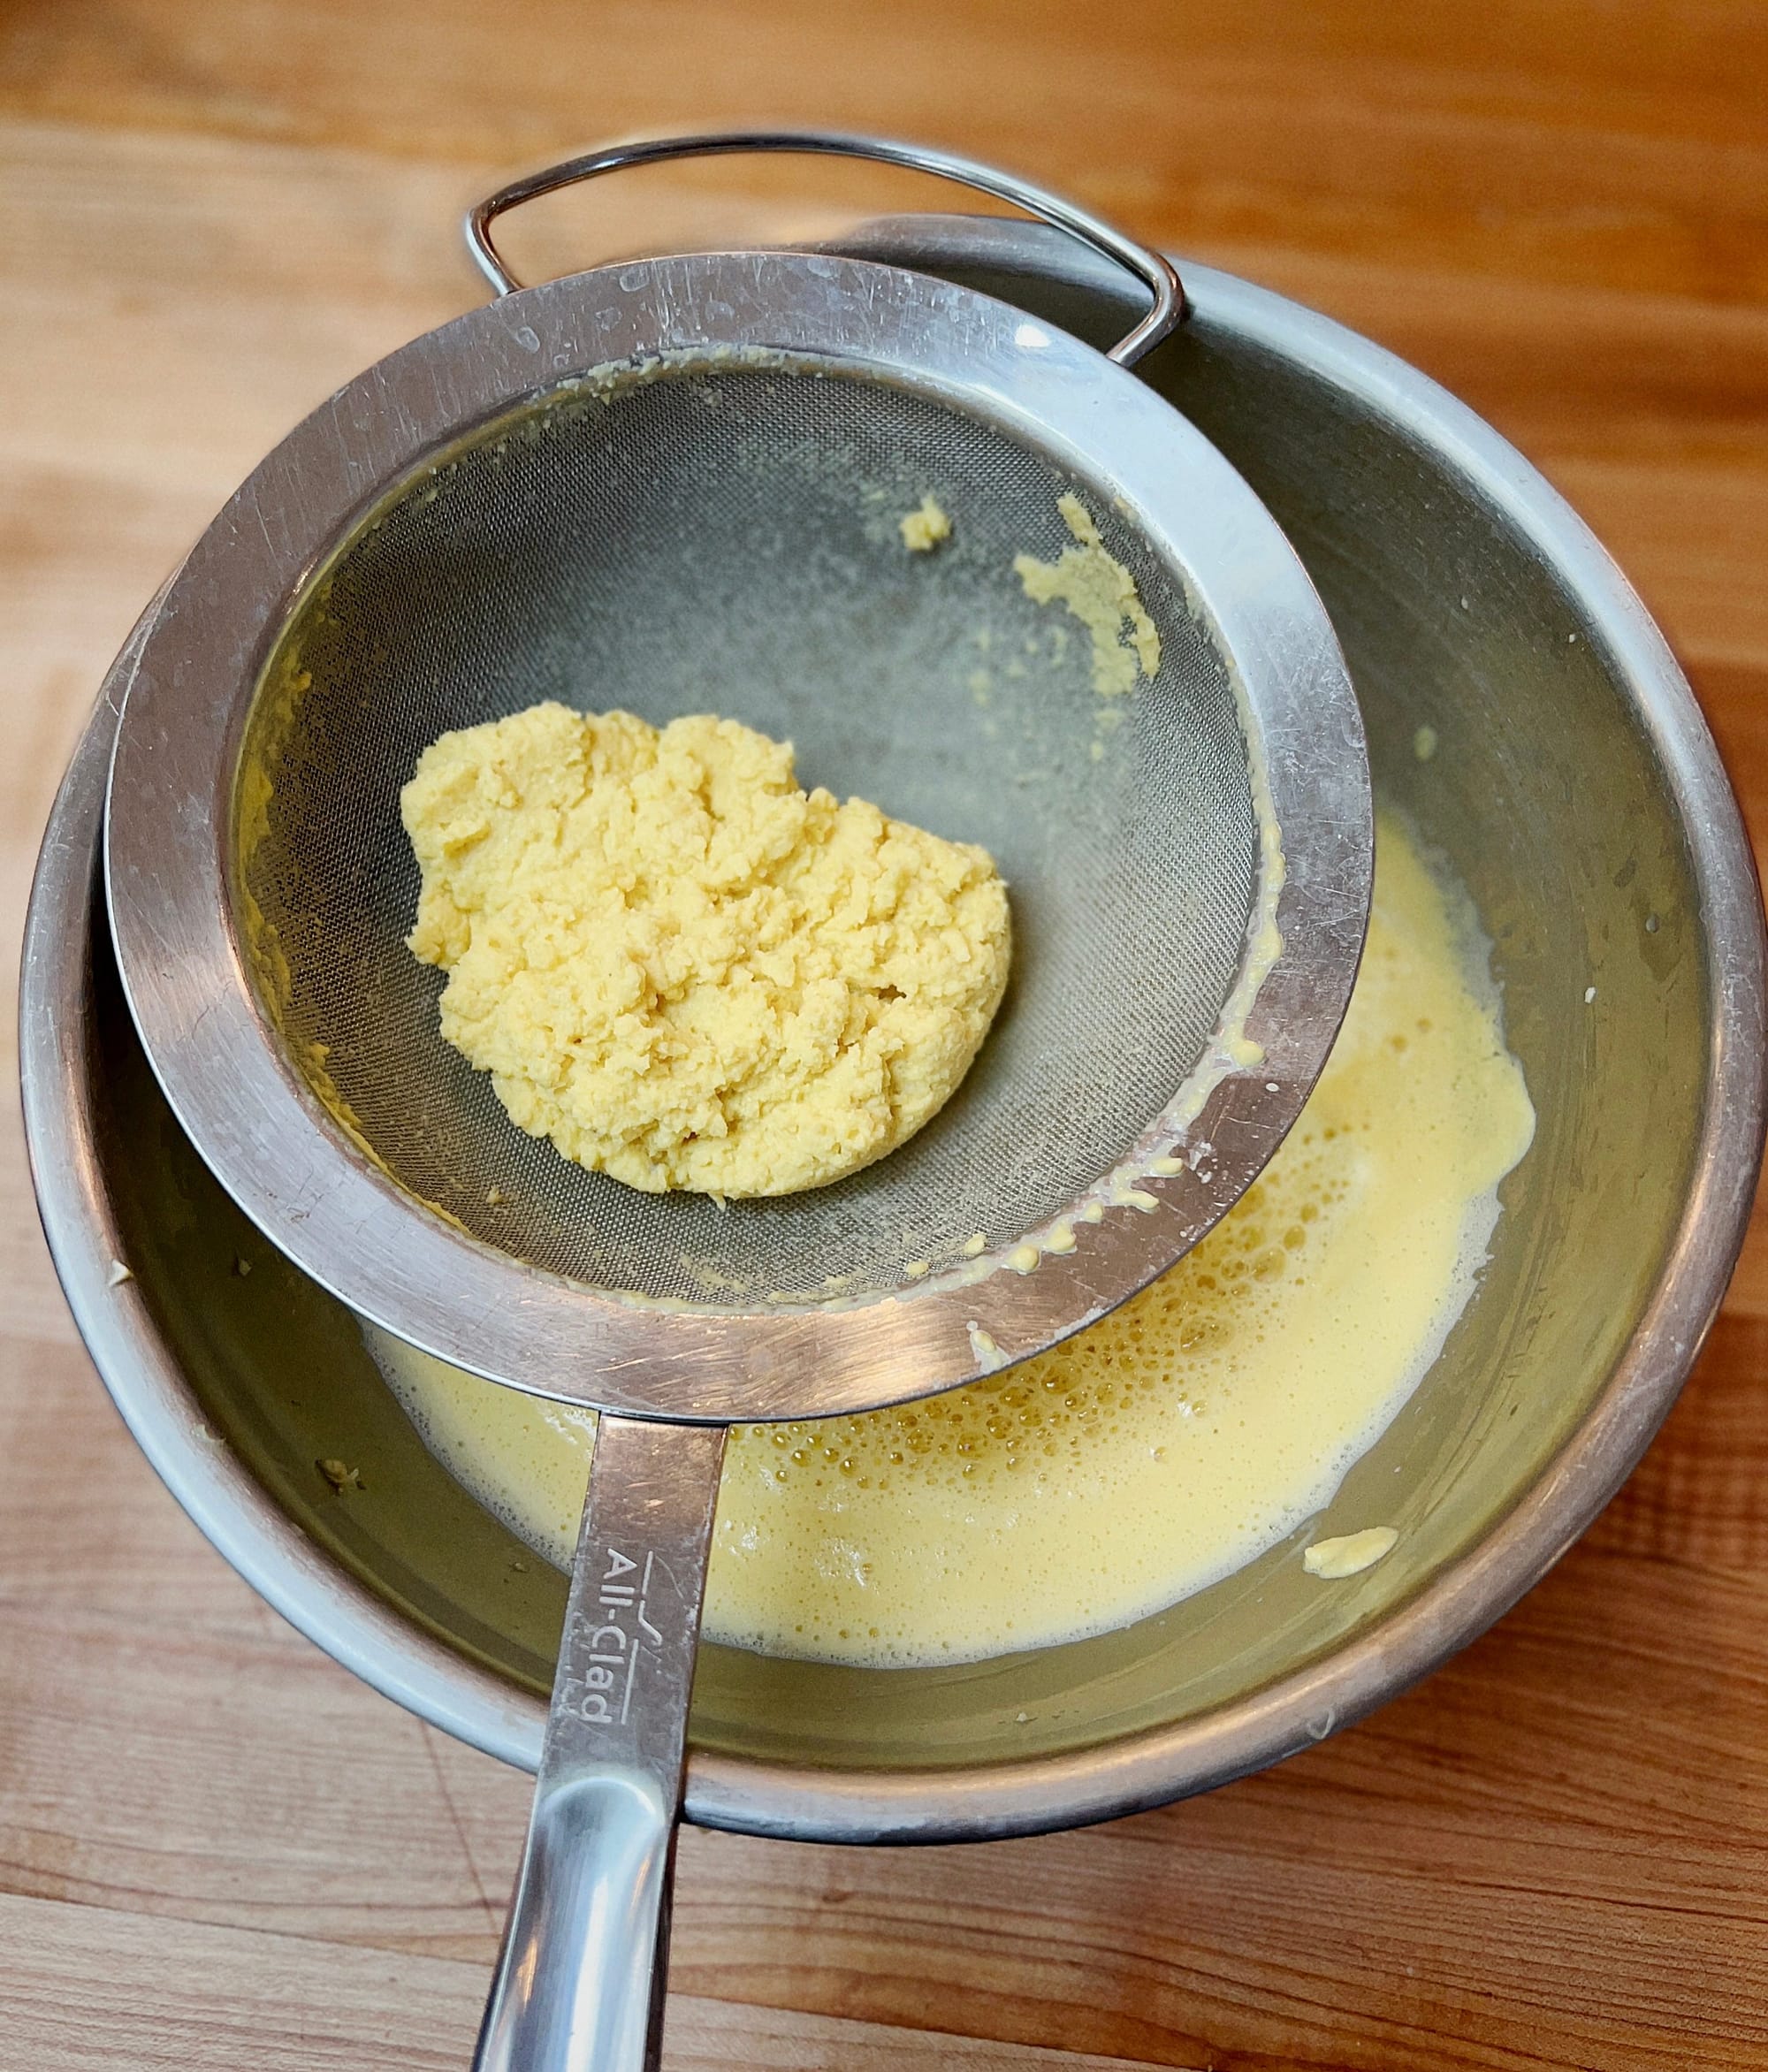
Corn bits and corn juice If you have a juicer, you can then run the kernels through it, but if not, just blend it for a few minutes on high speed until it’s as smooth as possible. Then push the mixture through a fine mesh sieve with the back of a ladle or a rubber spatula. Save the bits that remain behind, since those go into the loaf too.
Place the juice in a medium saucepan and cook over medium heat, whisking all the while, until it comes to a full, rolling boil. Lower the heat and continue to cook for another 30 seconds or so. (You are only heating it until the starches gel, not reducing it; it will continue to thicken as it cools.)
Season with salt to taste, and add butter butter, if desired.
Let the corn butter cool until just warm, and then transfer it to airtight containers and refrigerate.
Corn butter will keep in the fridge for up to 5 days, or in the freezer for at least a few months. (It will probably separate upon thawing, but can be stirred back together.)
You can and should freeze the corn bits for use in breads, in 50g portions per loaf.
Corn butter is great when made with super-sweet, peak-season corn, but it’s also a wonderful way to use up starchy corn that’s not so great eaten on the cob. (I’ve never done it myself, but I’m pretty sure you could also make it from frozen corn too.)
A new fermentation
I’ve always been happy with the crumb structure of my breads, but hanging with Tara this summer (and reading her book) have made me question whether it couldn’t be improved further. Tara always says that if your loaves don’t get as tall and open-crumbed as you’d like, it probably means that you aren’t proofing your dough long enough.
My usual fermentation scheme up until now has been to fold the dough in the bowl until it is strong enough, then let it continue to proof until it is about 1.5 times in volume before preshaping and shaping it. Then it sits on the counter for 30 minutes to reboot fermentation slightly before moving into the fridge for the deep sleep. The problem with pushing the in-bowl bulk fermentation when using this approach is that the dough can get too bouncy to shape easily if you take it much past 1.5 times its original volume.
Tara’s approach avoids this limitation entirely. Instead, she shapes the dough as soon as the folds are complete (about 3 1/2 hours after the dough is mixed), and then lets it near double in volume in the banneton before moving it to the fridge. Shaping the dough after bulk fermentation gets going, but before it’s complete makes it simple to extend the bulk proof further (to increase loaf volume) while still keeping the dough easy to shape. (In other words, the overall fermentation time is the same here, but shaping has moved from the end of the process to the middle.)
My only tweak to Tara’s approach is to leave some time at the end of the folds for the dough to get puffy (if it hasn’t gotten there already, that is—though Tara doesn’t mention it, in my experience with similar doughs, fermentation should be well underway 3-1/2 hours in). Doing so gives the baker a clear indication that fermentation has kicked in before moving on to preshaping and shaping.
Everything else
The rest of this formula is pretty straightforward, but I’ll walk you through it anyway:
It’s a classic, high levain-percentage (25%) sourdough with a bulk fermentation of about 5 hours, and five sets of folds during the first few hours. With all the gluten-thwarting ingredients this dough contains, it needs all the structure it can get and can’t really be done in a no-knead format1.
For similar reasons, I call for bread flour here rather than high-protein all-purpose.
To build additional structure, the bread flour and remaining water get autolysed together at least an hour before the final dough is mixed.
The dough contains 10% whole wheat flour, for another layer of flavor, and because I rarely use only refined flour these days, even for “white” breads.
If you want to use high-extraction bread flour in place of the 330g of bread and whole-wheat flour in the final dough, you’ll probably need about 5% more water overall, which amounts to ~17g (added to the autolyse stage). But flours vary in thirstiness, so YMMV.
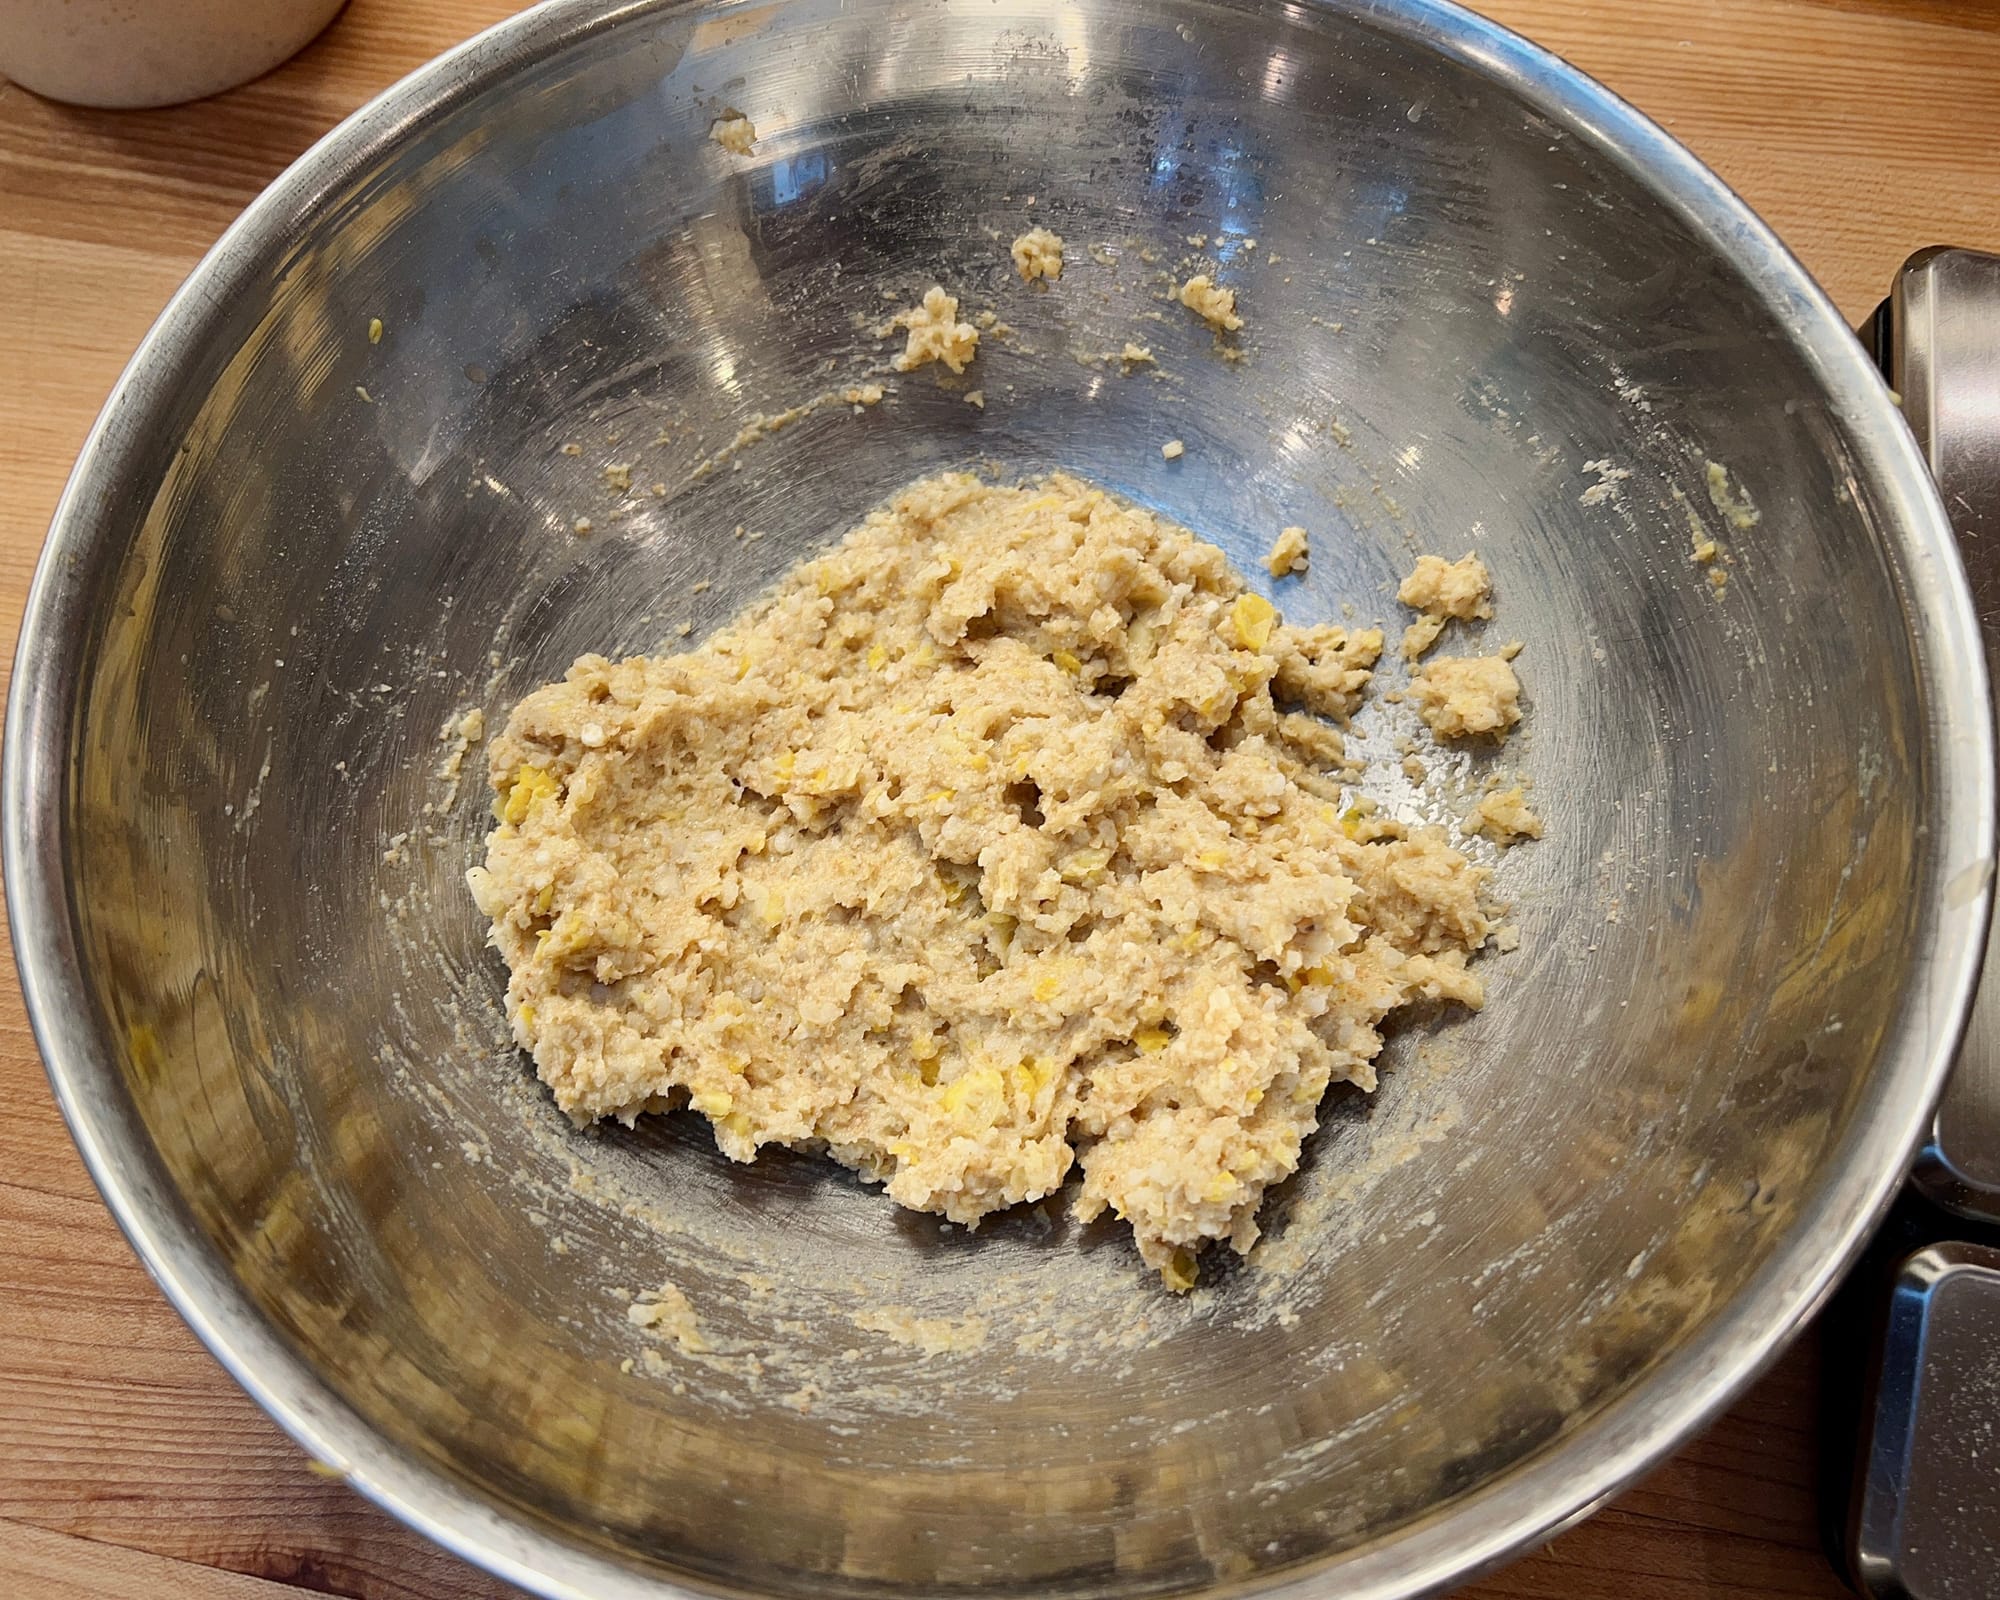
Grits/ww flour/corn butter/corn bits, combined I stir the remaining ingredients (other than the levain)—whole wheat flour, corn butter, corn bits, and salt—into the grits first, which makes everything a little easier to mix into a final dough.
Full disclosure: The final dough is really soupy at first, and even getting it there takes quite a bit of effort, maybe two solid minutes of of kneading and squishing in the bowl. (You could use a mixer at this stage if you really wanted to.) But have no fear, it will tighten up significantly after the folds are done and fermentation gets cranking.
That said, I am going to call this a recipe for “advanced beginners” who have at least a little experience working with wet doughs. To make the dough relatively easy to handle, I reduced the hydration considerably from where it started out (nearly 10%). But I didn’t want to drop it too far, since the extra moisture gives it such a nice texture and extreme longevity.
As that top picture suggests, you can also make this into a pan bread, using a 9- by 4- by 4-inch, square-sided pullman pan. (The dough won’t fit into smaller loaf pans, alas.)
Finally, you might note that I’ve changed up the formatting of my formulas (again) with this one, mainly in the form of naming each of the major stages in the steps. I hope you find this extra information helpful. Recipe/formula formatting is something that continues to evolve for me, though I think I am inching close to something that hits the proper balance between clarity, completeness, and brevity. Once I do, I’ll try to find the time to go back and reformat all of the previous recipes here (though thinking about that task gives me a mild headache).
You can find the recipe right here:
Let me know if you make it and what you think!
—Andrew
And, if I am being honest, no-knead formulas are just boring to me. I really prefer recipes that require getting your hands in the dough, both because it’s fun and because I think it is the fastest way to learn to bake well. ↩
wordloaf Newsletter
Join the newsletter to receive the latest updates in your inbox.
