Ian Lowe's Sweet Starter Process
A detailed overview
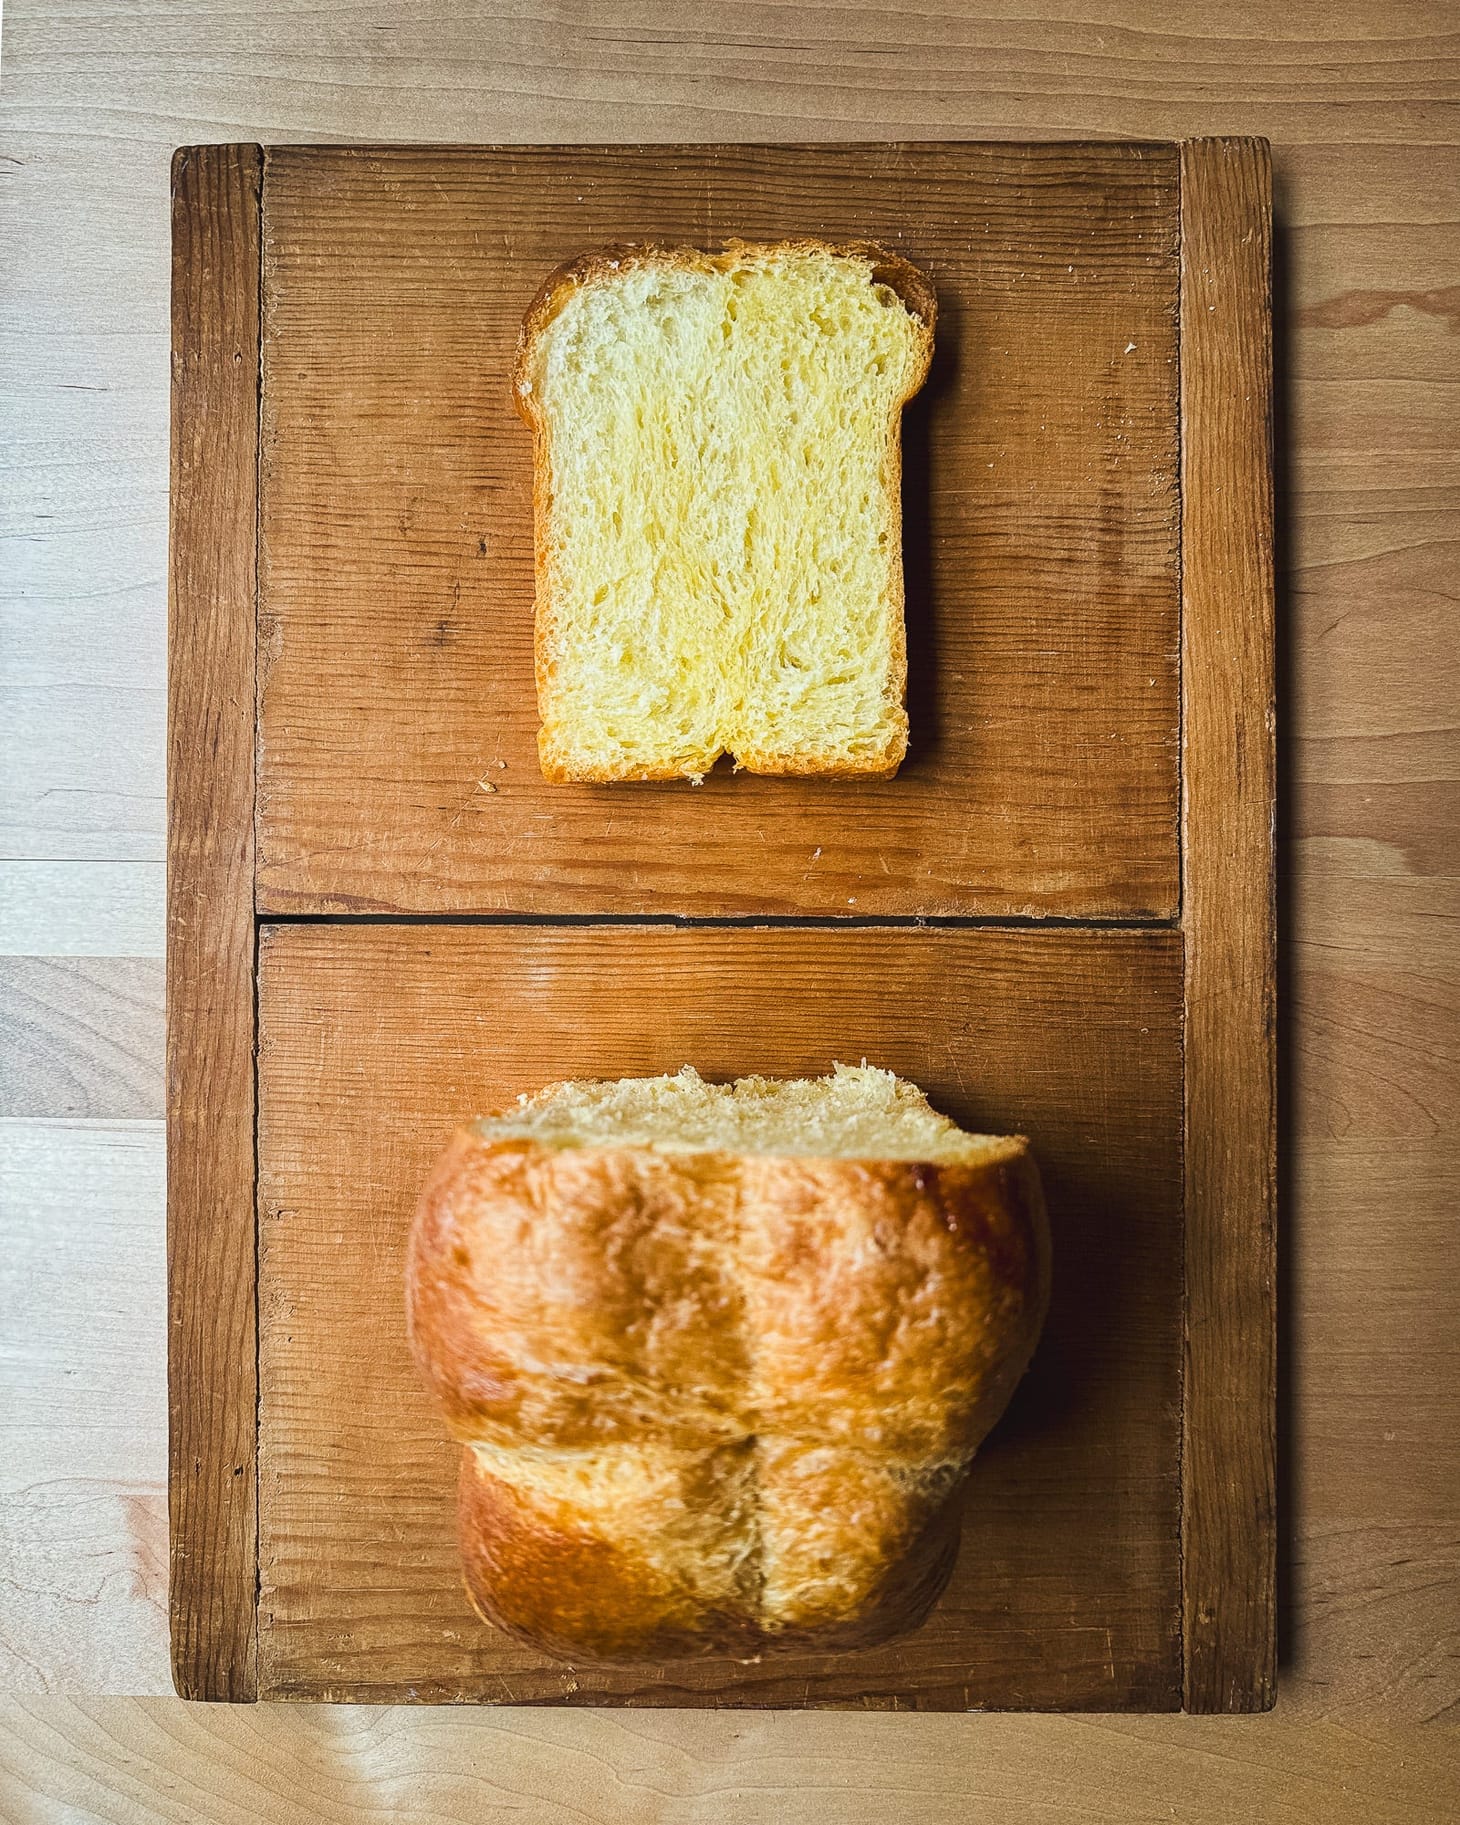
Table of Contents
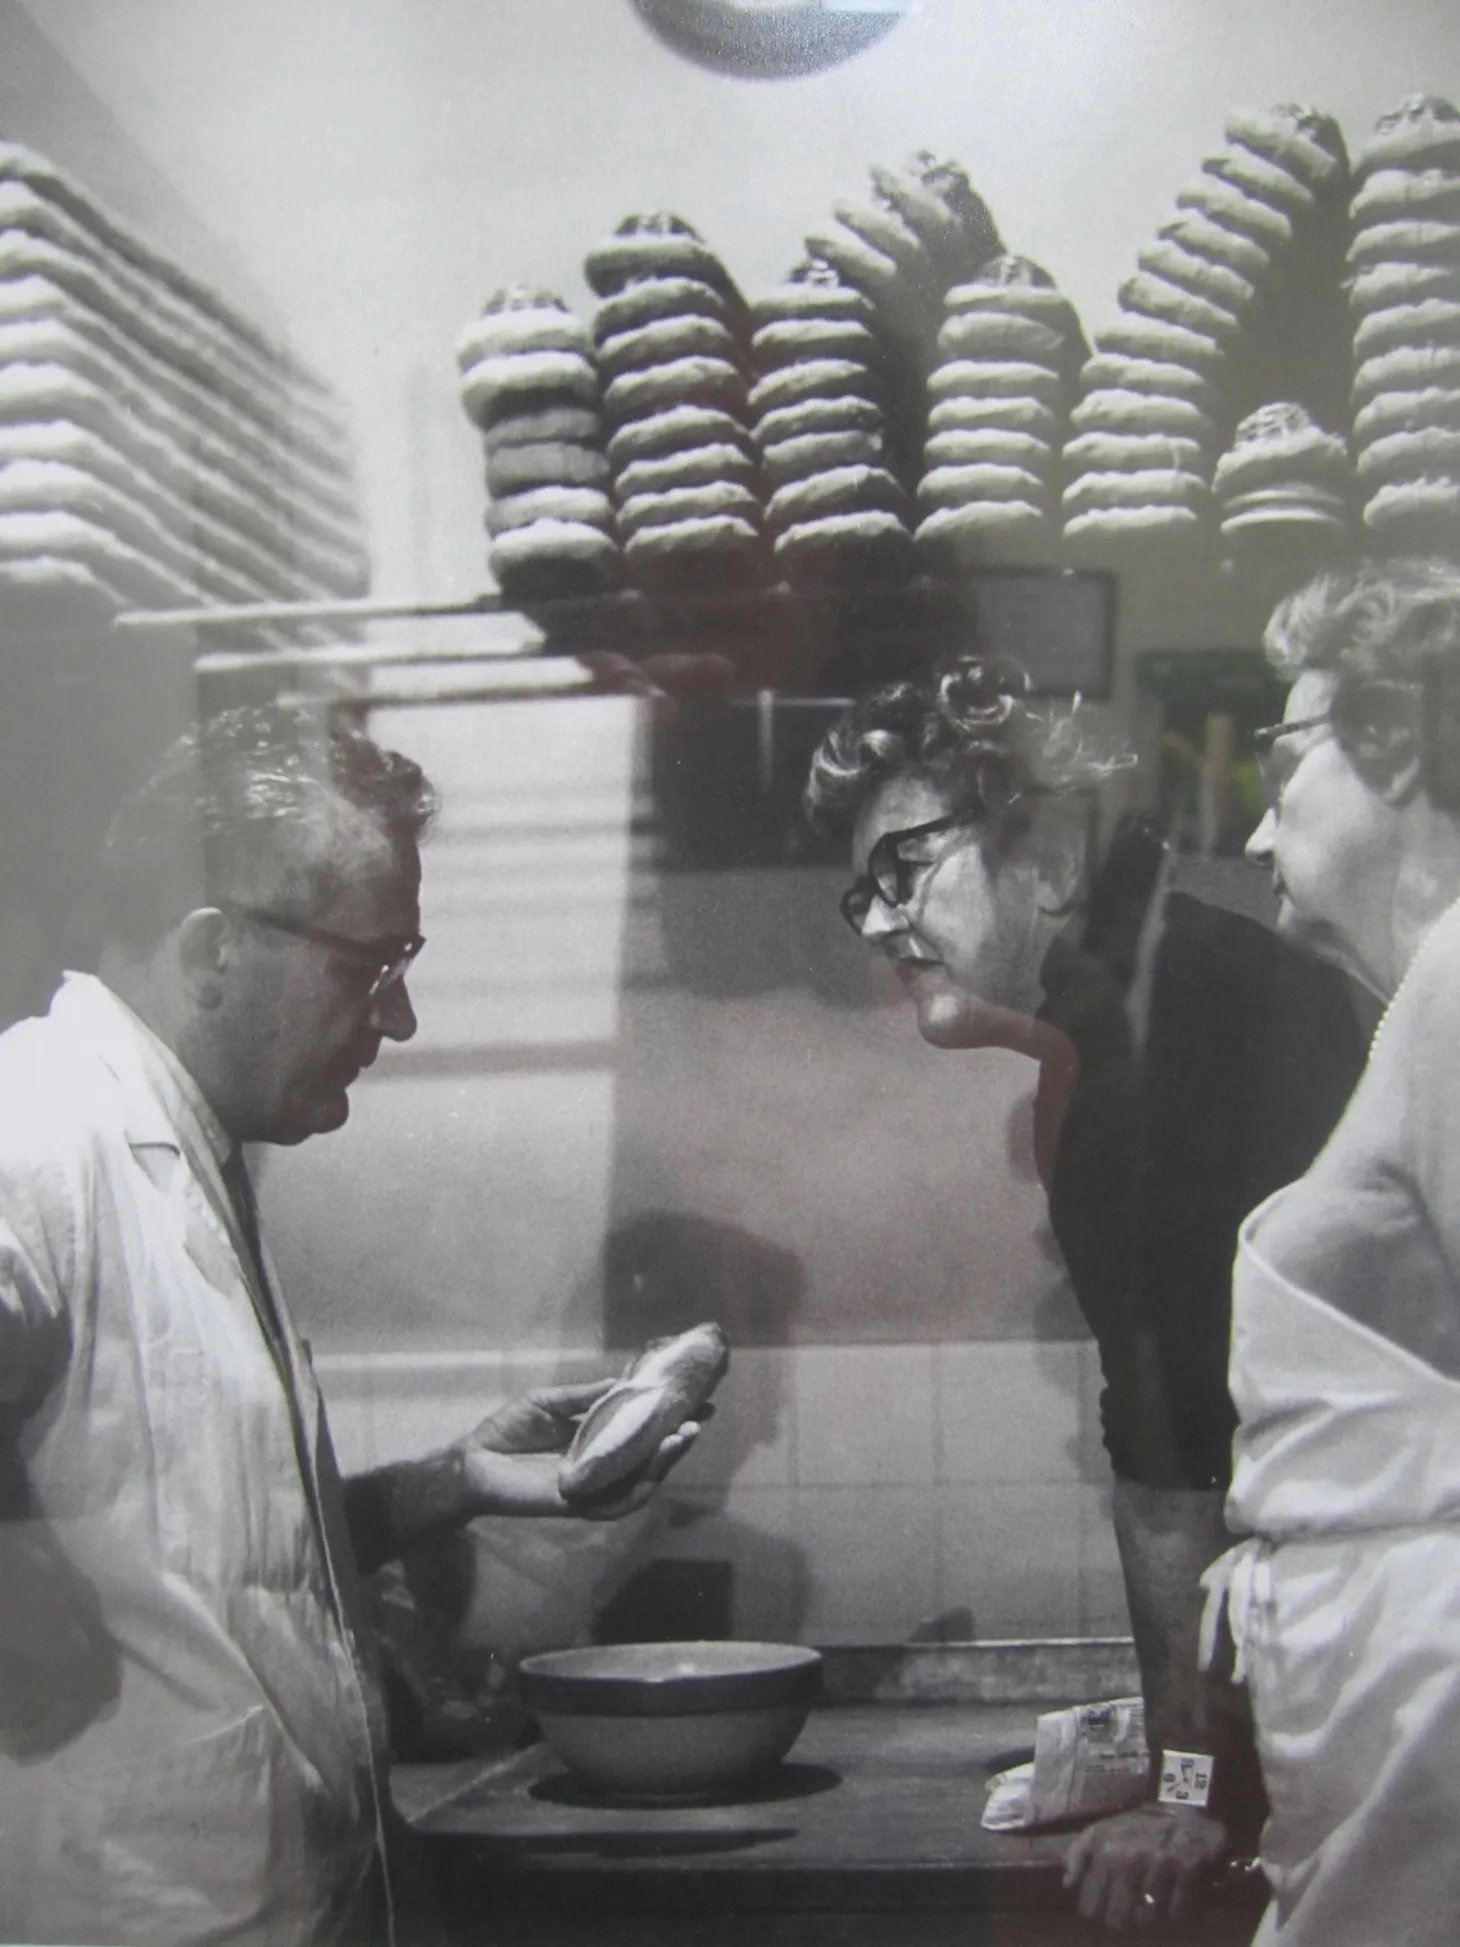
I figured it would be useful to walk people through Ian Lowe’s sweet starter process separately, just so it’s clear. I’ve used it a bunch in the past, and did a test brioche after finishing my interview with him (pictured above), and it worked beautifully. It takes a long time from start to finish, but none of the steps are any more complicated than any other sourdough method, so it really shouldn’t be intimidating—all it requires is careful attention to scheduling and time. Only the pre-sweet-starter levain builds and the bulk fermentation of the final dough need being attended to for an extended length of time; the remainder is mostly hands-off, and can be adjusted to your schedule rather than the other way around.
And while you might be able to cut corners along the way and still get acceptable results, you should know what the “ideal” sequence looks like, and try it out when you have the time, so you have a good base of comparison. That brioche had no perceptible sourness at all, and stayed soft for more than a week, something no other enriched breads do, even those containing a flour scald.
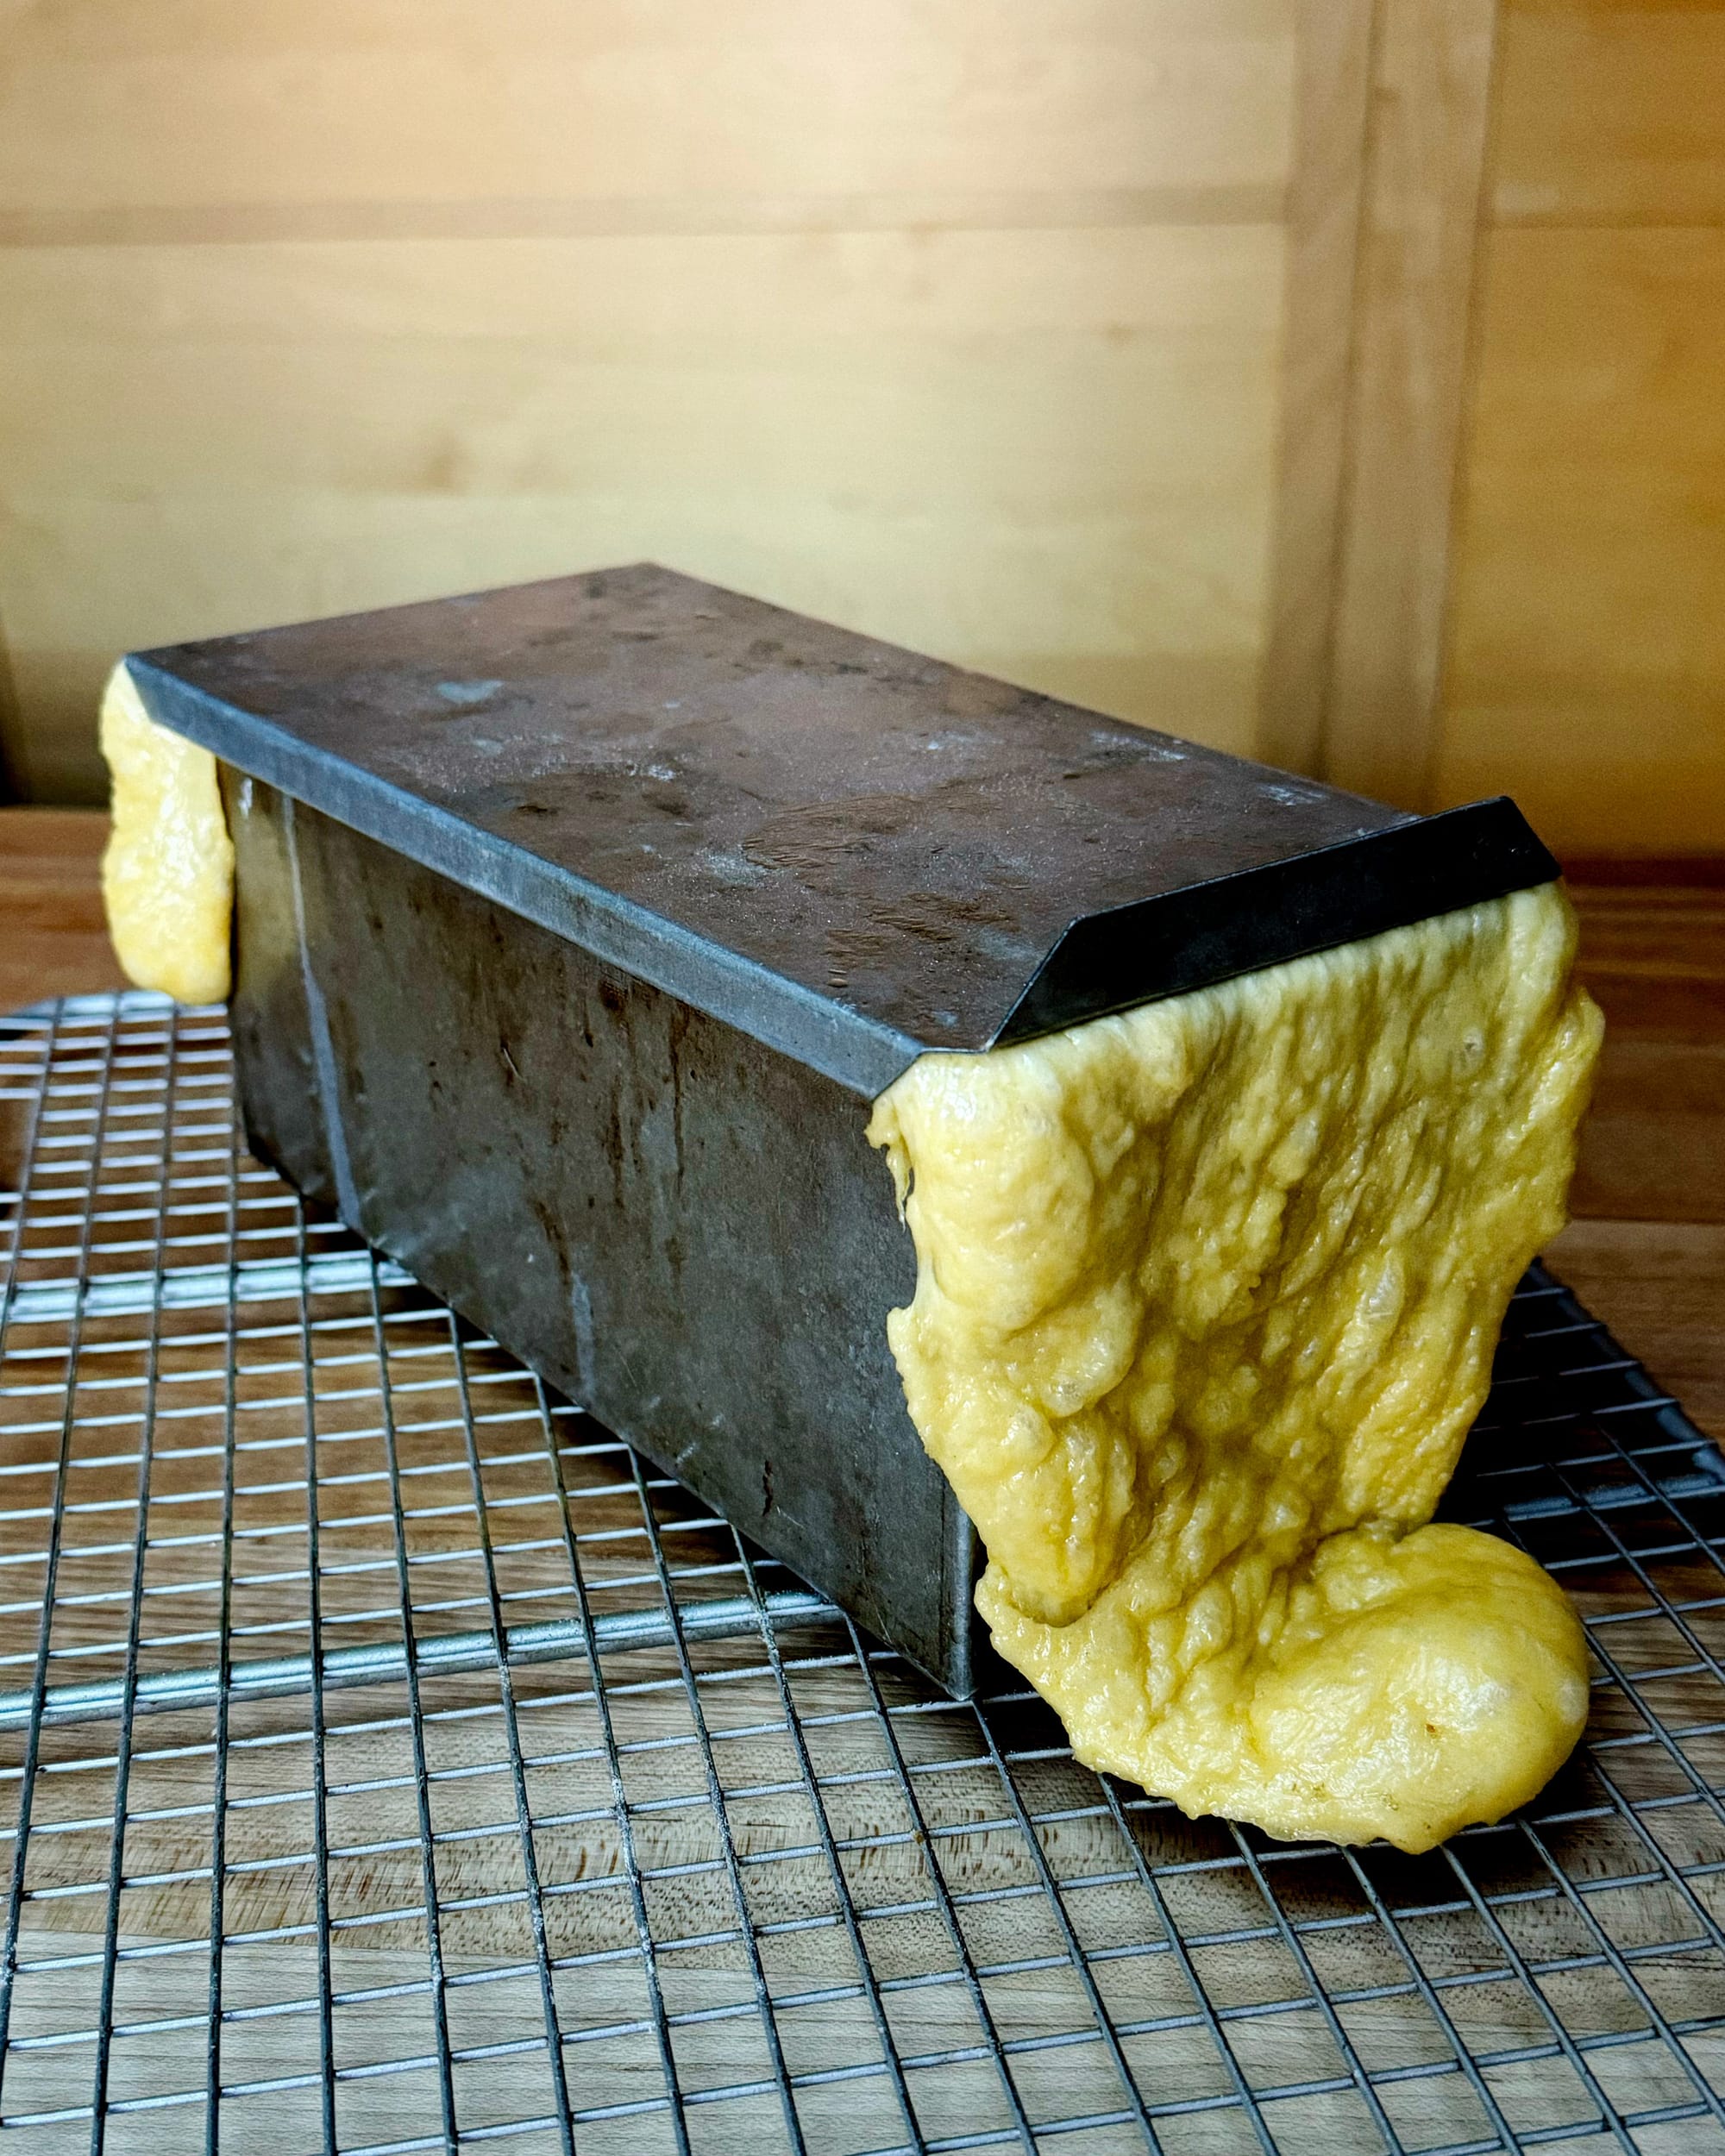
I made two loaves out of the same batch, and held the second one in the fridge for three days before proofing and baking it. As you can see from the image above, it was so active that it crawled right out of the pan during the overnight proof, which maybe means I let it go too long (the ginormous size of both loaves means I need to scale my recipe down slightly, this formula seems to proof much larger than an otherwise identical yeasted version). I just sliced off the overflow and baked it lid-on, and it was as nice as the first loaf, despite the extra fridge time.
The point
The most important thing to understand about the entire sweet starter process is that it sets up the culture for bacterial plasmolysis, the rapid loss of water and eventual death of bacterial cells, owing to the high concentration of sugar and low hydration in the sweet starter build. (Much like salt on a slug.) This essentially makes the final fermentation yeast-only, eliminating acid production entirely. Moreover, this massive die-off of bacteria causes the accumulation of molecules that give sweet starter-raised breads their incredibly long shelf-life.
Liquid-levain builds
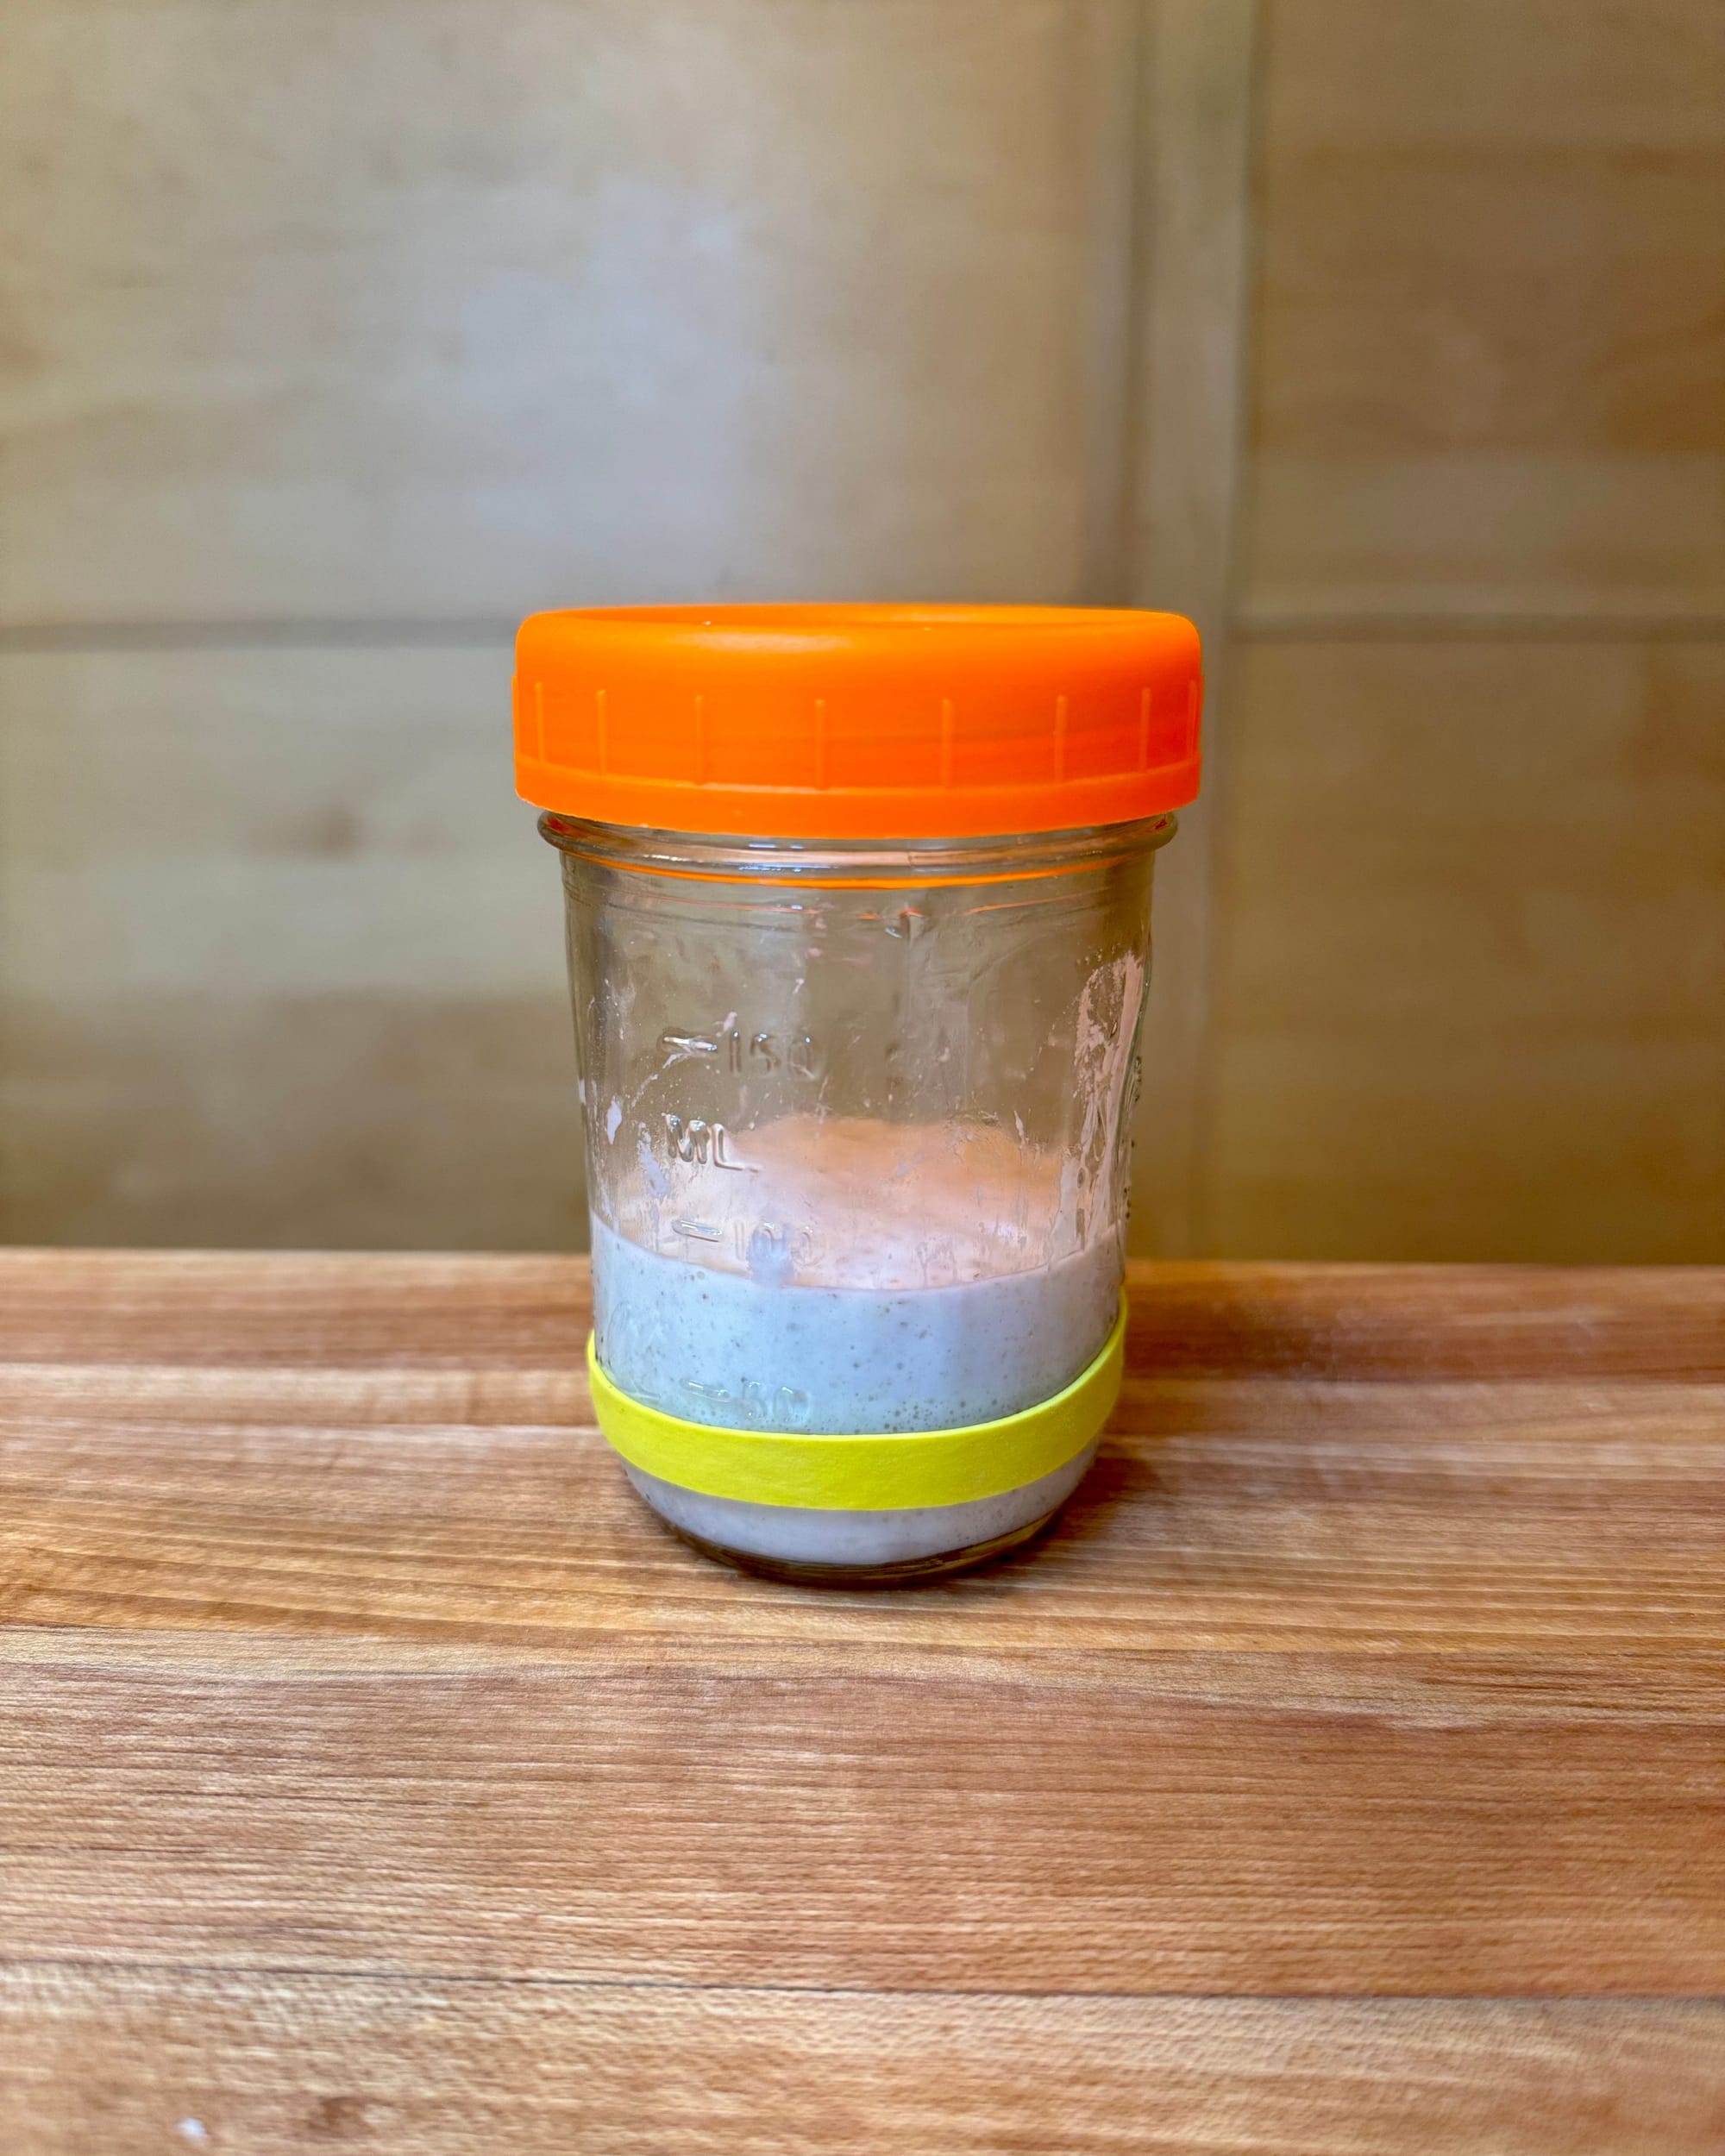
The first thing you need to do is give your active starter a series of back-to-back, short liquid refreshments using a 1:1:1 ratio of white flour, water, and starter, proofed between 75˚-78˚F (24°-26°C).
This stage is meant to prevent the accumulation of acids in the culture, and to prime the yeast and bacteria in it for the final sweet starter build. It causes the bacteria to grow with thinner cell walls and membranes, which make them susceptible to plasmolysis in the face of high osmotic pressure, while at the same time making the yeast in the culture more resistant to osmotic stress.
Ian recommends two or, preferably, three quick builds before making the sweet starter itself. My starter is pretty robust, and it reliably doubles in volume in 4 hours at 78˚F, which allows me to fit three builds into 12 hours, starting first thing in the morning. If yours is weaker than that, you might only be able to get two 6-hour builds into a single day, but that’s okay. Three would be better than two, but it is more important that you refresh each build when the yeast are clearly active and producing carbon dioxide—it needs to have expanded significantly, but not completely. If it normally triples in volume before collapsing (as it should with a healthy liquid white-flour starter), move it along it as soon as it has doubled in volume.
After the liquid starter builds are complete, you use it to build the stiff sweet starter, which will proof for 10 to 11 hours (once again between between 75˚-78˚F /24°-26°C). Given the time frame here, it makes sense for most people to mix the sweet starter in the evening, leaving it ready for use the following morning. And since you’ll need to begin the two or three liquid builds that morning, it’s probably a good idea to do an overnight refreshment the night before that, so that it is really active when you begin. I refresh my starter at room temperature at least once a day anyway, so this is standard practice. If you keep your starter in the fridge between uses, you probably should give it a few once or twice-daily refreshments before attempting a sweet-starter build, so that you know it is good and active.
You want to use white high-protein all-purpose or bread flour for the liquid-levain builds, because whole-grain or less-refined flours will encourage acid production (ditto for the sweet starter build). If you are working toward a white flour final dough, use the same flour as the final dough for all of your builds. (If your final dough contains high-extraction or whole-wheat flour, save it for the final dough and use white flour in all of the starter builds.)
Sweet starter build
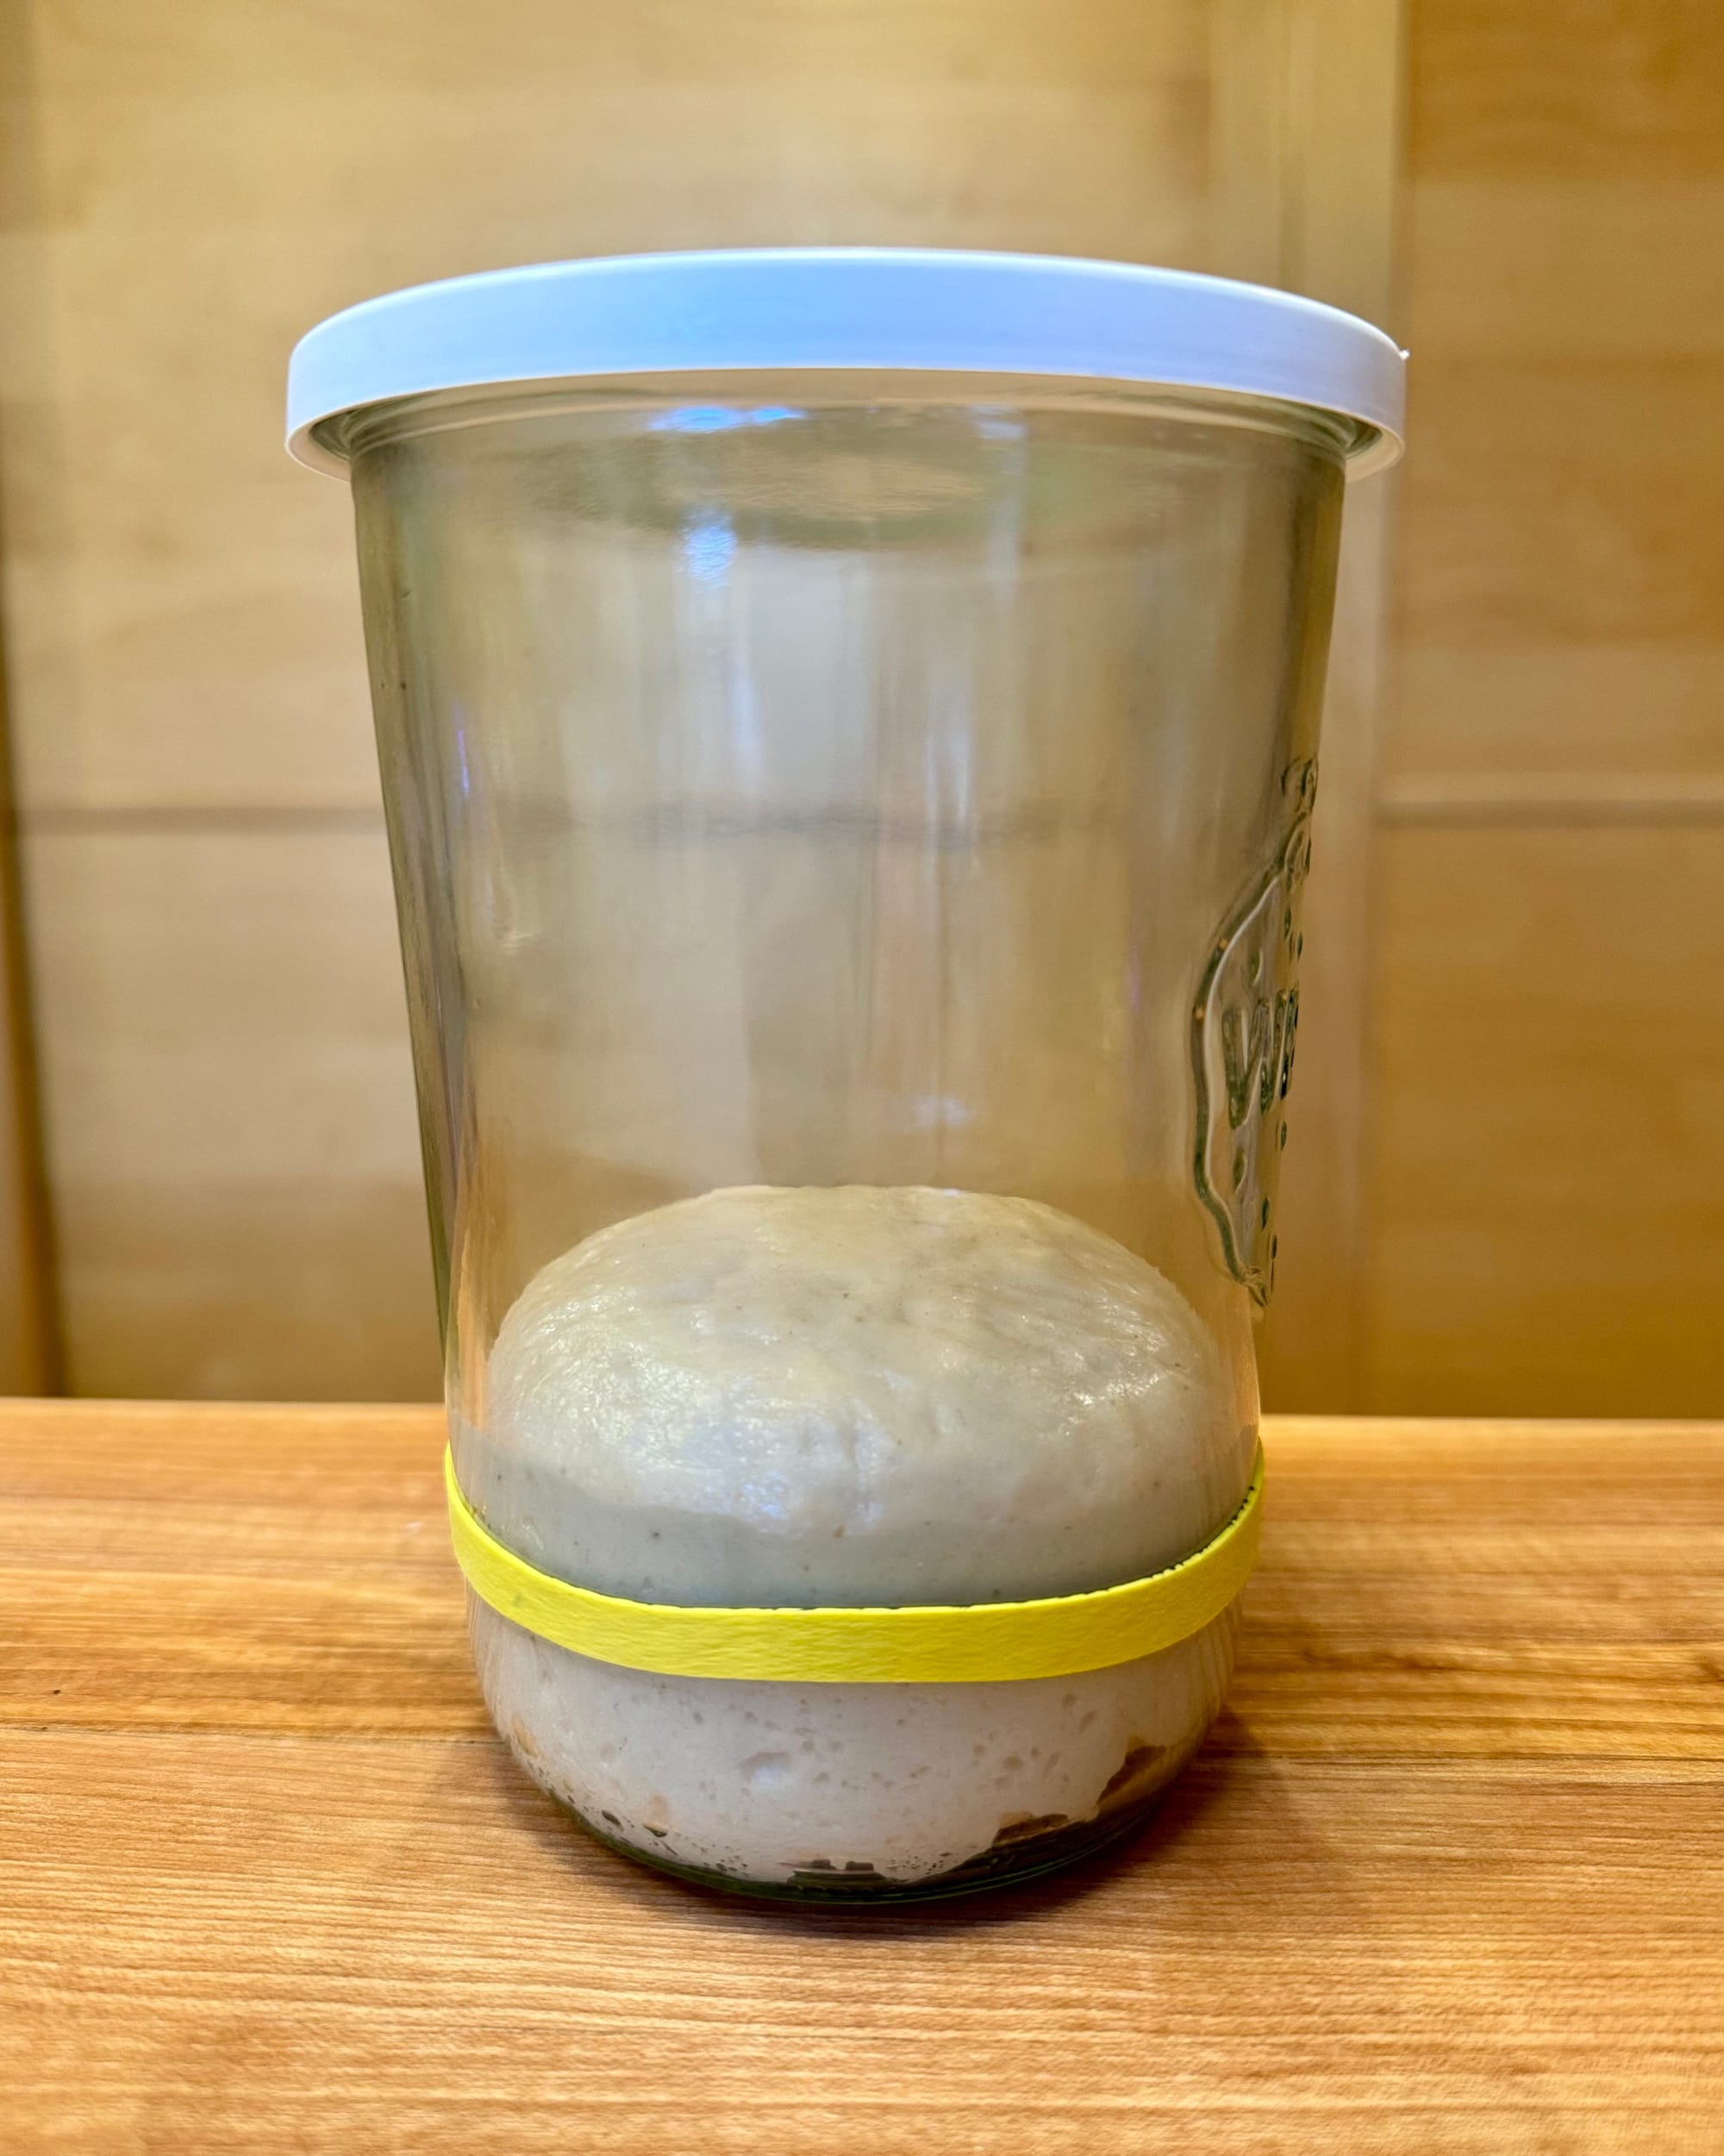
The sweet starter requires a precise amount of flour, starter, water, and sugar to work its magic most effectively:
- 100% white high-protein all-purpose or bread flour
- 40% liquid starter
- 30.4% to 34% water
- 30% sugar
This amounts to 43% hydration, so it makes for a very stiff starter, requiring mixing by hand (or a machine if making large quantities).
And you must use sucrose—granulated refined sugar—here, for two reasons. One, its molecular weight and structure make it the ideal choice for increasing osmotic pressure. And two, other sugars are potentially more readily fermentable, which could increase acid accumulation. Save alternative sweeteners such as honey for the final dough if you want.
The amount of sweet starter to make depends upon how much dough you plan to make with it. The final dough should have a precise amount of sweet starter in it; Ian recommends prefermenting 15% ± 2.5% of the total flour in the dough for best results.
The example process below yields 200g sweet starter, containing 120g of flour. Given Ian’s guidelines, 200g sweet starter/120g prefermented flour can leaven an enriched dough containing between 685g and 960g flour, with 800g being the median amount. My sourdough brioche formula (700g dough for a single loaf) contains 334g flour total, and calls for 94g of sweet starter containing 57g flour, which amounts to 16.8% prefermented flour.
You can scale the formula up or down as needed for different amounts of dough. Or you can use the Excel sweet starter calculator I made instead:

Sweet Starter Calculator12.7KB ∙ XLSX fileDownloadDownload
The sweet starter should about double in volume after its 10- to 11-hour proof. (You can hold the SS in the fridge for a couple of hours if you need a little extra time before building the final dough.)
Final dough build and bulk fermentation
Once the sweet starter is ready, you’ll mix your dough and give it a bulk fermentation of around 8 hours, at between 78˚-82˚F (26°-28°C). (As Ian mentions, because of the degree of enrichment in the final dough, it should be proofed at slightly higher temperatures than the levain builds.) You should not see much in the way of expansion during this phase; you need to give the yeast time to wake up before shaping the dough (particularly if you are going to hold the loaves in the fridge before the final proof), but they shouldn’t begin generating significant amounts of gas. So you’ll have to just go on faith and give the dough enough time.
If your dough needs it, you can fold it once or twice during the bulk fermentation to build strength.
Shaping, retarding, and final proof
If your dough is firm enough to shape warm, you can shape it right away. My enriched doughs tend to be sticky at room temperature, so they usually go into the fridge for a few hours to stiffen up first.
When baking on a small scale—say one to four loaves worth, you can hold the bulk dough in the fridge for 12 to 24 hours before dividing and shaping it. If you do so, and you plan to retard the shaped loaves as well, be sure to keep the total fridge time to no more than four days. (Ian doesn’t recommend bulk retarding on larger scales, because the low surface-area to volume ratio of large batches of dough could prevent it from cooling down quickly enough to slow down fermentation.)
If desired, you can move the just-shaped loaves (tightly covered) to the fridge for up to 4 days before proofing and baking, with no loss in volume or change in flavor. This is one of the additional perks of the sweet-starter process: a product that can be held in the fridge for a long time before baking without significant loss in volume or an increase in acidity, something you can’t do with most other sourdough enriched processes.
The final proof
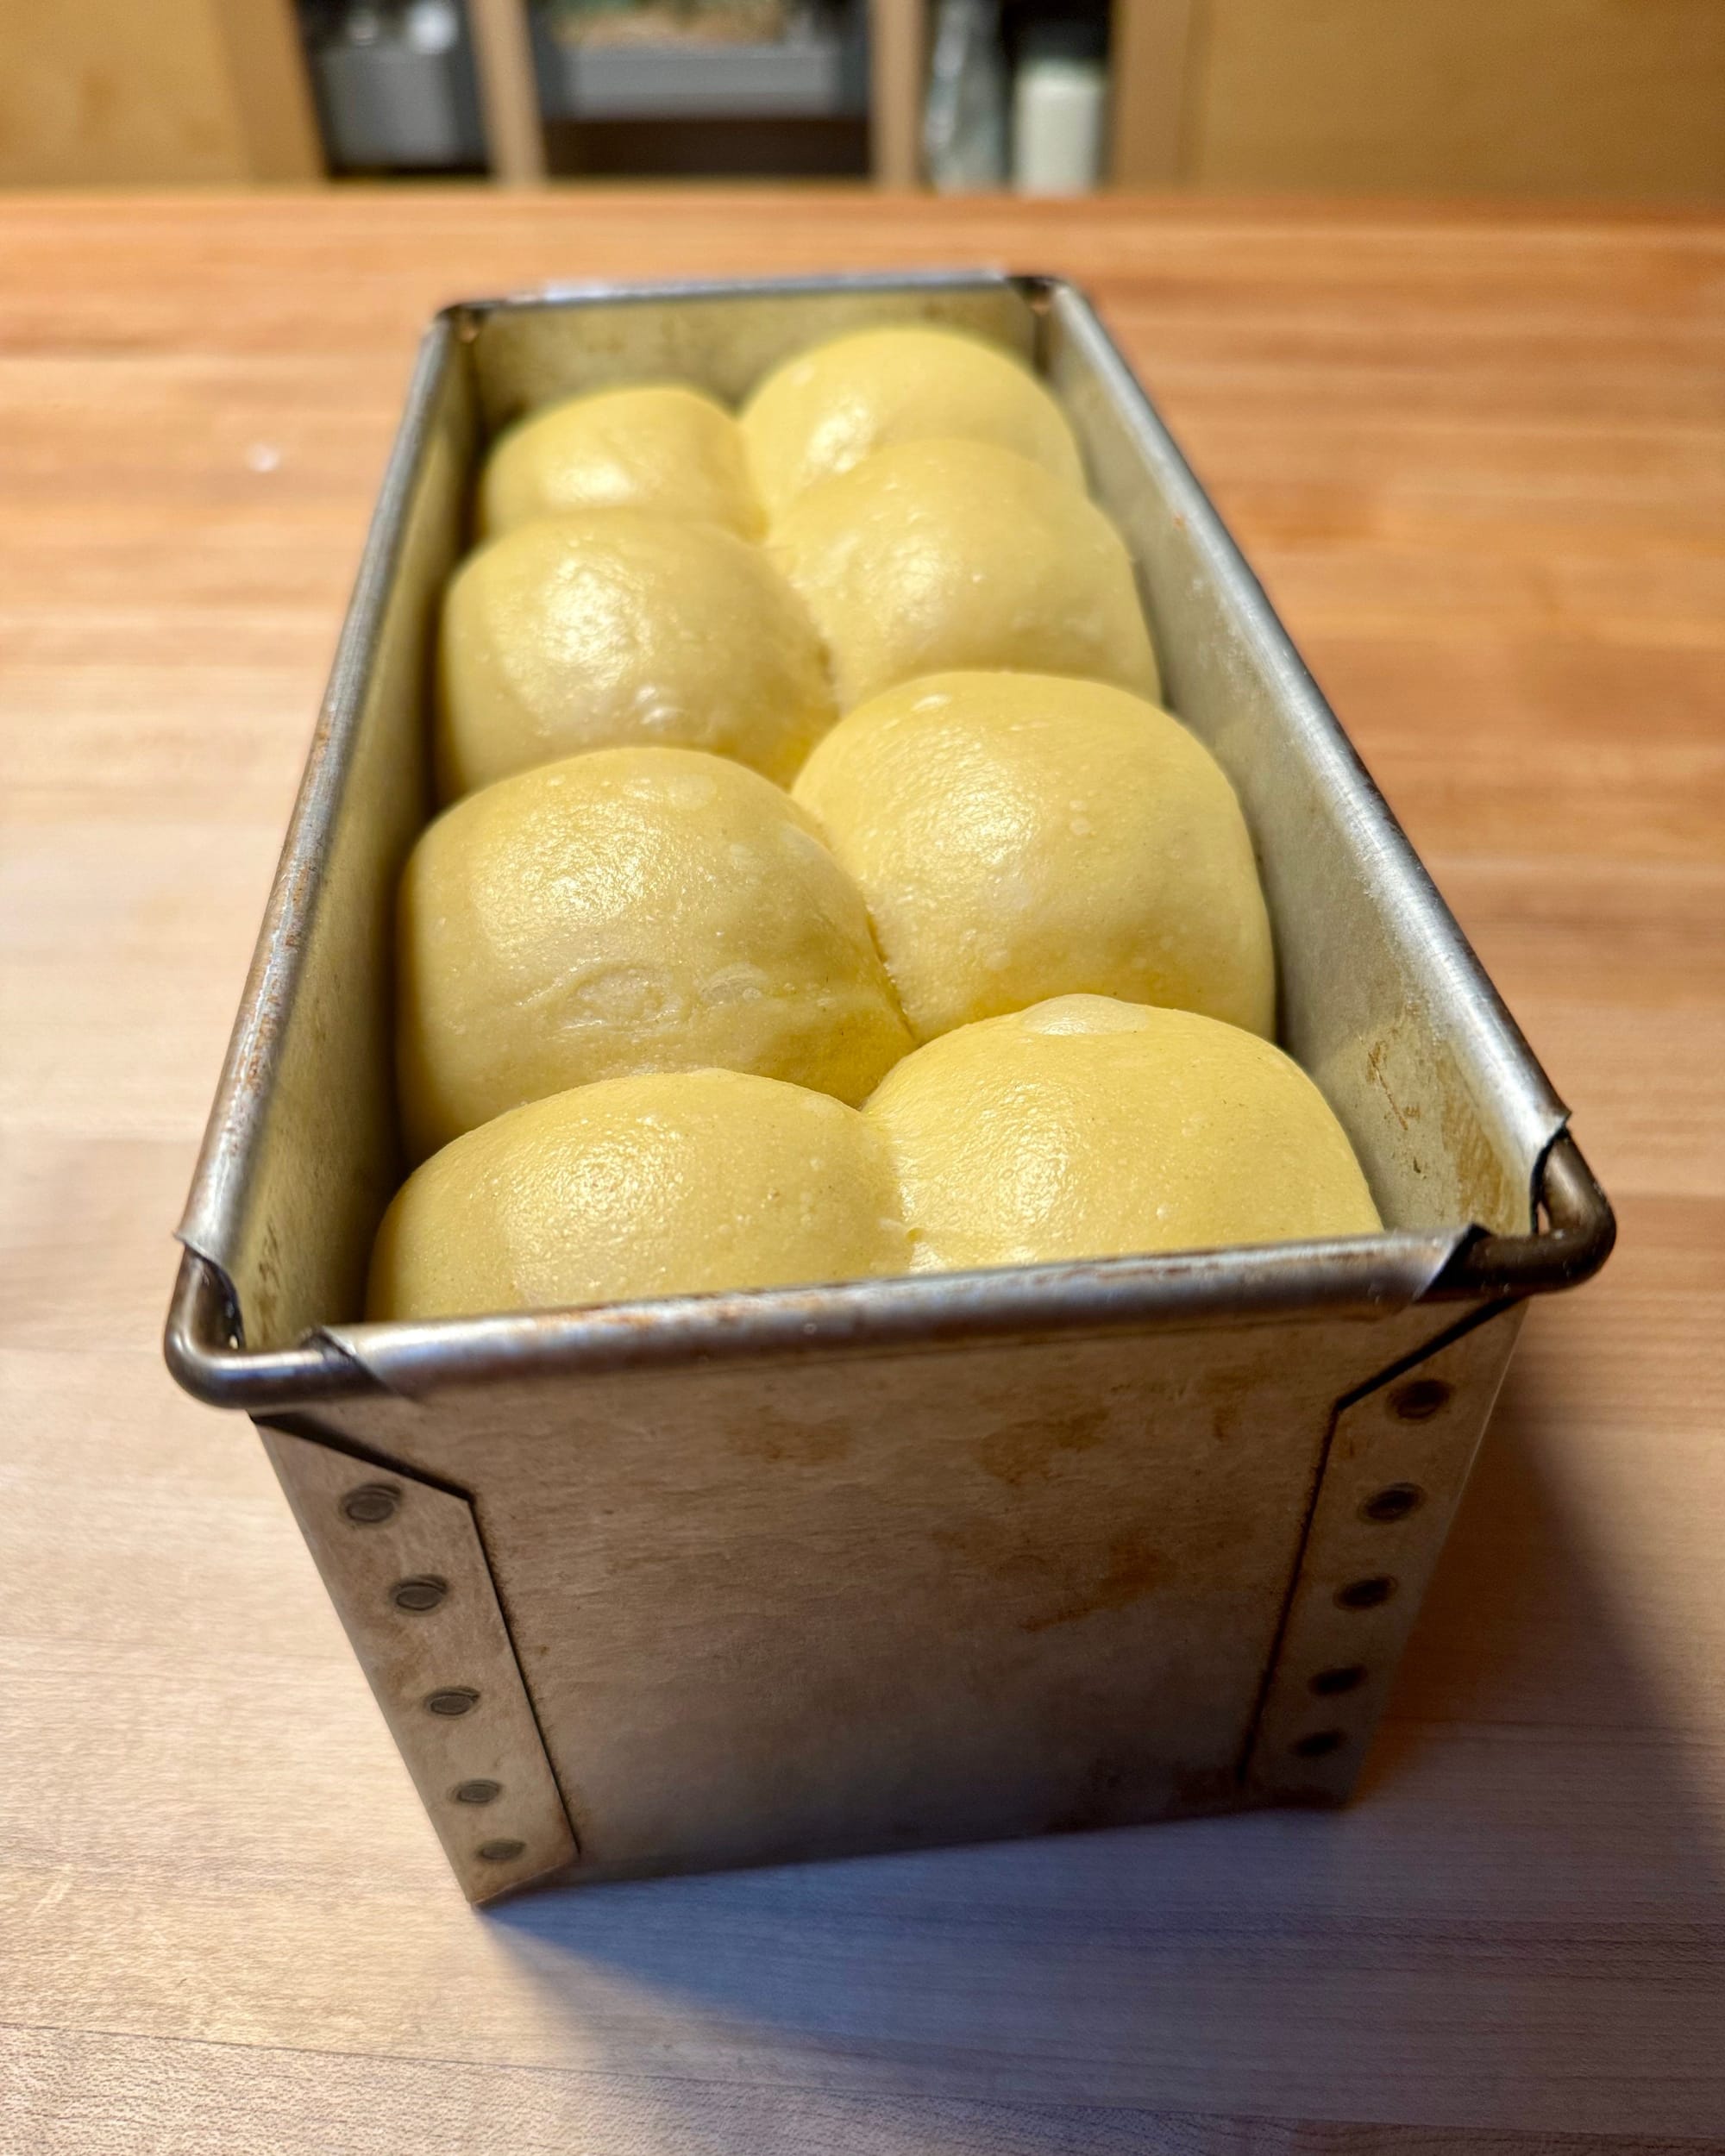
After dividing and shaping, the loaves proof until fully expanded, which takes between 12 and 16 hours at 78˚-82˚F (26°-28°C). For most of us this means an overnight proof.
Finally, you can bake them.
A typical timeline
Here’s that process in a single timeline, on a schedule that allows you to get a good night’s sleep each day:
Day minus-one, evening:
- Refresh your starter overnight, yielding a ripe 100%-hydration starter first thing in the morning.
Day one:
- 8:00AM: Mix a 1:1:1 liquid levain, proof until doubled in volume, 3 to 6 hours.
- 12:00PM: Repeat.
- 4:00PM: Repeat.
- 8:00PM: Sweet starter build. Proof overnight for 10 to 11 hours.
Day two:
- Morning: Mix the final dough and bulk ferment for ~8 hours.
- If necessary, chill the dough until firm, 1 to 3 hours.
- Shape.
- Proof for 12 to 16 hours (overnight).
- Or return to the fridge and hold for up to 4 days before proofing and baking.
Day three:
- Bake.
When retarding shaped loaves, remove them from the fridge 12 to 14 hours before the desired bake time (the night before is probably simplest).
And here are example formulas for the levain and sweet starter builds:
Liquid starter build (2 or 3x)
Yields 45g
15g white high-protein all-purpose or bread flour (100%)
15g water (100%)
15g active 100%-hydration starter (100%)
- Mix and proof at 75˚-78˚F (24°-26°C) until at least doubled in volume (but not much more than that), 3 to 6 hours.
- Repeat at least once before using in the sweet starter build.
Sweet starter build
Yields 200g
100g white high-protein all-purpose or bread flour (100%)
40g liquid starter (from above) (40%)
32g water (32%)
30g granulated sugar (30%)
Knead into a smooth dough and proof at 75˚-78˚F (24°-26°C) for 10 to 11 hours.
I don’t yet have a full sweet starter brioche recipe for you, but I am going to include one in my book, and I’ll probably share it here sooner or later too. In the meantime, most of you could probably use the intel provided above to adapt your favorite enriched formulas to a sweet starter method.
—Andrew
wordloaf Newsletter
Join the newsletter to receive the latest updates in your inbox.
