'Pizza Practice' makes perfect pizza
an excerpt and recipes from Tara Jensen's new book (and a giveaway!)
Throughout the 3-1/2 years I worked on Breaducation, the baker I turned to most often for encouragement, advice, commiseration, and respite was my friend Tara Jensen. She finished work her own book a little before I did, but we were pretty much toiling away on them both in tandem, and leaned often on each other for bread-book-writing therapy, something that was hugely helpful for me. (Thanks Tara xx.)
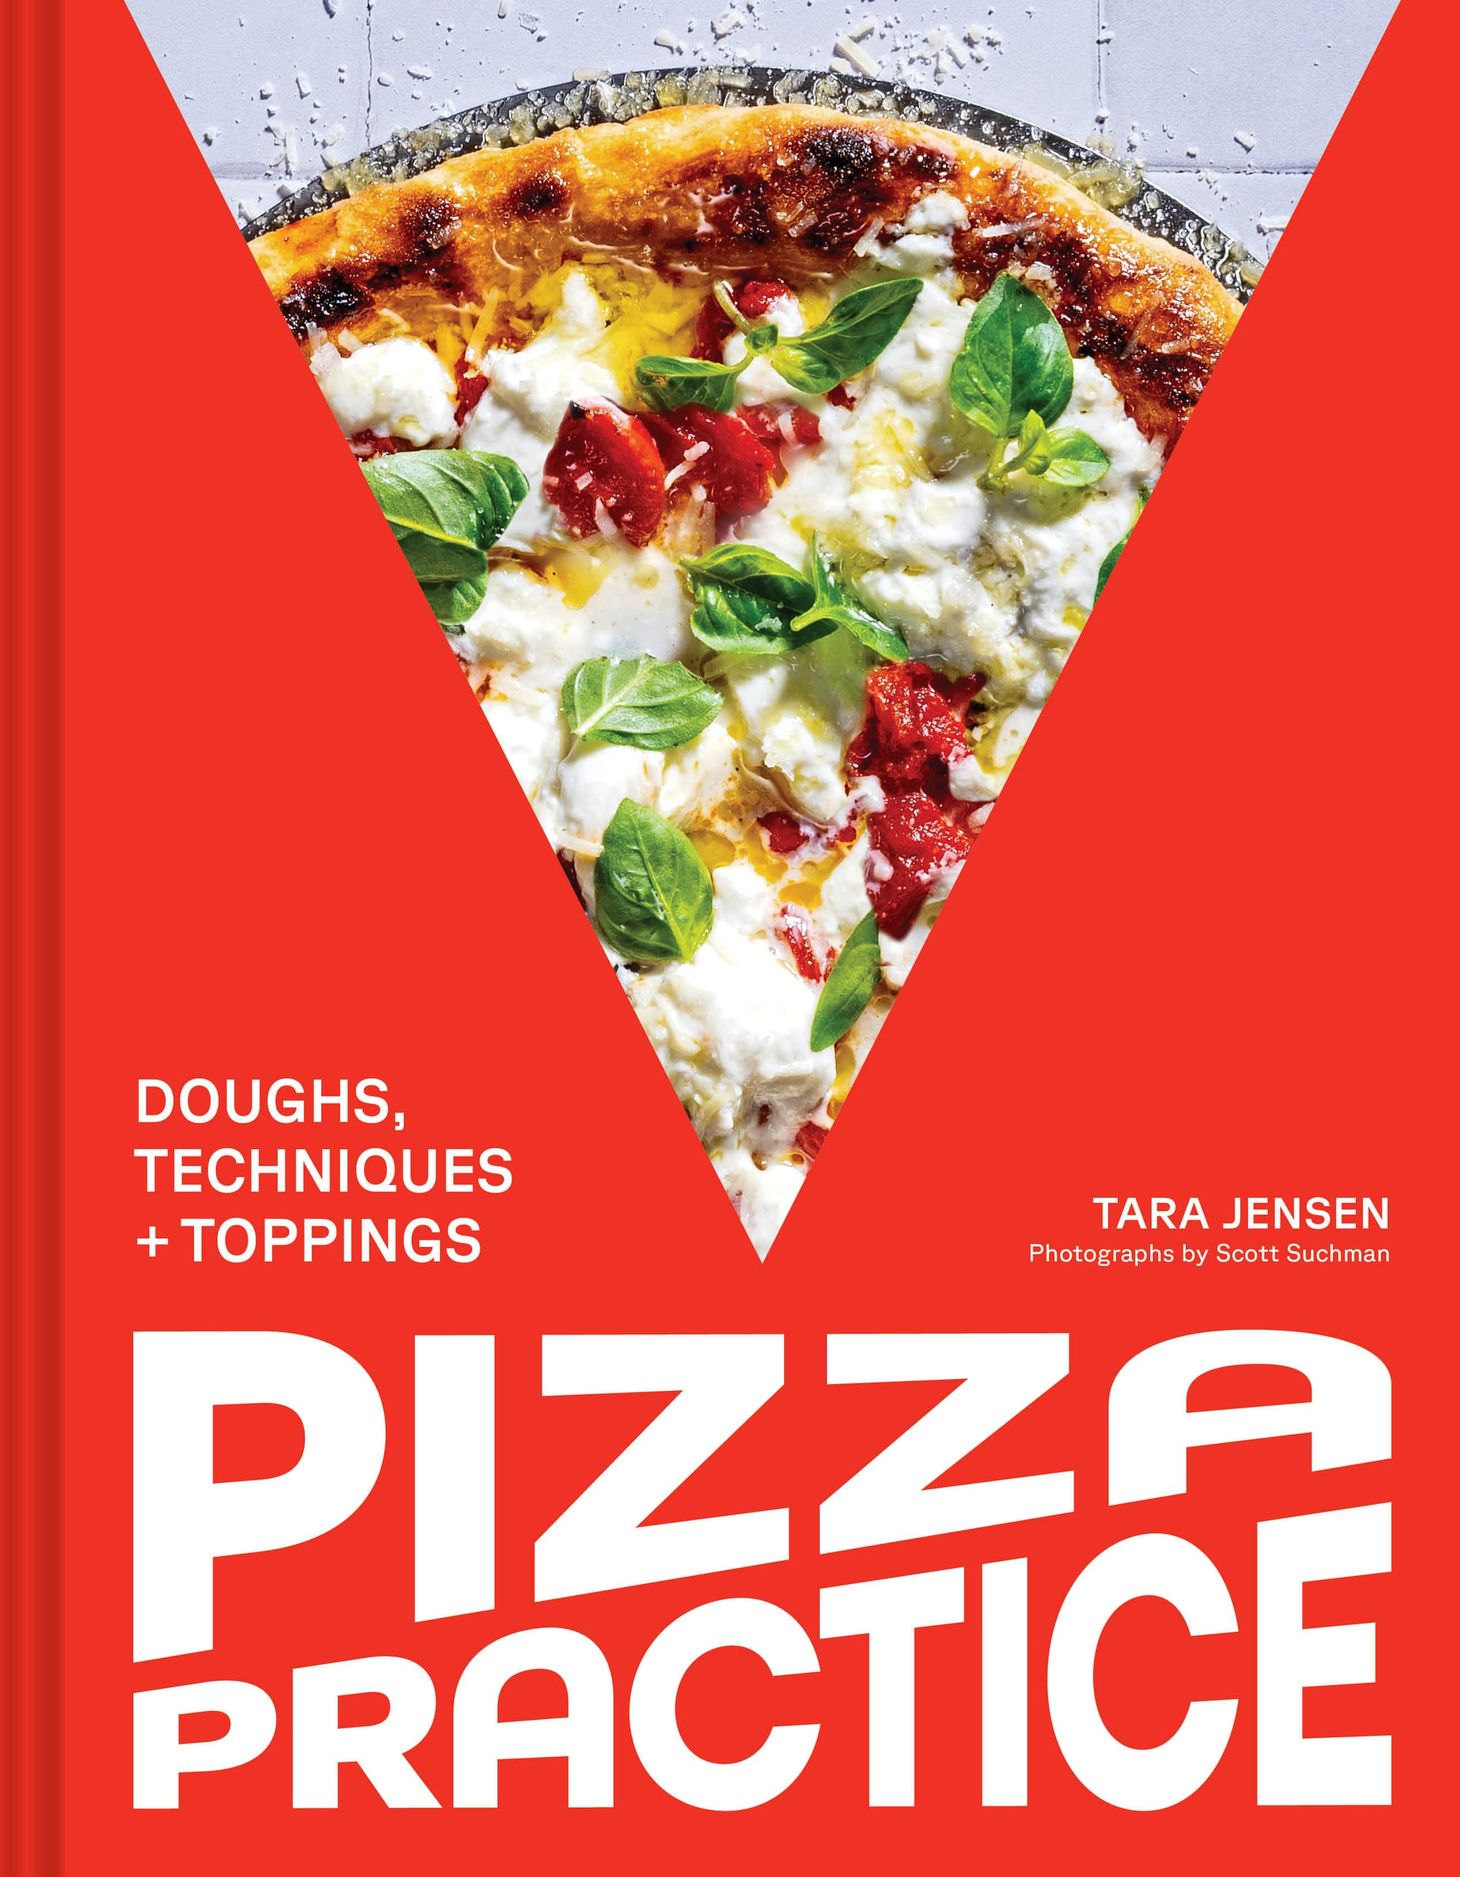
Her book, Pizza Practice: Doughs, Techniques + Toppings, is out now, and it is everything you'd expect from the author of Flour Power and the co-owner and mastermind behind VA pizzeria Doughbaby—wise, comprehensive, beautiful, and filled with delicious and reliable recipes for pizzas of all kinds and more. It's also massive, both in physical dimensions and content, at 400+ pages. It includes more than 125 pages of front matter detailing all an aspiring pizza maker might need to know—guides to ingredient and equipment guides, reading and using formulas, fermentation, mixing, shaping, stretching, building, and baking pizzas, and beyond. There's even a long section on using wood-fired and tabletop outdoor pizza ovens and matching dough formulations when doing so.
And then there are the recipes, which—as it should be in a pizza book—are a choose-your-own-adventure affair, with 14 different dough formulas—yeasted and sourdough, white flour and whole-grain, quick and slow—and eleven or so sauce recipes that can be mixed and matched in an infinite number of ways. As is perfectly illustrated by the 40-ish composed pies that follow—standards like Margarita, Eggplant, or Pepperoni, along with creative and whimsical ones such as Pancetta and Brown Butter Pineapple; Caesar Salad; Brussels Sprouts and Walnut; and Roasted Fennel and Pea (not to mention Peach, Red Onion, and Caper, more on which below).
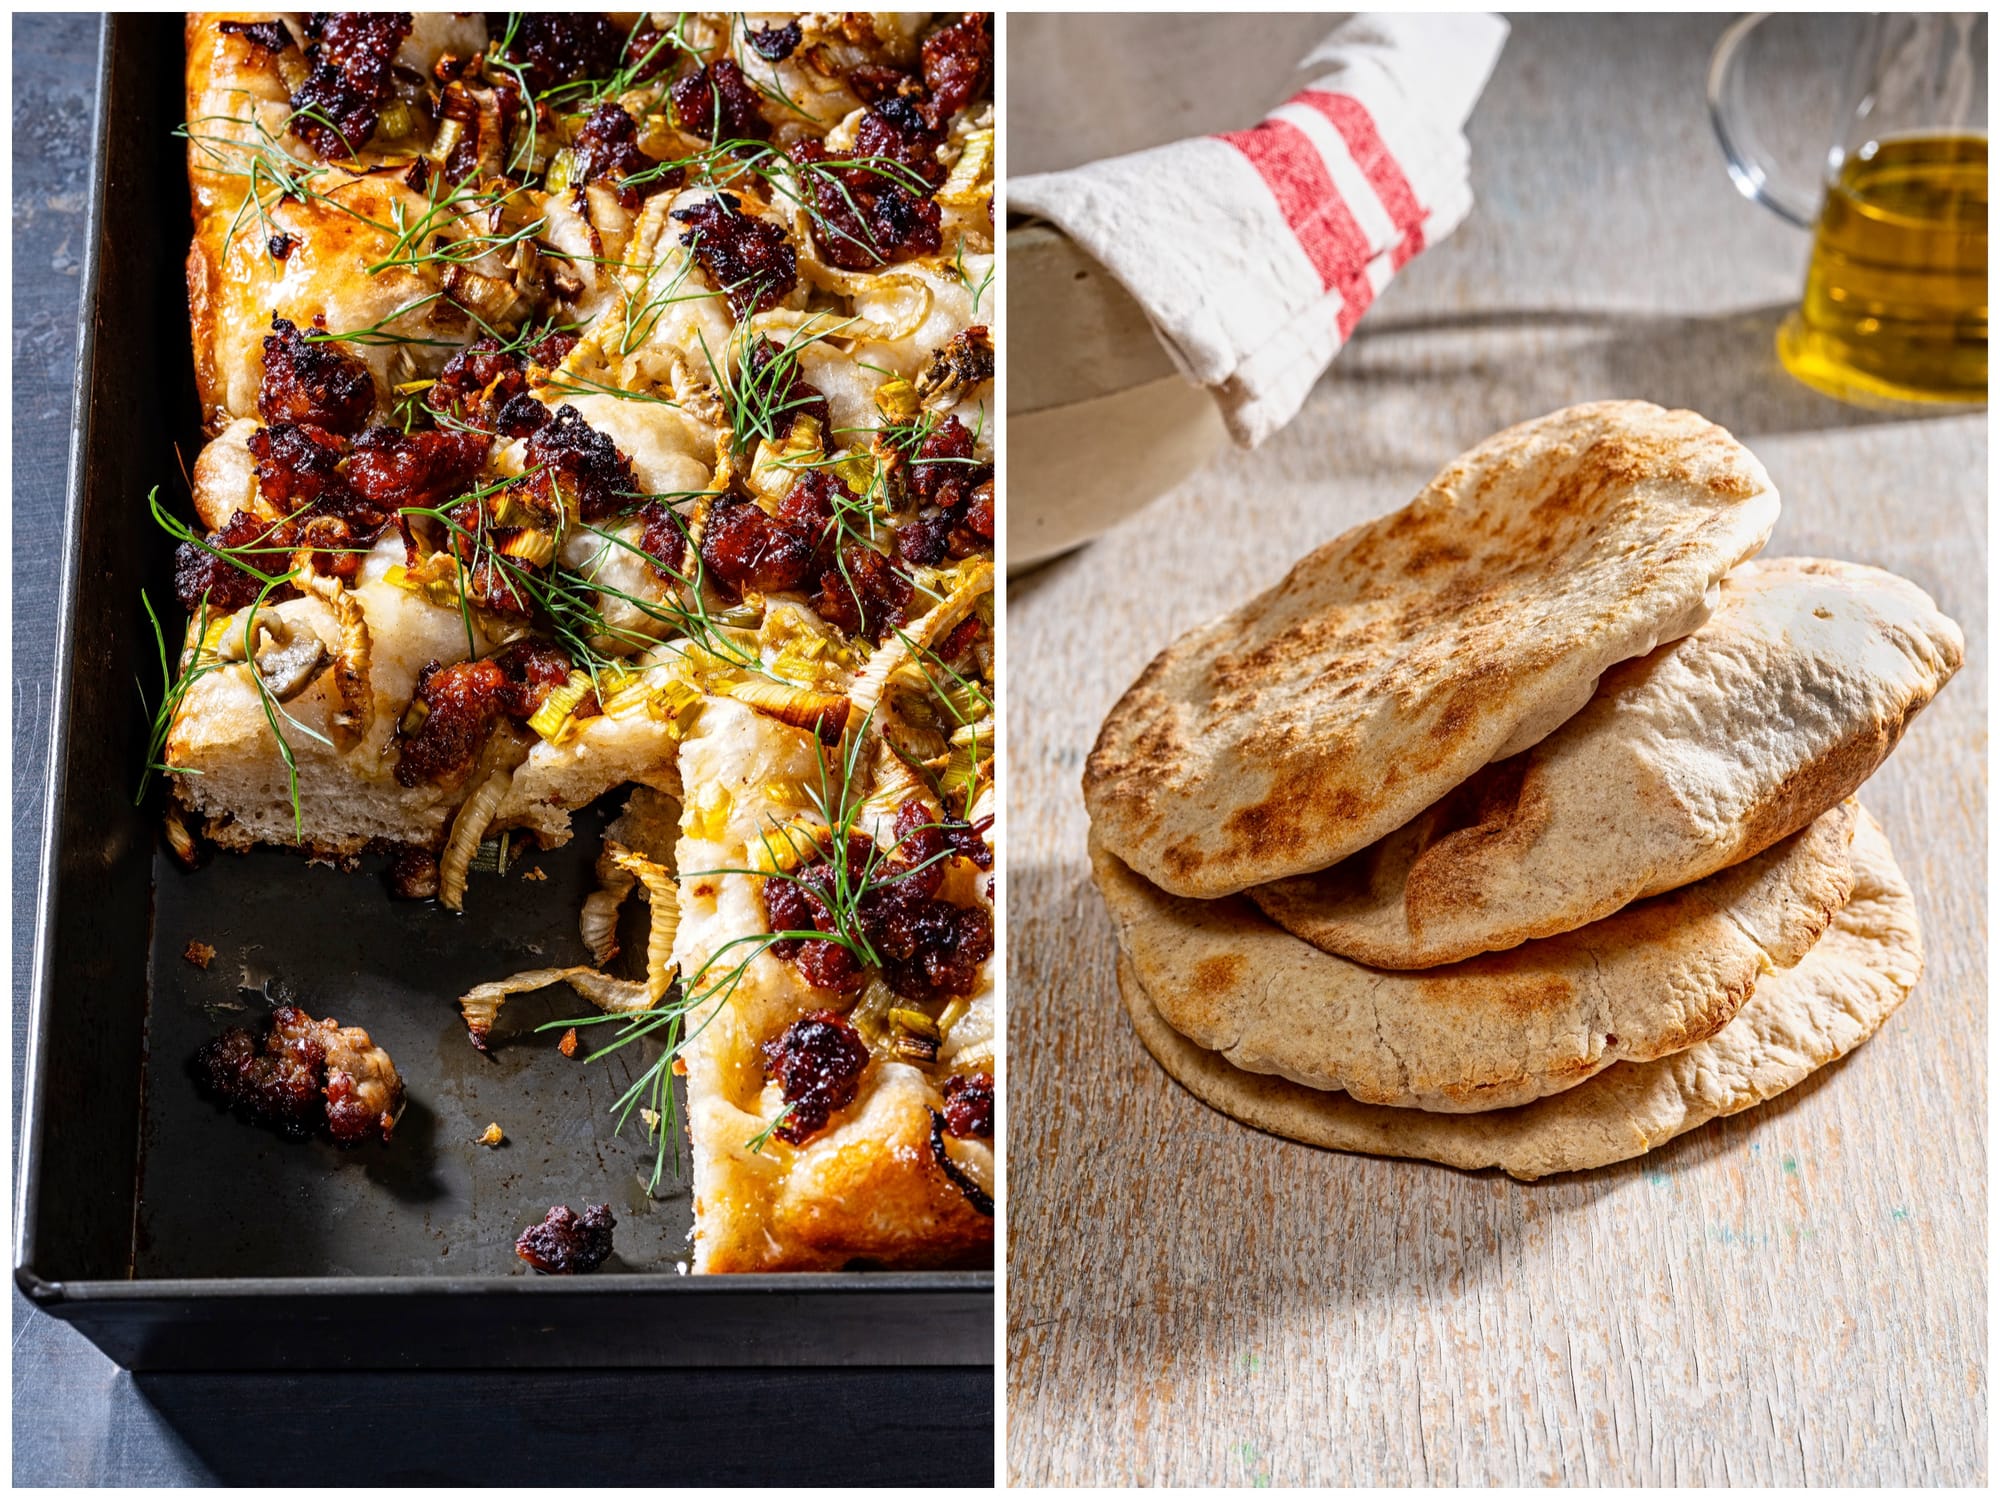
But wait, there's more! Tara included a collection of pita recipes, along with an essay about using them to practice dough handling and baking with small children (something that Tara has a lot of experience with). There's a section on focaccia, with nine dough formulas and eight topped versions. Last, but not least, because pizza demands being followed by something sweet, the book ends with nine desserts: cakes, bars, cookies, ice cream, and more.
All of this is sewn together and wrapped in a gorgeous package, photographed by Scott Suchman and designed by Lizzy Vaughn. (One of my favorite design elements is that the edges are printed with a pizzeria-style red-and-white checkered tablecloth pattern.)
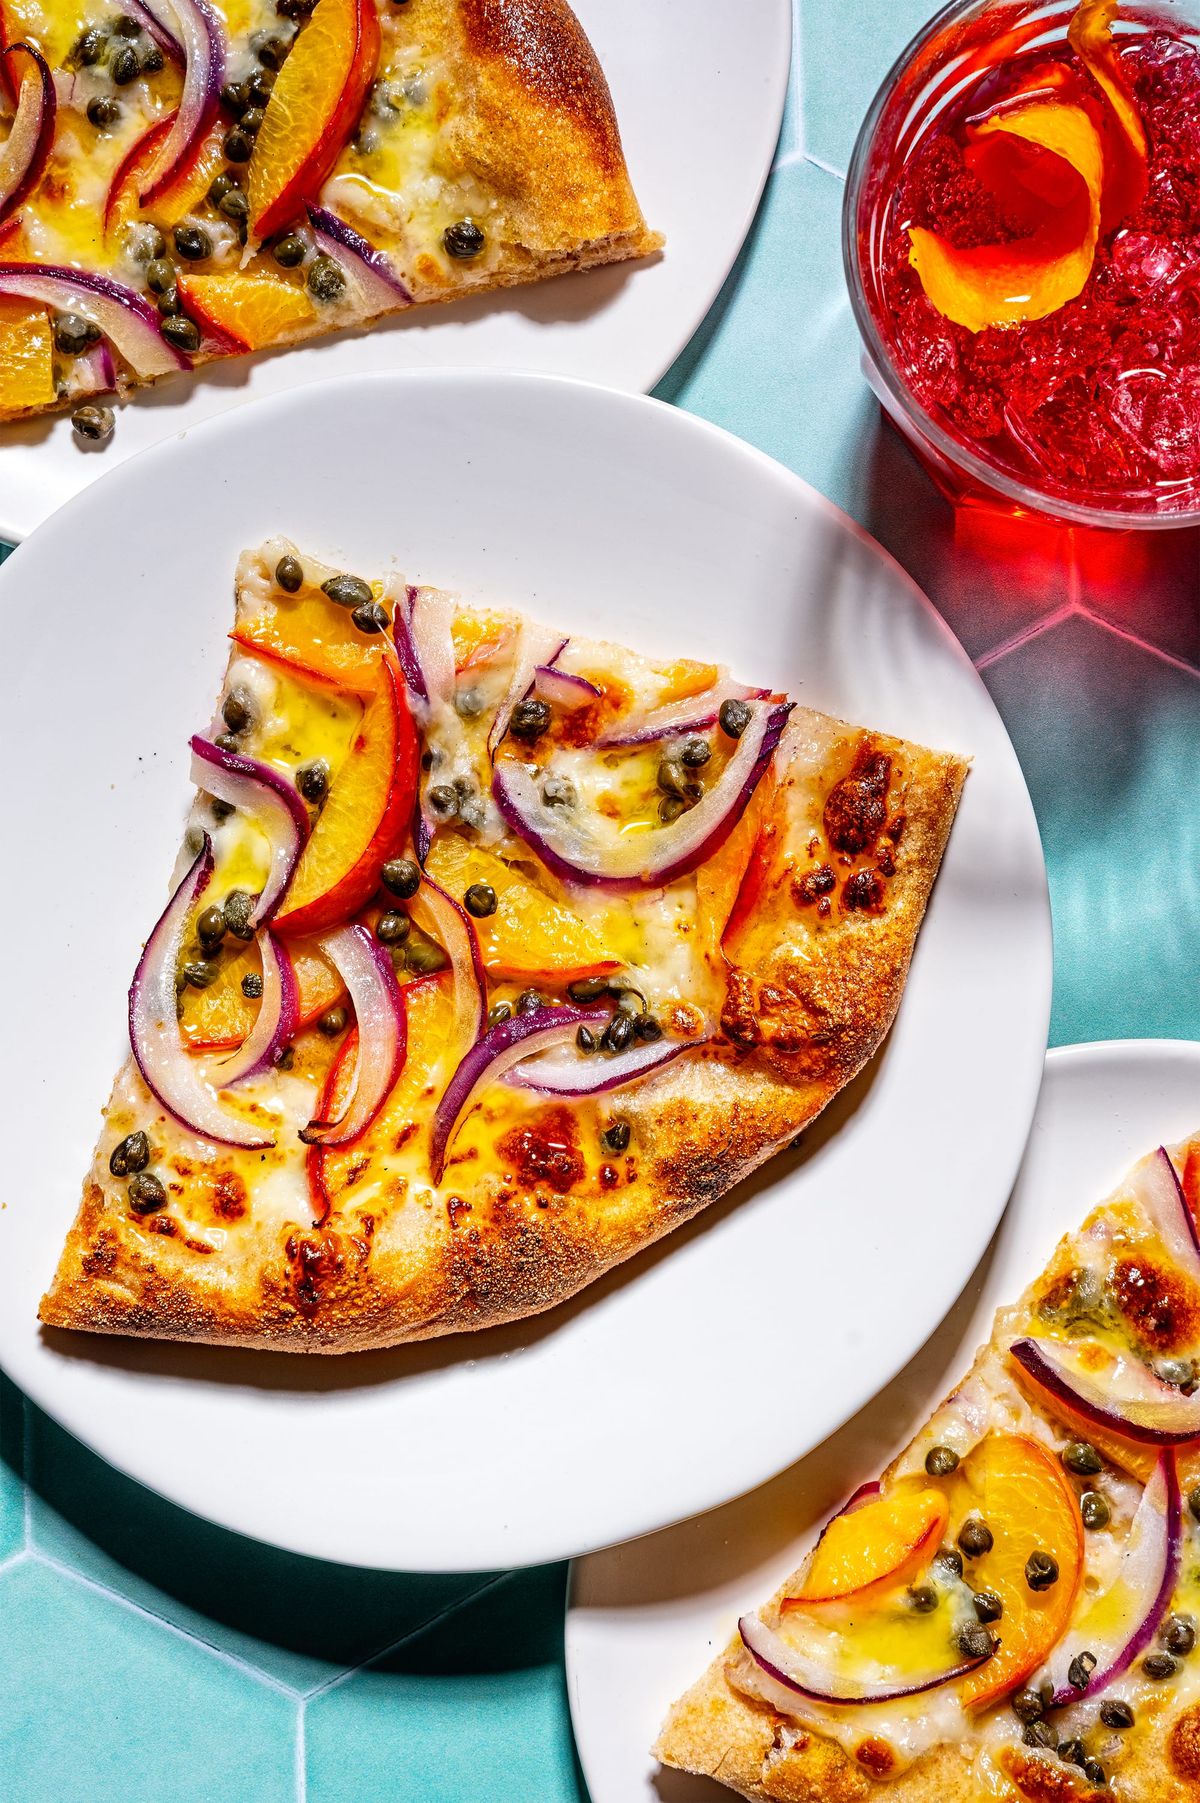
Below you'll find a short excerpt from Pizza Practice's front matter and links to two recipes—a 24-hour Pizza Dough Formula With Spelt Flour and a Peach, Red Onion, and Caper Pizza pie (just in time for peak peach), to give you a sense of what to expect from this wonderful book, one which many of you will want to add to your collections.
Finally, Wordloaf paid subscribers can also get in on a drawing for a copy of Pizza Practice. (Find the details and enter below.)
—Andrew
Proofing
Much like bulk fermentation, proofing is a continuum, moving from when the dough is just shaped to when it’s stretched and baked. During this time, the dough will take on more air, relax from the tension introduced while shaping, and develop flavor. Dough may be under proofed, correctly proofed, or over proofed, with each phase flowing into the next. Home bakers tend to chronically under proof their doughs, so I encourage you to push the proof on your dough, even over proofing it once to see how far it can really go.
Unfortunately, there is no single indicator that tells you when a dough is done proofing. The end of the proof is more of a series of changes in the dough that coalesce in “doneness.” The recipes indicate proof times, but once a dough becomes familiar, you can always explore other options, extending or shortening the proofing time to fit your needs.
Proofing can be done in a range of temperatures depending on when you need or want the dough ready. I use a combination of temperatures, often leaving my dough out for an hour on the countertop, then putting it in the wine cooler overnight, or slipping it directly into the wine cooler for 24 hours and then into the fridge for 24 hours. The key is simply understanding that warmer temperatures will encourage the proof to move quickly, while cooler temperatures slow the process down.

Crust proofed and baked in a single day will have a thin “eggshell” texture and a flour-forward flavor because it hasn’t had time to take on much acidity. Dough that’s undergone a longer proof in cooler temperatures will have a thicker crust that “leopards” easier and a flavor profi le that goes beyond the nutty taste of wheat. This is especially true if sourdough is involved, as the enzymes have had time to free up amino acids and sugars. My sweet spot is a 24-hour proof, and if you have time, this is what I recommend.
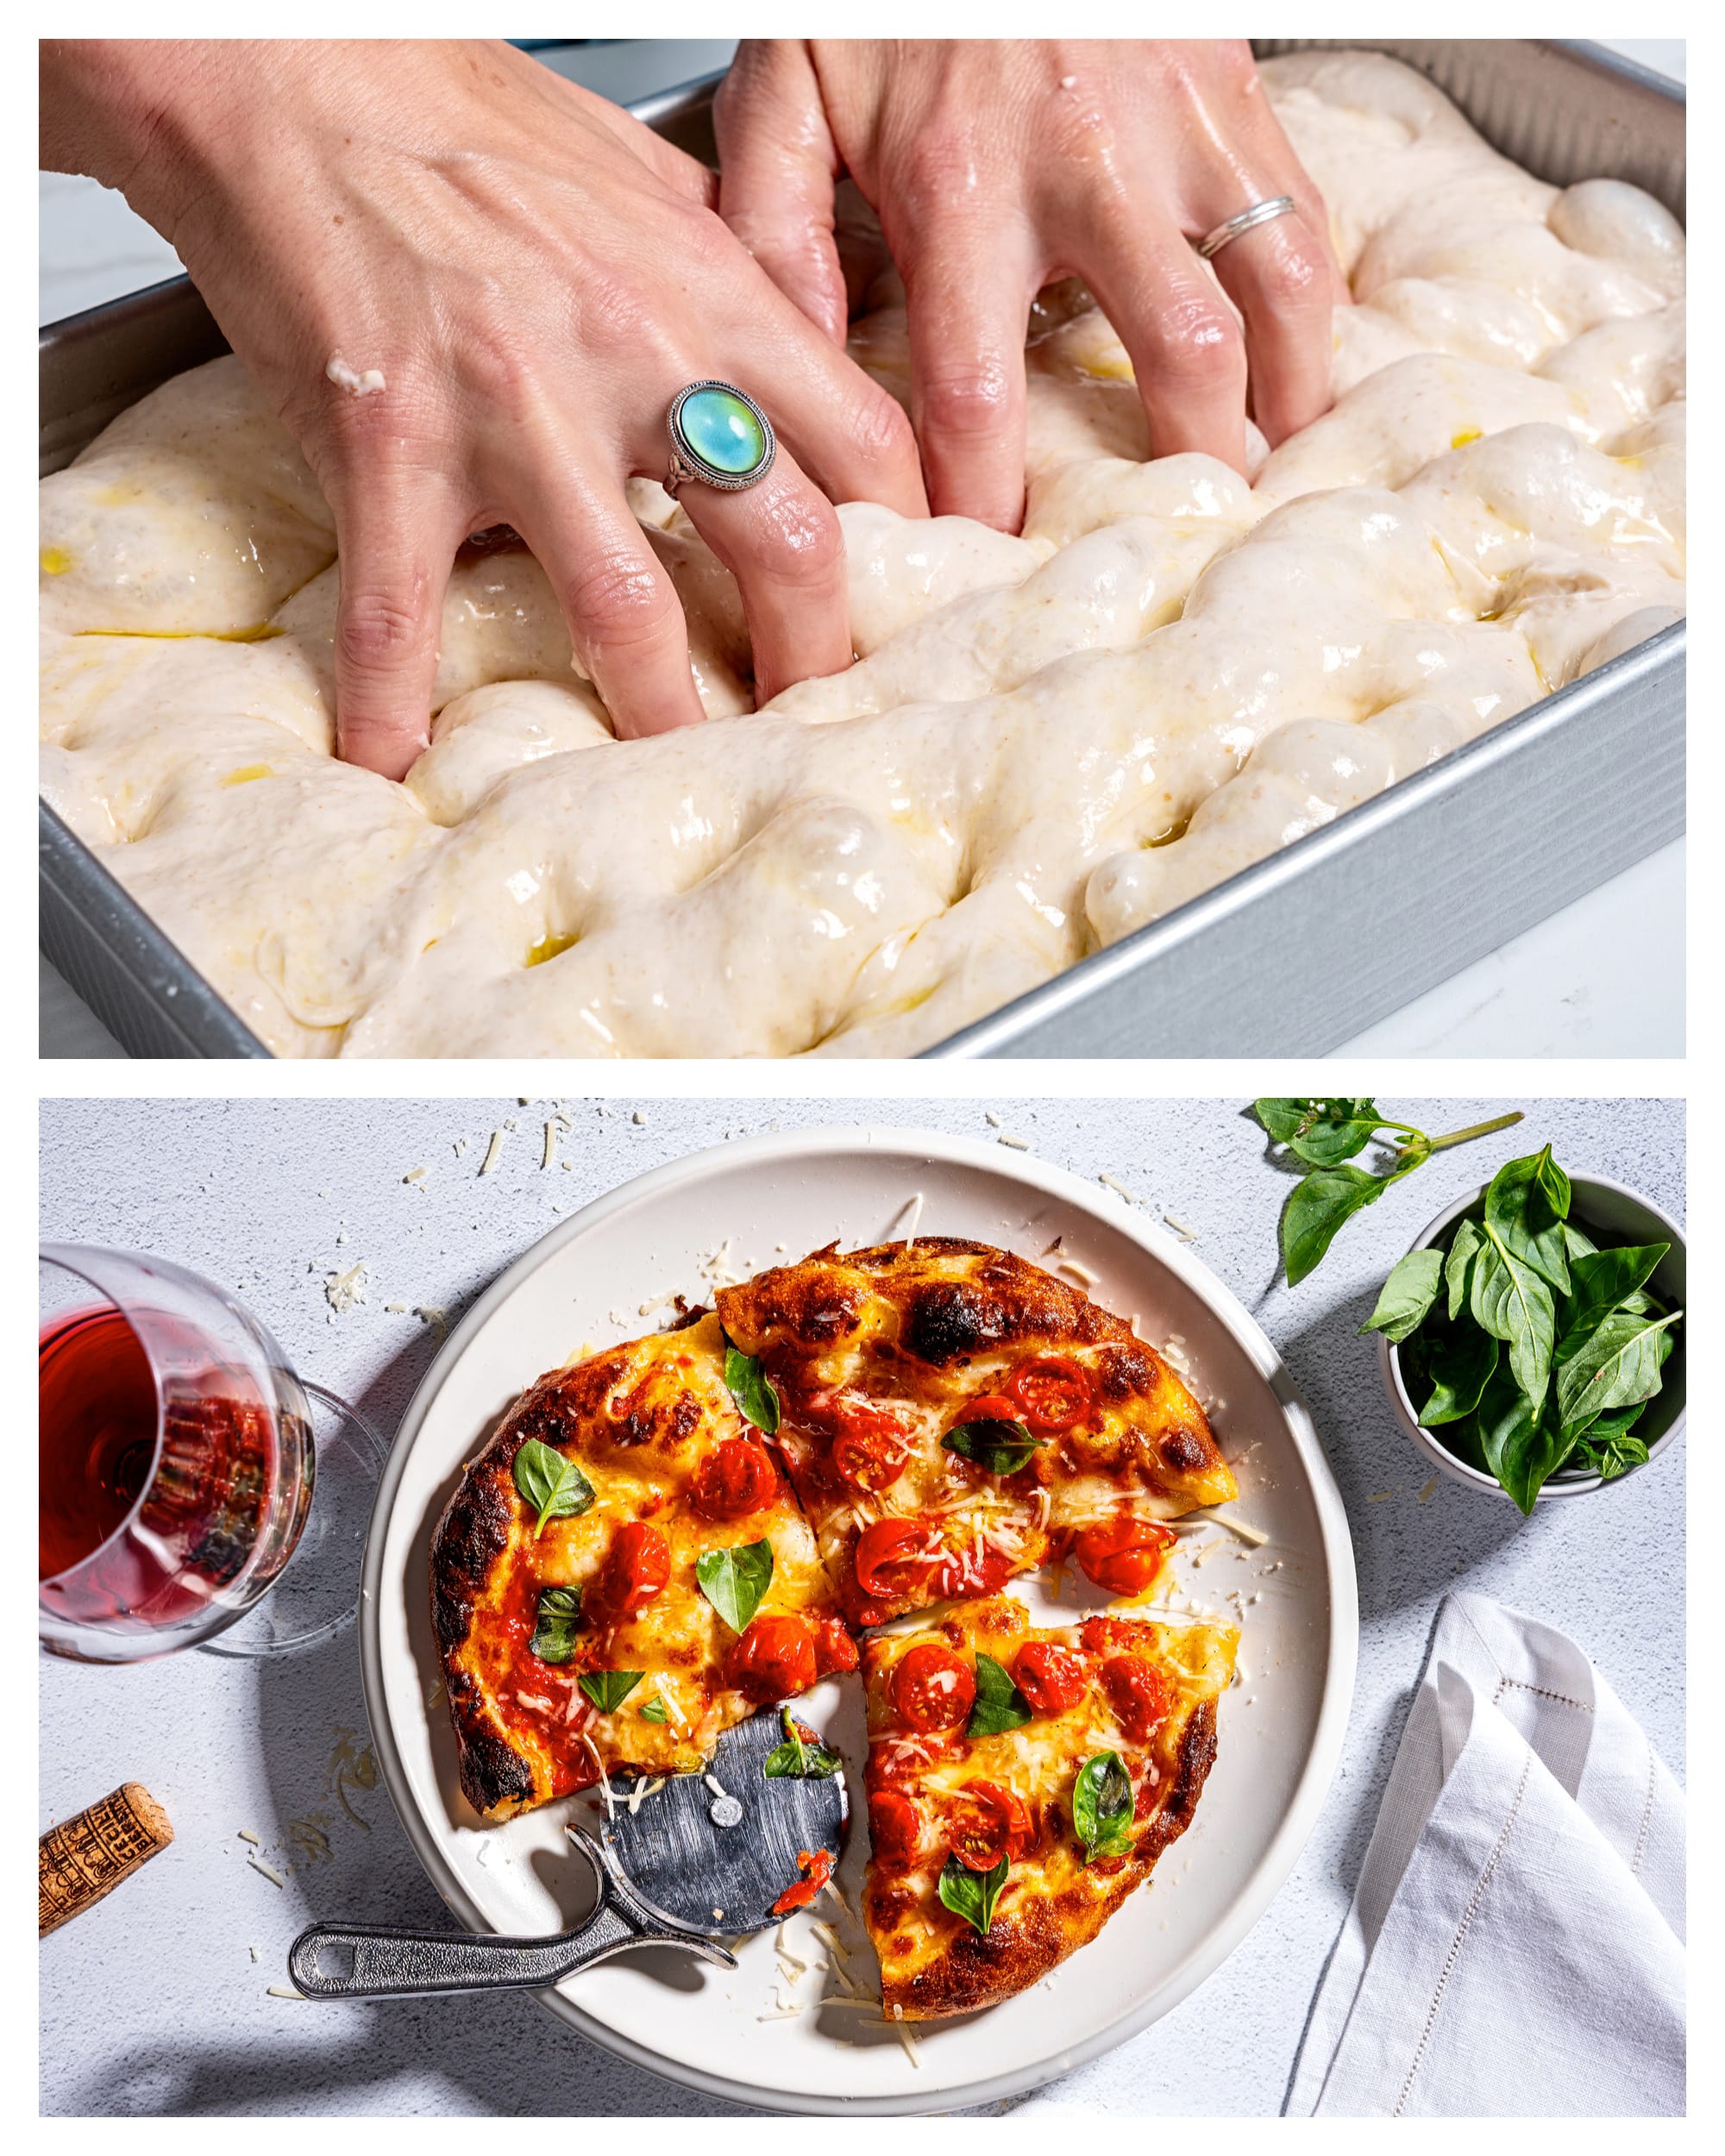
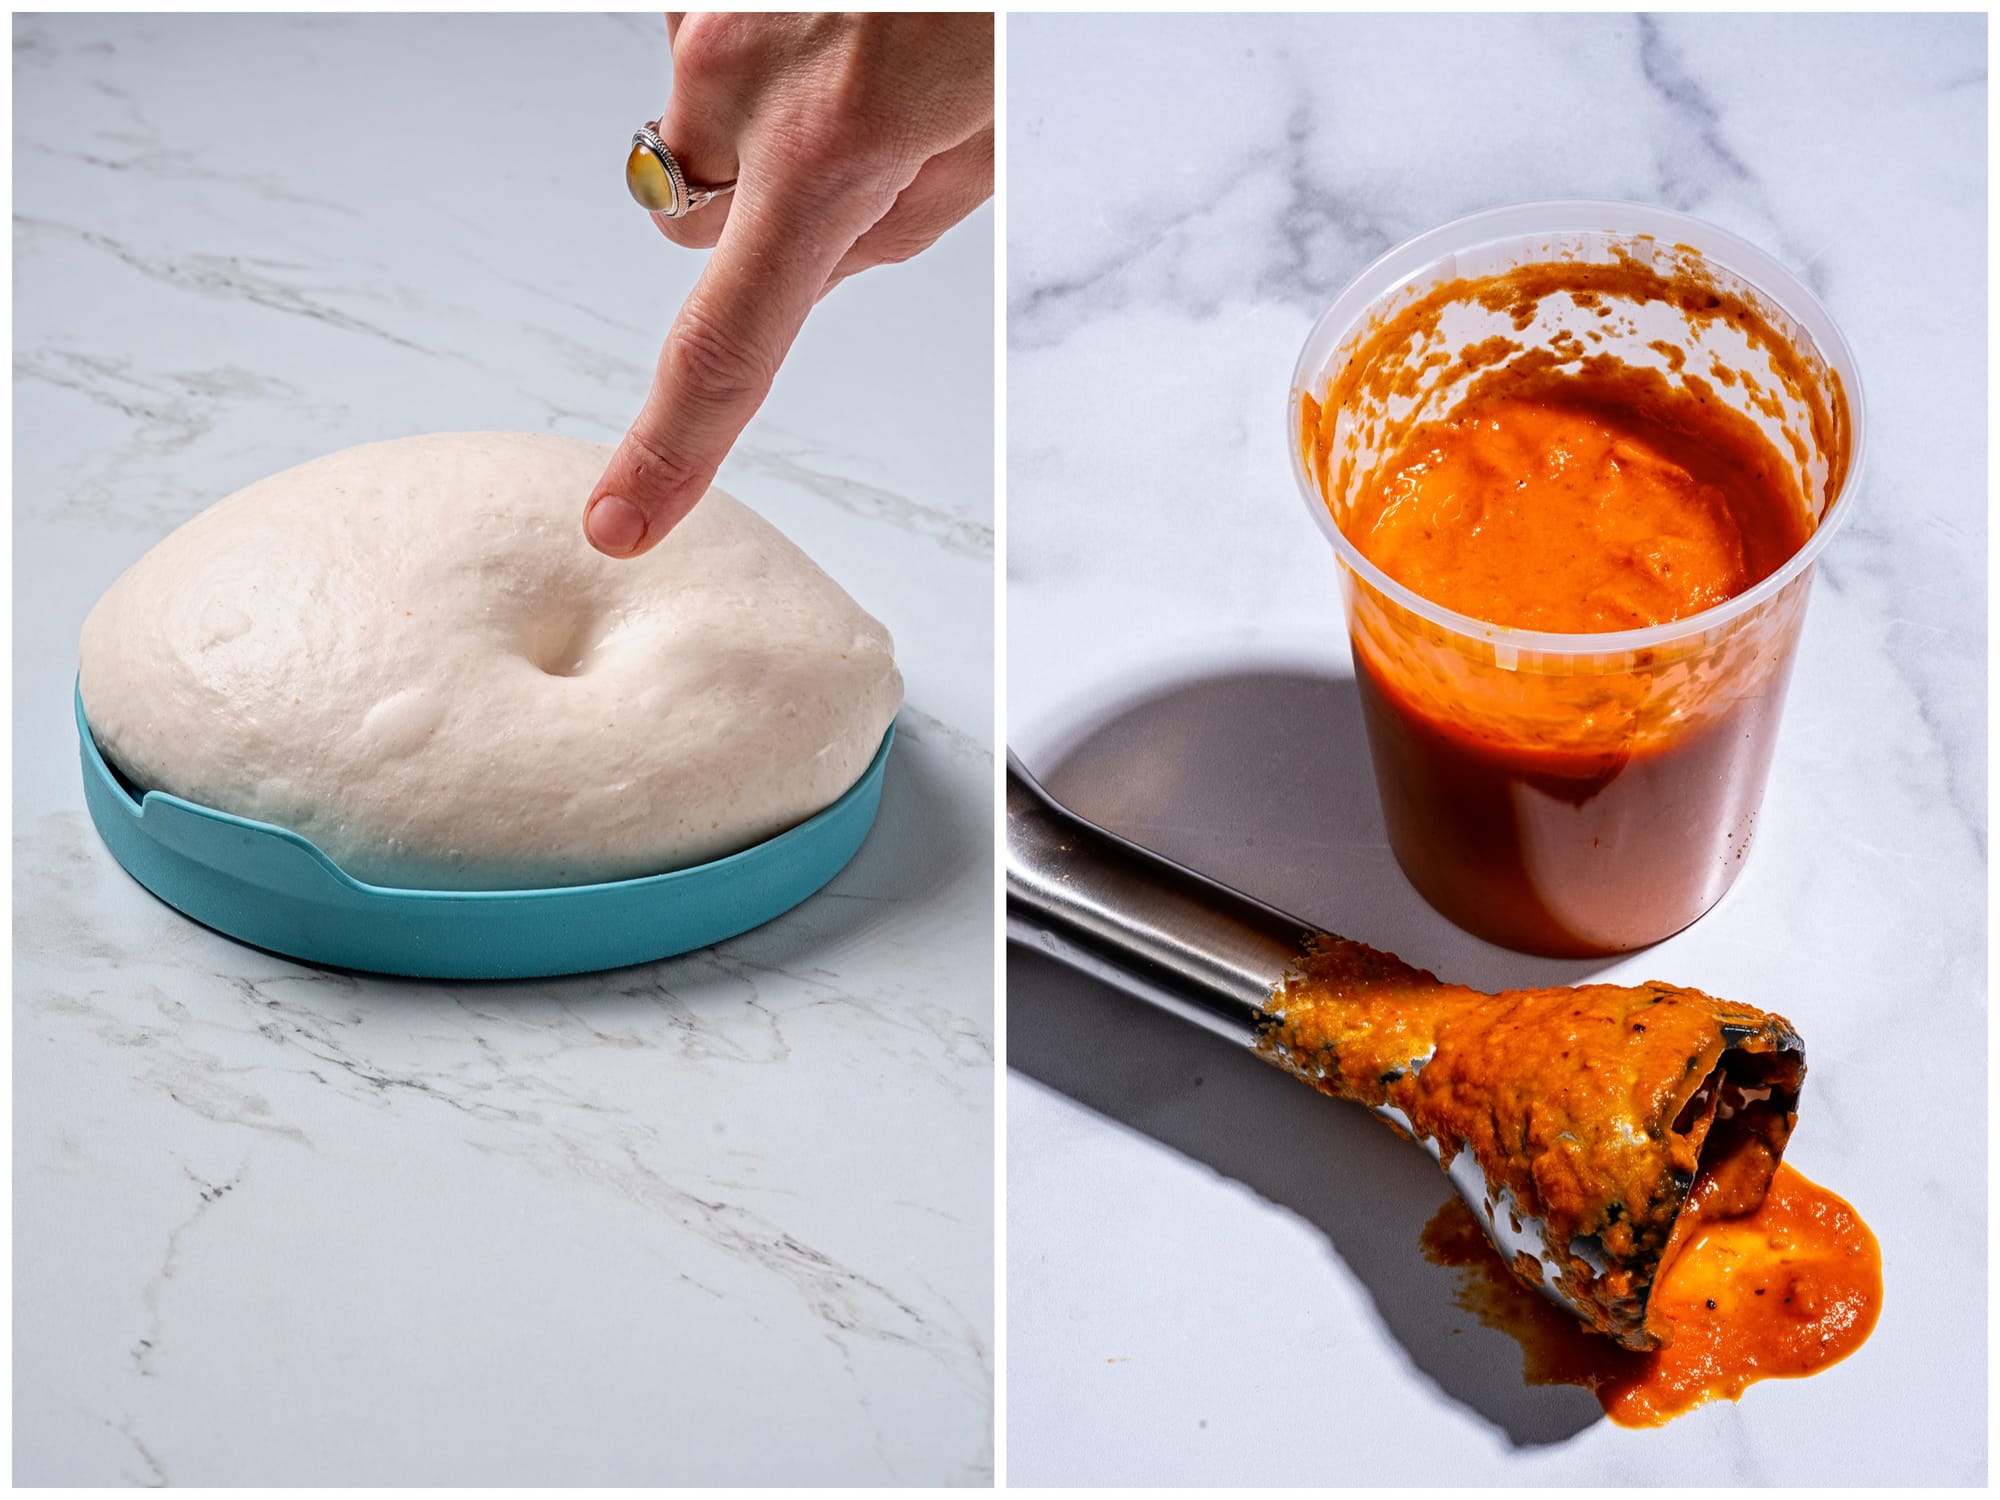
The Poke Test / Touching the dough throughout the proof is essential. The poke test, as bakers call it, is an imperfect but incredibly useful tool to gauge the readiness of a dough for stretching and baking. To perform the poke test, gently but fi rmly jab the dough with your index fi nger. (You’re not trying to break through the surface. Instead, you’re pressing on the skin to test its elasticity.) If the dough quickly springs back, it needs more time. If your jab leaves an indent that rises back slowly, you’re in the zone where you may choose to bake or chill the dough. If you press on the dough and meet no resistance, and you hear a little gas escape, the dough has gone too far and needs to be baked right away.
Designing Workflow
The physical act of making pizza is a dance, one of my favorites to perform. To make sure everything flows properly, set up your space so you can move seamlessly from stretching to building to baking to cooling. Having everything within arm’s reach or a simple pivot is essential. I love tiny pizza joints where only one or two people are making pizzas and working the oven. It’s inspirational how much can be done when your workspace is well designed.
To prepare my kitchen for pizza, I clear off my counter to the right of the oven and arrange the ingredients in order of use: dough, sauce, cheese, and toppings. On the left side of the counter, I make a station for cooling, topping, and slicing post-bake. Here I put ingredients like fresh basil, a squeeze bottle of olive oil, a big hunk of Parmigiano-Reggiano, and other delicate toppings. A Microplane grater, pizza wheel or rocker cutter, cooling rack, and cutting board are set there too.
How you work is also a piece of the puzzle. Although you don’t need to rush, you do need to focus and move with urgency. And finally, start with a clean kitchen. A tidy workspace cultivates an efficient, coordinated, confident bake. At my live-fire pizza pop-ups, my favorite moment is when the booth is immaculate, the fire is hot, the dough is bubbling, and I make that first beautiful pizza just for myself.
From Pizza Practice Doughs, Techniques + Toppings by Tara Jensen, © 2026. Published by Chronicle Books. Photographs © Scott Suchman.
Pizza Practice Giveaway
This content is for Paid Members
Unlock full access to wordloaf and see the entire library of members-only content.
SubscribeAlready have an account? Log in