The Cake Doctor calls the Bread Doctor
A Wordloaf-Between the Layers collaboration, over cinnamon rolls
Table of Contents
Today I am very happy to share the fruits of a collaboration with my friend Anne Byrn, who helms the newsletter Between the Layers. Anne is the author of 16 books, including the bestselling The Cake Doctor and its follow-up A New Take on Cake, and is one of the undisputed experts on Southern baking. We first met when I gave a talk over Zoom to some Substack fellows about my approach to food writing and recipes on my newsletter, and we’ve been musing around a collaboration ever since.
She recently came up with the idea of “deconstructing” her mother’s cinnamon roll recipe, where I’d examine it for ways to improve it while still remaining true to the spirit of the original. One of Anne’s issues with the recipe was the fact that the rolls did not stay soft and moist beyond the day they were baked, and—as anyone who has been here long enough will know—I had a ready answer for this: a tangzhong, or flour scald. As I have said here so many times before that I officially classify as a broken record, the best and easiest way to keep soft breads soft is to pre-gelatinize some of the starches in the dough, which allows you to increase the overall water content in the dough without making the dough itself wetter in texture. And the more moisture the bread contains, the slower it will be to stale, since the extra moisture will slow the migration of water out of the starches that causes them to recrystallize and harden.
Adding a scald to Mom’s recipe definitely gives them legs, and is worth the minimal extra work, but as I realized when working on this recipe that there’s something inherent to cinnamon rolls and other layered pastries that makes them even more prone to staling than simpler enriched breads: the sugar filling. Sugar is hygroscopic—meaning it loves water—which makes the filling prone to pulling moisture from the surrounding crumb as it sits. Adding a flour scald helps mitigate this somewhat, but it cannot be overcome completely, so it’s still best to consume these as soon as possible.
As always, my flour scald of choice is glutinous rice flour, aka “sweet” rice or mochi flour. Bob’s Red Mill is the brand I use myself, but any will work. (If you have a flour mill, you can even mill it yourself using Thai sticky rice or another sweet rice.) Do not use another rice flour, it will muck with the recipe and not have the desired effect. If you don’t have it, just use high-protein all-purpose flour instead, keeping in mind you’ll need to alter the method as described below. (One reason I love glutinous rice flour is that you can use the “pour-over” method without it clumping up, which makes forming the scald quick and easy.)
Anne wrote about her mom’s recipe and her experience with my finesse of it on Between the Layers. I encourage you to read the whole thing (and sign up if you aren’t already a subscriber!), but here’s a brief quote:
For the past few months I’ve been taking an online writing course challenging me to reach back into my life for moments and stories worth telling other people about. As has been scientifically proven, memory and our sense of smell are connected, so my memories largely have to do with the scents emanating from my mother’s kitchen. The most vivid was her cinnamon rolls. The aroma seemed to drift up the stairs and into my bedroom. As if under a spell, I race to the kitchen and reach for a roll.
My mother immediately swats away my hand.
‘’Hot dough gives you a stomach ache,’’ she warns.
‘’It’s never given me a stomach ache!’’ I cry.
‘’Hot sugar will burn your mouth, Anne,’’ stretching out my name like a soft ball of dough. ‘’You better let them cool a bit.’’
But I don’t listen.
I tear the roll into pieces and chew each one with my mouth open to let the steam escape, then lick the hot, sticky brown sugar filling off my fingers. There was nothing better.’’
Cinnamon rolls, or sweet rolls as we call them in the South, have always been a resourceful way for home cooks to use up scraps of roll and biscuit dough. They have roots in the Pennsylvania Dutch kitchens with those molasses-filled sticky buns, and they are beloved down in Alabama when glazed with orange, but I’ll bet they are at home most anywhere.
Indeed they are, Anne.
Here is a link to Anne’s post:
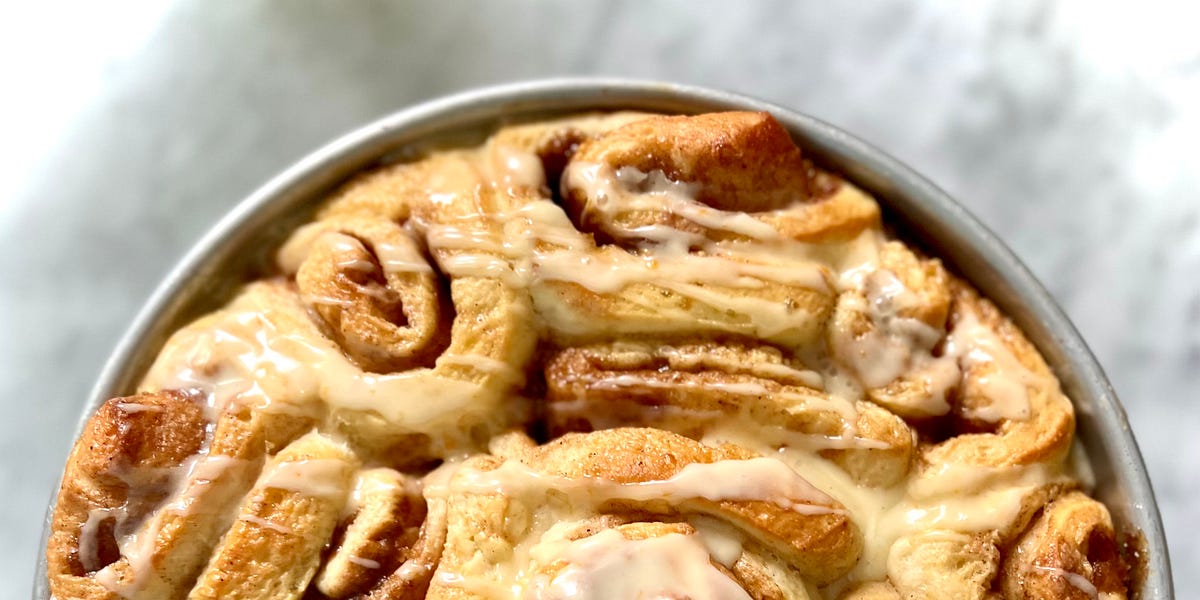
My version of the recipe is below, along with some notes and process shots about making it at the end. I don’t have a recipe for icing here because I don’t think it’s necessary, but Anne has one you can use, or you can just use your favorite. I do mention a fun/YOLO variation to try in the process notes that involves pouring heavy cream around the rolls once they are in the pan, which is something that a lot of people mentioned when I did my Instagram icing poll. It makes the rolls really gooey and gives them more of a sticky-bun caramel underside.
Anne Byrn’s Mom’s Sweet Rolls
Makes 660g dough for 13 rolls in a 9-inch round cake pan
- Glutinous (or ‘sweet’) rice flour is much preferable to bread flour for the scald. Do NOT use white rice flour, it will leave the dough too dry and not have the desired effect.
- If you cannot find it, you can use all-purpose or bread flour instead, but you will have to alter the method: Combine the flour, sugar, and COLD milk in a bowl and microwave in 30-second intervals (or cook in a small nonstick skillet over medium heat, stirring with a silicone spatula) until thickened and above 160˚F/72˚C.
- This recipe works best with a softer bread flour like King Arthur all-purpose, but “regular” bread flour will work if that is what you have on hand.
OVERALL FORMULA
bread flour 80%
glutinous rice flour 20%
sugar 6%
milk 53%
unsalted butter 20%
egg 15%
instant yeast 0.7%
salt 1.6%
SCALD
67g glutinous/sweet rice flour (or bread flour, see notes)
20g sugar
178g milk, brought to a boil
67g unsalted butter, cut into 4 pieces, cold
DOUGH
50g (1 large) whole egg
268g high-protein all-purpose flour (or bread flour, in a pinch)
5g (1 teaspoon fine) salt
2g (1/2 teaspoon) instant yeast
BUNS
105g (1/2 cup packed) dark or light brown sugar, or a combination
26g all-purpose flour
5g (2 teaspoons) ground cinnamon
2g (1 teaspoon) ground cardamom (optional; if not using, add another 1 teaspoon cinnamon)
pinch salt
28g (2 tablespoons) unsalted butter, melted
BAKE
1 egg, beaten with 1/2 teaspoon water and a pinch of salt
- SCALD: Place the glutinous rice flour and sugar in a medium bowl and whisk to combine. Add the milk, and rapidly stir with a dough whisk or wire whisk until the mixture thickens to a pudding-like consistency. If the mixture does not thicken immediately, take the temperature with an instant-read thermometer; if it is below 160˚F/70˚C, cover the bowl and microwave in 30 second intervals, whisking after each, until it does. (If you do not have a microwave, see notes for a stovetop alternative approach.)
- Scatter the butter over the scald, cover, and let sit until the butter is melted and the mixture has cooled to at least 90˚F/32˚C, about 45 minutes.
- Add the egg and whisk until the mixture is uniform.
- DOUGH: Place the flour, salt, and yeast in the bowl of a stand mixer and whisk to combine. Add the scald mixture and mix on low speed until the dough is uniform, about 2 minutes, scraping down sides of bowl and tool as needed.
- Increase speed to medium and mix until until the dough just starts to clear the sides of the bowl, about 8 minutes. (The dough will remain sticky and webby; do not overmix here.)
- Transfer to a bowl large enough for the dough to double in volume, cover, and let sit in a warm (75-80˚F/24-27˚C) place until puffy and expanded by about 1.5 times its original volume, 60 to 90 minutes.
- Using lightly-moistened hands, punch down the dough until it is restored to its original volume. Cover tightly and refrigerate until the dough is at least 55˚F/13˚C, about 2 hours. (The dough can be refrigerated for up to 24 hours before shaping. If chilling for more than 2 hours, remove the dough from the fridge 30 minutes or or so before shaping to let it warm slightly.)
- BUNS: Brush the inside of an 9-inch round cake pan with softened butter and set aside. Evenly combine the sugar, flour, cinnamon, cardamom, and salt in a small bowl. Add the melted butter, stir until uniform, and set aside.
- Flour the top of the dough and transfer to a lightly-floured counter. Flour the exposed surface of the dough liberally, then press by hand into an 8-inch square. Using a rolling pin, roll the dough into an 10- by 20-inch rectangle, flouring the dough on both sides as needed to prevent sticking. Once sheeted out, brush any excess flour from the top surface of the dough.
- Turn the dough so that the long edges are parallel to the edge of the counter. Cover the dough evenly with the cinnamon-sugar mixture, leaving a 3/4-inch untopped border along the edge closest to you. Using a water mister bottle, mist the top of the dough evenly with water (including the uncovered front edge) until the sugar mixture darkens.
- Starting at the back edge, roll the dough into a semi-tight, even cylinder and gently pinch the long seam closed. Set the log aside and clear the countertop of excess flour, filling, or moisture as necessary.
- Using a sharp knife, trim 1/2-inch off of each end of the cylinder, then cut the remaining log in half crosswise. Cut each half into 6 even pieces about 1-1/4 inches wide, for a total of 12 rolls. Stack the two end-trimmings together to form another roll, with the cut faces on opposite ends of one another. Set the rolls on the prepared pan spaced evenly-apart.
- Cover the pan loosely and allow to let sit in a warm (75-80˚F/24-27˚C) place until the rolls are doubled in size and no gaps remain between them, 60 to 90 minutes.
- BAKE: Thirty minutes before the buns are ready to bake, set an oven rack to the lower-middle position and heat the oven to 325˚F (160˚C).
- Brush the tops of the buns evenly with the egg wash. Transfer the pan to the oven and bake until the tops of the buns are deep golden brown, 25 to 30 minutes.
- Transfer the pan to a cooling rack. Serve warm or at room temperature. (If not serving within 3 hours of baking, store in an enclosed container.)
Process Notes
You do want to work quickly once you begin rolling out the dough, because if it warms up too much it will get soft and hard to handle. That said, as long as you can get the rolls into the pan, proofing will usually smooth out the rough edges.
One trick to rolling out a rectangle of dough is to chill the dough in a rectangular container rather than a round one, so that it relaxes into a square-sided shape. In this case I set the dough in a lightly-greased 9- by 7-inch glass dish and pressed it flat and into the corners. Even if you have to do a little scraping to get it out of the container, it still rolls out to a smooth rectangle.
Try to get the filling mixture as even as possible and as close to the side and rear edges as possible, but don’t sweat it too much, since it’ll meld during baking. Spraying the filling with water after applying it makes it into a syrupy paste without the need to actually spread a paste on the dough, which is a pain to do quickly and without mangling the dough.
I like to trim the two ends off and stick them butt-end to butt-end, which gives 13 more-or-less similarly sized rolls. Once they are lopped off, divide the log in half, then divide each log in half again. Once you get there, it’s easy to cut each quarter into three even pieces.
Bonus YOLO Variation
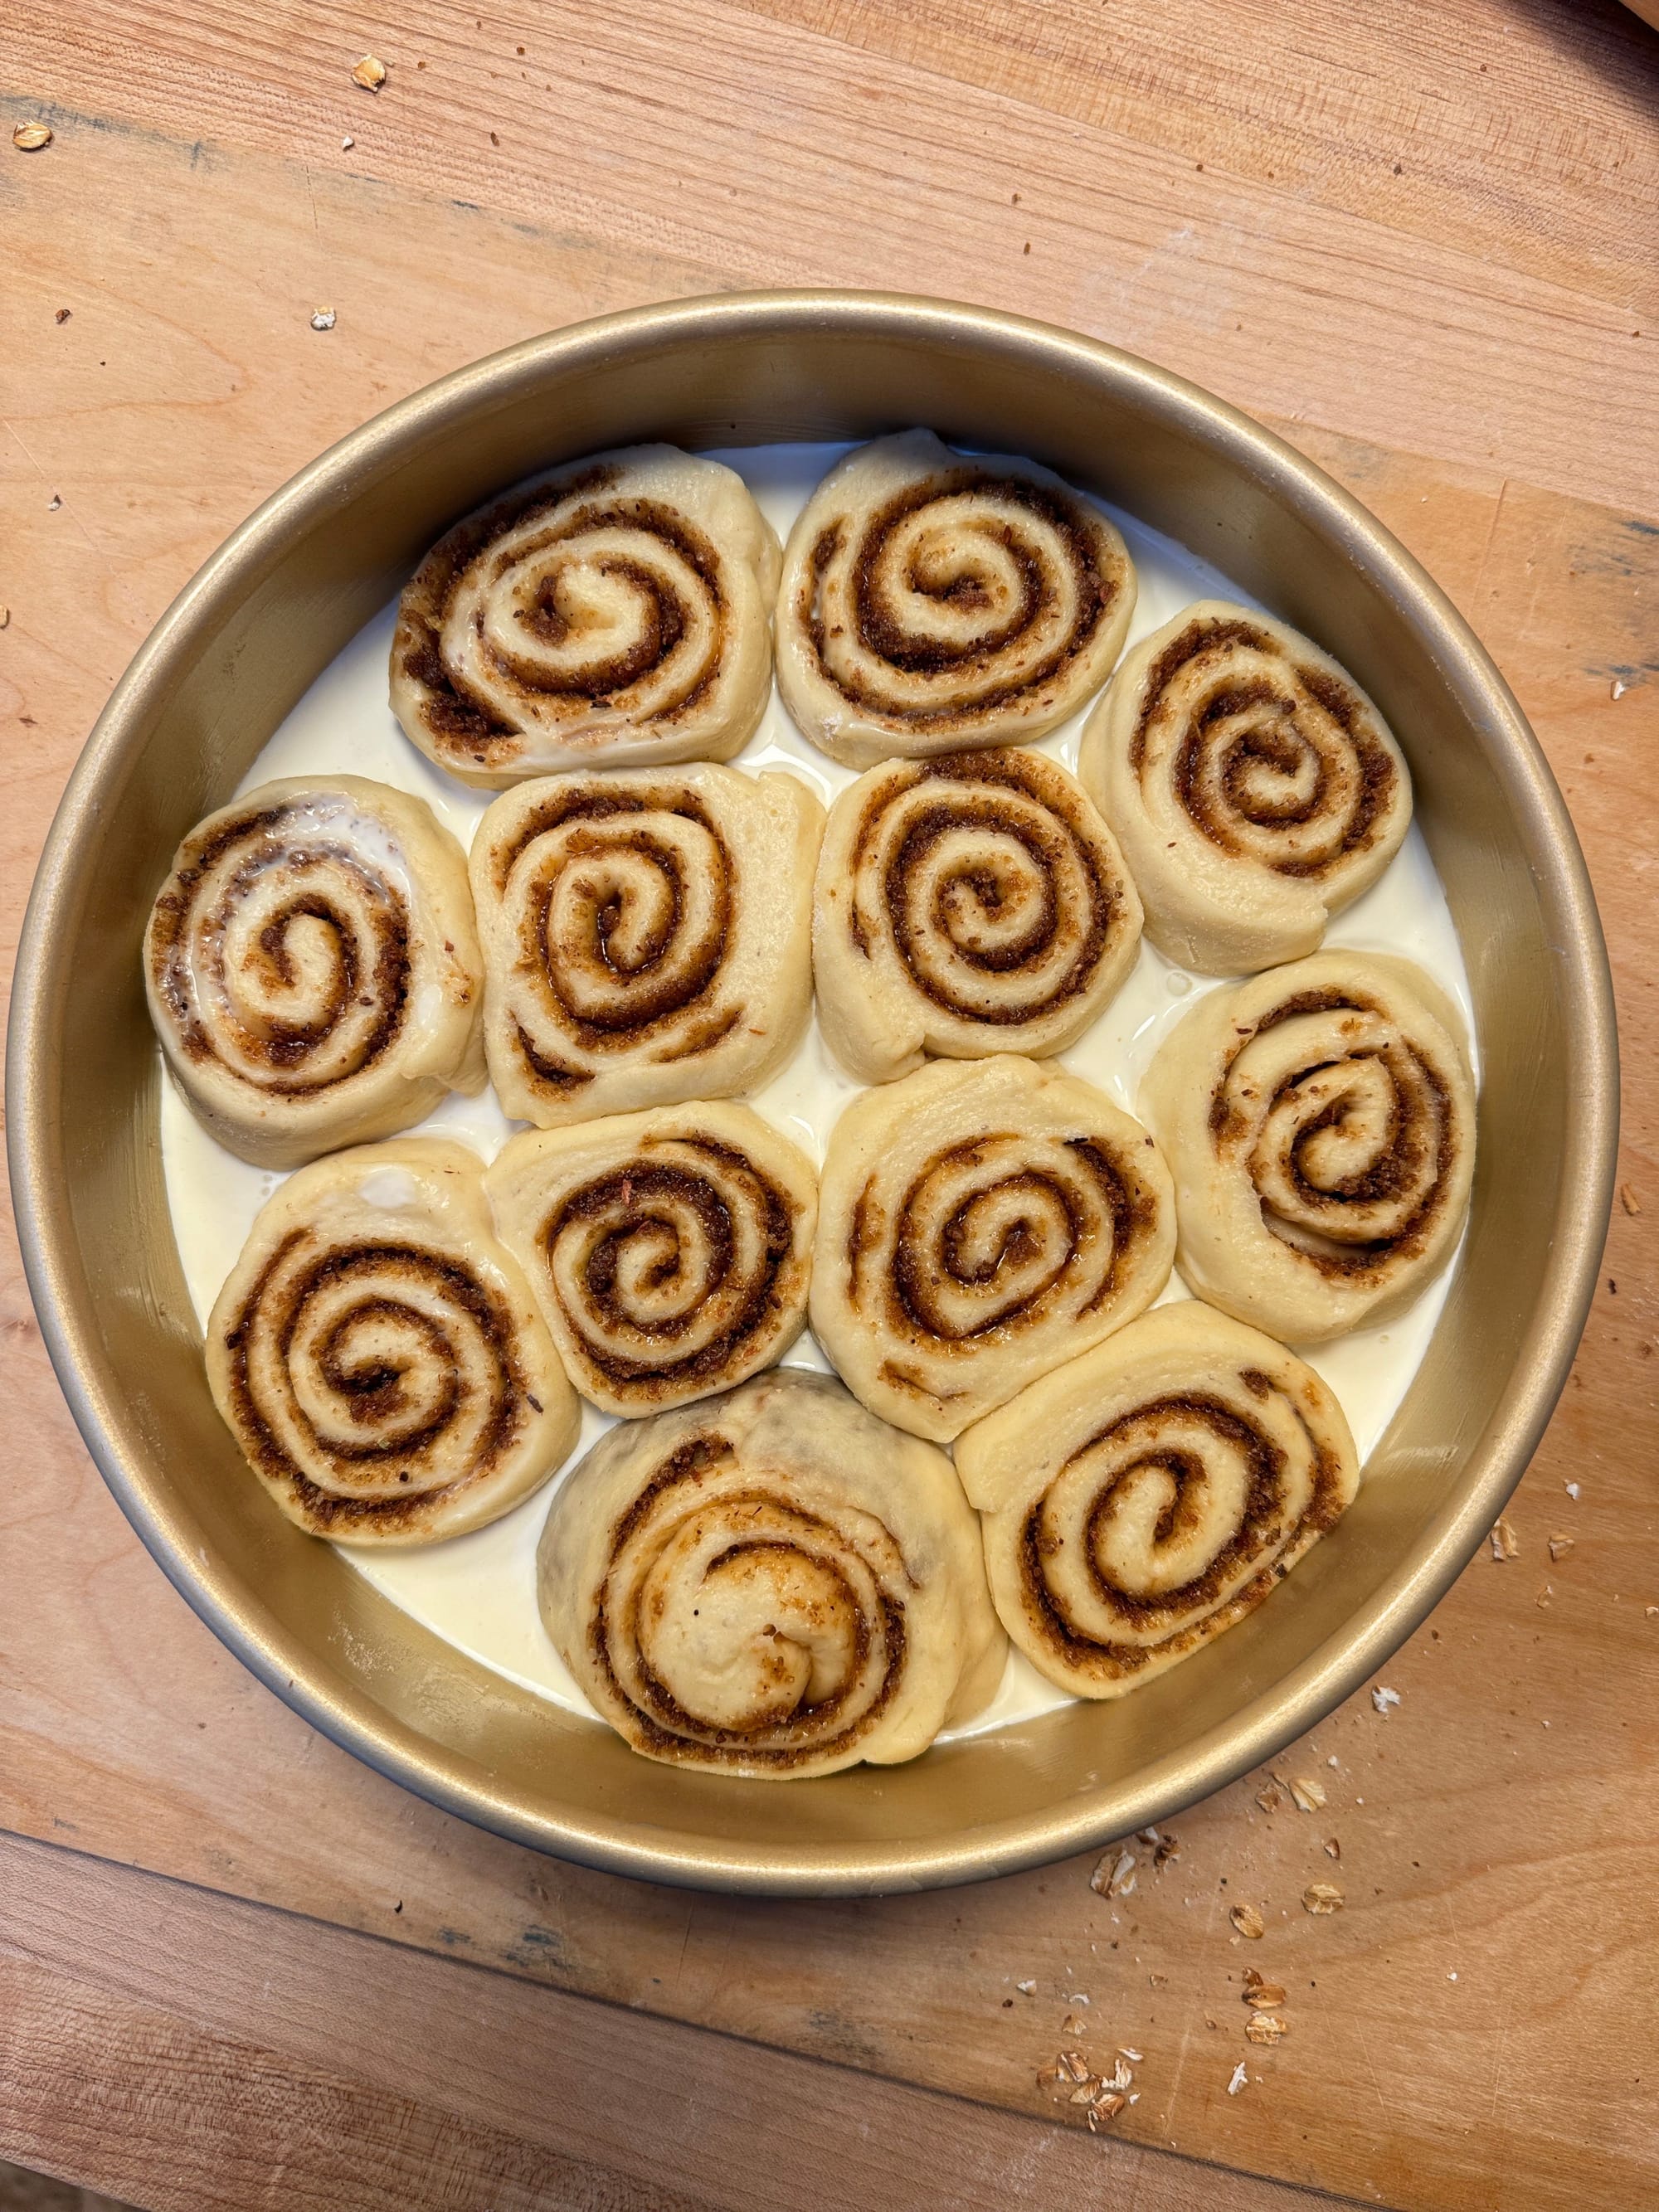
I’ve only tried this once, but I liked it enough to mention it here: pour about 3/4 cup of heavy cream around the rolls as soon as they are in place. The cream gets partially soaked into the buns as they proof and the remainders gets absorbed during baking, giving them a very soft exterior. If you do this, rather than give them an egg wash, just use a brush to pick up some cream from around the rolls and use that to coat the top surface of the rolls instead.
—Andrew
wordloaf Newsletter
Join the newsletter to receive the latest updates in your inbox.
