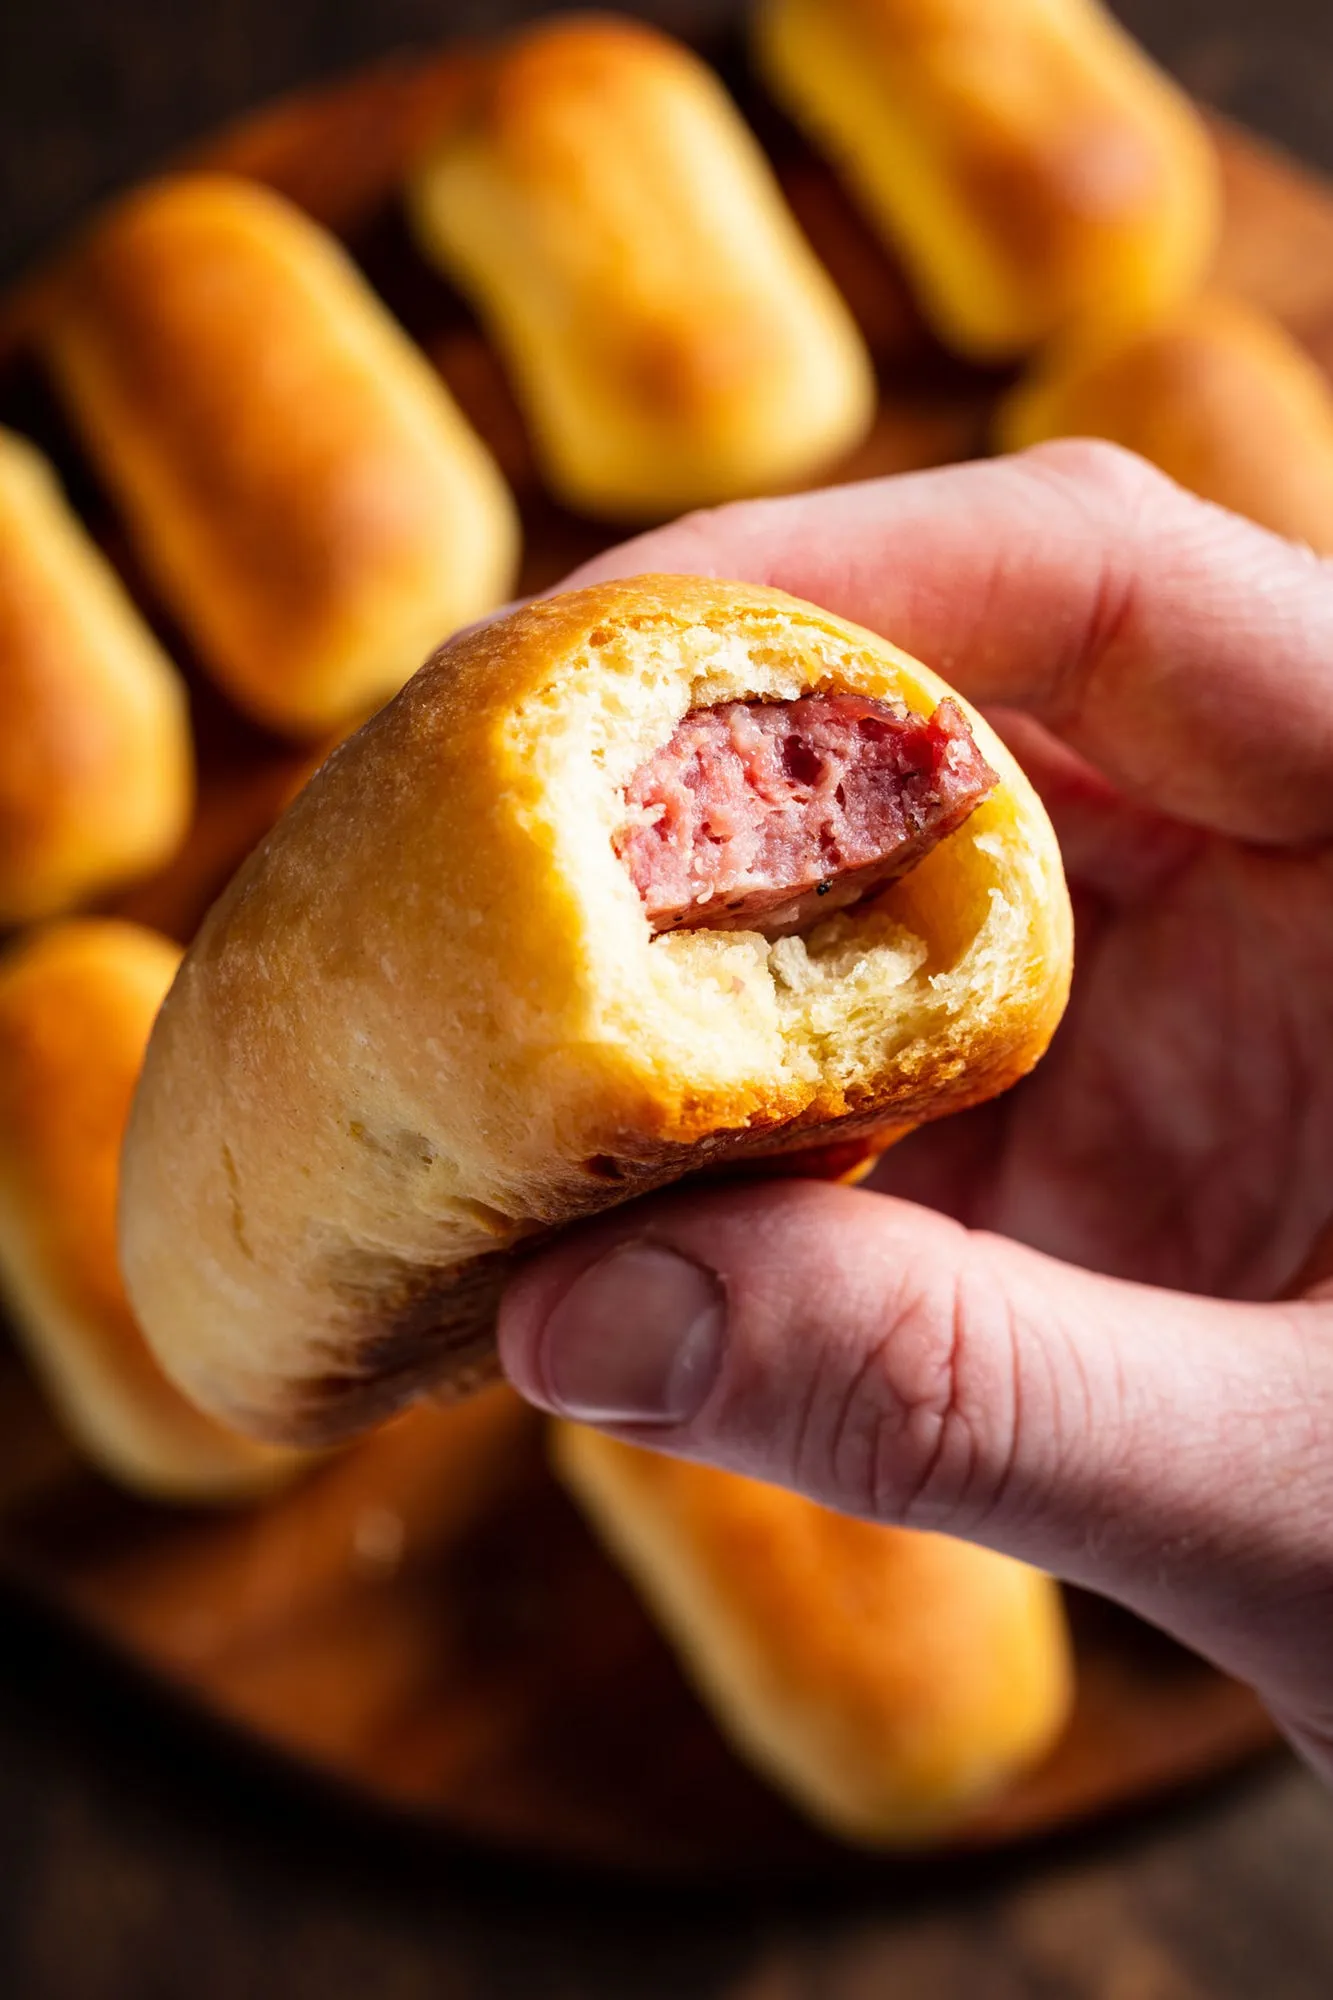
Recipe: Thousand-Layer Buttermilk Biscuits
A 'Wordloaf extra,' better late than never
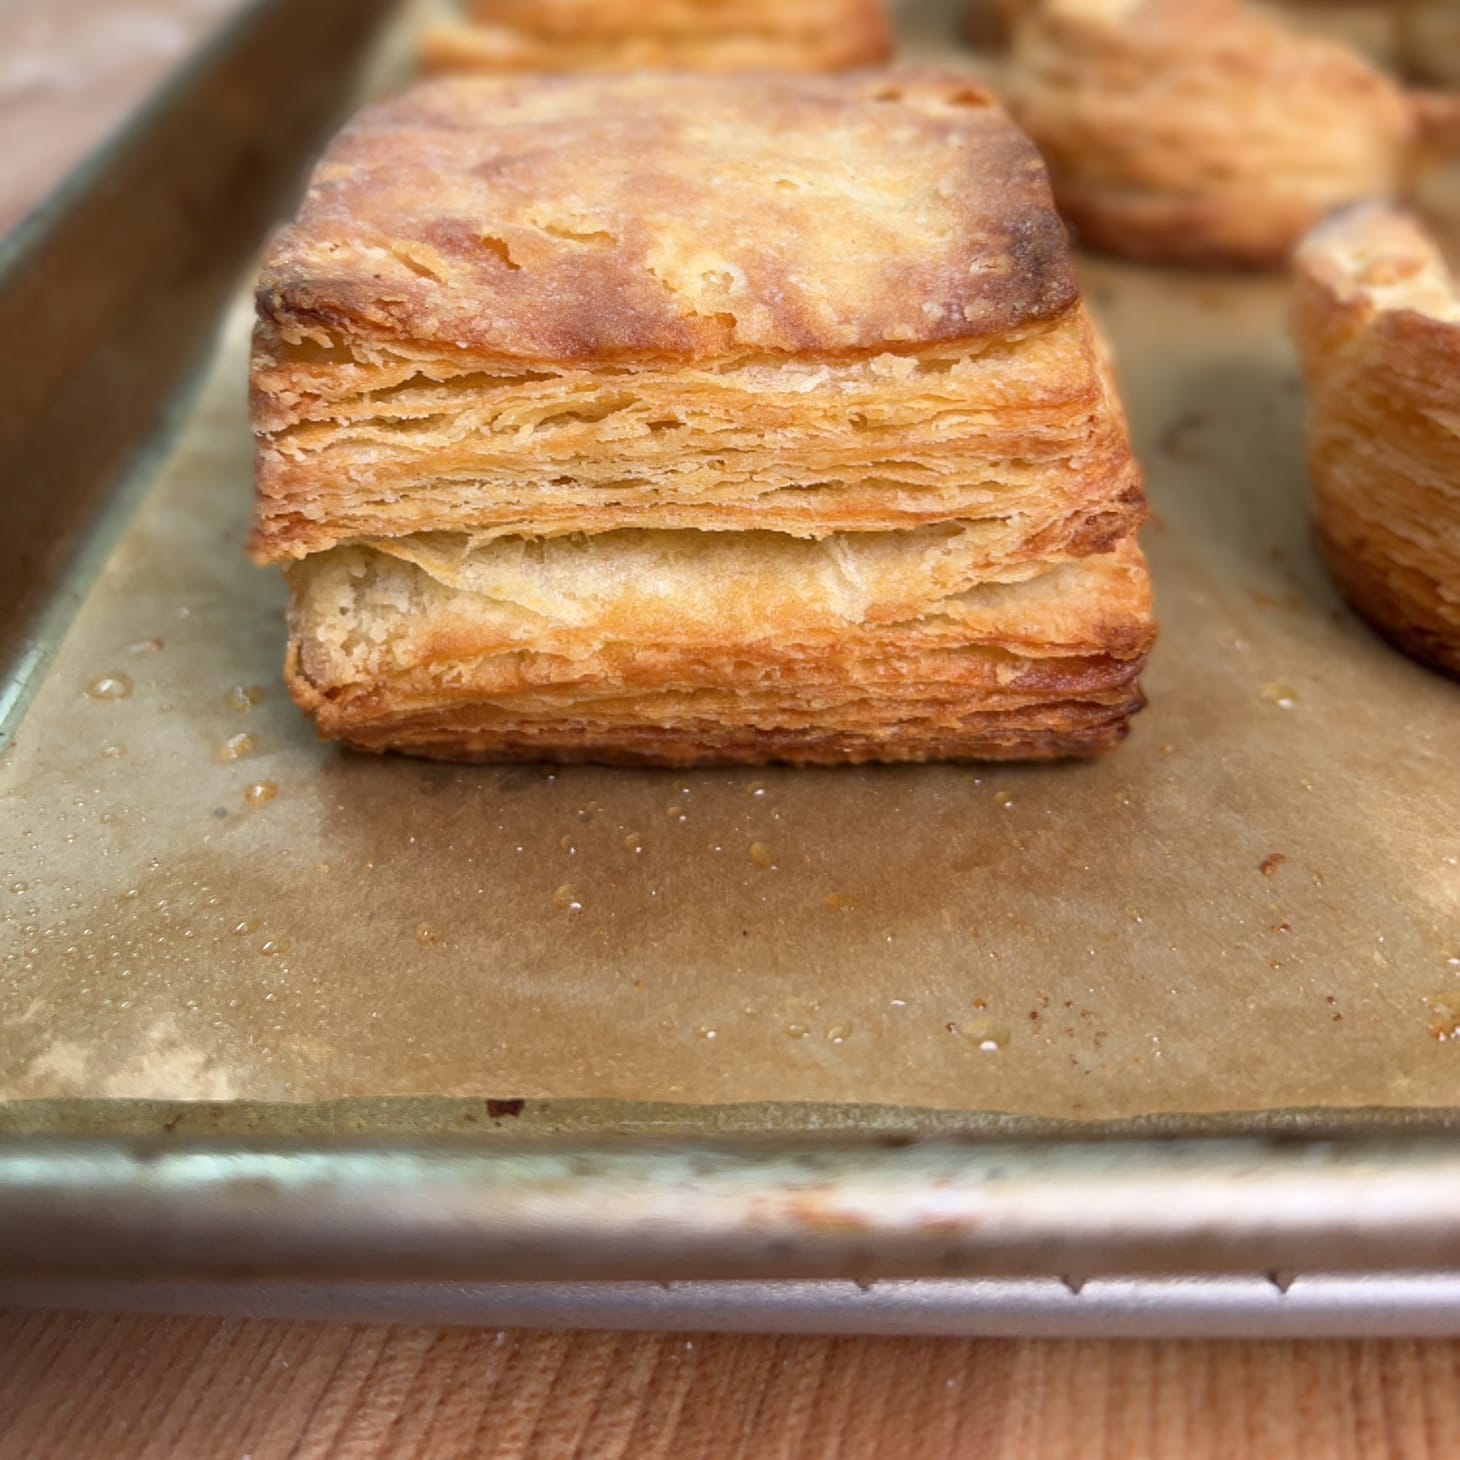
Table of Contents

I just realized that I promised to share the full version of this recipe back in September of last year but didn't follow through on that. Because it is so late, I’m sending it out this week as a ‘Wordloaf Extra,’ even though it has zero to do with the breadcrumbs theme of the month.
Thanks for not harassing me for forgetting, but feel free to remind me in a friendly way next time this sort of thing happens. My life is especially chaotic these days with a book to make, so I am even more forgetful than normal. I’ll be grateful for a gentle prod, really.
For the handful of people who do not know this recipe already, these Thousand-Layer Buttermilk Biscuits are a revised and refined version of my 2015 Cook’s Illustrated Ultimate Flaky Biscuits, which is unquestionably one of my high-water-mark ATK recipes. Not only is it one of the most popular recipes there, it’s also one that was a favorite internally: When I still worked there, I used to get emails and texts regularly from colleagues when they made it, especially around the holidays. (I still get the occasional note even though I have moved on.)
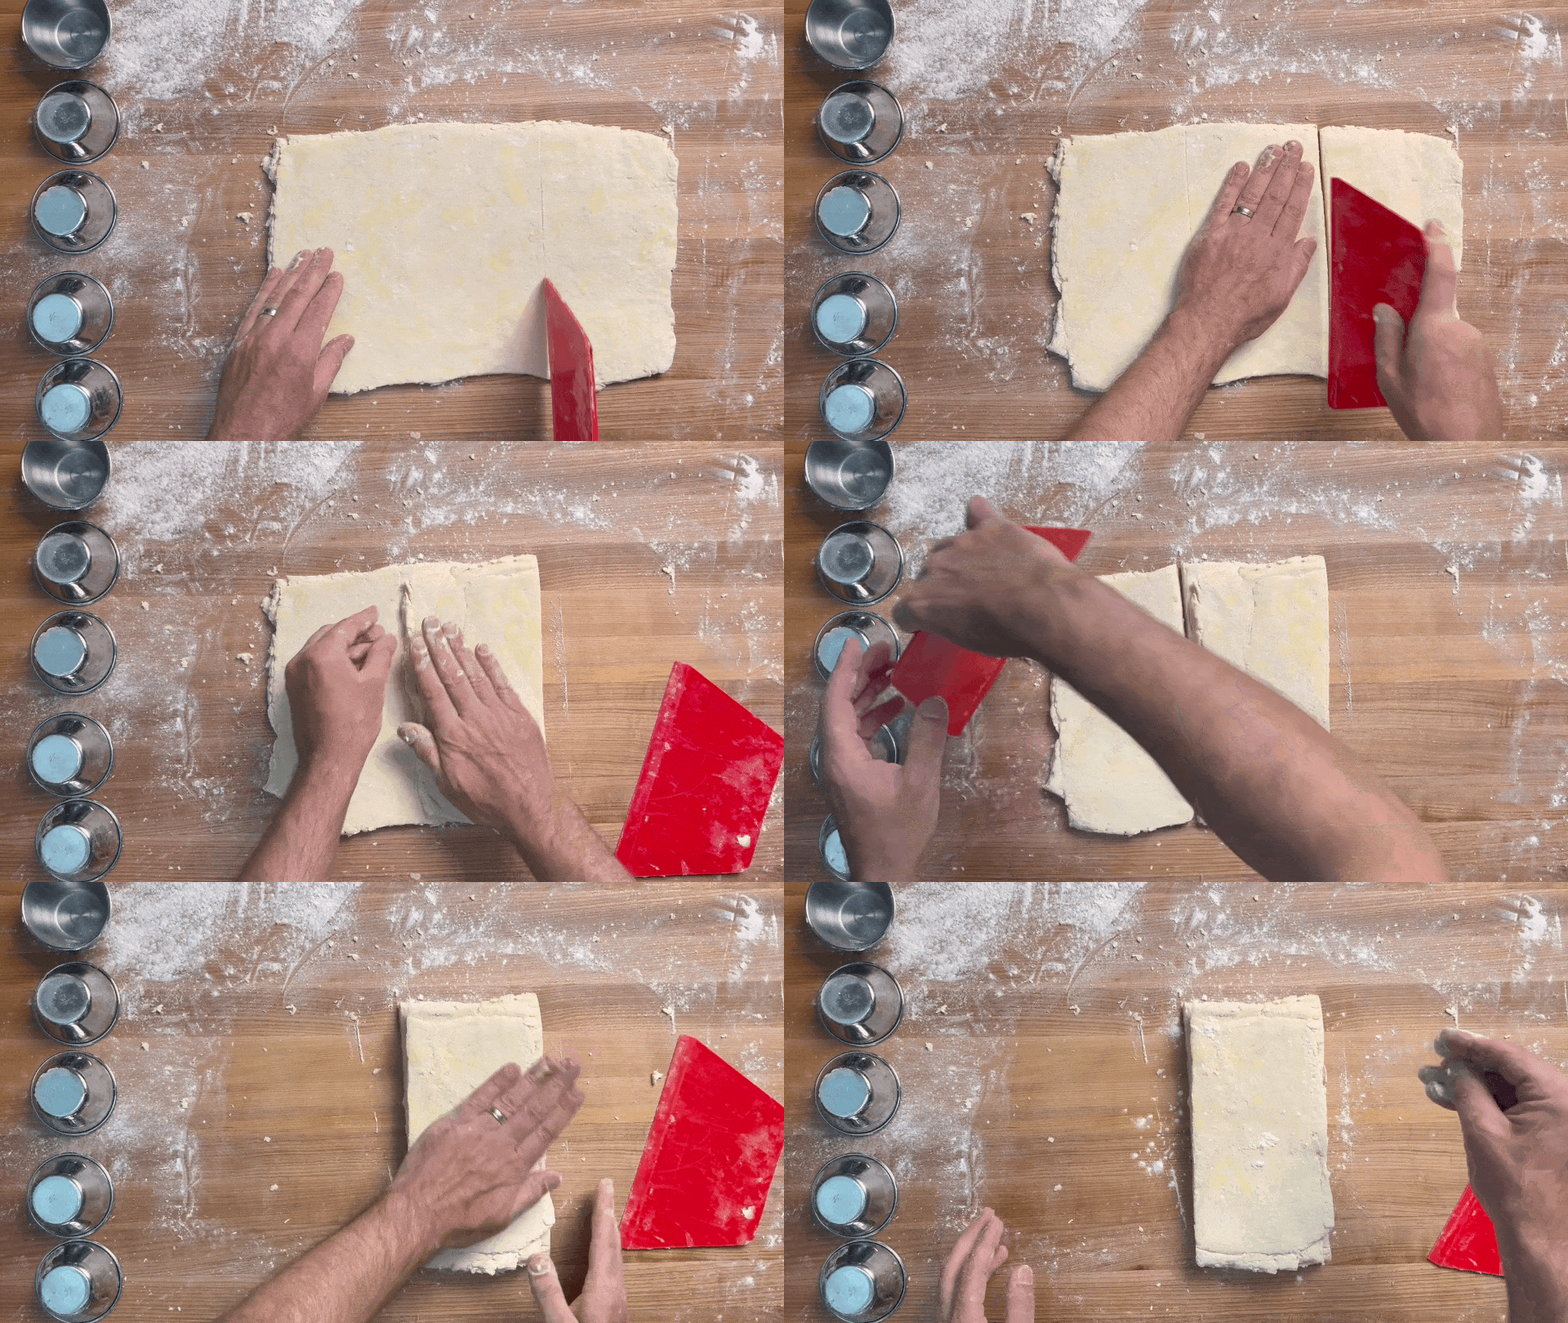
While that recipe remains unimpeachable, I can’t leave well enough alone (ever), so it’s been tweaked over the years in my hands. The biggest change is that I refined the lamination process so that you get even more separation between the layers. Using a trick I’ve seen some croissant-makers do, I cut and stack the pieces instead of folding it into thirds, which avoids compressing or deforming the layers, especially during the later turns:
It might seem like a minor change, but it really does make a huge difference.
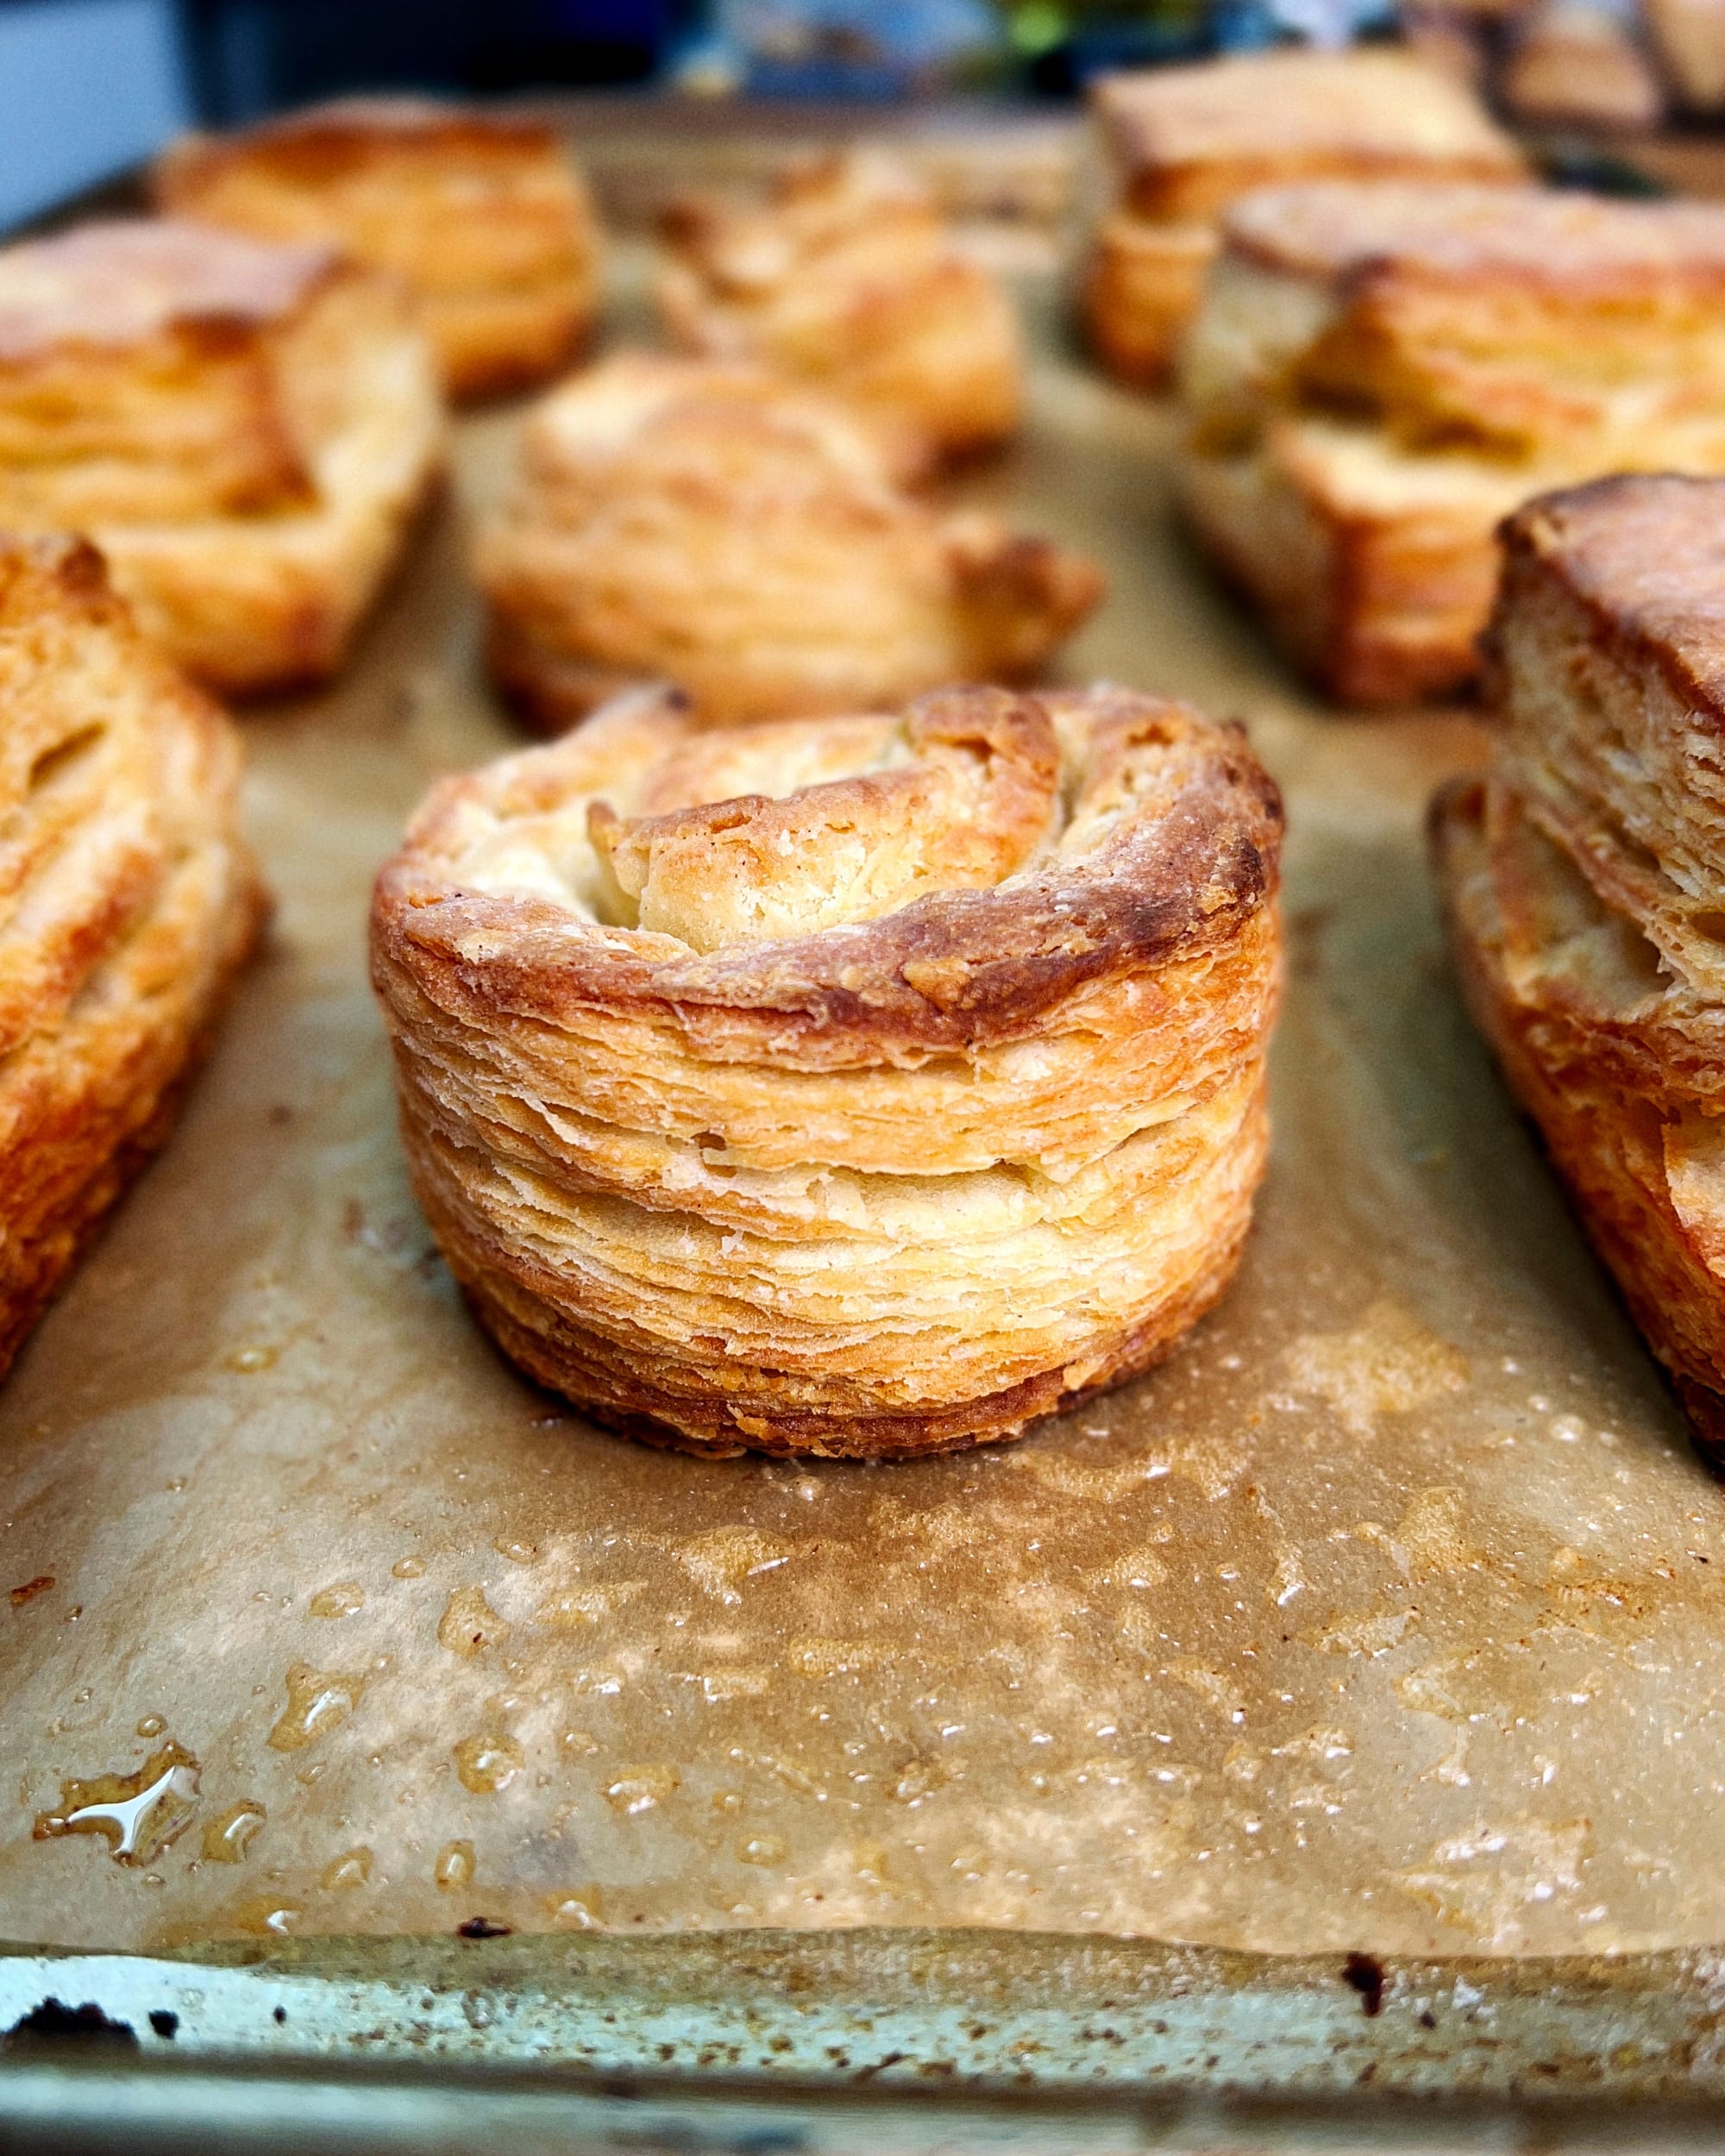
The other semi-major change I’ve made is to add an optional short freezing step after the biscuits are cut. This also helps to define the layers and edges even further (and is a good opportunity to freeze them for later baking, should you want to). As I mention, if you don’t have room in your freezer for a half sheet, you can skip this step without disaster, but it is worth doing if you have the time.
Finally, I mention something that I have done all along but that didn’t make it into the original recipe itself: Using small mise cups to keep track of how many times I’ve laminated the dough. You can see them in the gif above—I just flip one over each time I do a turn.
I made a video of the entire process, so everything is crystal clear. Let me know if you have questions or notice anything awry, I’ll fix them ASAP.
—Andrew
Thousand-Layer Buttermilk Biscuits

Thousand Layer Buttermilk Biscuits1.31MB ∙ PDF fileDownloadDownload
Makes 6 or 8 hefty biscuits
- Use King Arthur all-purpose or Central Milling ABC+ here, if possible. If not, use another all-purpose flour, not bread flour.
- Keeping the butter cold throughout is key to maximum layering. In the summer, not only do I freeze the butter, but I also chill the bowls, box grater, and flour mixture in the fridge too.
- After mixing, the “dough” should be like rubble with blobs of wet dough embedded in it. Don’t be tempted to add more buttermilk or overmix it at this stage, just start folding it. And yeah, it won’t seem much like “folding” during the first few sets, but just pretend like it is. It will all smooth out in the end, I promise.
480g high protein all-purpose flour
20g (1 ½ tablespoons) sugar
12g (3 ½ teaspoons) baking powder
3g (¾ teaspoon) baking soda
10g (2 teaspoons fine) salt
226g (16 tablespoons) unsalted butter, in sticks, frozen for at least 30 minutes, plus 2 tablespoons (28g), for coating
340g buttermilk, cold (or 140g Greek yogurt and 200g cold water, or 170g unstrained yogurt and 170g cold water, whisked together until smooth)
Line a rimmed baking sheet with parchment and set it aside. Thouroughly whisk the flour, sugar, baking powder, salt, and baking soda together in a large bowl, about 30 seconds. Coat the 2 sticks of butter in the flour mixture, then use the large holes of a box grater to grate it directly back into the flour mixture. Toss gently to coat the butter shreds and distribute it within the mixture.
Add the buttermilk to the flour mixture and fold with a spatula until the buttermilk is fully incorporated (the dough should still contain huge pockets of dry flour at this point—this is good!) Transfer the rubble/dough to a well-floured counter. Dust the top surface of the mound with flour, then gently arrange and press the dough into a rough 7-inch-ish square.
Gently roll the dough into a rough 12- x 9-inch rectangle. Using the bench scraper, cut the rectangle into thirds crosswise and then flip each of the outer thirds onto the center one. (The dough will be too loose to hold together at this stage, but just pretend as if it is. You can move loose bits of dough and whatnot around as needed to even out each layer.) Press the top of the dough to seal it together as best as you can, then rotate the dough 90 degrees. Flour the top of the dough and the surrounding countertop.
Repeat rolling into a rough 12- x 9-inch rectangle, cutting into thirds crosswise, flipping the outer slabs on top of the center one, and rotating the dough 4 more times, for a total of 5 sets of folds. (To help keep count, I like to set 5 small cups on the counter next to me, and flip one over after each fold.)
After the fifth fold, gently widen the rectangle until it is slightly more than 9 x 6 inches. Place the dough crosswise on the center of the prepared sheet, fold the parchment loosely over it in thirds, then set the bench scraper over the bundle to keep it enclosed. Refrigerate the dough for 30 minutes. Meanwhile, adjust an oven rack to the upper-middle position and heat the oven to 400 degrees. (If freezing the unbaked biscuits for later baking, skip this step for now.)
Transfer the dough to a lightly-floured cutting board. Using a sharp, thin-bladed, and non-serrated floured knife, trim off the ragged edges of the dough to form a perfect 9x6-inch rectangle. (To avoid compressing the layers, use a gentle sawing motion with the knife rather a straight-down cut.) Cut the remaining slab into 6 squares, flouring the sides of the knife before each cut. (At 3x3 inches each, these are hefty biscuits; if you want more of them, and don’t mind rectangles, feel free to cut the slab into 8 pieces instead.)
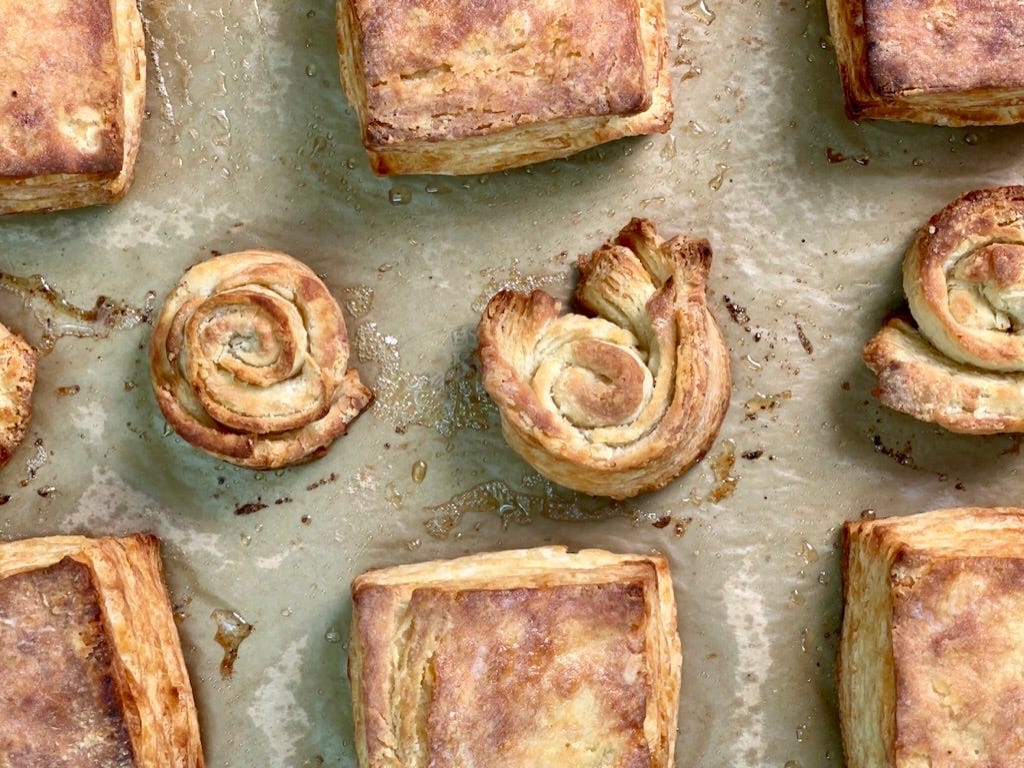
Arrange the biscuits at least 2 inches apart on the sheet. Form the scraps into three or four rosettes and set between the biscuits. Melt the remaining 2 tablespoons butter and use it to coat the top and sides of the biscuits and rosettes. Reserve any remaining melted butter. If you have the room, transfer the sheet pan to the freezer for 15 minutes.1 (If you want to freeze the biscuits for later baking, now is the moment, just let them freeze solid, about 2 hours, then move them to zipper-lock bags. Bake immediately from frozen, adding 5 to 10 minutes to the overall baking time.)
Bake until the top and sides of the biscuits are golden brown, 22 to 25 minutes (18 to 20 minutes with convection), rotating the sheet at the halfway point.
Brush the top and sides of them with any remaining melted butter (including any butter that has melted out of the biscuits during cooking). If you can stand it, let the biscuits cool for 5 minutes before serving.
This can improve oven spring and layering even further, but if you don’t have space in your freezer for a sheet pan, skip it, they’ll still be great. ↩
wordloaf Newsletter
Join the newsletter to receive the latest updates in your inbox.
