Recipe: Shokupain de Mie
Wonder breads
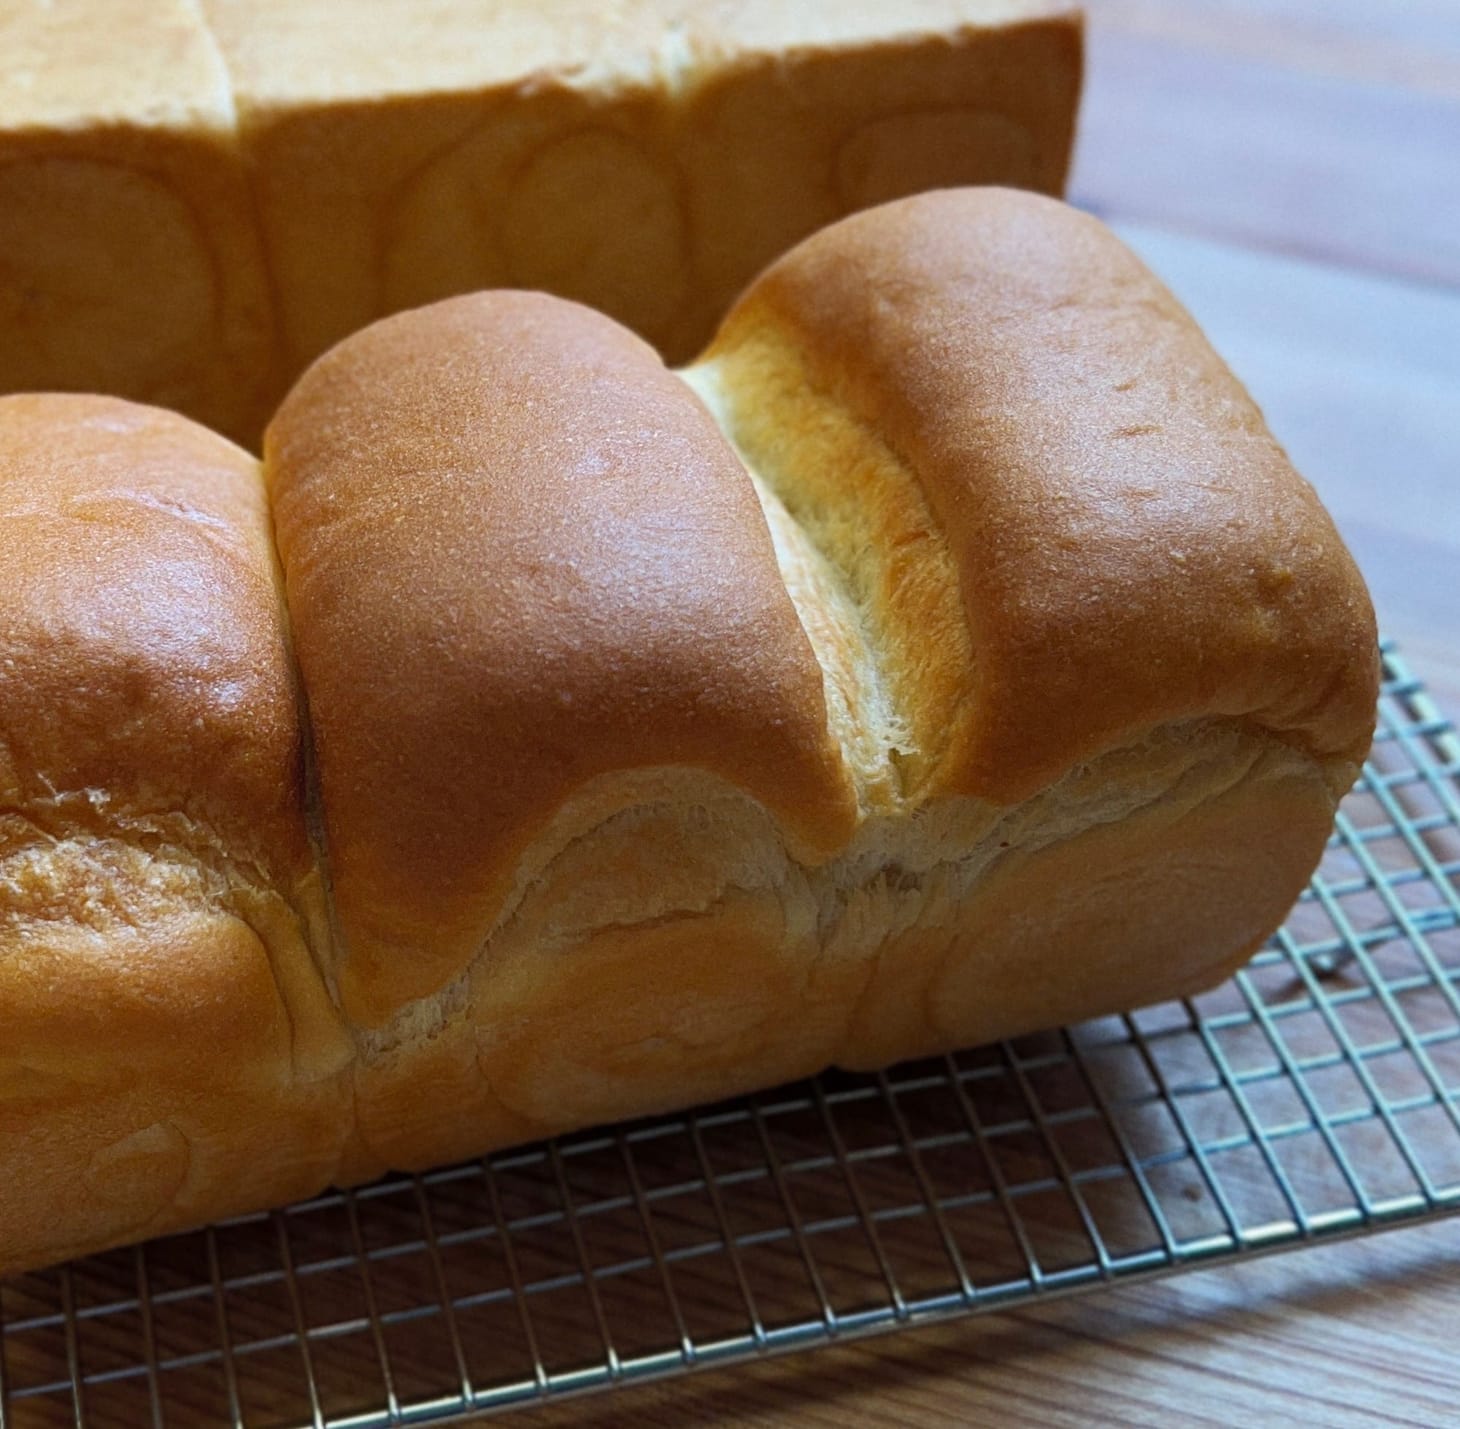
Table of Contents
One thing I’ve been doing as I work on my b$$k pr$p$sal1 project is consolidate some of my formulas, especially those that I have been making in one form or another for a long time. There are many that I have either tweaked or started over from scratch repeatedly, and it’s long been difficult to keep track of them all. In fact, one reason (among many) that I’d like to do a b$$k in the first place is to codify and consolidate my formulas, so I don’t really have to think about them any longer. (Another related one is that it’ll mean I’ll have my favorite formulas all in one place, in printed form. Like my Bread Baker’s Pocket Companion, I’m attempting to will it into existence first and foremost for myself.)
One formula that I feel pretty good about is the one I’m now calling shokupain de mie, since it is either pain de mie done in the manner of shokupan, or shokupan enriched only with milk and butter, à la pain de mie.
Pain de mie—French sandwich bread—means “bread of crumb,” referring to the fact that its joys derive entirely from its plush, soft, and compact internal texture (it’s crust is soft too, especially when it is baked within an enclosed, pullman-style pan).
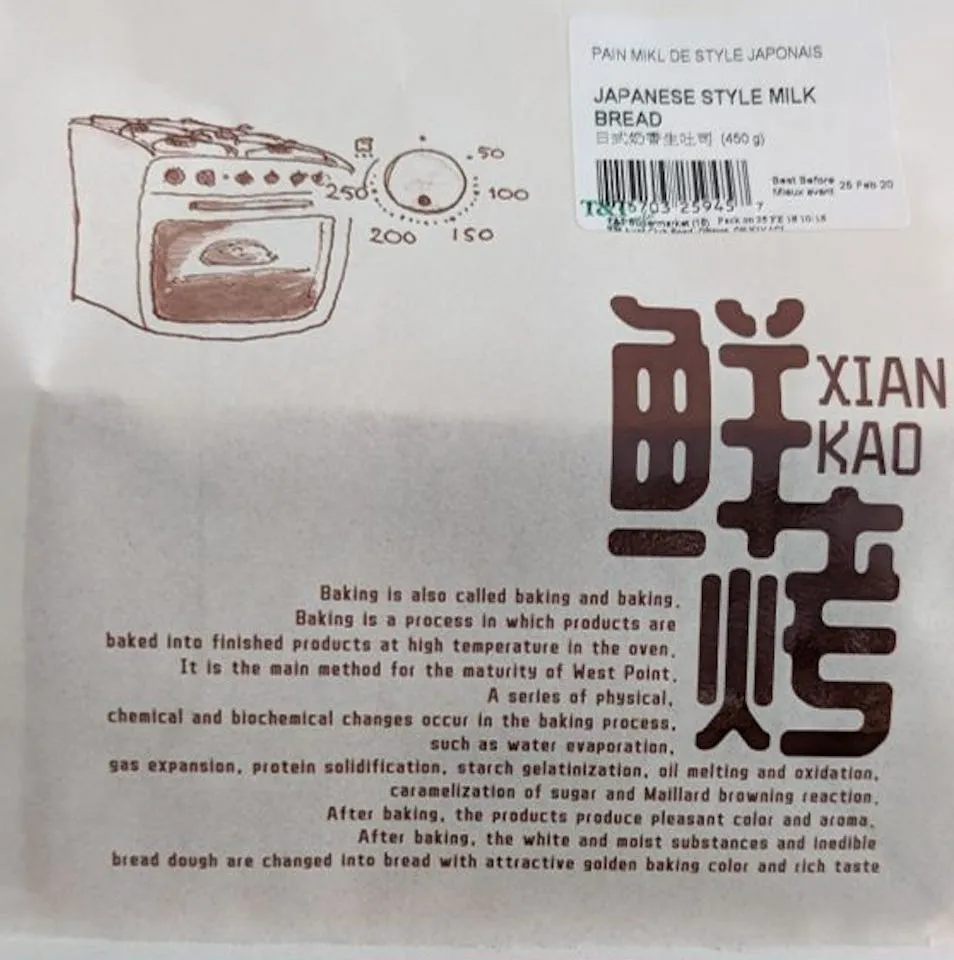
Shokupan, aka Japanese Milk Bread, is a Japanese version of pain de mie. It is sometimes, though not always, made using a cooked-starch paste or flour scald (a tangzhong or yudane), which ups its plush texture and extends its shelf life. (Many, but not all, shokupan recipes contain egg in addition to the milk and butter. There are notes in the recipe about adding an egg if you want to.) It is also usually baked in square-sided, lidded pullman-style pans, with the dough divided into pieces and each one formed into tightly-rolled spirals, with the exposed face of the spirals kissing the long sides of the pan, so that they are visible in the finished loaf.
Pan Era
Something that is new with this recipe is that it specifies the size of the pan that it is intended for, which most of the time for me means a 9x4x4-inch square pan like this:
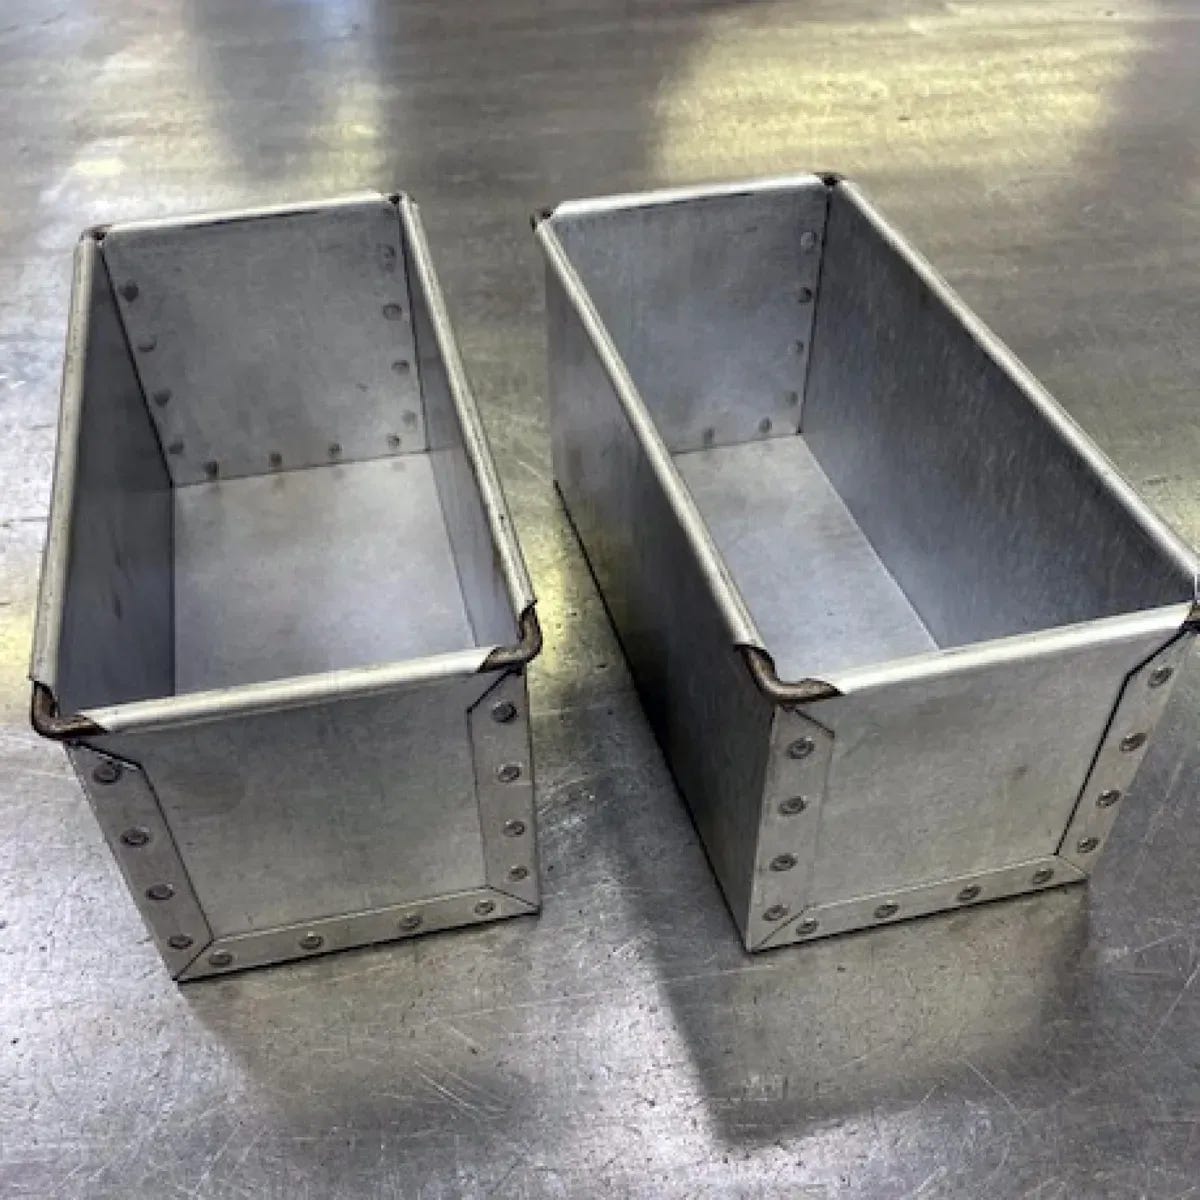
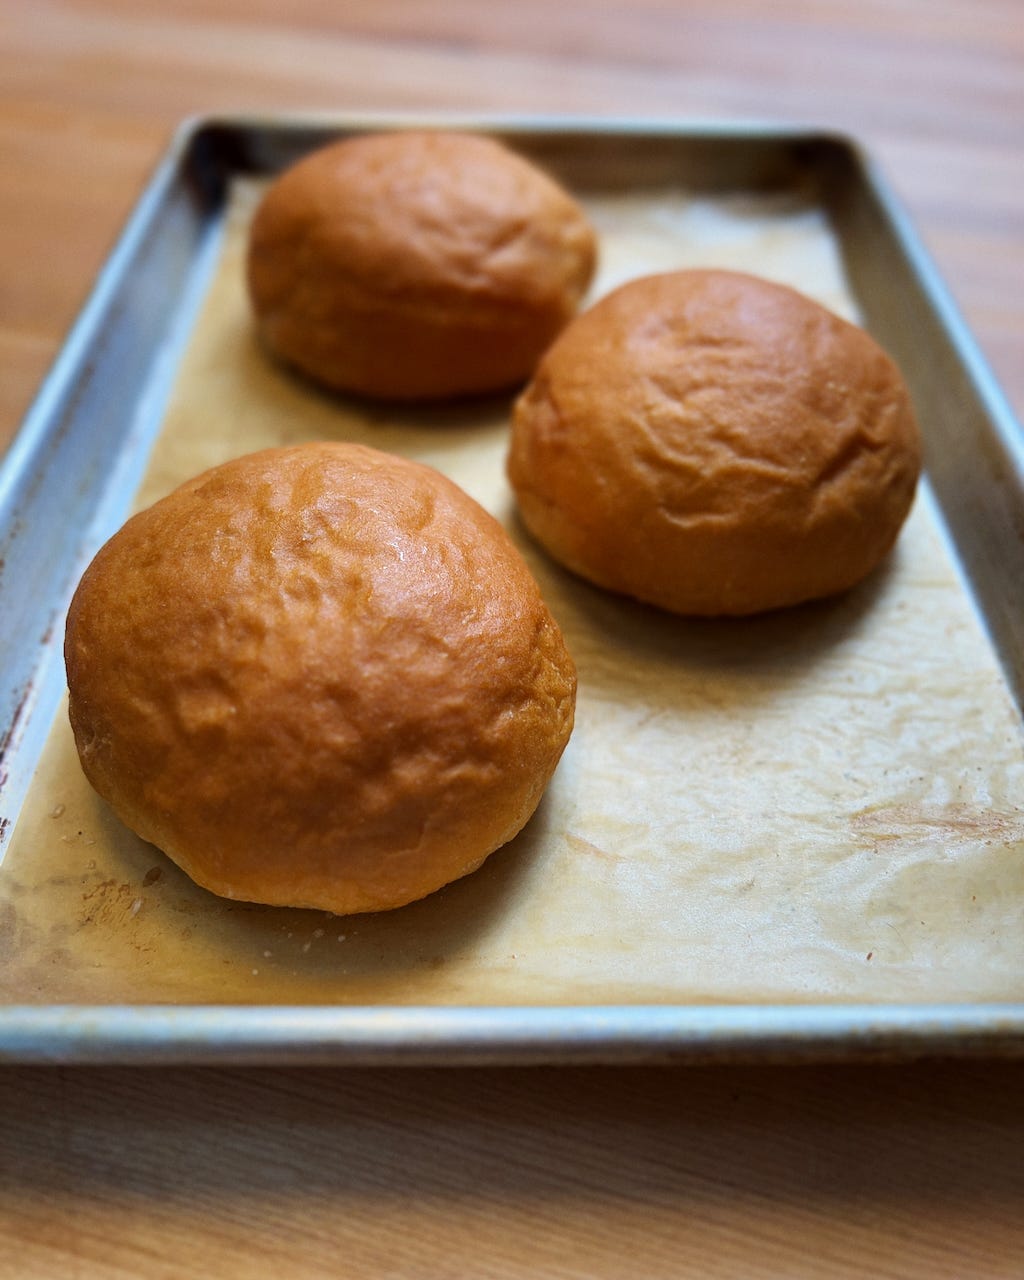
I realize that not everyone has pans like these yet (find them here or here), but rather than create another version of the formula for the smaller fluted pans most people have, I have given the amounts of dough to use in those pans and suggested making buns with the leftover dough, which might look like this:
Snail Road
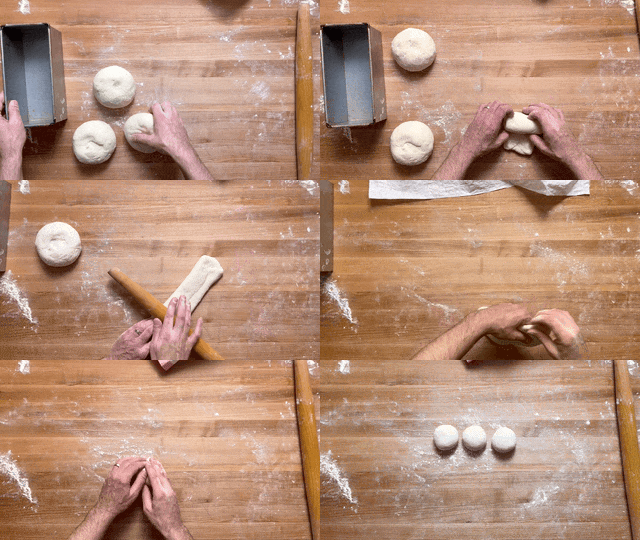
Here is a possibly-useful demonstration of how I shape my milk bread, plus a bonus ending of me shaping some “extra” buns at 100g each:
Yudane vs. Tangzhong
Another new thing here is that I refer to the cooked-starch paste as a yudane rather than a tangzhong. Yudane is a Japanese method, while a tangzhong is Chinese, but the goal is the same: To increase the water content in a dough without compromising its structure, to yield a softer crumb and a longer-keeping bread. Here are the differences between the two approaches:
- A yudane is made by pouring boiling water over flour, while a tangzhong is made by heating a mixture of the two on the stovetop until it gels.
- A yudane is usually made with a 1:1 ratio of water to starch, while a tangzhong is made with something closer to 5:1 ratio of water to starch.
- A yudane supposedly must be rested for at least 4 hours before using, to get the starches to fully hydrate, while a tangzhong can used as soon as it is cool enough to add to a dough.
While I call my cooked starch a yudane, it really is a hybrid of the two. I do pour boiling water over the starch, but I use a high ratio of water or milk (4:1), because it makes it easier to mix and it helps guarantee the starch will gel. (With a lower ratio, there is a risk that the mixture won’t stay above 140˚F/60˚C long enough.) And I never rest my cooked starch pastes, because I cannot see the point (maybe at a lower ratio it does matter, but not when you do it at this one). Someday I’ll do a detailed comparison of all of these things, but for now, I have used this method for so long I am confident it works well enough that it doesn’t matter, especially given how easy it is.
And while it isn’t new new here, I should mention that my starch of choice for a cooked-starch paste is mochi (glutinous rice) flour over all of the others I have tried (in this case I have done the comparison—wheat flour, cornstarch, potato starch, tapioca, and a few others I can’t think of right now). Not all starches are made equal when it comes to scalding: Some don’t gel quickly enough and require further heating, while others end up lumpy and/or rubbery, making them difficult to stir uniformly and to incorporate into the final dough. I like mochi flour because it cooks immediately when combined with boiling liquids to form a thick but soft paste. As I say in the formula, white flour is the next best option, but it doesn’t always gel with boiling water and sometimes needs further cooking (something that is easy to do, especially with a microwave).
Smoke Sheaths
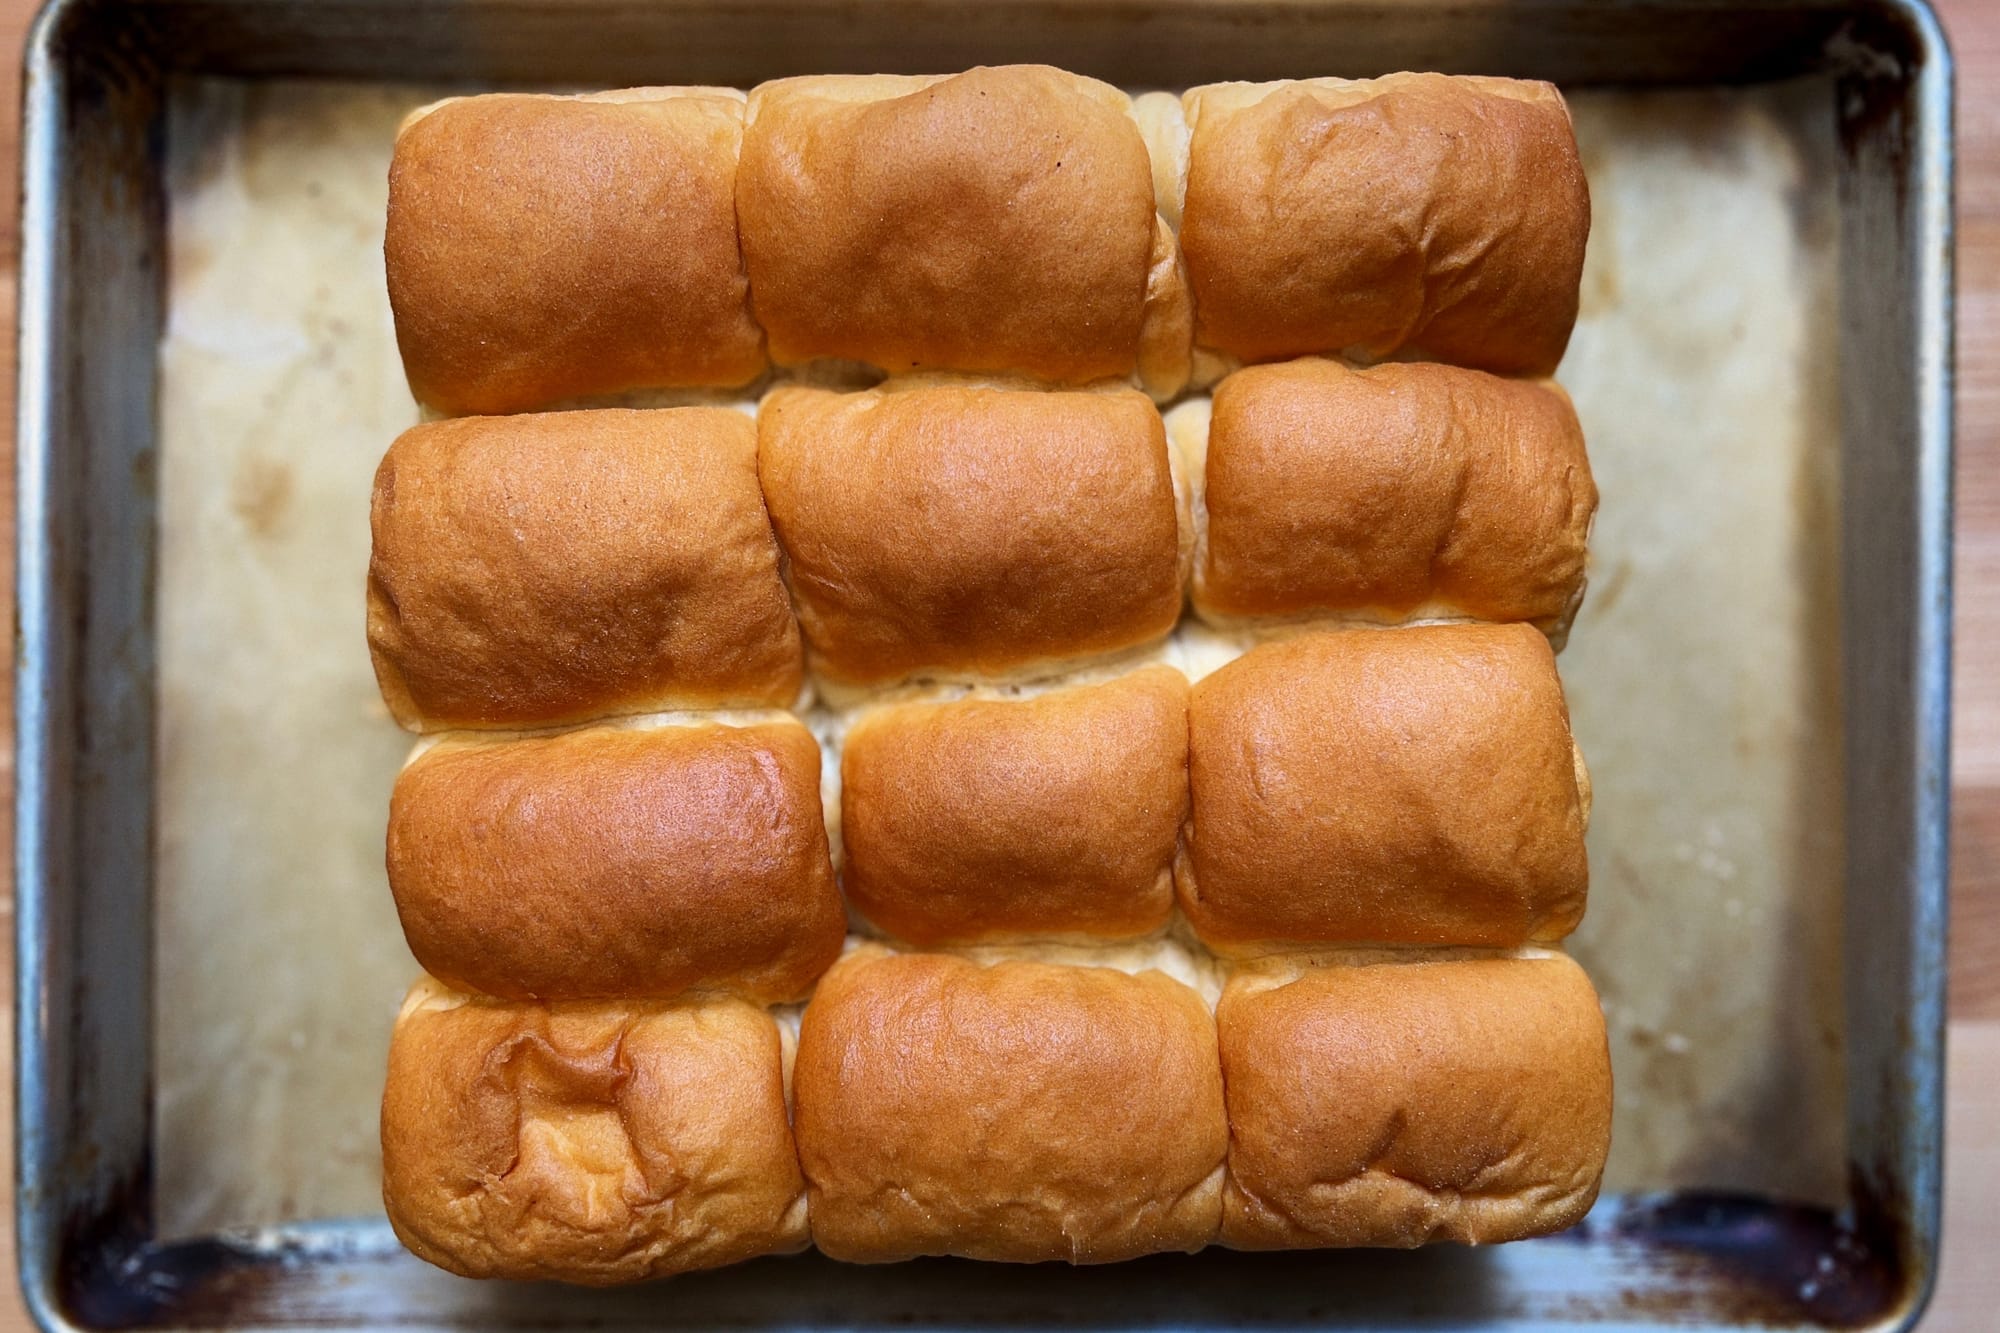
Finally, I’ve posted a separate version of this formula designed to make 12 mini hot dog buns in an 8x8-inch square cake pan, which I concocted for my friend Liz Cook, who plans to utilize it for an upcoming post on her excellent, chaotic Substack Haterade. Here is how she describes the project in question:
Nathan's annual hot dog eating contest has never held much appeal for me. Don't get me wrong: I, too, wish to eat 60 hot dogs, but I'd prefer to take them leisurely, over the course of an afternoon. More importantly, I'd prefer to take mine with toppings. In an ideal world, I could sample every possible hot dog configuration in this famous infographic in one sitting. (Never mind that I have lived in Kansas City for more than a decade and never once seen the purported "Kansas City" dog.) The obvious problem with this plan—besides the health and environmental concerns—is cargo room.
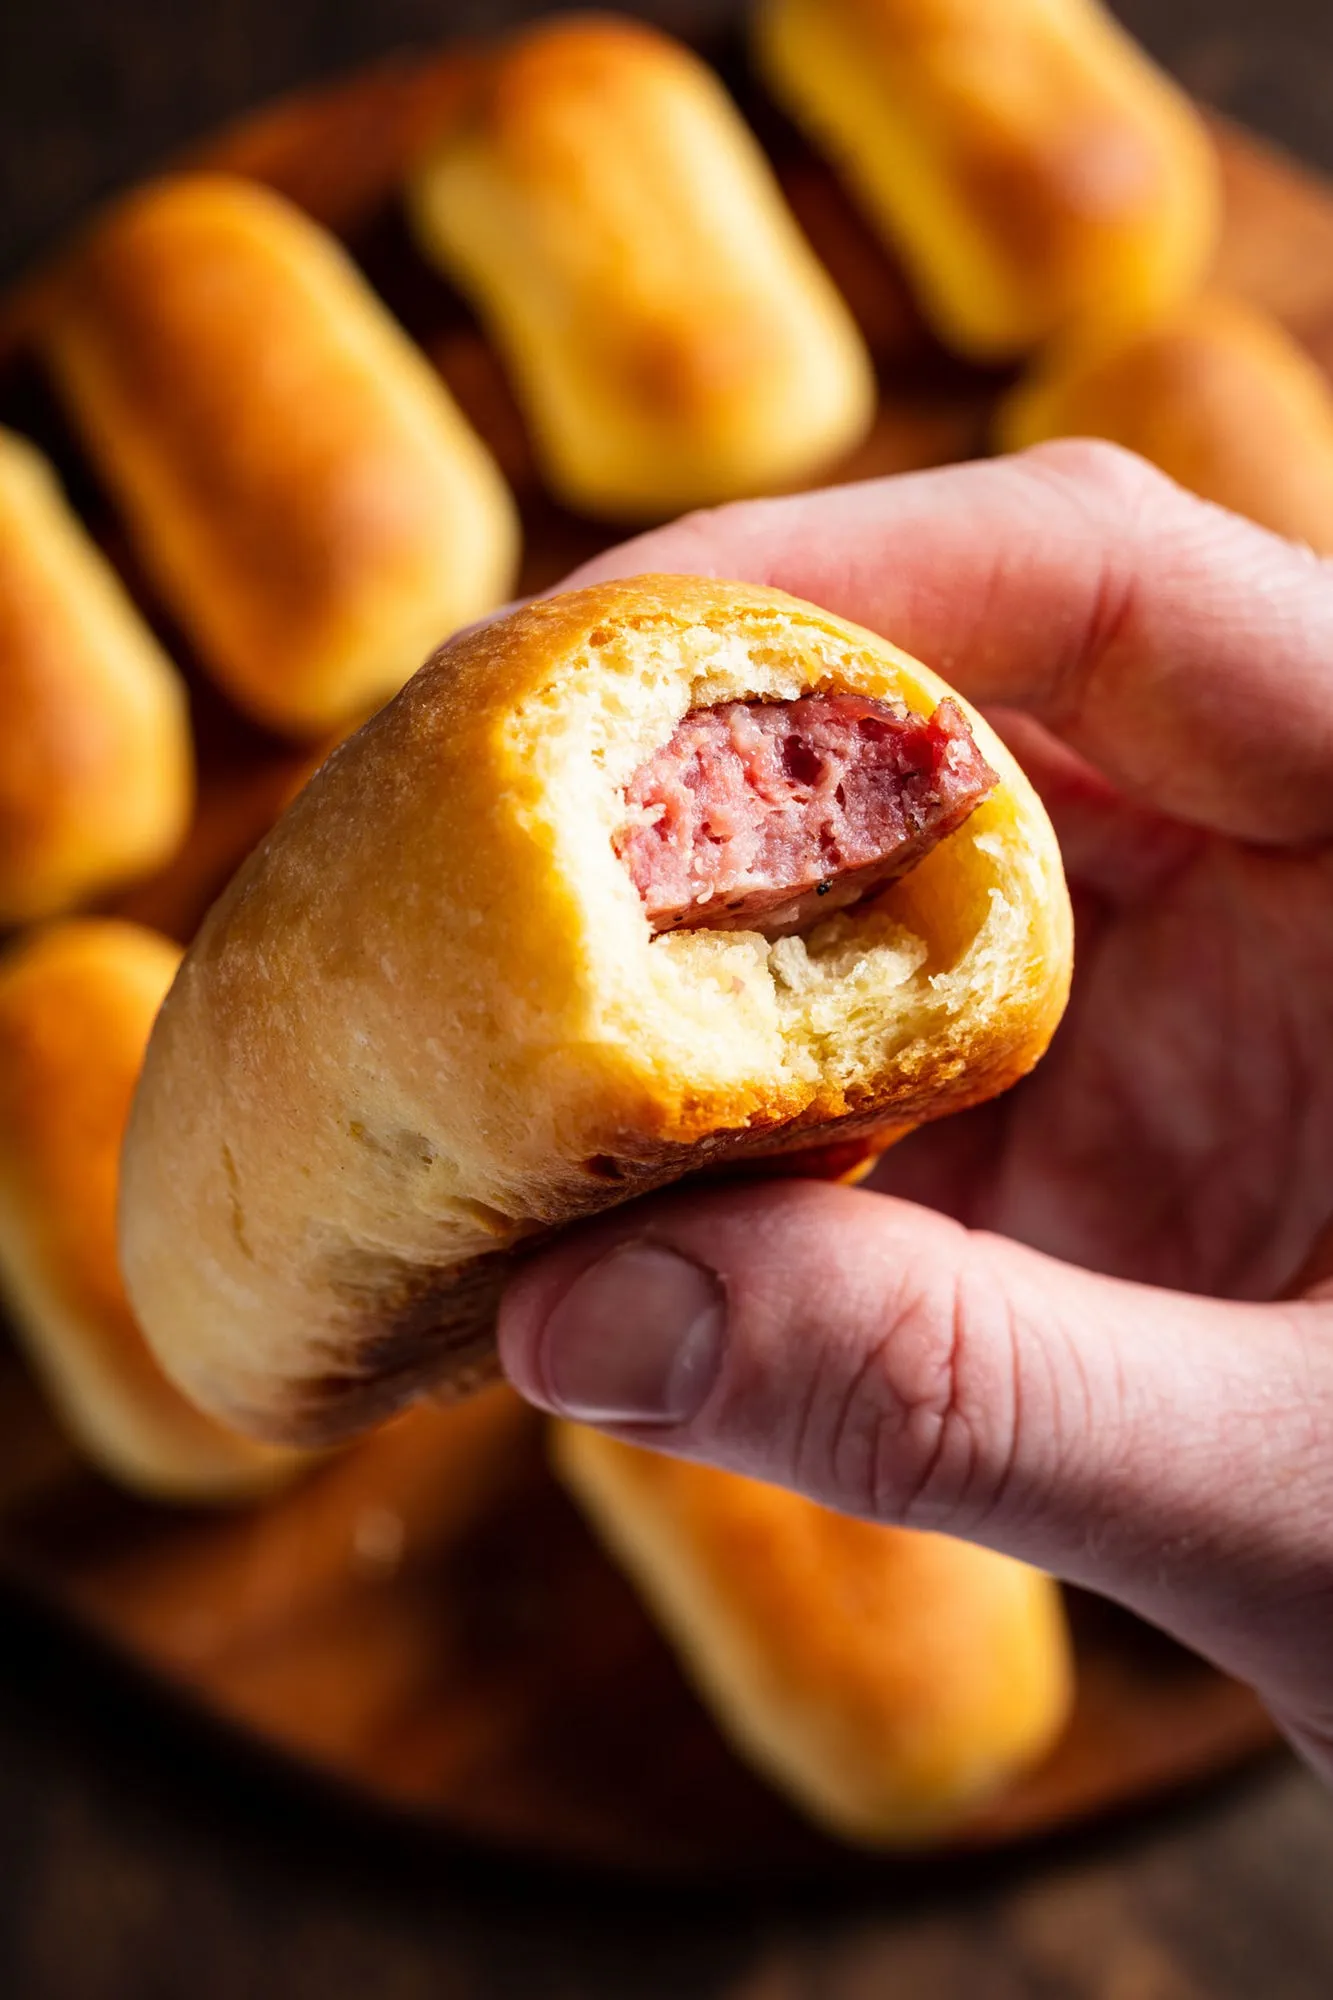
Enter: the tiny dog. Prototyping the dogs seemed easy enough. Slider-sized versions already exist in the form of cocktail weenies (or, depending on your region, li'l smokies). What I needed was a bun—a smoke sheath—to match.
I was more than happy to supply Liz with just this sort of bun, and I cannot wait to see the post she has in mind (I’ll be sure to let you know when it goes live).
—Andrew
Shokupain de mie

Shokupain De Mie919KB ∙ PDF fileDownloadDownload
yields 1500g dough, for two 750g pullman loaves (or two smaller pan loaves and a few buns)
desired dough temperature: 75˚F (24˚C)
- For a variation of this formula with egg, just reduce the milk in step 2 to 200g and add 1 large egg.
- If you have 8.5-inch by 4.5-inch fluted pans instead of pullmans, reduce the dough ball size to 200g (600g per loaf) and use the remaining 300g dough to make 3 burger buns as a baker’s treat.
- The melted butter is only necessary when baking the loaves without a lid (or for buns), and only gets brushed on the exposed tops of the loaves after baking.
OVERALL FORMULA
bread flour 90%
mochi flour 10%
milk 66%
unsalted butter 13%
sugar 10%
salt 1.7%
instant yeast 1%
YUDANE
75g bread or mochi (glutinous rice) flour
75g sugar
300g milk, brought to a boil (or 270g boiling water, plus 30g nonfat milk powder added to dry ingredients)
113g (8 tablespoons) unsalted butter, cut into 8 pieces, cold
DOUGH
240g milk (or 216g water, plus 24g nonfat milk powder added to dry ingredients)
9g (2 teaspoons) instant yeast
670g bread flour
14g (2 1/2 teaspoons fine) salt
FINISH
1 tablespoon melted butter (optional)
- YUDANE: Place the flour and sugar in a medium bowl and whisk to combine. Whisking constantly, pour milk into bowl. If mixture does not thicken immediately, cover loosely and microwave in 30 second intervals, whisking after each one, until thickened and glossy. Add the butter and whisk until incorporated. Transfer the mixture to the bowl of a stand mixer, cover loosely, and allow to cool to room temperature, about 30 minutes.
- DOUGH: Add the remaining milk and yeast to the yudane and whisk until uniform. Add the flour and mix on low speed until the dough just comes together and no dry flour remains, 2 to 5 minutes. Cover loosely and let sit for 30 minutes.
- Add the salt and mix on low speed until thoroughly incorporated, about 1 minute. Increase speed to medium, and mix until dough just starts to clear sides of bowl (it will remain webby, sticky, and attached to bottom of bowl), 10 to 12 minutes.
- Remove the bowl from the stand mixer, cover loosely, and let sit at 75˚F (24°C) until puffy and about 1 ½ times in volume, 60 to 120 minutes, folding the dough with lightly-moistened hands at 45 and 90 minutes.
- Cover the dough tightly and refrigerate for at least 2 hours and up to 24. (If chilling for more than 2 hours, remove the dough from the fridge an hour or so before dividing and shaping to let it warm slightly.)
- LOAVES: Coat two 9-inch by 4-inch by 4-inch pullman pans with nonstick oil and set aside. Transfer the dough to a lightly-floured counter and divide into 6 pieces of about 250g each. Shape each into a tight round. Cover loosely and let sit for 20 minutes.
- Flour the countertop lightly and turn each ball of dough seam side up. Using a rolling pin, roll each ball into an 8-inch long oval. Fold the long sides of the oval into the center one at a time to form a 2 1/2 inch-wide strip. Holding the end of the strip in one hand and stretching gently as you go, roll it up like a snug carpet. Pinch the seams closed. Repeat with the remaining dough balls.
- Place three logs each in the prepared pans, seam side down and with the spiraled ends of the logs facing the long side of the pan. Cover the pans loosely and allow to proof until tops of loaves are about 1/2 inch below lip of pans, 60 to 90 minutes. If using a pullman pan with a lid, coat bottom of lid with nonstick oil and slide lid closed.
- BAKE: Set an oven rack to the lower-middle position and heat the oven to 325˚F (162˚C).
- Transfer loaves to the oven and bake until the exterior of loaves are deep golden brown and internal temperature is at least 195 ̊F, 45 to 60 minutes. Carefully remove loaves from pans; if pale and soft on the sides and bottoms, set the loaves on a cooling rack set into a baking sheet and return to the oven for 5 minutes at a time until set and browned.
- FINISH: If using, brush rounded tops of loaves with melted butter. Allow to cool fully before slicing, 2 to 3 hours.
In case you are wondering why I don’t like to talk about this thing openly, it’s because—though I am not generally a superstitious person— it feels jinxy to speak about it too directly until (IF) it is a done deal. ↩
wordloaf Newsletter
Join the newsletter to receive the latest updates in your inbox.
