Recipe: Pan Bagnat Bread
aka a yeasted mini-boule
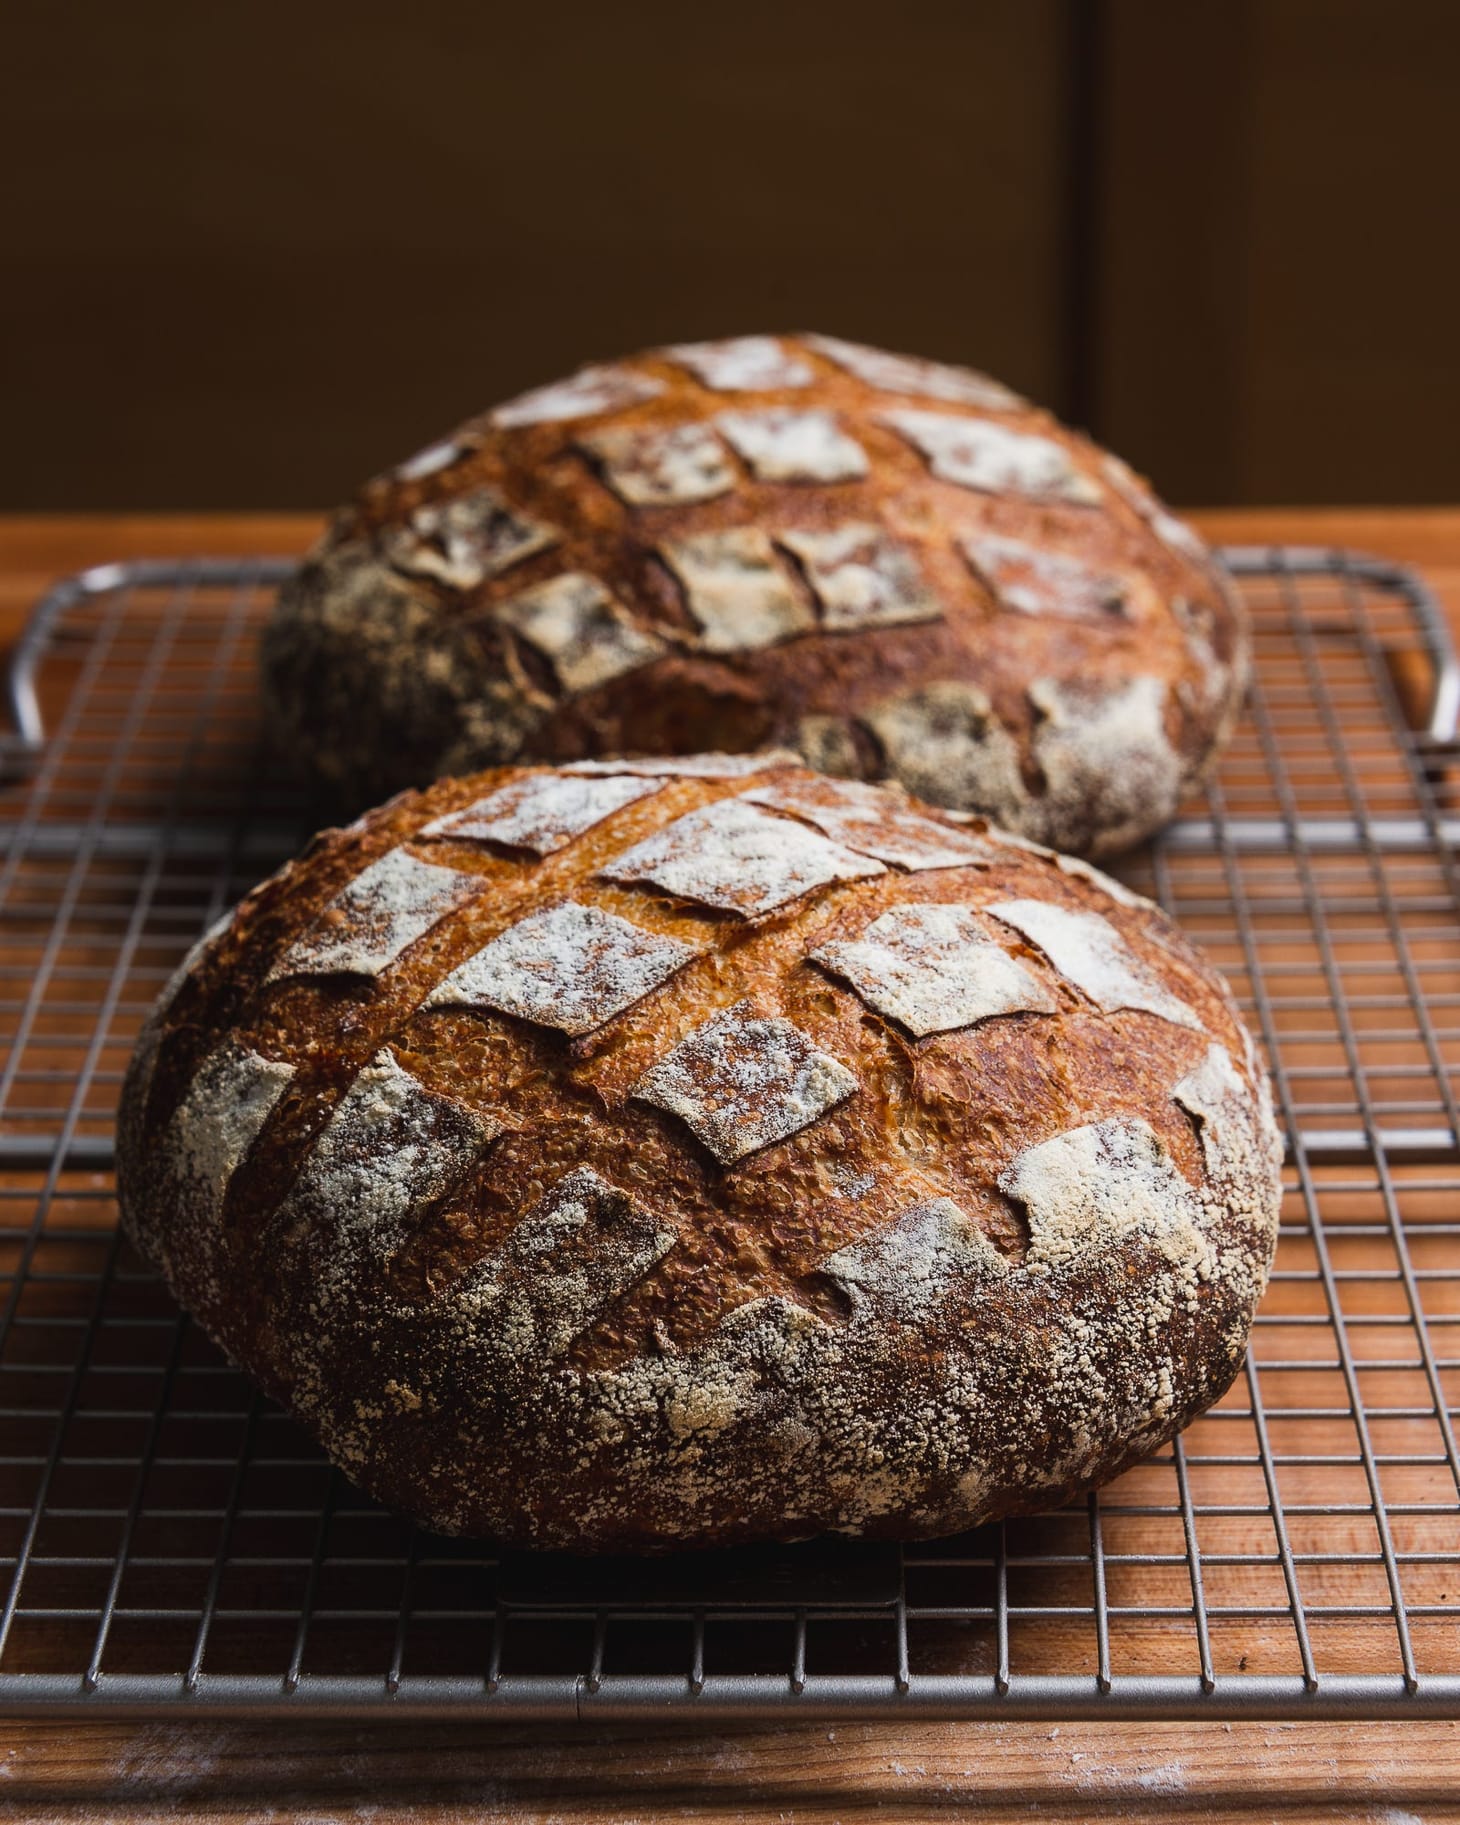
Table of Contents
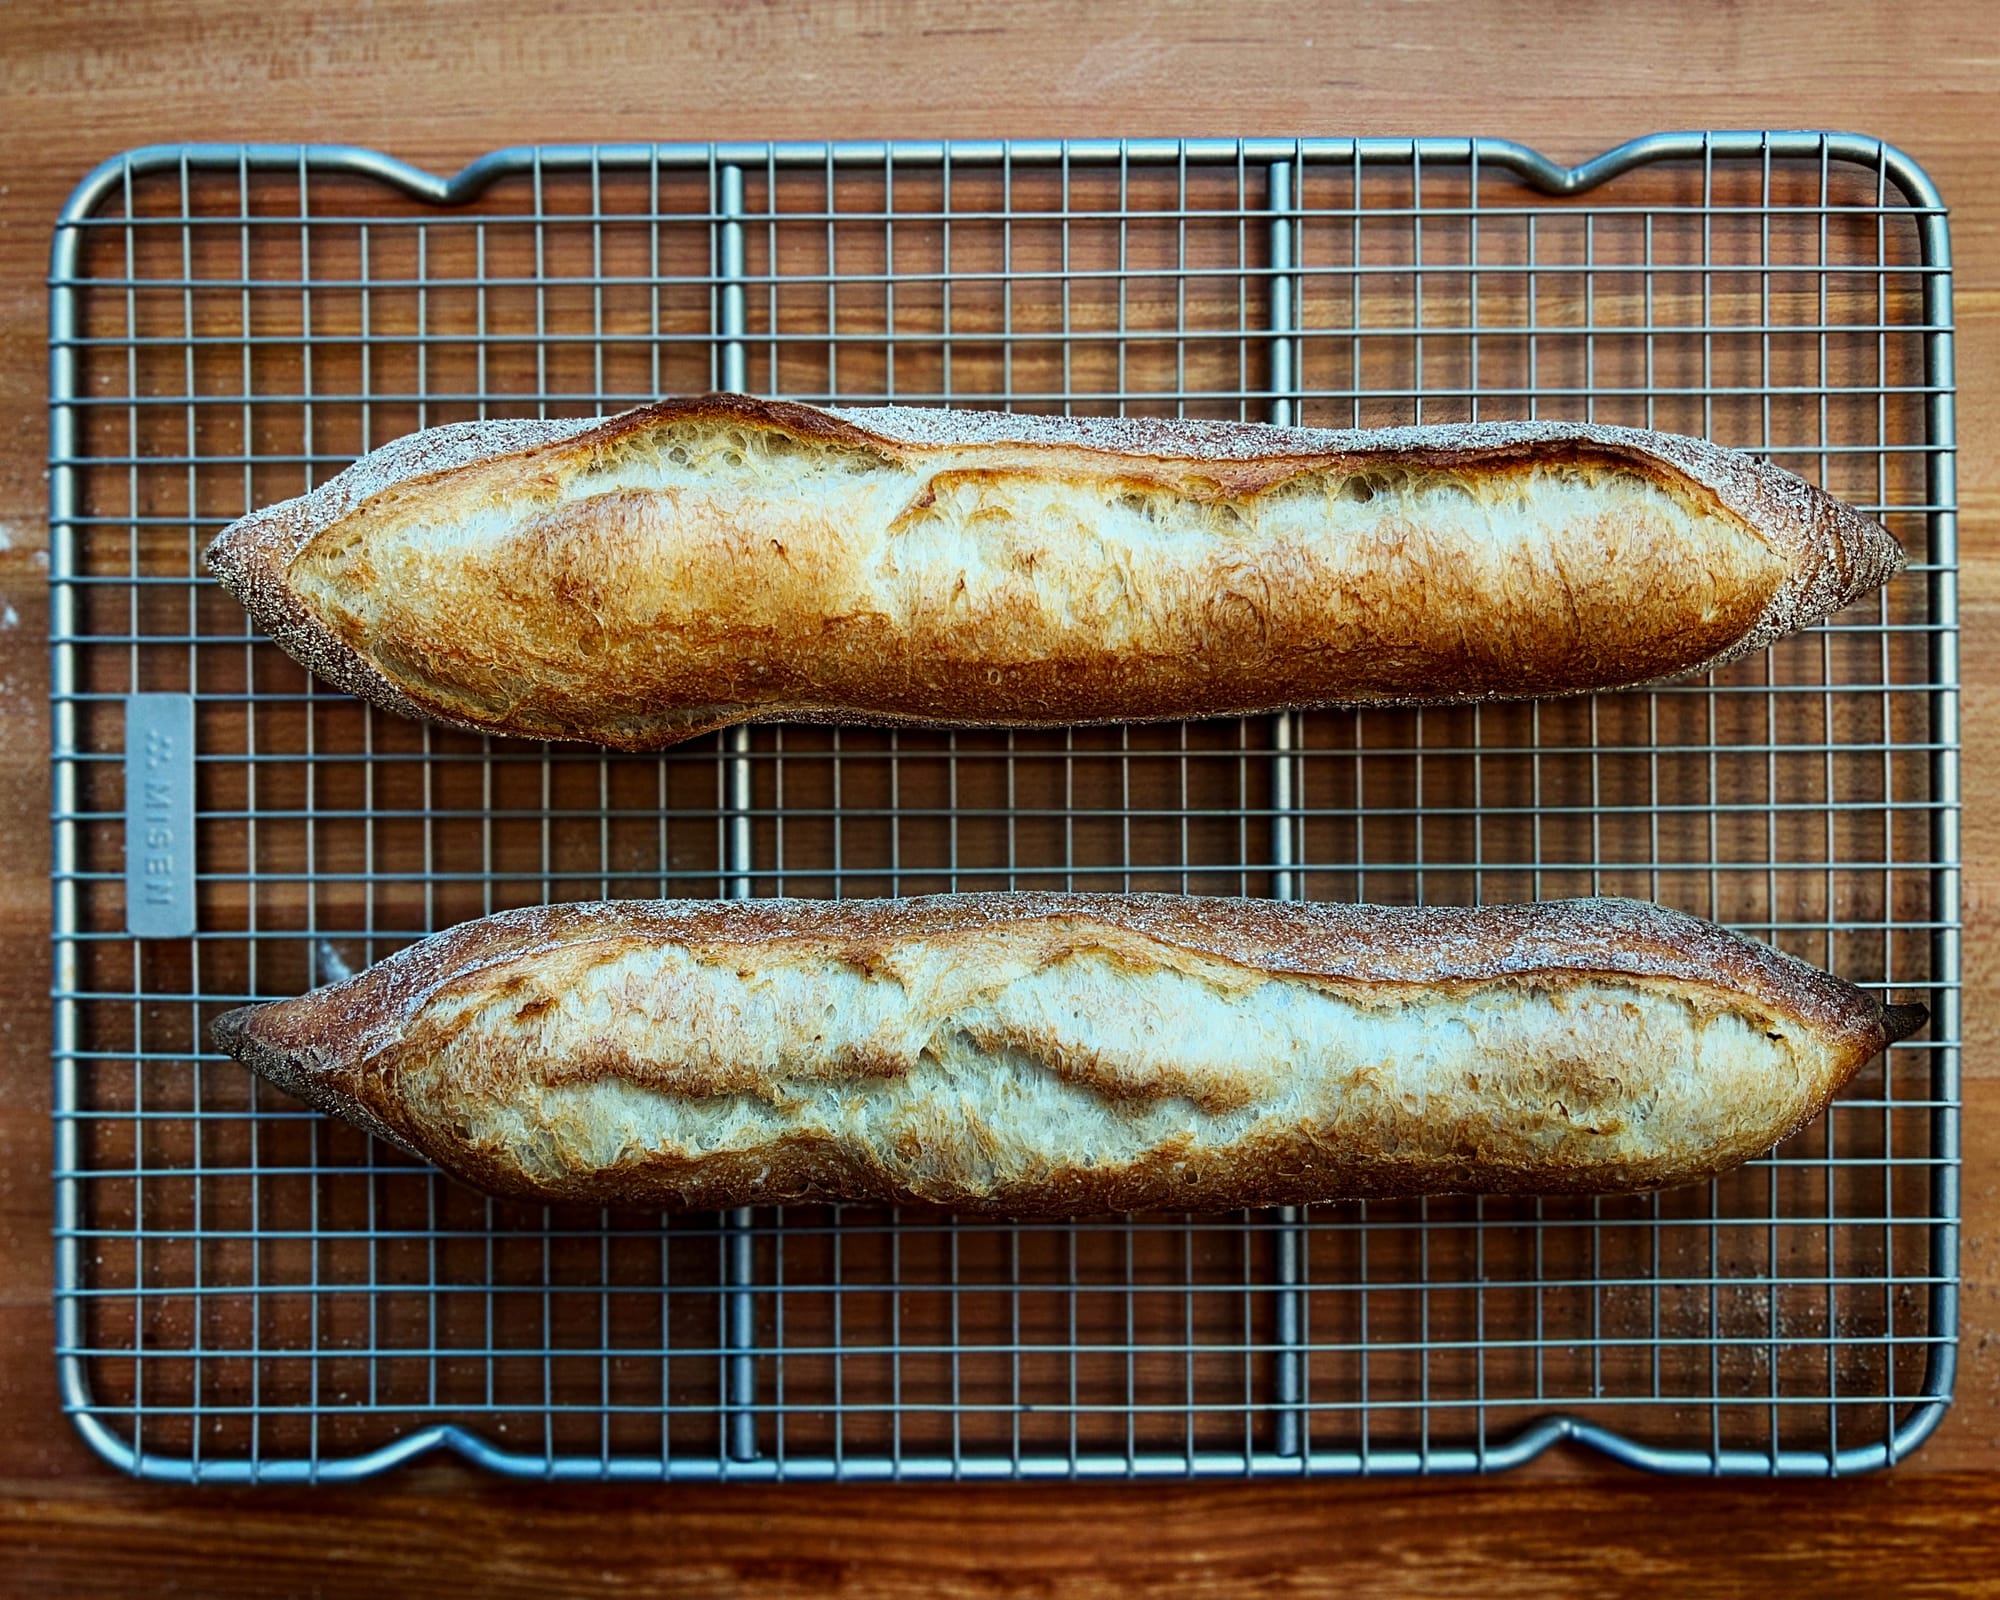
I have been working on a new baguette recipe for Serious Eats—on and off—for about 6 months now. It is coming together, but it is going to be awhile still before it goes live since it’s such a complicated recipe to describe and document. (Case in point: The average recipe story is somewhere around 1500 words. With this one I just crossed the 5000 word mark, and I haven’t even put the hypothetical loaves into the oven yet, ugh.) Baguettes are simple breads, but they are anything but simple to make, much less to describe. While my goal with the recipe isn’t to scare anyone away from wanting to tackle the baguette, there’s no way to avoid the fact that they are hard to do well consistently, at least not without a lot of practice. (As I say there too: If you really want to learn to make great baguettes, it might be easiest just to get a job at a bakery and make them every day for a few years.)
Most of what goes into that recipe are techniques and ideas that I have gleaned from other bakers—all of whom, unlike me, have worked in bakeries making baguettes—and most of which I’ve used in previous recipes. There are two new/cool things in it, one that came via a suggestion from my pal Martin Philip, and one that I came up with myself. The former method makes the dough extremely easy to make (thankfully, since it is pretty much the only aspect of this recipe that you can describe that way), while the latter solves possibly the biggest impediment to making a quality baguette at home, namely the challenge of steaming the oven quickly and thoroughly enough. Because both of these methods are useful in other contexts (and because I wanted to share them sooner rather than later), I decided to create another recipe here that featured them.
And I had the perfect opportunity, since I needed a roll for another recipe I was working on: A vegetarian pan bagnat. Pan bagnat is a dish from the south of France that is a sort of a salad Niçoise in portable, sandwich form: tuna and/or anchovies, hard boiled eggs, olives, onions, tomatoes, herbs, and a tart red wine vinegar-olive oil dressing, all stuffed into a wide, round crusty roll and pressed for awhile to draw everything together. (Pan bagnat means ‘bathed bread’ in Niçoise, referring to the way that the dressing saturates and softens the bread.)
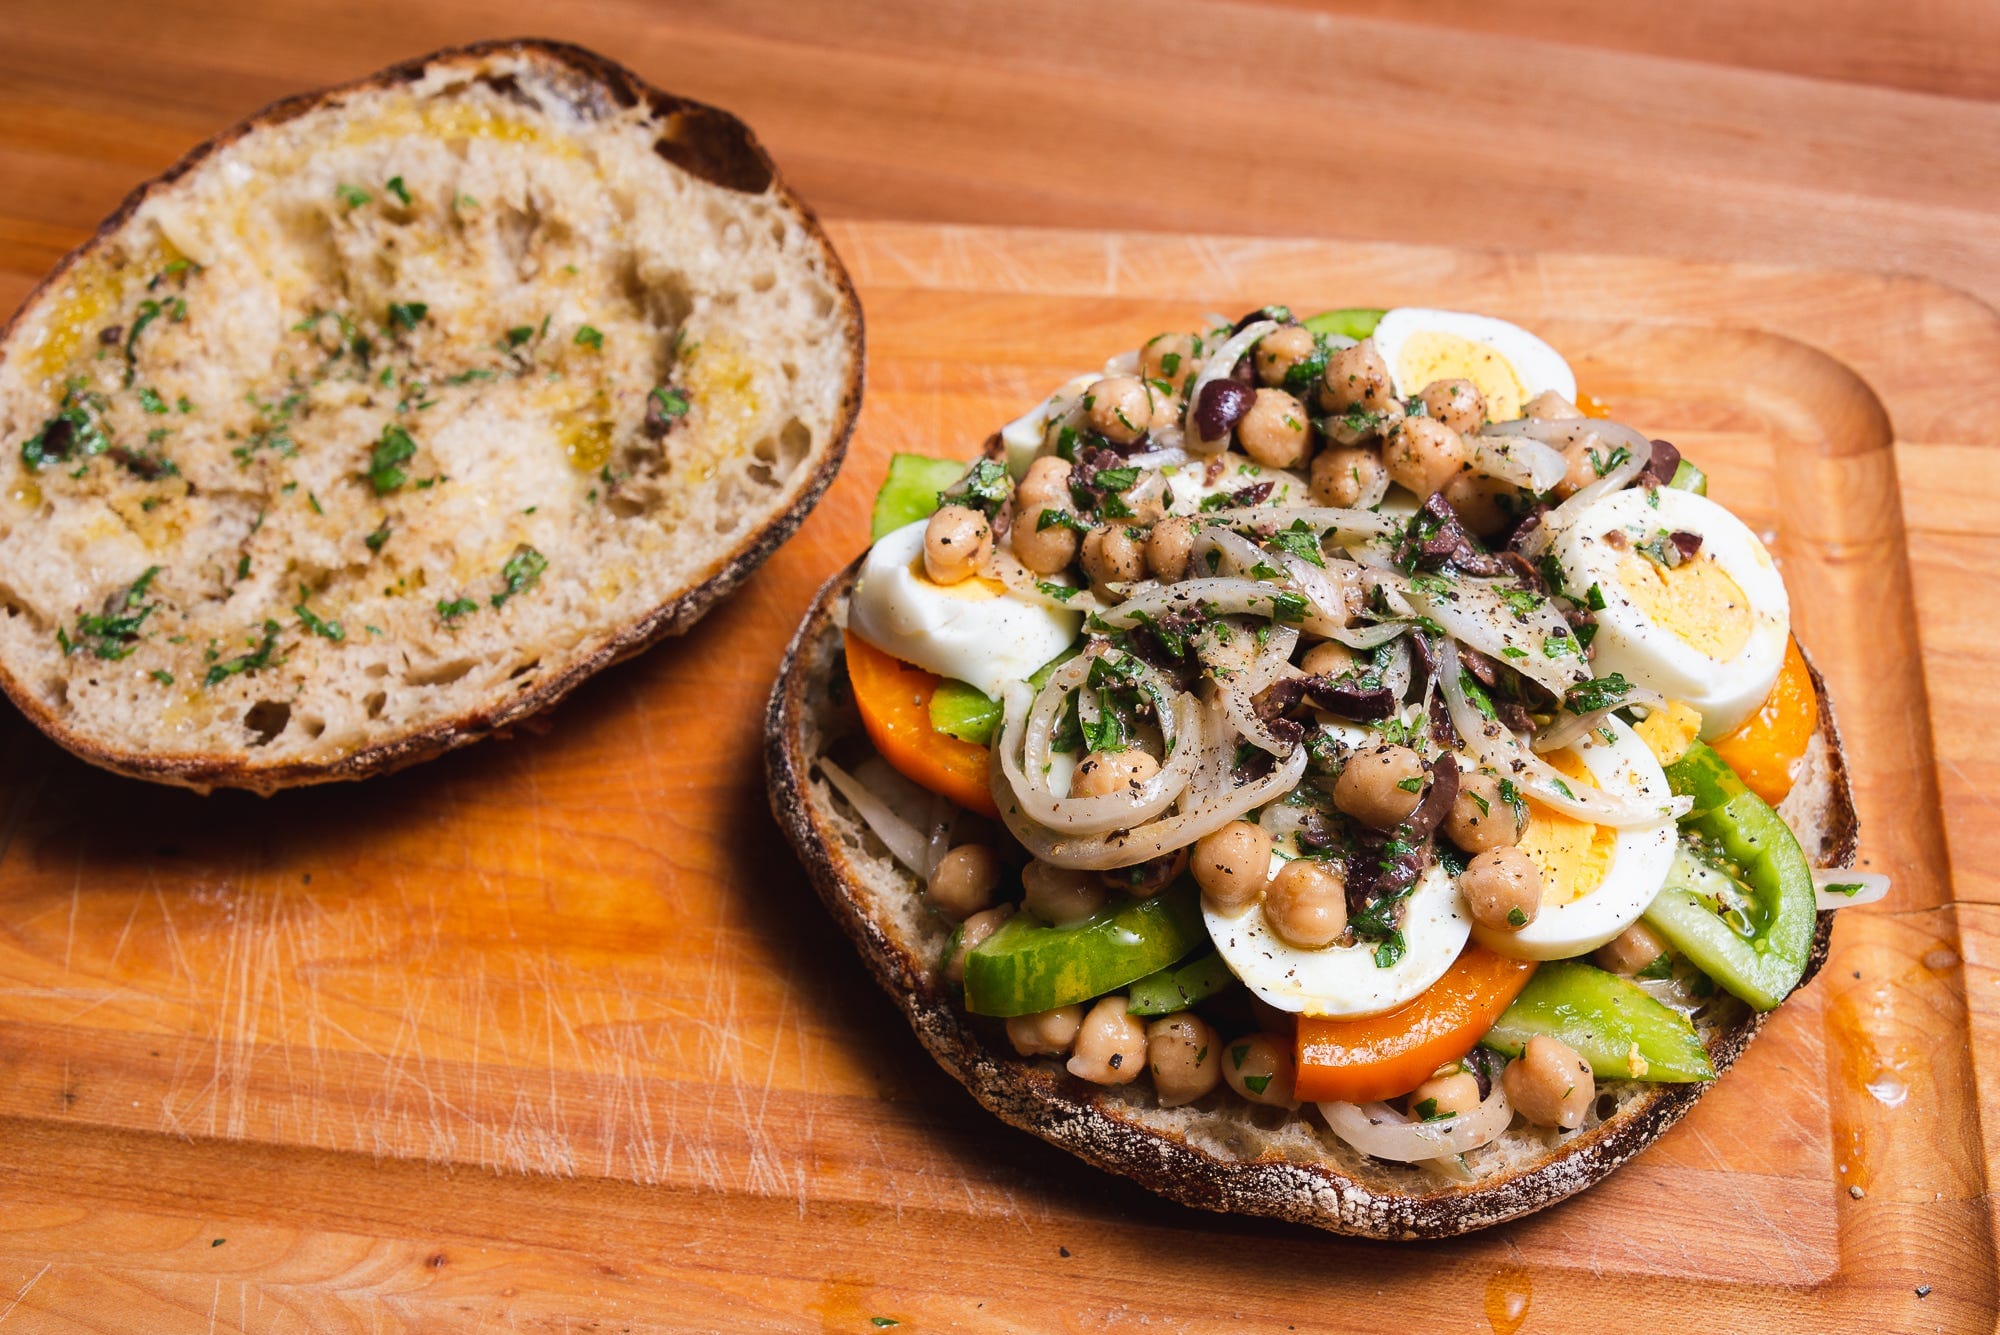
I’d created a pan bagnat recipe for Cook’s Illustrated awhile back, but at the time I’d used an easy-to-come-by store-bought baguette to stand in for the traditional round roll, and I’d always liked the idea of developing a recipe for the roll itself someday. And lately, in an effort to eat a lot less meat, I’ve been looking to create vegetarian versions of some of my favorite dishes, including this one. Also also: It’s currently the height of nice tomato season here, and pan bagnat is a great place to feature juicy, flavorful ones. (The vegetarian pan bagnat recipe will be coming later today in a separate email, so keep an eye out for it.)
These pan bagnat rolls are made using my basic yeasted baguette formula, but scaled differently and shaped into two round mini-boules about 8 inches in diameter. The formula will look familiar to those who know my recipes: white bread flour (95%) plus a small amount (5%) of sifted whole grain flour for flavor and color, a moderately high hydration (73%), and some optional diastatic malt to promote nice browning despite the overnight cold fermentation. (I detailed the use of diastatic malt in cold-fermented doughs in my Thin Crust Pizza 101 post.)
Here are the two cool/novel elements in it:
One: It’s a no-autolyse, no-knead, and nearly no-fold recipe that nevertheless has plenty of structure once it comes time to shape the dough. I began with an autolysed, kneaded, and folded recipe, but kept finding that the dough was elastic and hard to shape without potentially overworking it. Martin suggested I try eliminating these structure-building elements from the method, and—despite my skepticism—it worked beautifully. The dough gets mixed briefly by hand, folded once after 30 minutes (really just to make sure the ingredients are fully combined), proofed at room temperature until it gets puffy, then moved into the fridge overnight (and for up to 2 days).
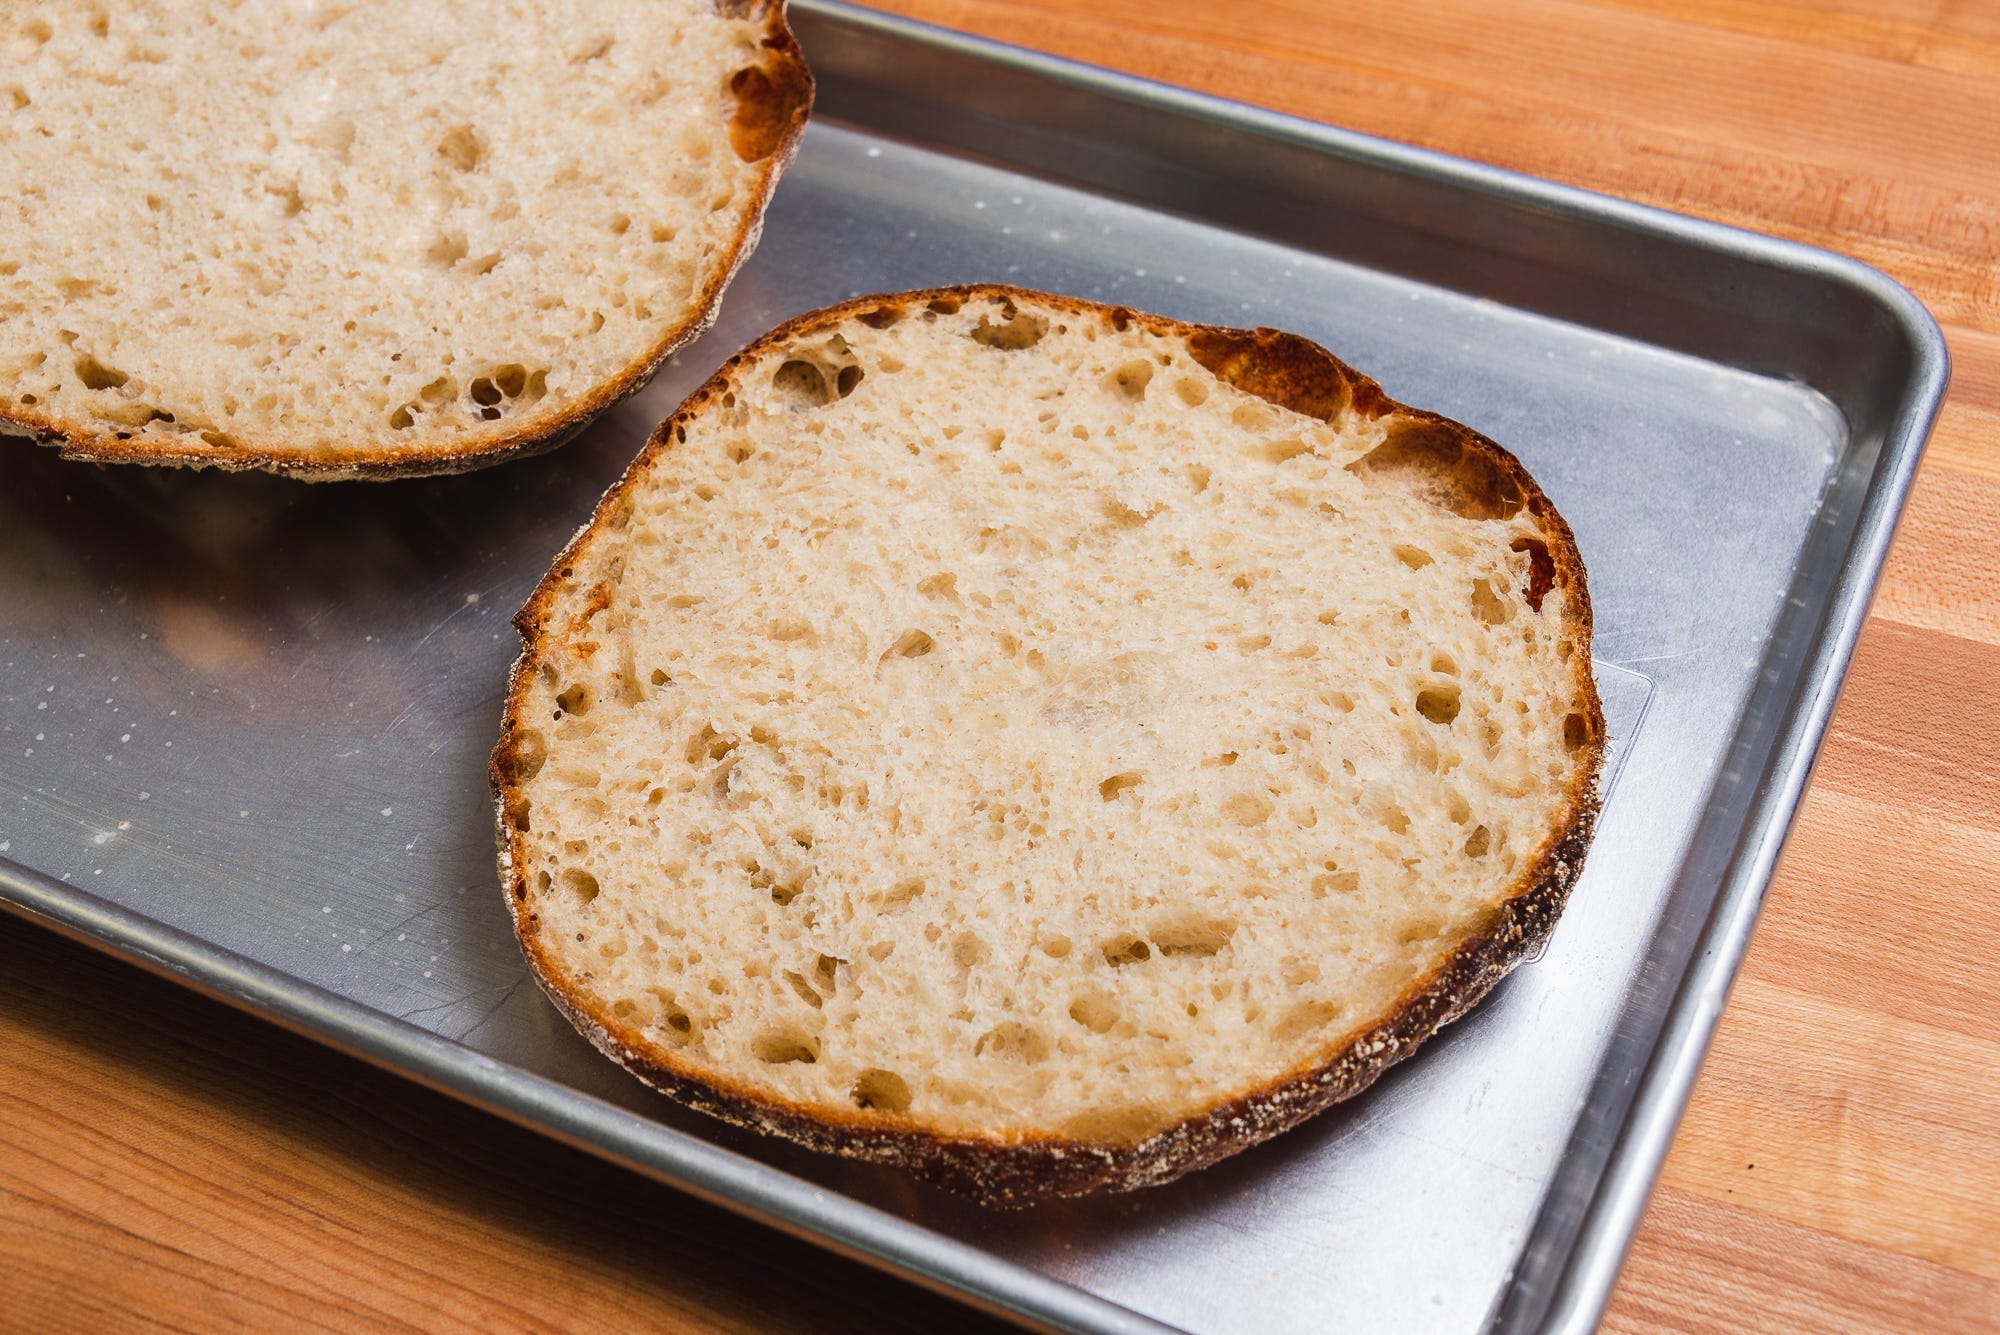
By the time it comes out of the fridge, it has a nice, irregular open crumb, a silky texture, and more than enough strength to form shapely boules or baguettes.
Two: I’ve improved drastically upon the inverted foil roasting pan “Dutch oven” steaming method I used in my Cook’s Illustrated baguette recipe by adding one simple step: wrapping the pan in a sheet of foil, to corral the steam around the loaves even more fully. The overturned foil pan trick worked well enough, but I knew that the crusts it produced were kinda lacking compared to those baked in a real Dutch oven. For some reason it took me nearly 10 years to come up with the now glaringly-obvious idea to add a sheet of foil under the loaves, crimped around the pan to eliminate any opportunity for steam to escape. Here’s what it looks like:

I knew I was onto something with this method on the very first bake, since I nearly burned myself on the jet of steam that escaped when I peeled back the foil. And the crusts it produced were as good as any I’d ever made, with a deep mahogany color (steam at the beginning of the bake helps promote caramelization later on), and a thin, delicate, and crisp texture. It’s a bit of a pain to do, but it’s not hard to pull off, and the results are totally worth it.
One thing to keep in mind here though is that—as I mention below—you can get equally good results in a traditional Dutch oven, since these boules will fit just fine there. But if you try it this way, you’ll be primed and ready for my baguette recipe once it drops.
—Andrew
Pan Bagnat Bread

Pan Bagnat Bread1.05MB ∙ PDF fileDownloadDownload
Makes two 450g mini boules (or one 900g hefty boule)
- If you have high extraction flour, you can skip step 1 and use 50g of it in step 2 instead of the sifted flour.
- If a high-protein all-purpose flour like King Arthur all purpose is unavailable, use bread flour instead.
- Diastatic malt powder is an enzyme used to promote browning in cold-fermented doughs. It can be sourced from bakery supply stores online. Be sure to get diastatic malt powder; sweeteners like malt sugar, malt syrup, and malted milk powder are not appropriate substitutes. If unavailable, leave out.
- Since these rolls—unlike baguettes—fit in most baking vessels, feel free to skip the foil pan and baking stone and bake them in your Dutch oven of choice. Both methods work equally well.
- If you want to make one large boule, bake for 15 minutes covered then lower the oven temperature to 450˚F (230˚C) and bake uncovered for 20 to 30 minutes.
Formula
75g (2/3 cup) whole wheat flour
465g high-protein all-purpose flour
375g water
1g (1/4 teaspoon) diastatic malt powder
4g (1 teaspoon) instant yeast
11g (2 teaspoons fine) salt
Overall Formula
95% high-protein all-purpose flour
5% sifted whole wheat flour
73% water
2.1% salt
0.75% instant yeast
0.25% diastatic malt powder
- Sift the whole wheat flour through a fine mesh sieve. Discard the bran in the sieve or save for another use. Measure out 50g of the sifted whole wheat flour and discard or save the remainder for another use.
- Place the flours, salt, yeast, and diastatic malt powder (if using) in a medium bowl and whisk to combine. Place the water in a large bowl. Add about 1/4 of the flour mixture and whisk until uniform. Add the remaining flour mixture and stir with a dough whisk or knead in the bowl by hand until no dry flour remains. Cover and let rest 30 minutes.
- Using lightly-moistened fingertips, fold the dough over itself by gently lifting and folding the edge of the dough toward the center. Rotate the bowl slightly and repeat folding. Rotate the bowl and repeat folding until you can no longer easily stretch the edge of the dough, 6 to 8 times total.
- Cover the bowl and let rest until slightly less than doubled in volume, 60 to 90 minutes longer. Cover the dough tightly and refrigerate for 12 to 48 hours.
- Remove the container from the fridge and allow the dough to warm up until just cool to the touch (between 50˚ and 55˚F), about one hour.
- Flour the top of the dough and turn it out onto a lightly-floured surface. Divide it into two roughly equal pieces (about 450g each). Gently form the pieces into rounds, cover, and let rest seam side down for 20 minutes.
- Generously dust two lined round bannetons or towel-lined large bowls with flour or rice flour.
- Shape the loaves into tight rounds (boules), place them seam side up into the prepared bannetons and cover. Let proof at room temperature until puffy, expanded by about 1/3, and a poke with a fingertip leaves an indent that slowly springs back, 60 to 120 minutes. While loaves proof, set an oven rack to middle position, set a baking stone or steel on the rack, and heat the oven to 475˚F (245˚C).
- Place a 20- by 16-inch sheet of aluminum foil on a counter and center a 16- by 12-inch sheet of parchment over it. Invert one loaf onto the center of the parchment. Using a lame, score the loaf with a shallow crosshatch pattern. Cover the parchment paper with an overturned disposable aluminum 17- by 13-inch roasting pan, then crimp the edges of the foil around the edges of the pan. Gently slide a pizza peel under the foil and transfer the packet to the oven. Bake for 10 minutes.
- Using the peel, transfer the packet to a cooling rack. Using tongs and your hands, very carefully uncrimp the foil *(warning: there’ll be a burst of steam at first!)* and remove the roasting pan. Slide pizza peel under the parchment and transfer the loaf back to the oven. Bake until the loaf is deep golden-brown, 10 to 15 minutes longer.
- Repeat steps 9 and 10 with the remaining loaf.
- Allow the loaves to cool for at least 1 hour before serving.
wordloaf Newsletter
Join the newsletter to receive the latest updates in your inbox.
