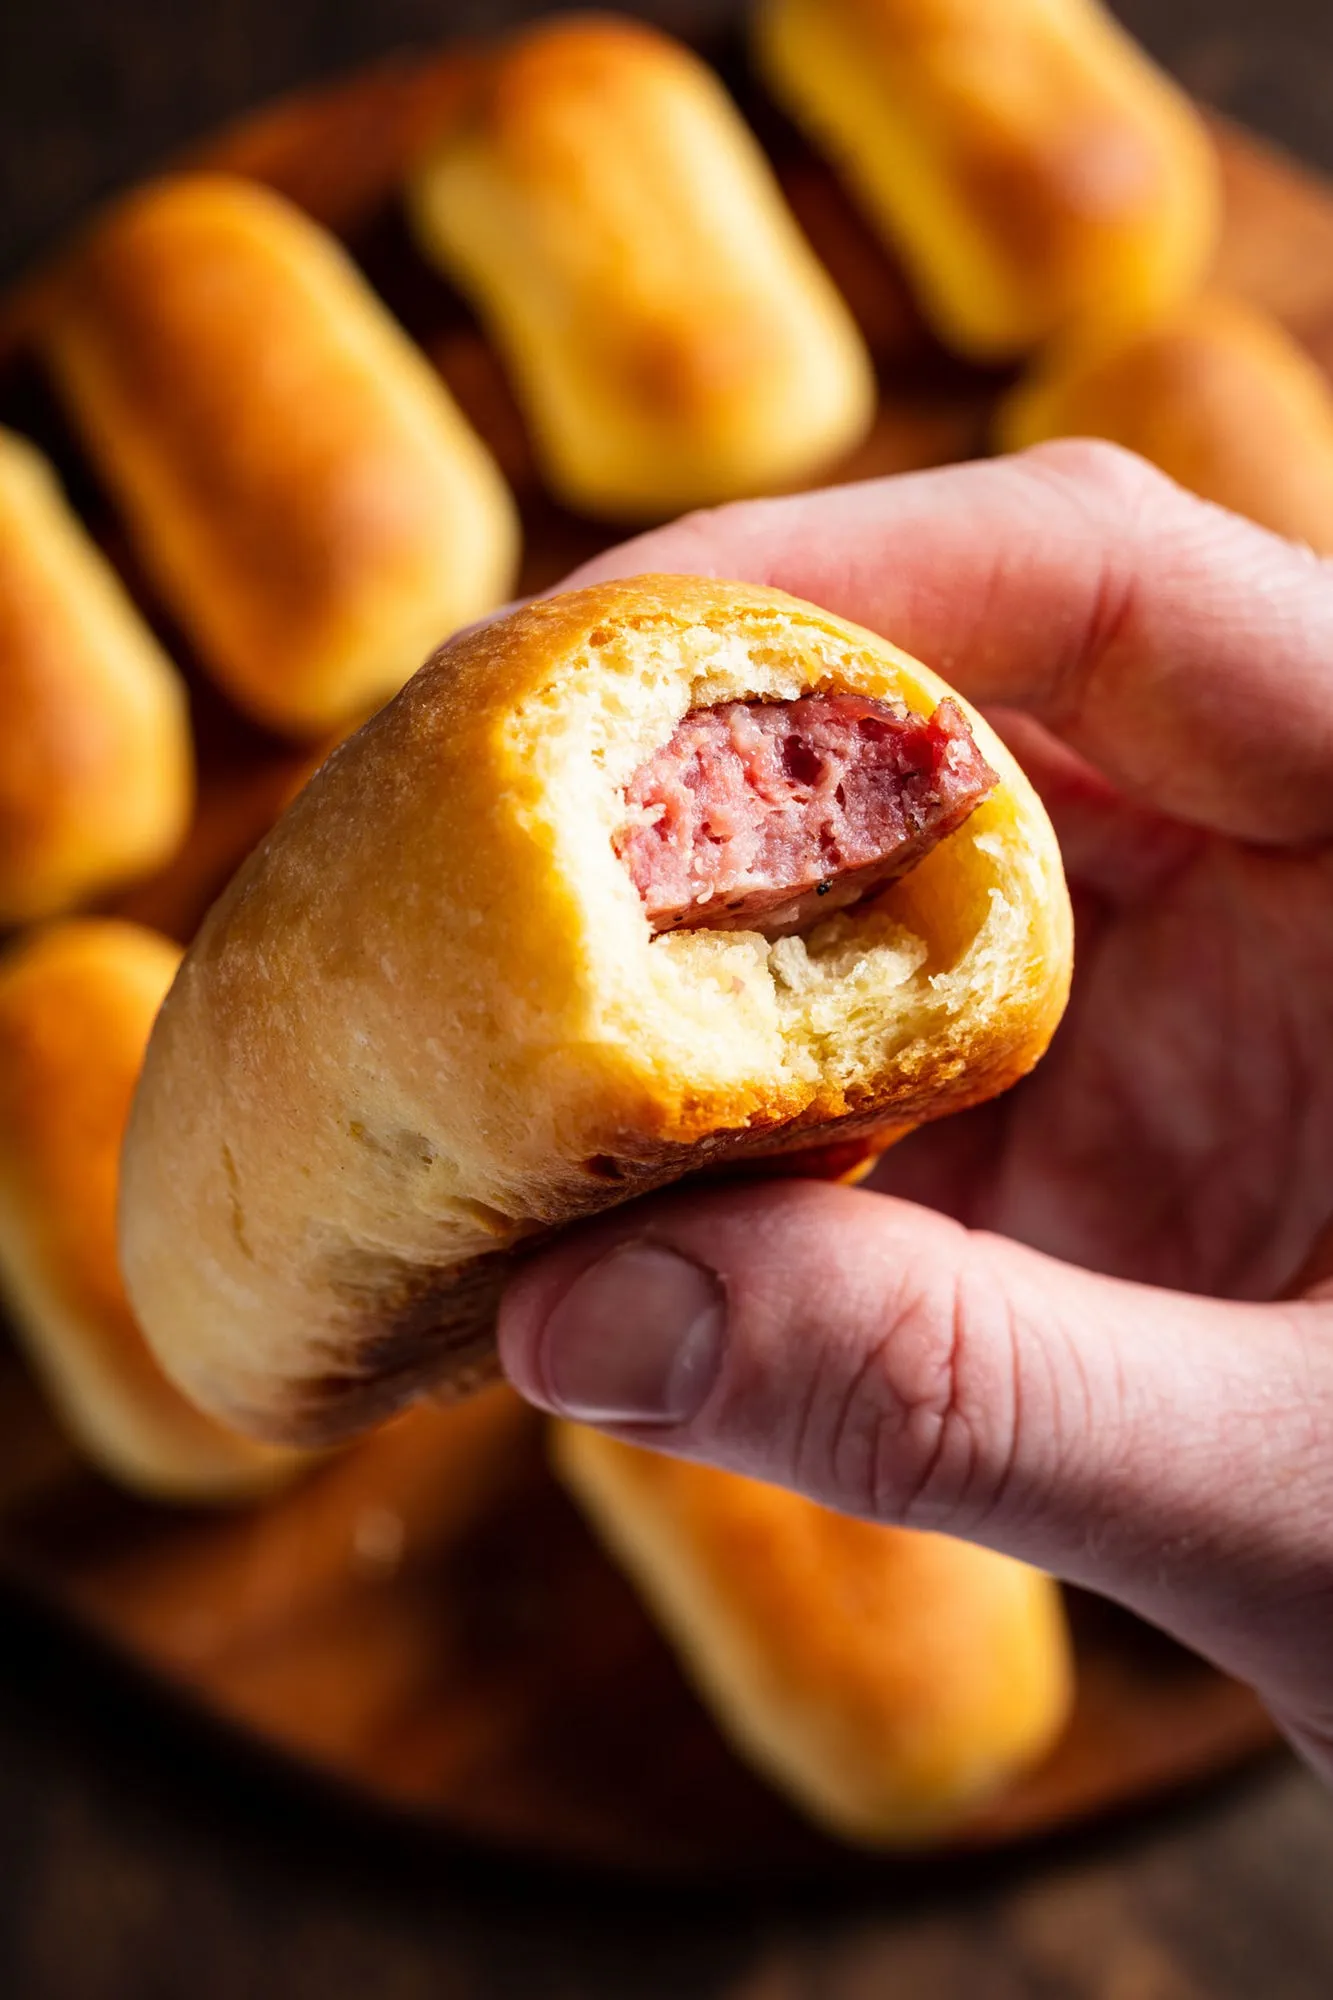
Book excerpt: Camilla Wynne's 'Jam Bake'
Her crabapple jelly recipe
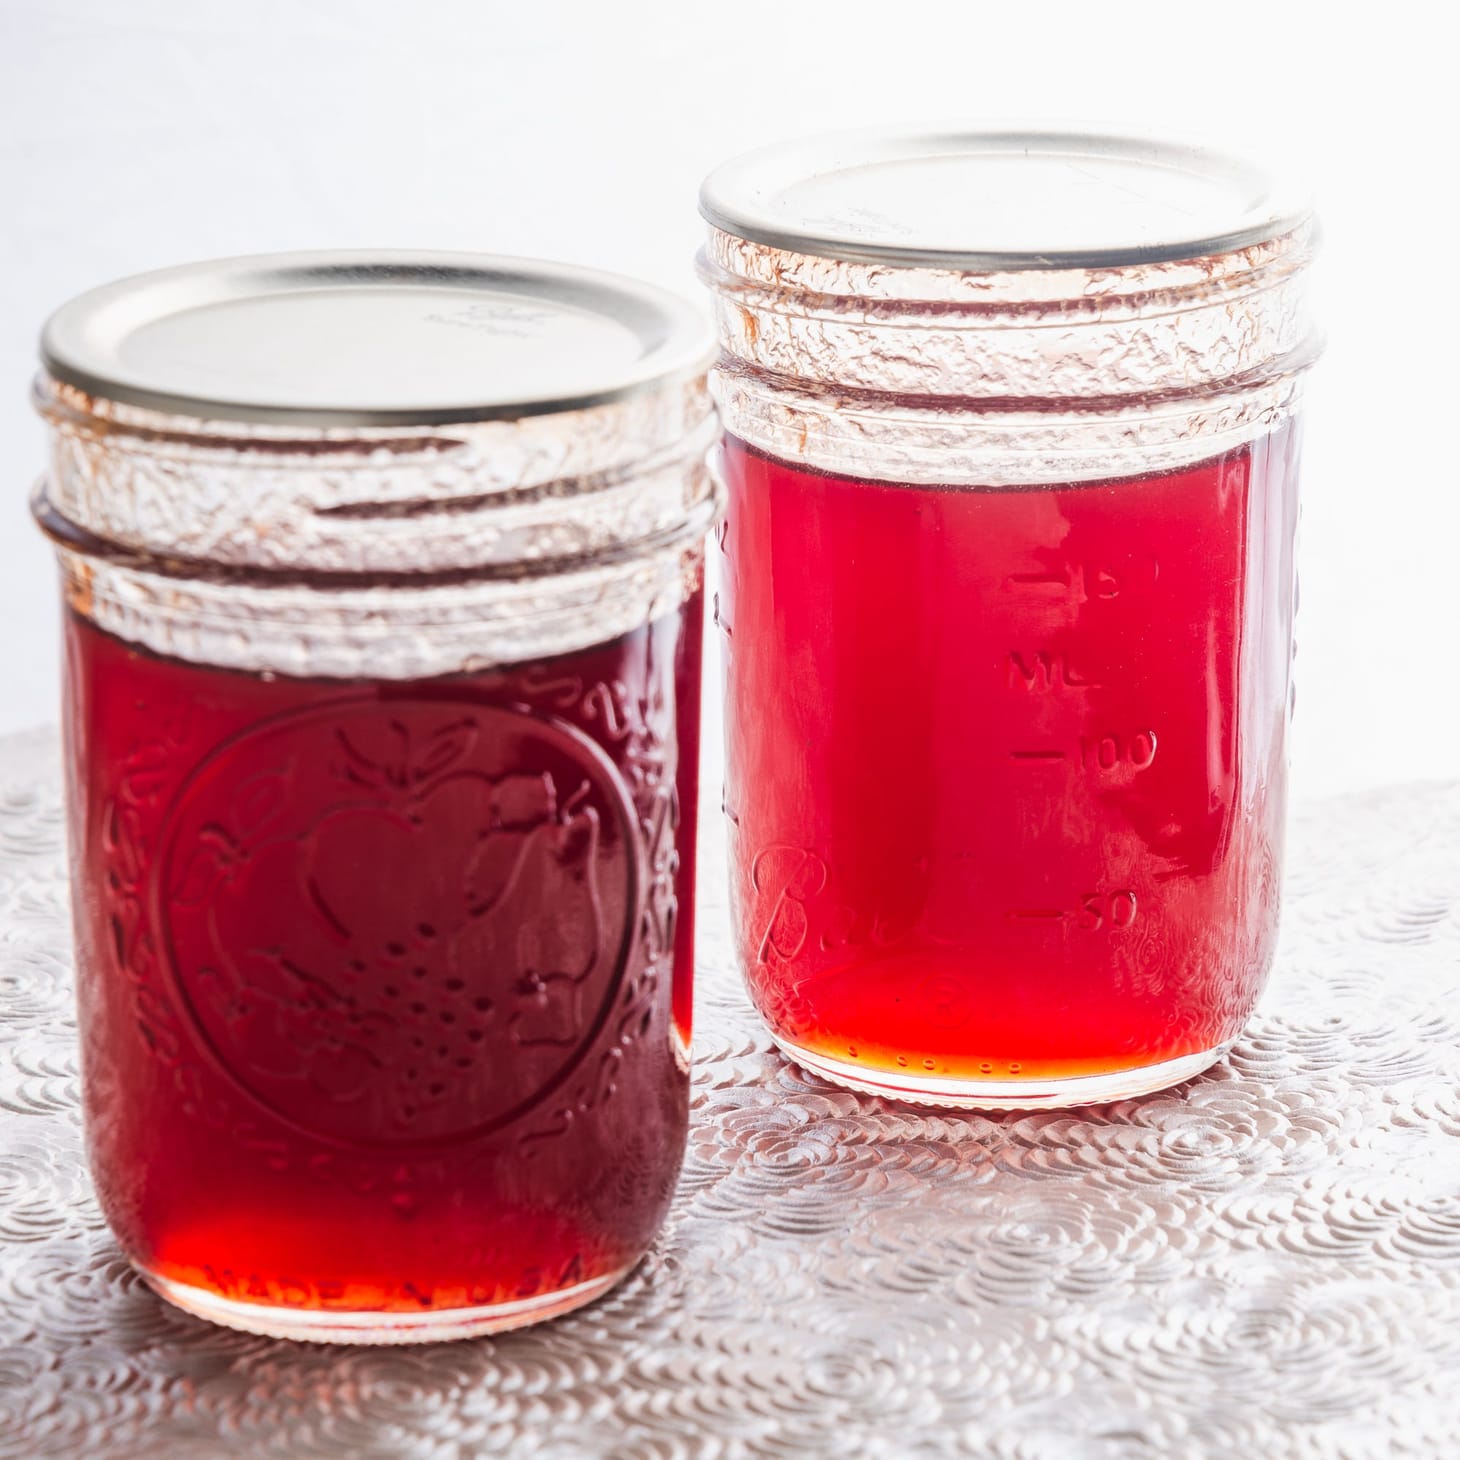
Table of Contents
This recipe is excerpted with permission from Camilla Wynne’s fabulous book, Jam Bake, which is one of my new faves and wrote a little about here.
I made the jelly pictured above from crabapples I plucked from a neighborhood tree, and it came out exactly as described in the book. I’ve excerpted all of the information you should need from the book to make it below, but I hope you’ll seek out your own copy, because it describes the jam- and jelly-making process in much greater detail (plus it has so many wonderful recipes).
While I gleaned my crabapples, you might also be able to find some at farm stands or farmer’s markets (I spied another variety at ours just the other day, and might just buy more to make more of this wonderful jelly.)
Links:

→ Her Instagram
Thanks so much to Camilla for letting me share the recipe here!
—Andrew
Making jelly is one of the most satisfying tasks I know. There's just something about transforming juice into a solid that is so alchemical, the feeling amplified by the jewel-like transparency and hue. Turning whole fruit into juice may seem like a chore, but for the most part it's hands-off. That's right, you can spend the majority of the process watching TV or choreographing dance routines! It's mostly just simmering and dripping. Consider saving the pulp to make fruit leather or to flavor kombucha. I've even painstakingly removed the cores of each spent half, dehydrated them, and added them to nougat with pecans and brown butter, which was superlative.
Crabapple Jelly
Makes four to five 250 mL (8 oz) jars
1.8 kg (16 cups) crabapples
1.25 L (5 cups) water
700 g (3 ½ cups) sugar
45 mL (3 Tbsp) lemon juice
Halve the crabapples (or quarter, if large), and remove the stems and blossom ends. Place them in a large pot with the water, and bring to boil over high heat. Turn down the heat to medium-low and simmer, uncovered, until the crabapples are very soft and breaking down, about 30 minutes. Pour the mixture into a wet jelly bag1 suspended over a deep receptacle and let it drip overnight. It's very important never to squeeze the bag or force the pulp through—we want a juice mostly free from solids for a prize-winning crystalline jelly!
The next day, check that you have 1 liter (4 cups) of juice. If there's more, save the extra for lower-pectin jams. If there's less, top it up with a little water.
Prepare your jars2.
Transfer the crabapple juice to a wide, heavy bottomed pan and add the sugar and lemon juice. Bring to a boil over medium-high heat. Cook at a rolling boil, stirring frequently and skimming off any foam, until the setting point3 is reached. This jelly will fall off the spatula in big clumps.
Remove from the heat and pour to into the hot jars within ¼ to ⅛ inch of the rim. Wipe the rims if necessary, seal, and invert for 1 to 2 minutes. Flip right side up and let the jelly sit, undisturbed, for 24 hours.
This is a mesh bag for letting the juice drip off simmered fruit to make fruit juice for jelly. Personally I just use a nut milk bag (that fad didn't last long at my house, but it's a useful item nonetheless). You could also use a large sieve lined with cheesecloth. ↩
The thing about jam, jelly, and marmalade…is they get so hot that they don't need sterilizing if they go into hot sterilized jars right away.
1. Preheat your oven to 250°F (121°C). Check that your oven is truthful by using an oven thermometer, so you know its real temperature to get that safe sterilization bang on.
2. Wash your jars if they've been sitting in the basement or you just brought them home from the thrift store. I don't thoroughly wash brand new jars. I just inspect them for material contamination (broken glass, hair and once I found a folded-up $5 bill!) and rinse them. If that weirds you out, though, feel free to wash them, of course. Either way, place them upside down (to avoid material contamination—just in case your oven is infested with bats!) on a cookie sheet and place them in the preheated oven at least 20 minutes before you'll need them. Keep them on the cookie sheet throughout the process so that you have a contained work area for easy cleanup and so the filled jars can be moved easily without disturbing them too much as they rest for 24 hours.
Have ring bands and new snap lids at the ready, but there's no need to prepare them in any way (unless you'd like to wash the snap lids). I know we used to heat them in hot water for 5 minutes, but I stopped doing that in 2013 after I saw a press release saying it was no longer necessary, and I've never had a problem. Besides, the lids will be sterilized by the hot jam itself.
3. When the jam is ready to be added to the jars (see page 23), turn off the heat, or turn the temperature down to low. For this method to be safe, the jam must still be above 194°F (90°C) for the entire process. Have an instant read thermometer handy to double check. Remove the baking sheet with the jars from the oven-onto a wire rack or tea towel if you're worried this might damage your countertop. ↩
What we really want…is for the jam to declare undying love for the spatula, clinging to it fiercely and declaring wild horses will never tear them apart! You are in no way obligated to use the same metaphor, but I think having one makes it all a little more exciting. ↩
wordloaf Newsletter
Join the newsletter to receive the latest updates in your inbox.
