Not-Quite-So-Tiny Starter
aka Quarantinystarter 2.0
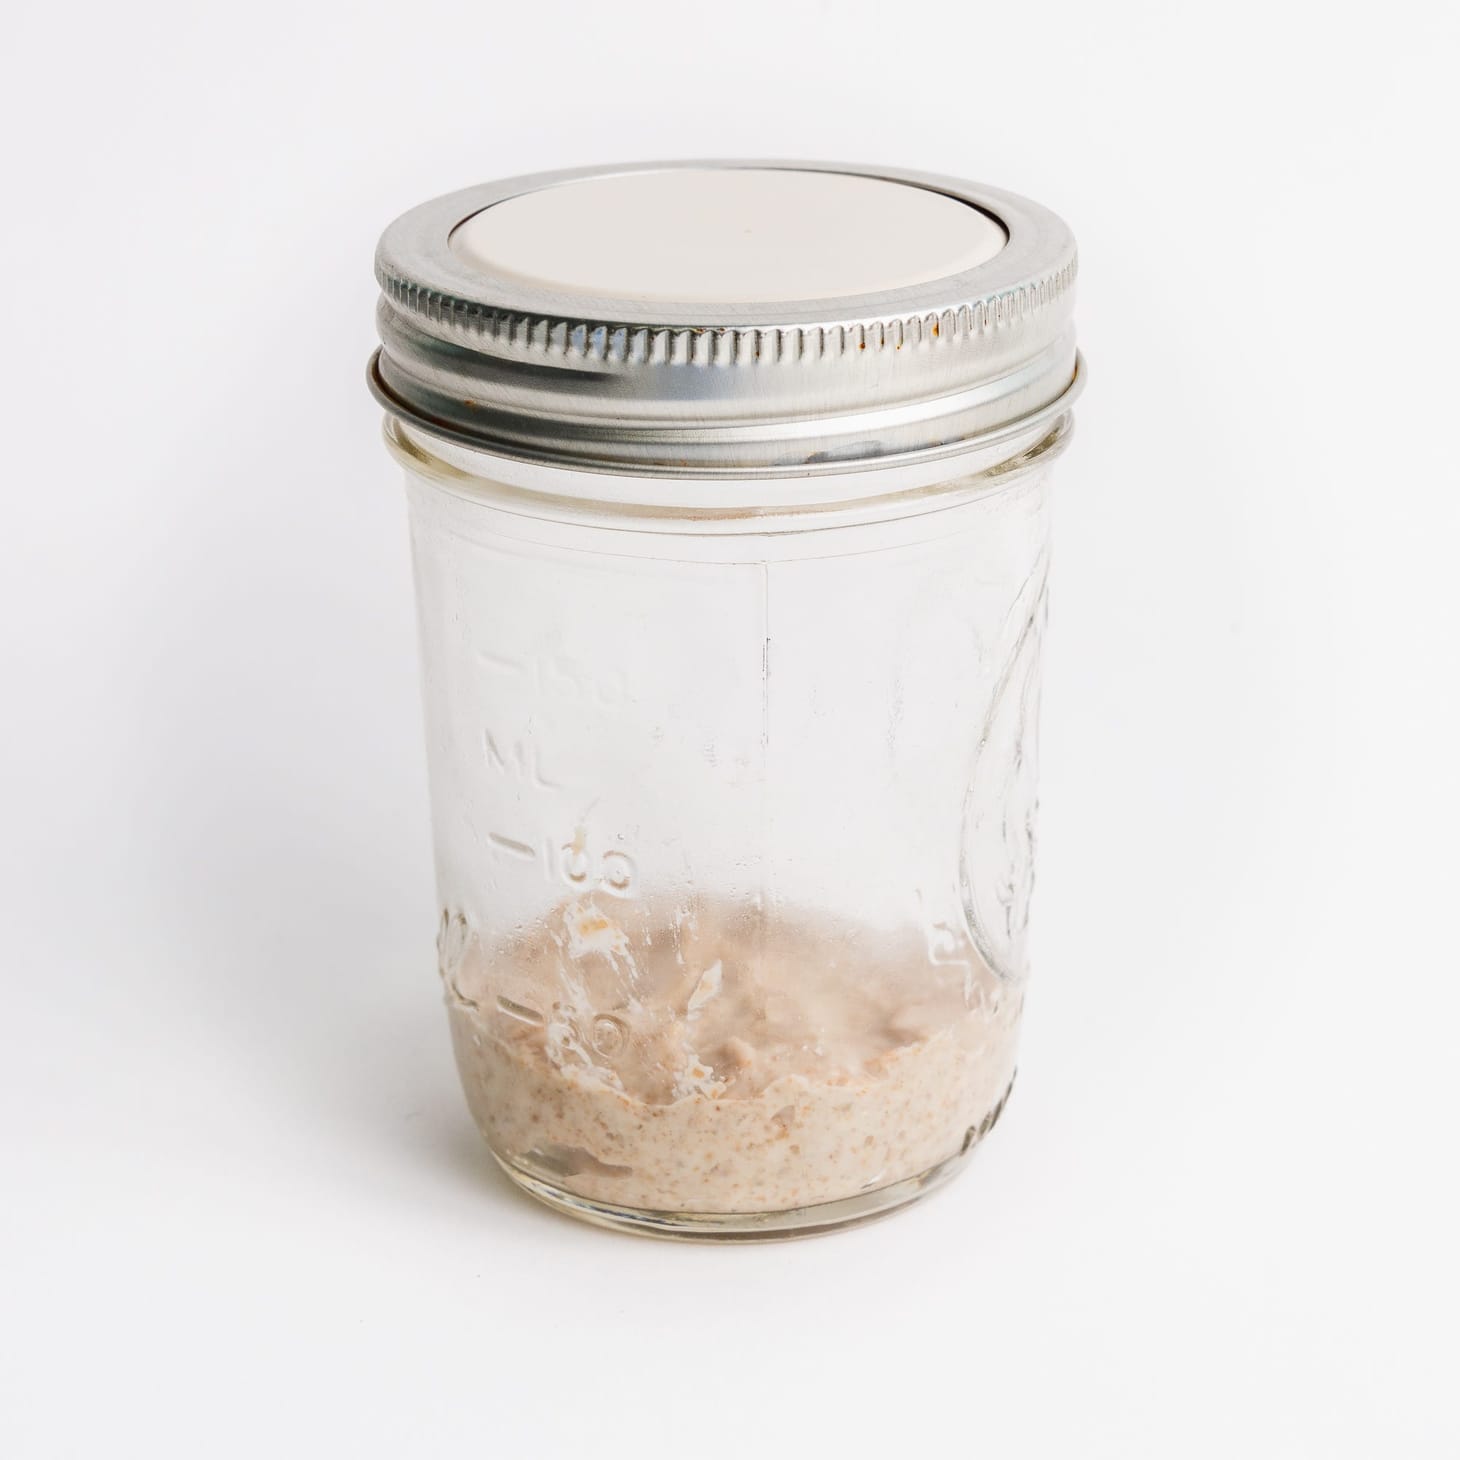
Table of Contents
Chances are many of you are here because you were involved in the original Quarantinystarter project earlier this year, with mature, healthy sourdough starters by now, and thus no need for an updated version of that method. And surely some of the remainder of you either have starters that you got some other way (including dried ones from me, which I will continue to make available for a fiver, by the way—just go here if you want one).
While I do think that nurturing a sourdough culture from start to finish can teach you a lot about sourdough in general and prepare you for actually baking with it, I don’t think it’s an essential precursor either. You can learn just as much by caring for a starter that came from elsewhere.
That said, what follows is for the rest of you who still want to experience the highs and lows of creating one from scratch. Luckily for you, this new version has the benefit of months of hindsight, since we all learned so much from the original set of experiments. This “revised” version should eliminate many of the potential pitfalls that the Quarantinystarter had in it.
If you try making one using it, please share results and questions in the comments below.
- Andrew
Methods for sourdough starter creation from scratch are a-dime-a-dozen, and there are many different ways to arrive at the same point. The basic idea is to combine flour and water, let it sit until the resident microbes on the flour wake up, then transfer a small amount of the nascent culture to a fresh batch of flour on a regular schedule until the culture is stable and mature; the remaining amount of each culture is discarded. As a result, most traditional recipes consume a few pounds of starter from start to finish.
This method, scaled down to use as little flour as possible, was created early on in the COVID-19 lockdown when flour was scarce, which is why it was given the name “Quarantiny Starter”. (Because the volume of a sourdough culture can be scaled up at any point as long as the ratio of flour and water is held constant, the scale at which a starter is developed has no bearing on how much starter it can produce.)
For more background into the original Quarantiny Starter story, here are a few links:
- Minneapolis Star-Tribune: No yeast? Here's the easy way to start a sourdough starter from a baking expert
- Leite’s Culinaria: Ep. 21: How to Make Sourdough Bread with Andrew Janjigian
- WBUR’s Artery: Can't Find Yeast? Raise Your Own In The #quarantinystarter Project
- ATK Proof Podcast: Quaran-tiny Sourdough Starter
Many people have used the original method successfully, but plenty of lessons were learned along the way, hence this refined, “2.0” version. The most important revision is that though back then I told people to use whatever flour they could get their hands on, it was clear that those that were able to find unbleached and/or whole grain flours (rye in particular) had the most rapid and best results. Now that flour is generally easier to come by, I strongly recommend starting with a mixture of organic, unbleached bread or high protein all-purpose and a whole grain flour, preferably rye, in a 50-50 mixture. The other main difference is that this version is twice the scale of the original, since there was some evidence that maintaining it on too-small a scale could possibly risk over-diluting the developing culture with each refreshment.
All sourdough starter creation methods go through specific phases, each of which—aside from stage 1, which takes just a day or two—can take 1 to 2 weeks to complete. In stage 1, the flour and water mix is left to sit at room temperature until it has activated. In stage 2 it is refreshed on a once-daily basis to encourage the growth of the desired lactic acid bacteria and yeasts. In stage 3, once the pH drops and the sourdough microorganisms have gained a solid foothold on the culture, it is refreshed on a twice-daily basis. Finally, in stage 4, the culture is weaned off whole grain flour so that it can be maintained on white flour alone, since nutritionally-limited, refined flours are more appropriate for long-term storage. Similarly, the ratio of starter to flour is reduced to slow its growth rate at this time.
Creating a sourdough starter from scratch is a somewhat labor- and time-intensive process, but once stage 4 is complete, the culture can be stored in the refrigerator and need only be refreshed on a biweekly basis as described here.
It’s best to think of the sourdough starter creation process as an ecological succession, meaning a community of organisms that evolves over time: The earliest organisms to proliferate within the culture are not the same as those that will dominate once it has stabilized. In the early stages, spoilage bacteria tend to thrive, which is why many cultures can go through a foul-smelling, putrid-looking phase (“It smells like vomit” is a common refrain here). This is to be expected and should not be seen as a sign of disaster.
Similarly, gas production and aroma levels will rise and fall naturally over time. Cultures often go through a “quiescent” phase—usually midway through stage 2—in which it seems like the culture is without activity at all. Again, this is to be expected. Unlike the bacteria that proliferate early on, lactic acid bacteria produce little in the way of carbon dioxide. Only once the acid-tolerant sourdough yeasts start to thrive will gas production resume. The culture should simply be refreshed consistently on a once- or twice-daily basis until the milestones described below are achieved.
“Quarantiny” Sourdough Starter 2.0
The choice of flours is less important here than it will be when it comes time to bake. That said, you are more likely to be successful most quickly if you are working with unbleached and/or organic flours. King Arthur all purpose flour is a good example of a “high protein” all purpose flour. If you can find rye flour for the whole grain component, use that. Filtered or bottled water is preferable—especially in the beginning—as it will be free of antimicrobial chlorine. Your starter container should be covered well, but loosely; inverting the mason jar lid will allow the culture to breathe while still preventing it from drying out. If possible, keep the culture somewhere in the 70 to 80˚F range; temperatures outside of this range will slow or speed up the process accordingly and make scheduling a challenge; excessively high temperatures (above 85˚F) will weaken or kill the culture.
Ingredients & equipment
Large container or bag for storing flour mix
2 small, lidded containers, such as 8-ounce mason jars
1 larger, lidded container, such as a 16-ounce mason jar or deli container (for stage 3 and beyond)
3 cups bread or all purpose flour
3 cups rye or whole wheat flour
Before you begin:
Combine white and whole grain flours and stir until uniform. Transfer to large container.
Stage 1: Pioneer (24 to 48 hours)

20 grams (2 tablespoons) flour mix
20 grams (4 teaspoons) water, 75˚F
1. Stir together flour and water until uniform. Place in small jar, seal completely but loosely, and (ideally) place somewhere in the 70 to 80˚F range (and no warmer than 85˚F).
2. After 24 hours, check your jar for activity, in the form of bubbles, increased volume, and/or a pungent aroma. If present, move on. If not, wait another 12-24 hours and recheck.
Stage 2: Intermediate (7 to 21 days)
20 grams (2 tablespoons) flour mix
20 grams (4 teaspoons) water, 75˚F
20 grams (4 teaspoons) of your original mixture, stirred until uniform
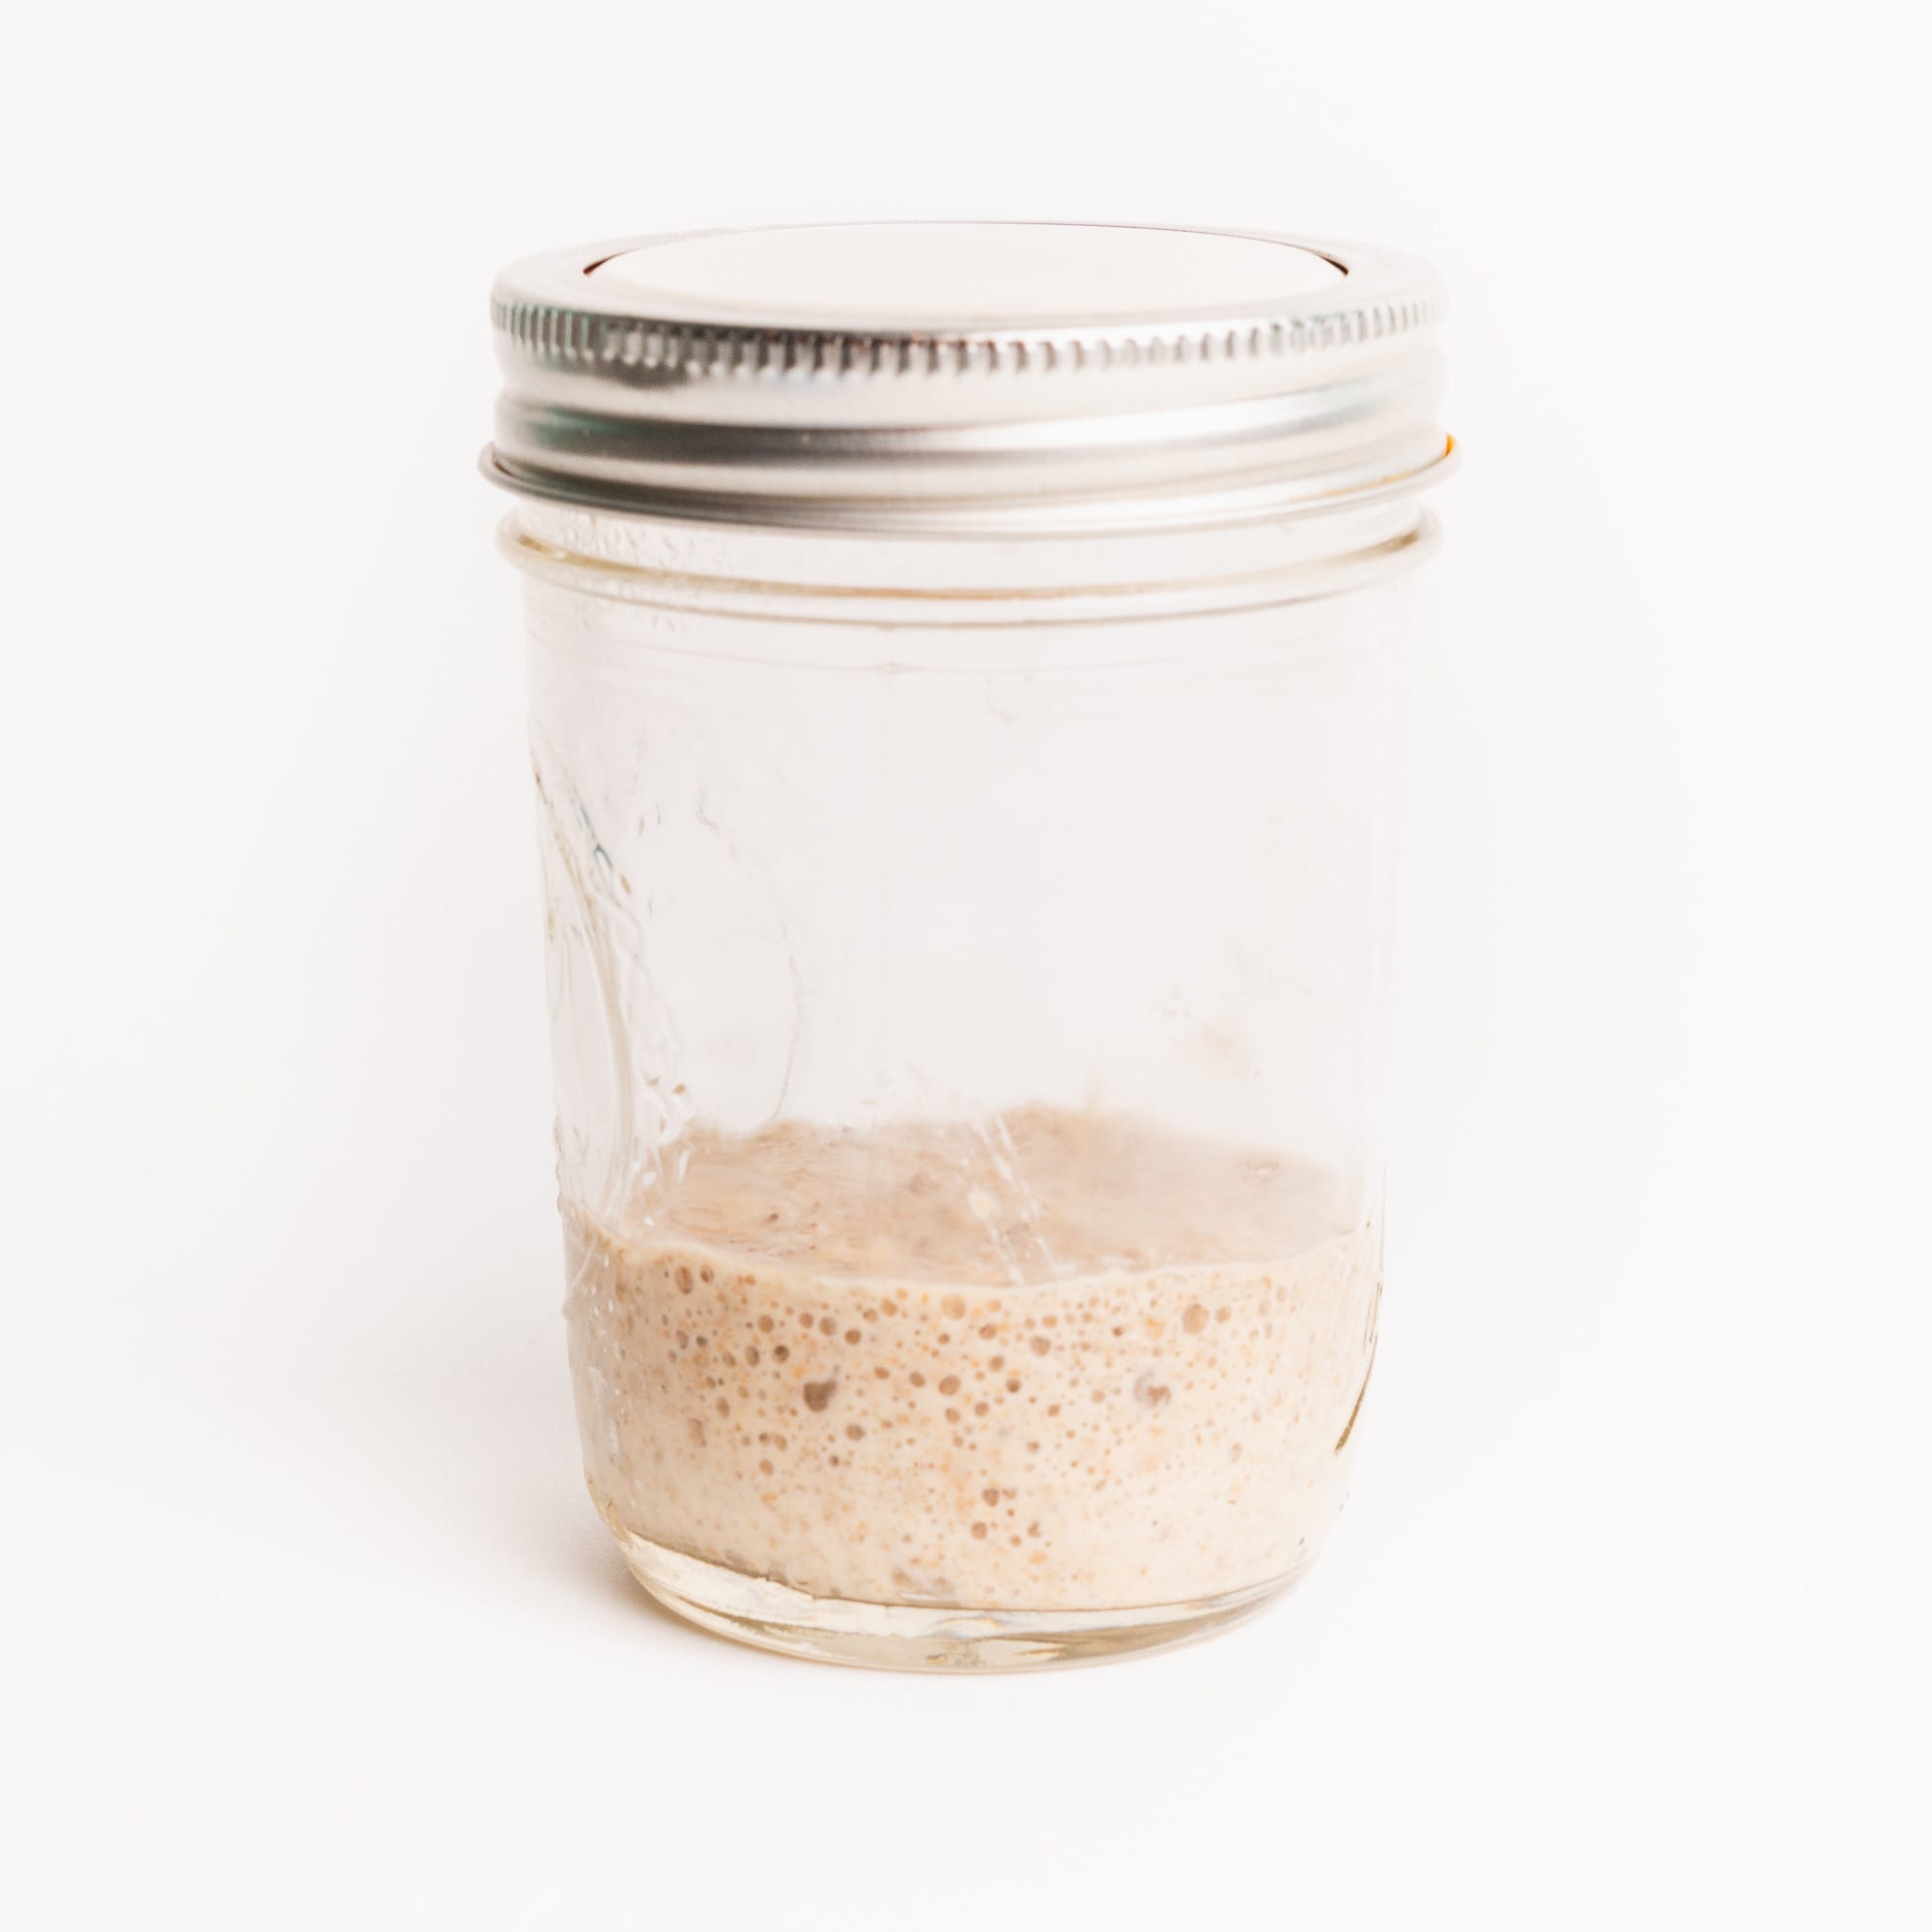
1. Stir together flour, water, and original mixture until uniform. Place in second small jar, seal loosely, and return to your warm spot. Place the original jar in the fridge to serve as a backup in case of disaster.
2. Repeat this refreshment procedure every 24 hours, discarding the contents of the backup jar, cleaning it out thoroughly, and using it to store that day’s new culture. (The remainder of that day’s old culture then becomes the next backup.)
3. Over time the look and smell of the culture will evolve, and it will likely get quite quiet. Do not worry about this, it’s not dead, it’s just sleeping; just repeat as directed above. Sometime within 7 to 14 days after beginning stage 2 the mixture will begin to smell yeasty/bready/vinegary/yogurty, and it will double in volume and collapse after 12 hours or so. Move on to stage 3.
Stage 3: Maturation (7 to 21 days)
20 grams (2 tablespoons) flour mix
20 grams (4 teaspoons) water, 75˚F
20 grams (4 teaspoons) incipient starter, stirred until uniform
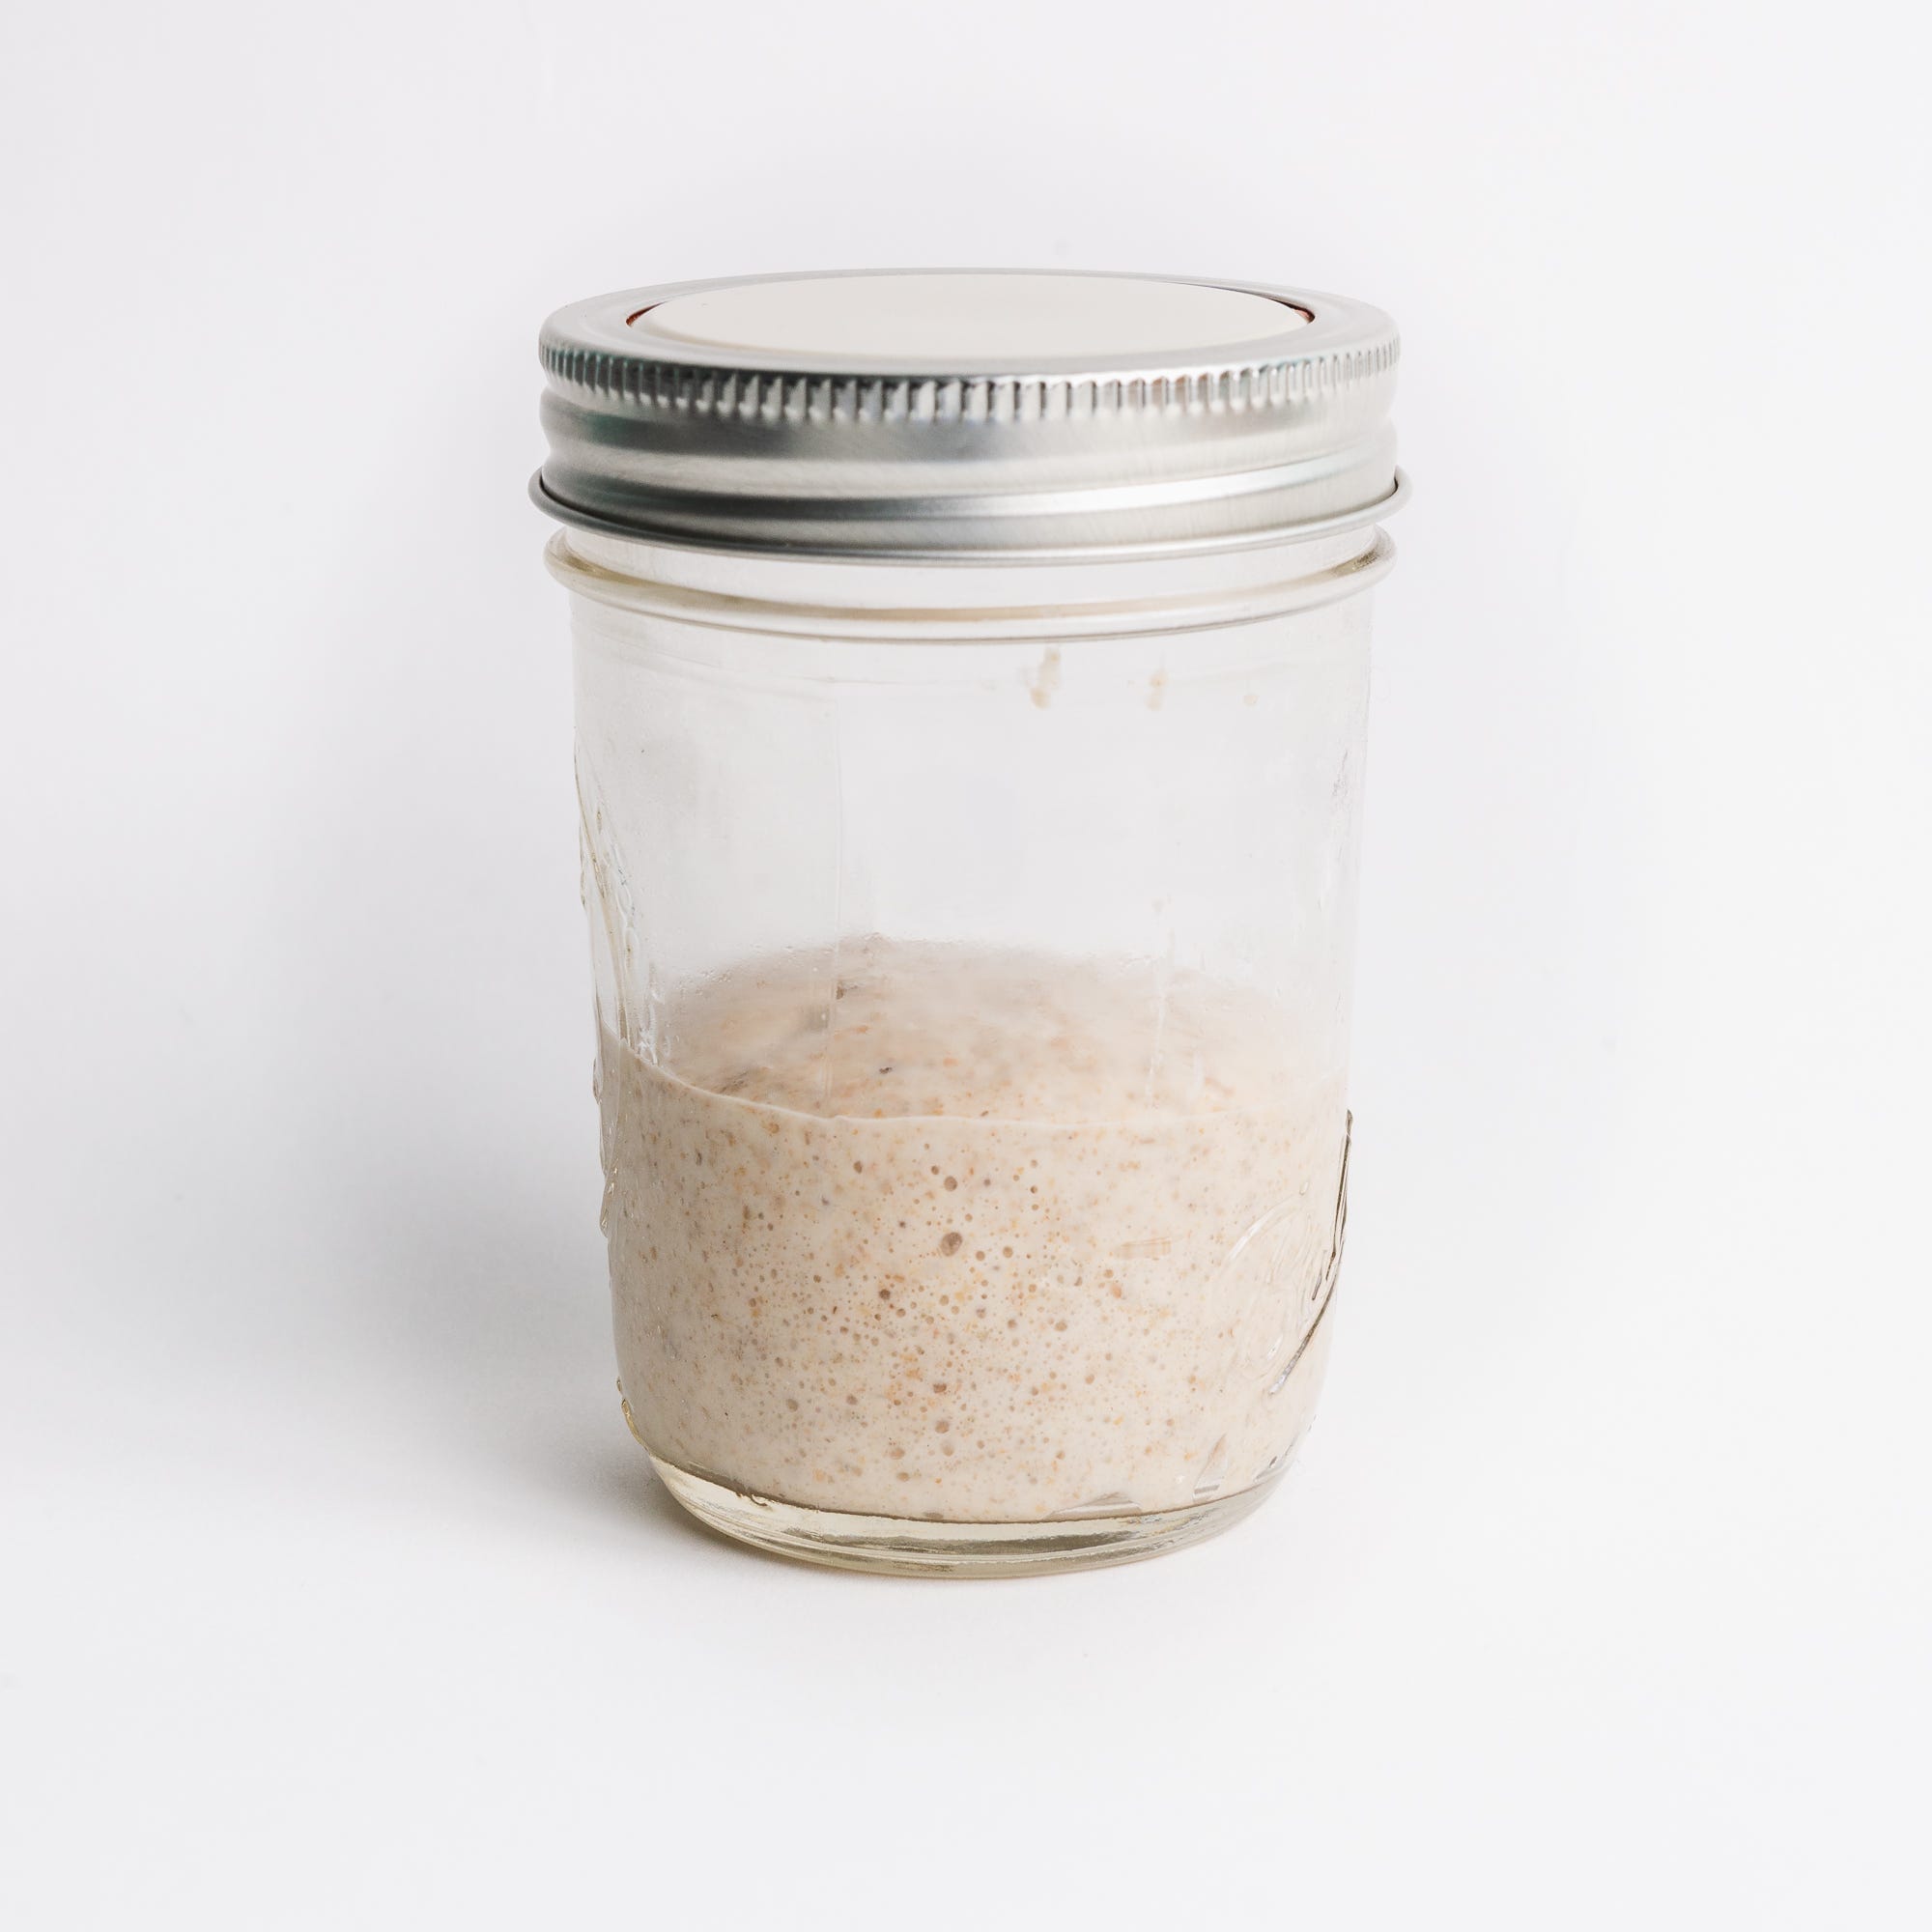
1. Begin refreshing your culture using the above ratio every 12 hours. If desired, rather than discarding the contents of the backup jar, begin to collect it in the third, larger container. Cover and store in fridge next to your backup. This is “sourdough discard”, which can be used in sourdough discard recipes once you collect enough. (You’ll need at least 1/2 cup—discard recipes will be coming soon.)
2. Somewhere between days 10 and 20, the culture will begin to increase in volume 2 to 3 times within 6-12 hours of refreshing. It probably won’t be quite ready for baking right at the start, but it’s a sign it’s getting closer. See whether or not a small blob of it floats on a bowl of water—passing this “float test” is a sign it is producing and retaining enough CO2 to leaven bread. Try baking with it.
(To scale up for baking, refresh with 40g flour mix, 40g water, and 40g starter. If recipe calls for more than 50g of levain, double these amounts and repeat until a sufficient quantity is achieved. Remember always to make more than you need for any one recipe so that there is something to refresh for future use.)
Stage 4: Climax (7 to 14 days)
At this stage, we want to wean the culture off of whole grain flour entirely, which will allow it to be cold stored for up to two weeks. We are also reducing the percentage of starter to 50% that of the flour, for similar reasons.
20 grams (2 tablespoons) high-protein all purpose or bread flour
20 grams (4 teaspoons) water, 75˚F
10 grams (2 teaspoons) starter, stirred until uniform
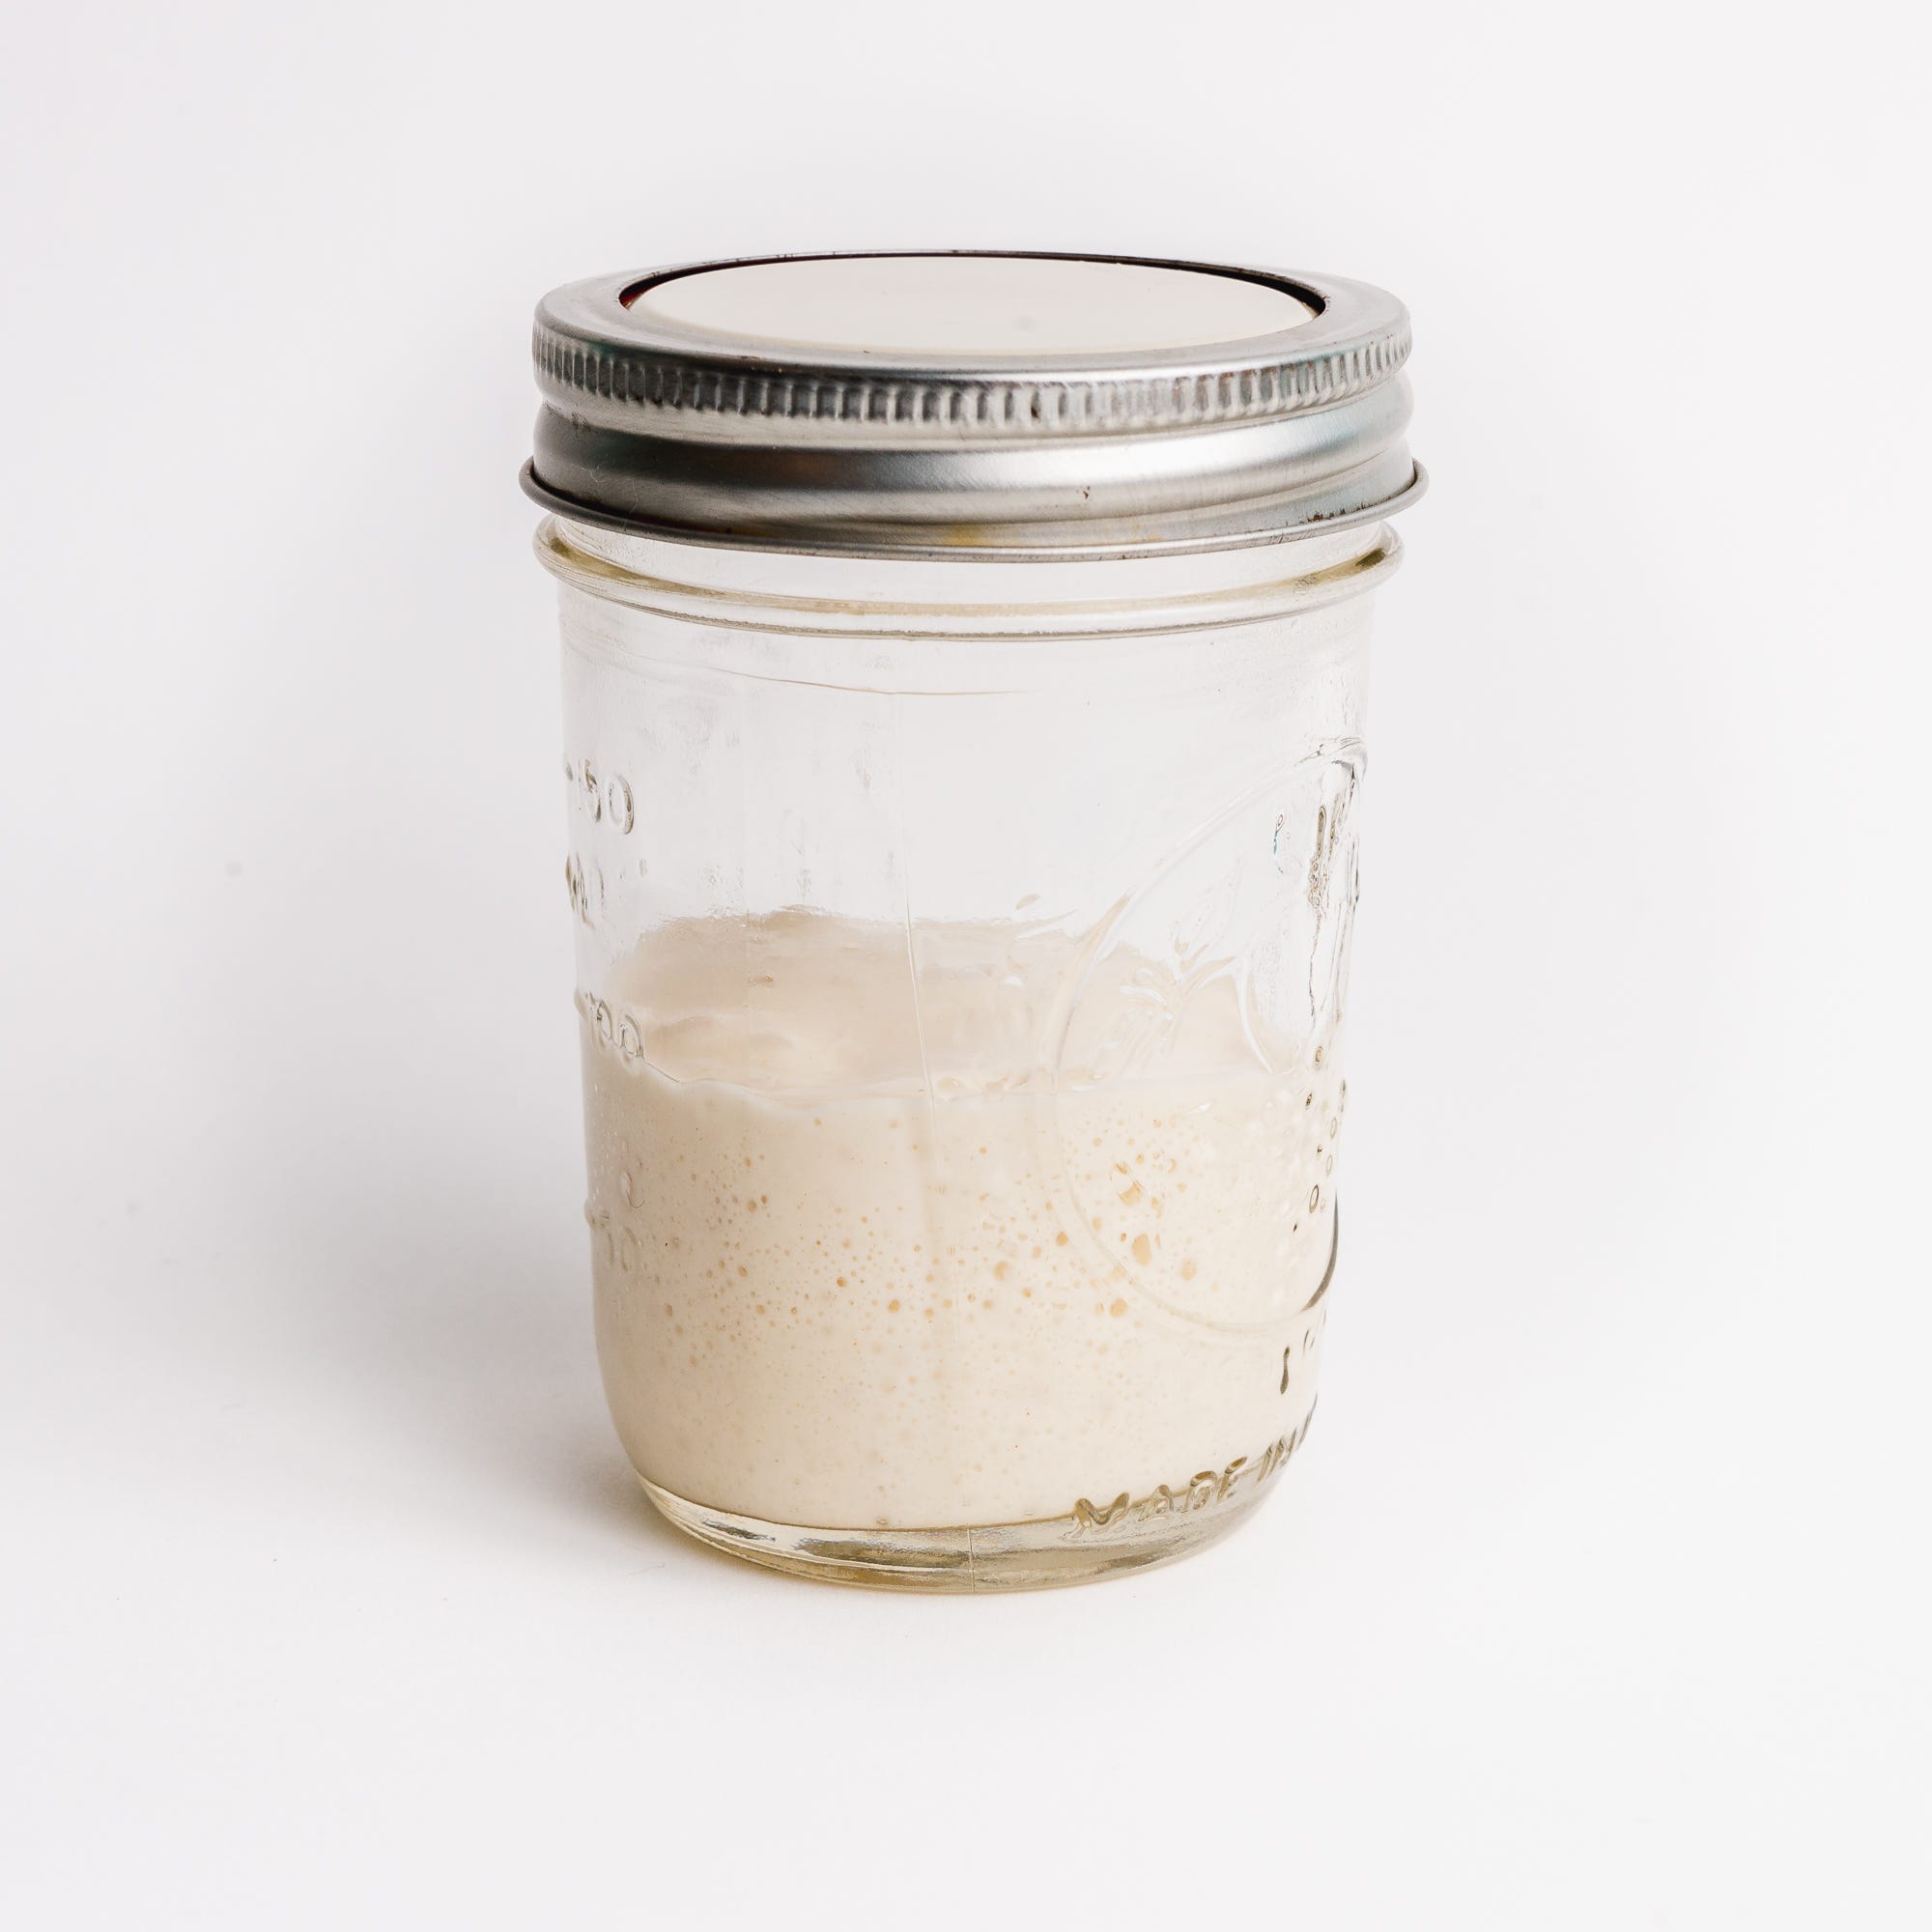
1. Refresh your culture using the above ratio every 12 hours. If the culture seems sluggish, amend it with 5 grams (2 teaspoons) or so of rye (or whole wheat) flour at any point.
2. When the culture triples in volume and collapses in 12 hours or less, it should be mature and can be cold-stored as directed in this post.
wordloaf Newsletter
Join the newsletter to receive the latest updates in your inbox.
