Lifestyles of the Enriched and Famous, Miscellanea
Further notes on making and baking enriched breads
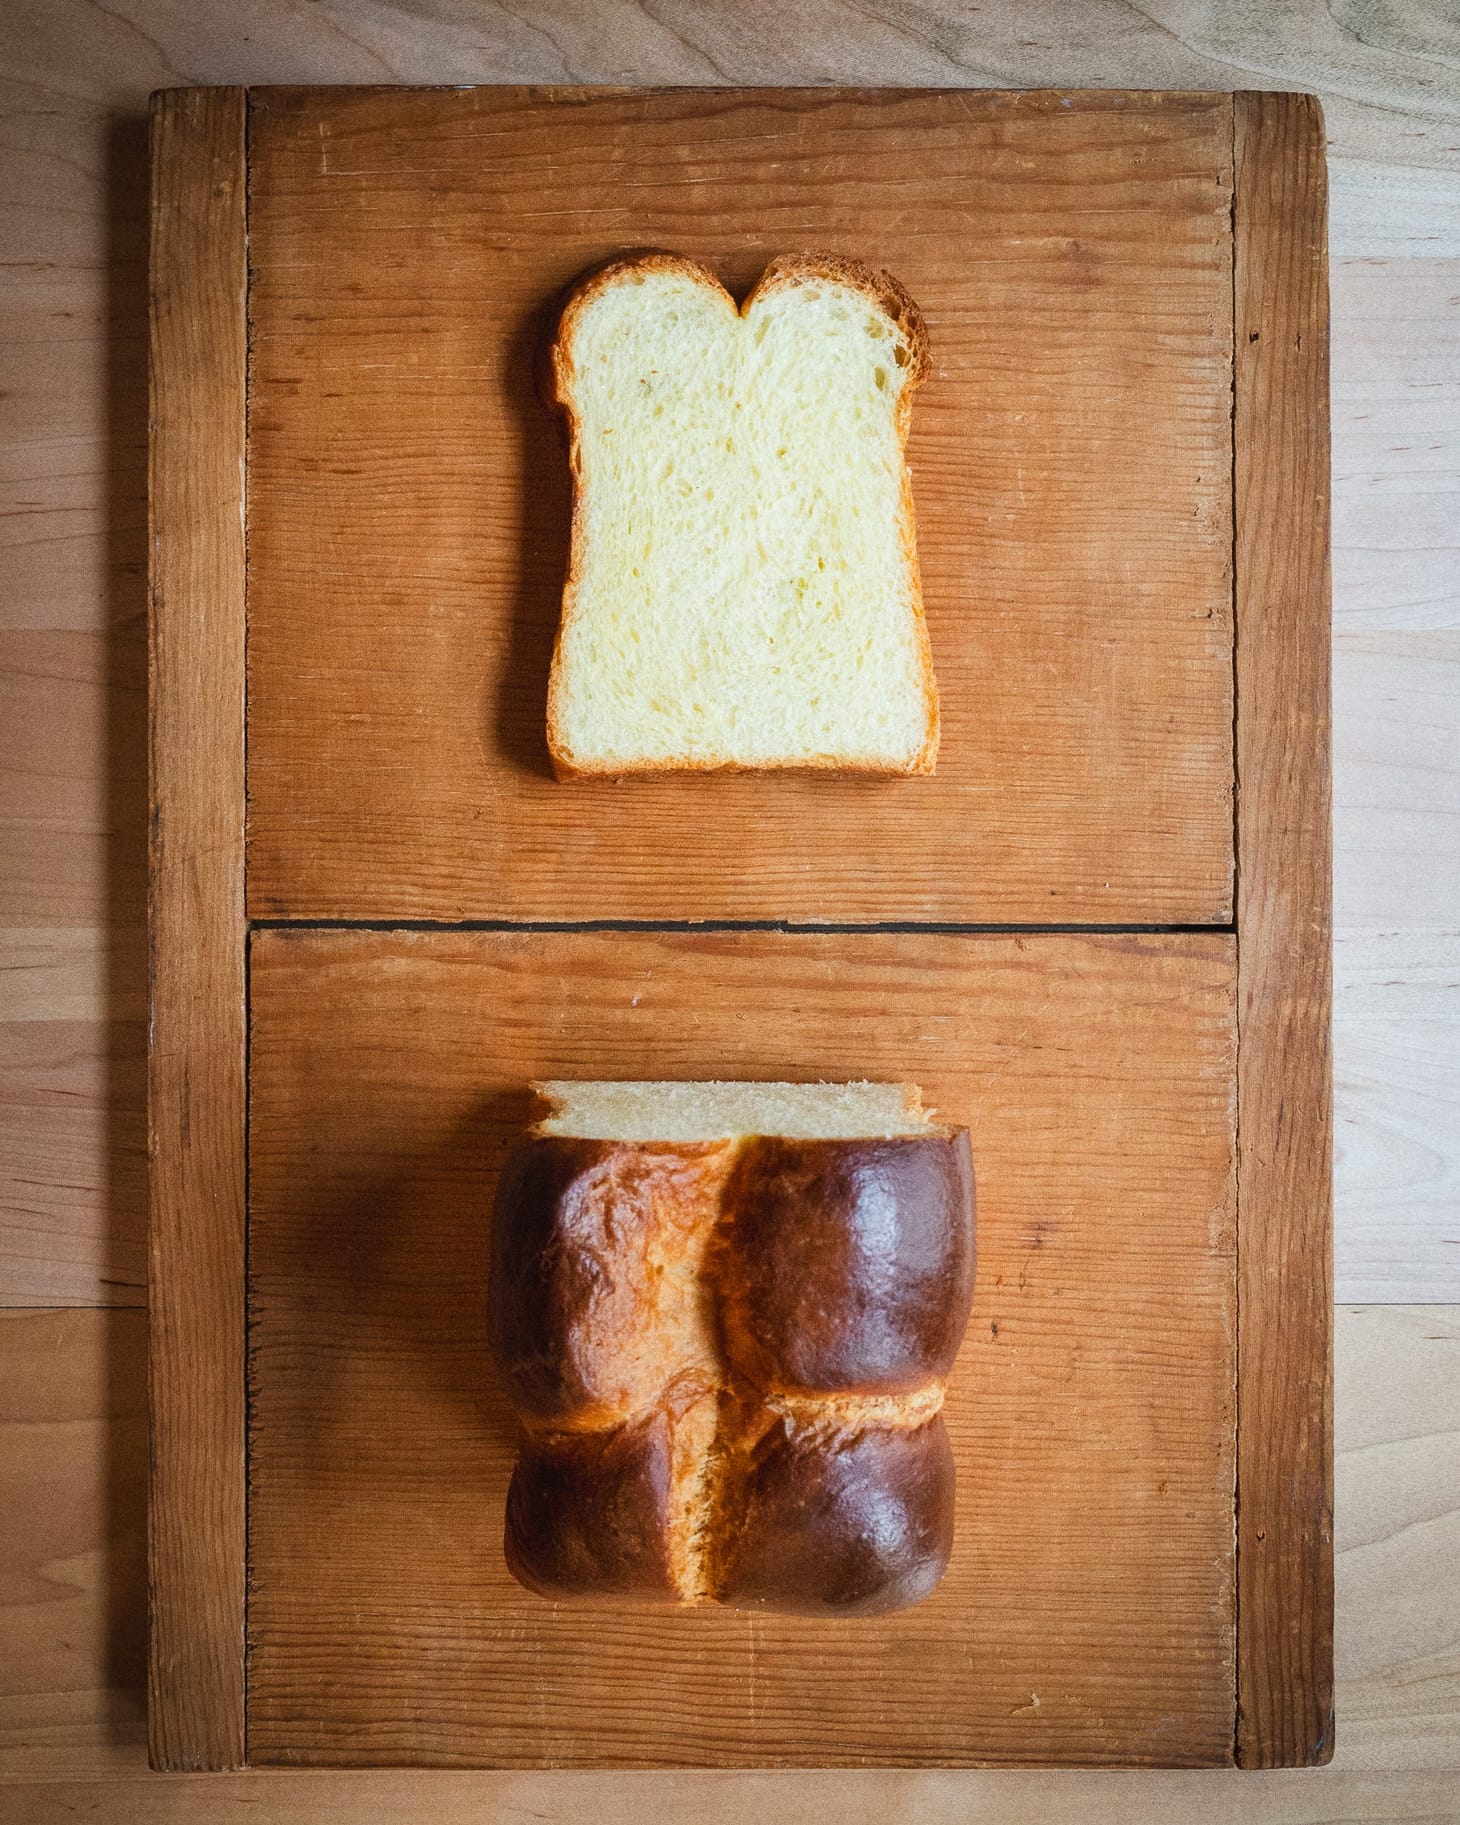
Table of Contents
I have been (re)working on all of the yeasted enriched breads for Breaducation recently, of which the list is very long:
- Shokupain de mie (Japanese Milk Bread)
- Chocolate Milk Bread
- B&H Dairy Tribute Challah
- Choreg
- Tangzhong Brioche
- Chocolate Tangzhong Brioche
- Olive oil Brioche
- Vegan Brioche
- Sourdough versions of at least some of these
I’m either done or very close with most of the yeasted ones, though there remain a few that are giving me a hard time still. And I think New England is running low on eggs thanks to me, so I better get them sorted out soon.
All this testing made me realize I left out some of the practical recommendations from my earlier posts on enriched bread ingredients, so I thought I’d round them up today. Keep in mind that while many of these also apply to sourdough enriched breads, I haven’t gone back to test those yet, so certain ones may not. I have a few posts on enriched sourdoughs planned for next year, so stay tuned for those.
Keep doughs under 75˚F (24˚C) during mixing
It’s important to keep enriched bread doughs on the cool side during mixing, to avoid overproofing and to keep the fat emulsified into it. I aim to have my doughs come off the mixer as close as possible to 75˚F (24˚C). Usually this means working with ingredients that are as cold: eggs, butter, and liquids straight from the fridge or cold from the tap. If ambient temperatures are on the warm side, it can’t hurt to chill your flour, mixing bowl, and dough hook, just to be safe; if the dough includes significant amounts of water, you could even chill it for awhile before mixing.
You don’t want the dough to end up cold at the end of mixing, or fermentation could be affected, but this is rarely a problem in practice. Even the occasional dough at 70˚F (21˚C) is fine.
Don’t overmix
It’s not necessary to mix excessively with enriched breads, and an over-mixed dough can be challenging to shape and is likely to have structural problems upon baking. (Keyholing is largely caused by an overly strong dough that causes the loaf to grow taller than it is capable of supporting once the loaf cools down.1)
I never use the “windowpane” test with enriched breads—or any breads, for that matter—what I look for in a dough instead is a smooth, even texture, along with enough cohesiveness to form a ball of dough around the hook. At the end of mixing, the dough should have shed the “graininess” it has early on, and will loose itself from the sides, if not the bottom, of the bowl (aka “the cleanup stage”), a sign it has developed sufficient strength. It may be a little sticky still, but it should be removable from the bowl in one mass.
It’s a fine line to gauge, which is why the windowpane test exists in the first place, I believe: Mixing a dough until it can be pulled into a thin, see-through sheet is an easy test to understand and perform. But this is way too much development for most doughs; learning to judge when a dough has smoothed out and become cohesive is challenging at first, but it’s worth it in the long run.
Retard immediately
I like to chill all of my enriched bread doughs. Shaping is far easier with a cold dough, since stickiness and softness is reduced, leaving the dough with a dry, malleable Play-Doh consistency. It also allows you to work with a dough with a higher hydration and fat content than you otherwise could, which makes for a better product. (In other words, if a room-temperature enriched dough is easy to shape, it is likely too dry to make great bread.)
My current approach is to chill enriched doughs immediately after mixing, rather than give them any “floor” time first. This saves time, and it prevents overproofing, especially if the dough ends up on the warm side once the mix is complete. Obviously this requires a formula built to work this way—with enough yeast to overcome the chill—so that the dough is properly fermented once it comes time to shape. (I am currently reformulating all of my enriched breads to fit this model, which is the main reason I am doing all this work right now.)
I usually just scoop the ball of dough into a well-greased container and then gently shape it into a ball with lightly-moistened or -oiled hands, rather than first balling it on a floured counter, which I have found largely unnecessary. The dough will smooth out fully by the time it comes to shape.
De-gas once or twice during the first few hours of proofing
The idea here is not that the dough proofs only once cold, slowly. Instead, it gets an initial burst of fermentation while it cools down in the fridge, which takes a couple of hours.
For this reason, it’s usually necessary to de-gas the dough by pressing gently on it once or twice during the first few hours in the fridge, so that the dough ends up firm and compact at shaping time. Once the dough is cold, the expansion should cease. While you are de-gassing it, you can also use it as an opportunity to also arrange the dough into a uniform, square or rectangular shape, which will make dividing more straightforward.
Use flat containers for proofing
I now proof all of my enriched breads in flat, rectangular or square containers (usually Nordic Ware cake pans with snap-on lids), rather than in bowls. Placing the dough in a flat container slightly wider than the dough itself serves a few purposes. One, it allows you to keep the dough in a thin, even slab, which both speeds up and evens out chilling, so that fermentation slows down at the proper pace. Two, it leaves the dough in an orderly shape once it comes time to divide, so that it is easy to cut into uniform pieces. And finally, flat containers are easier to make room for in the fridge than bowls.
Metal containers are best here, because they’ll chill the dough down more quickly, but glass or plastic will do in a pinch. And using a nonstick coating containing lecithin on the container is better than oil, since it will form a more-permanent barrier to sticking.
Keep doughs cold throughout
To make sure doughs are cold right up to the moment of shaping, don’t remove them from the fridge until immediately before dividing. And feel free to return the dough to the fridge throughout the process, especially if you are dividing and shaping multiple loaves. For example, if you are making several braided loaves, there’s no reason you cannot shape the dough into ropes and then move most of them to the fridge while you form each loaf; this is especially useful when ambient temperatures are on the high side.
Skip the preshape
With lean breads, a preshaping step is used to even out the consistency of the crumb and to make the overall shaping process more gentle and gradual. But because enriched breads have a fine, even crumb and an easy-to-work dough texture, it’s usually unnecessary to preshape, and adding one only risks overworking the dough. In any case, since you need to keep the dough cold during shaping, you’d have to return the preshaped dough balls to the fridge while they relax. Skipping it saves time and improves the result.
Divide carefully and deliberately
As always, the goal should be to handle the dough as little as possible during shaping, to avoid overworking it or allowing the dough to warm up excessively, which will make getting an elegant, symmetrical loaf challenging.
Begin by using a bench knife to detach the dough from the sides of the container, if necessary. Then flour both the top surface of the dough and the bench lightly but evenly, then invert the pan at an angle to the bench and run the knife under the dough to detach it, allowing the slab to fall gently to the floured surface intact. If the top surface of the dough is tacky, you can give it a light dusting of flour too.
Next, if needed, gently arrange the dough into a uniform shape, so it is easy to divide into even pieces with as few cuts as possible. Then divide it in stages: If you need an even number of pieces, divide the entire slab in half, then each half in half, and so on, aiming for pieces that are as square as possible.
Odd numbers are a little more challenging: If you are dividing a square of dough into thirds, cut off one third of it in a strip, then divide the remainder in half in the other direction, like this:

That way at least two of the pieces are already square-ish.
Once you have your rough pieces, weigh each and trim them as needed to get as uniform as possible. Use trimming as a further opportunity to square off the pieces, removing wonky edges from one piece here and adding them to another piece there. Set the scrap piece(s) on the center of the main piece, so it is easily incorporated into it during shaping.
Shape loosely, but evenly
I’m fine with a little chaos in my enriched breads (it’s inevitable in a brioche de Nanterre like the one above), but if you want some semblance of symmetry in your loaves, it’s important to get each of the pieces nearly identical in shape and weight. But it’s also important to avoid making the pieces overly taut, or the loaf can keyhole. So aim to shape each piece gently, but evenly.
Avoid “humping” in pan breads
Have you ever had a pan bread made up of two or more balls end up with the center hump(s) drastically taller than the end ones? I have, and I have sorted out how to avoid it: Space the balls away from the center of the pan. When the balls expand, they push against their neighbors and the sides of the pan. If they are set into the center of the pan, they’ll rise up taller at the midpoint where they kiss one another. Since the walls of the pan are immovable, they tend to grow taller on the side of the ball opposite them. When you space the balls farther apart, they’ll tend to rise more evenly from end to the end, because it takes longer for them to meet up.
For a two-ball loaf, set each one tightly at either end of the pan, leaving as much space as possible between them. If the loaf has three or more balls in a row, set the first two tight to the ends of the pan, then set the remainder between them, leaving as much space as possible between each. (This problem is reduced as the number of balls increases; one of the nice things about the brioche de Nanterre made up of eight balls of dough is that the height of the loaf is pretty even from end to end.)
Wash early and often
I now wash my breads three times, for maximum color and gloss: First immediately after shaping, which lays down a base coat of wash and also protects the skin of the loaf from drying out as it proofs. Once the loaf is fully proofed, I wash again, leaving the loaf uncovered for five minutes to dry out the second coat a little. Then I give it one last wash before moving the loaf to the oven.
Because egg-containing washes can cause the loaf to bond to the pan, I try to avoid letting it dribble down the sides of the pans (and between the balls, if there are gaps).
With braided loaves, I wash in the direction of the individual braidlets, to avoid compressing or mangling them.
With egg-containing washes, I try to make them a few hours ahead of time, to give ample time for the whites to break down, so that the wash goes on thinly and evenly. And I use an immersion blender, which helps break them down further. Washes will keep in the fridge for up to two days, so there’s no reason not to make them early.
Four wash formulas
For maximum color, gloss, and softness, a wash should contain a mixture of proteins, fats, and sugars (or starches). Whole eggs provide all of these, which is why they are so often the base wash of choice. Most recipes include a little water to help thin it out, a pinch of salt, which helps to further break down the egg white and season the wash, and additional sugar.
My standard whole-egg wash is:
50g (1 large) egg
5g (1/2 teaspoon) water (or milk or plant milk, if I have it)
4g (1/2 teaspoon) sugar
a pinch (0.5g) of salt
A luxe wash used by many pastry chefs ditches the white and adds a little heavy cream, for additional fat, milk proteins, and sugars. This one gives excellent color, though it is slightly less glossy:
16g (1 large) egg yolk
15g (1 tablespoon) heavy cream
a pinch (0.5g) of salt
Many of my enriched breads contain an extra yolk, which leaves a leftover egg white. This is the wash I make in order to use it up:
40g (1 large egg) white
5g (1/2 teaspoon) vegetable oil
5g (1/2 teaspoon) water (or milk or plant milk)
4g (1/2 teaspoon) sugar
a pinch (0.5g) of salt
Soy milk—which contains water, proteins, fats, and sugars makes for an excellent vegan wash all by itself, though it is improved by the addition of starches, to thicken it and provide additional gloss and color, along with additional fat and sugar, for good measure. But it must be cooked before use.
My current go-to vegan wash is:
60g (1/4 cup) soy milk2
4g (1/2 teaspoon) sugar
1.5g (1/2 teaspoon) potato starch, cornstarch, or glutinous rice flour
a pinch (0.5g) of salt
5g (1/2 teaspoon) vegetable oil
To make it, whisk the soy milk, sugar, starch, and salt together until uniform. Microwave until at least 170˚F (77˚C), 30 to 60 seconds. Add the oil and stir until uniform.
Proofing Enriched Breads
The fats and sugars in enriched breads inhibit fermentation, so most of them are best proofed at warmer temperatures than lean yeasted breads. I like to proof mine at 80˚F (27˚C); when working with chilled doughs, the final proof takes about 2 hours at that temperature.
A coating of wash will protect the dough from drying out as it proofs, but you still want to cover them too. I don’t like to use plastic wrap, so my usual approach is to use a Pullman pan with a lid. If the pan doesn’t have a lid, I’ll set the pan inside of a larger sealed container.
For freeform loaves, I’ll cover the pan with an overturned fish tub or roasting pan, being sure to leave enough room for the loaf to expand in all directions.
I’ve discussed baking enriched breads already, so I think that about covers it (at least for now). Let me know if you have questions, and if you are a paid subscriber, stay tuned for the olive oil brioche formula I mentioned above, which I will share momentarily.
—Andrew
I’ve noticed recently that my loaves tend to keyhole more often than the same recipes in the hands of others. I think that’s because most home bakers generally do not mix far enough, which in the case of enriched breads is actually a good thing. ↩
Or 5g (1 tablespoon) soy milk powder and 45g (3 tablespoons) water; as with dairy milk, I prefer to keep the powdered stuff on hand rather than buy a carton. ↩
wordloaf Newsletter
Join the newsletter to receive the latest updates in your inbox.
