Field Notes on Making (and Baking With) a Sakadane Starter
Some preliminary results
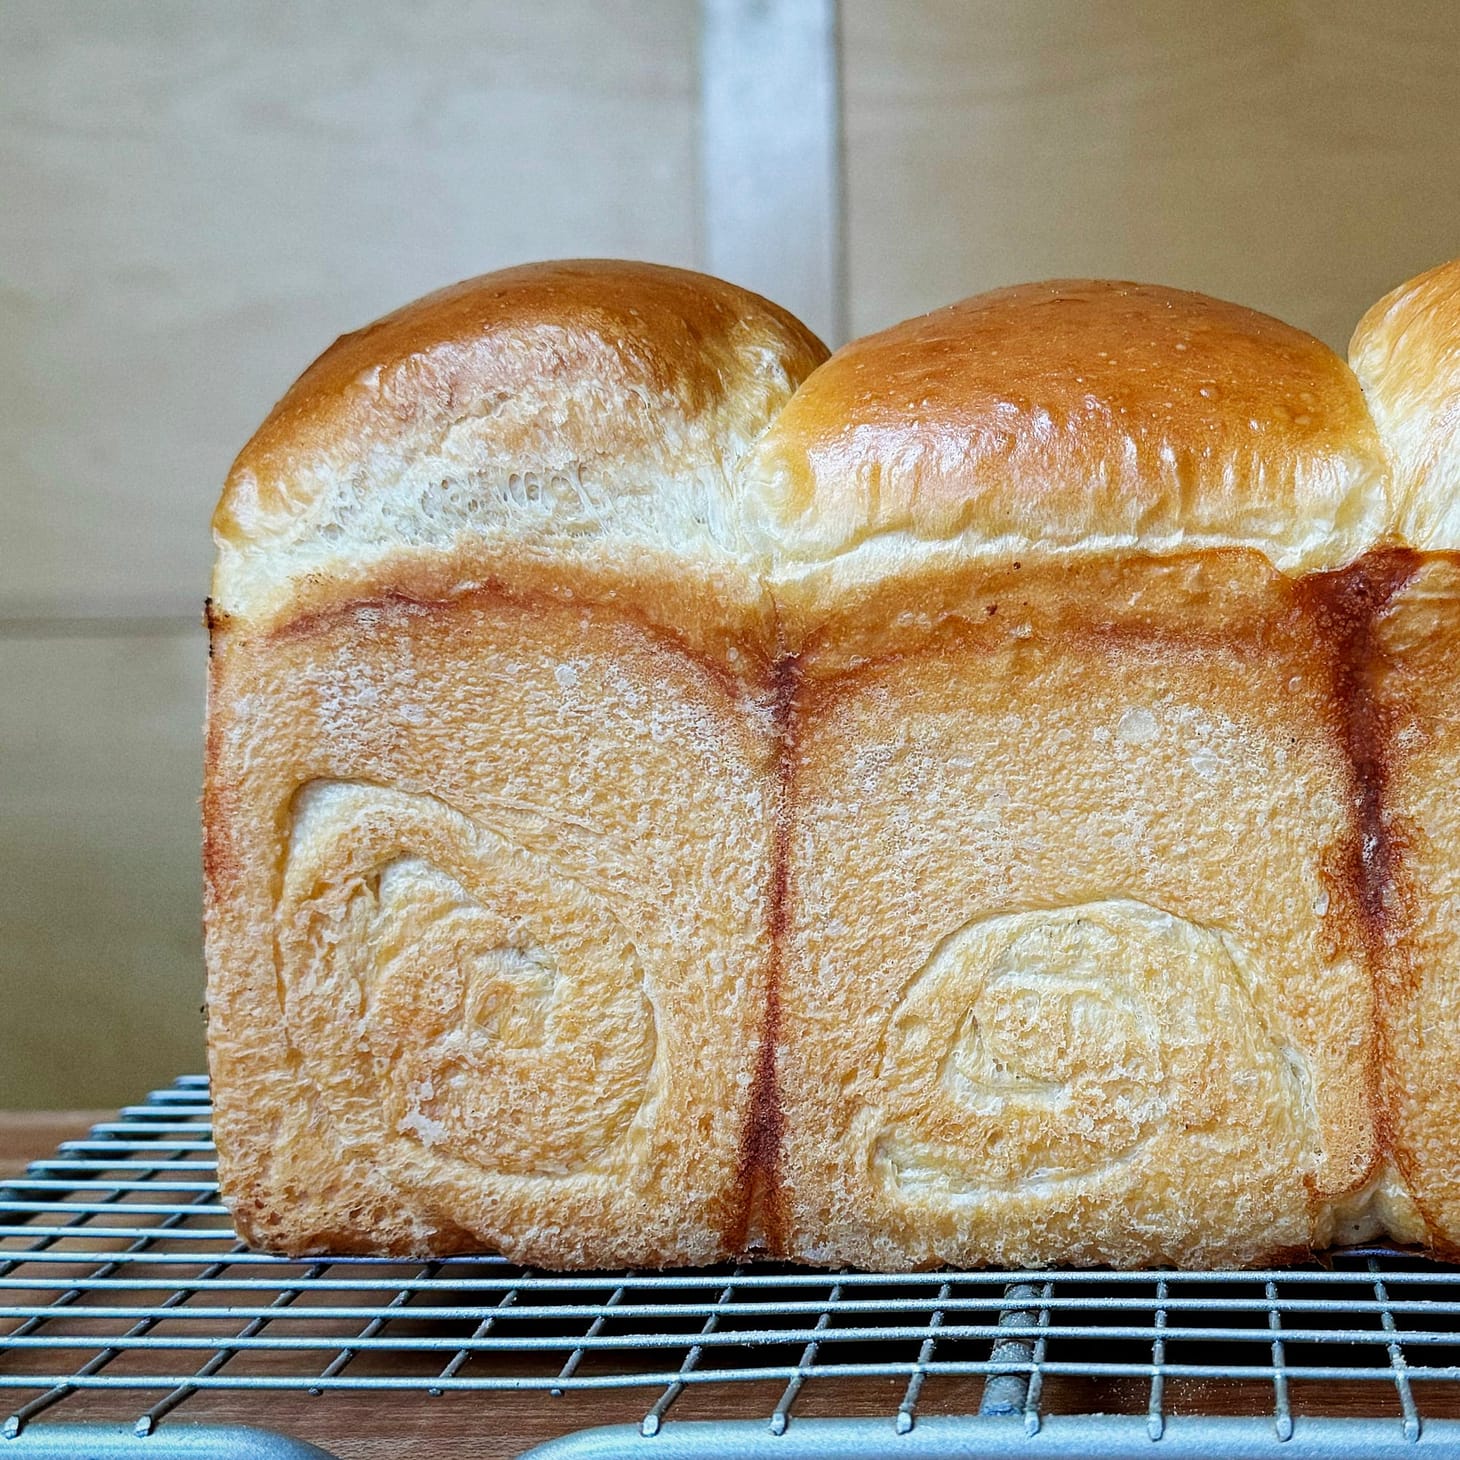
Table of Contents
When mentioned wanting to write for Wordloaf about her visit to a bakery in Japan using a traditional method of baking bread with sakadane—the yeast that ferments sake—it quickly sent me down a rabbit-hole to learn more about the process. It’s highly unlikely that I’ll have room for sakadane baking in my book, and I definitely don’t have time right now to be testing recipes that won’t fit into it, but I did anyway. (I guess I’ll have a head start on book two, should there be one.)
A sakadane culture is created by combining cooked and uncooked medium-grain rice (aka sushi rice) with water and koji.
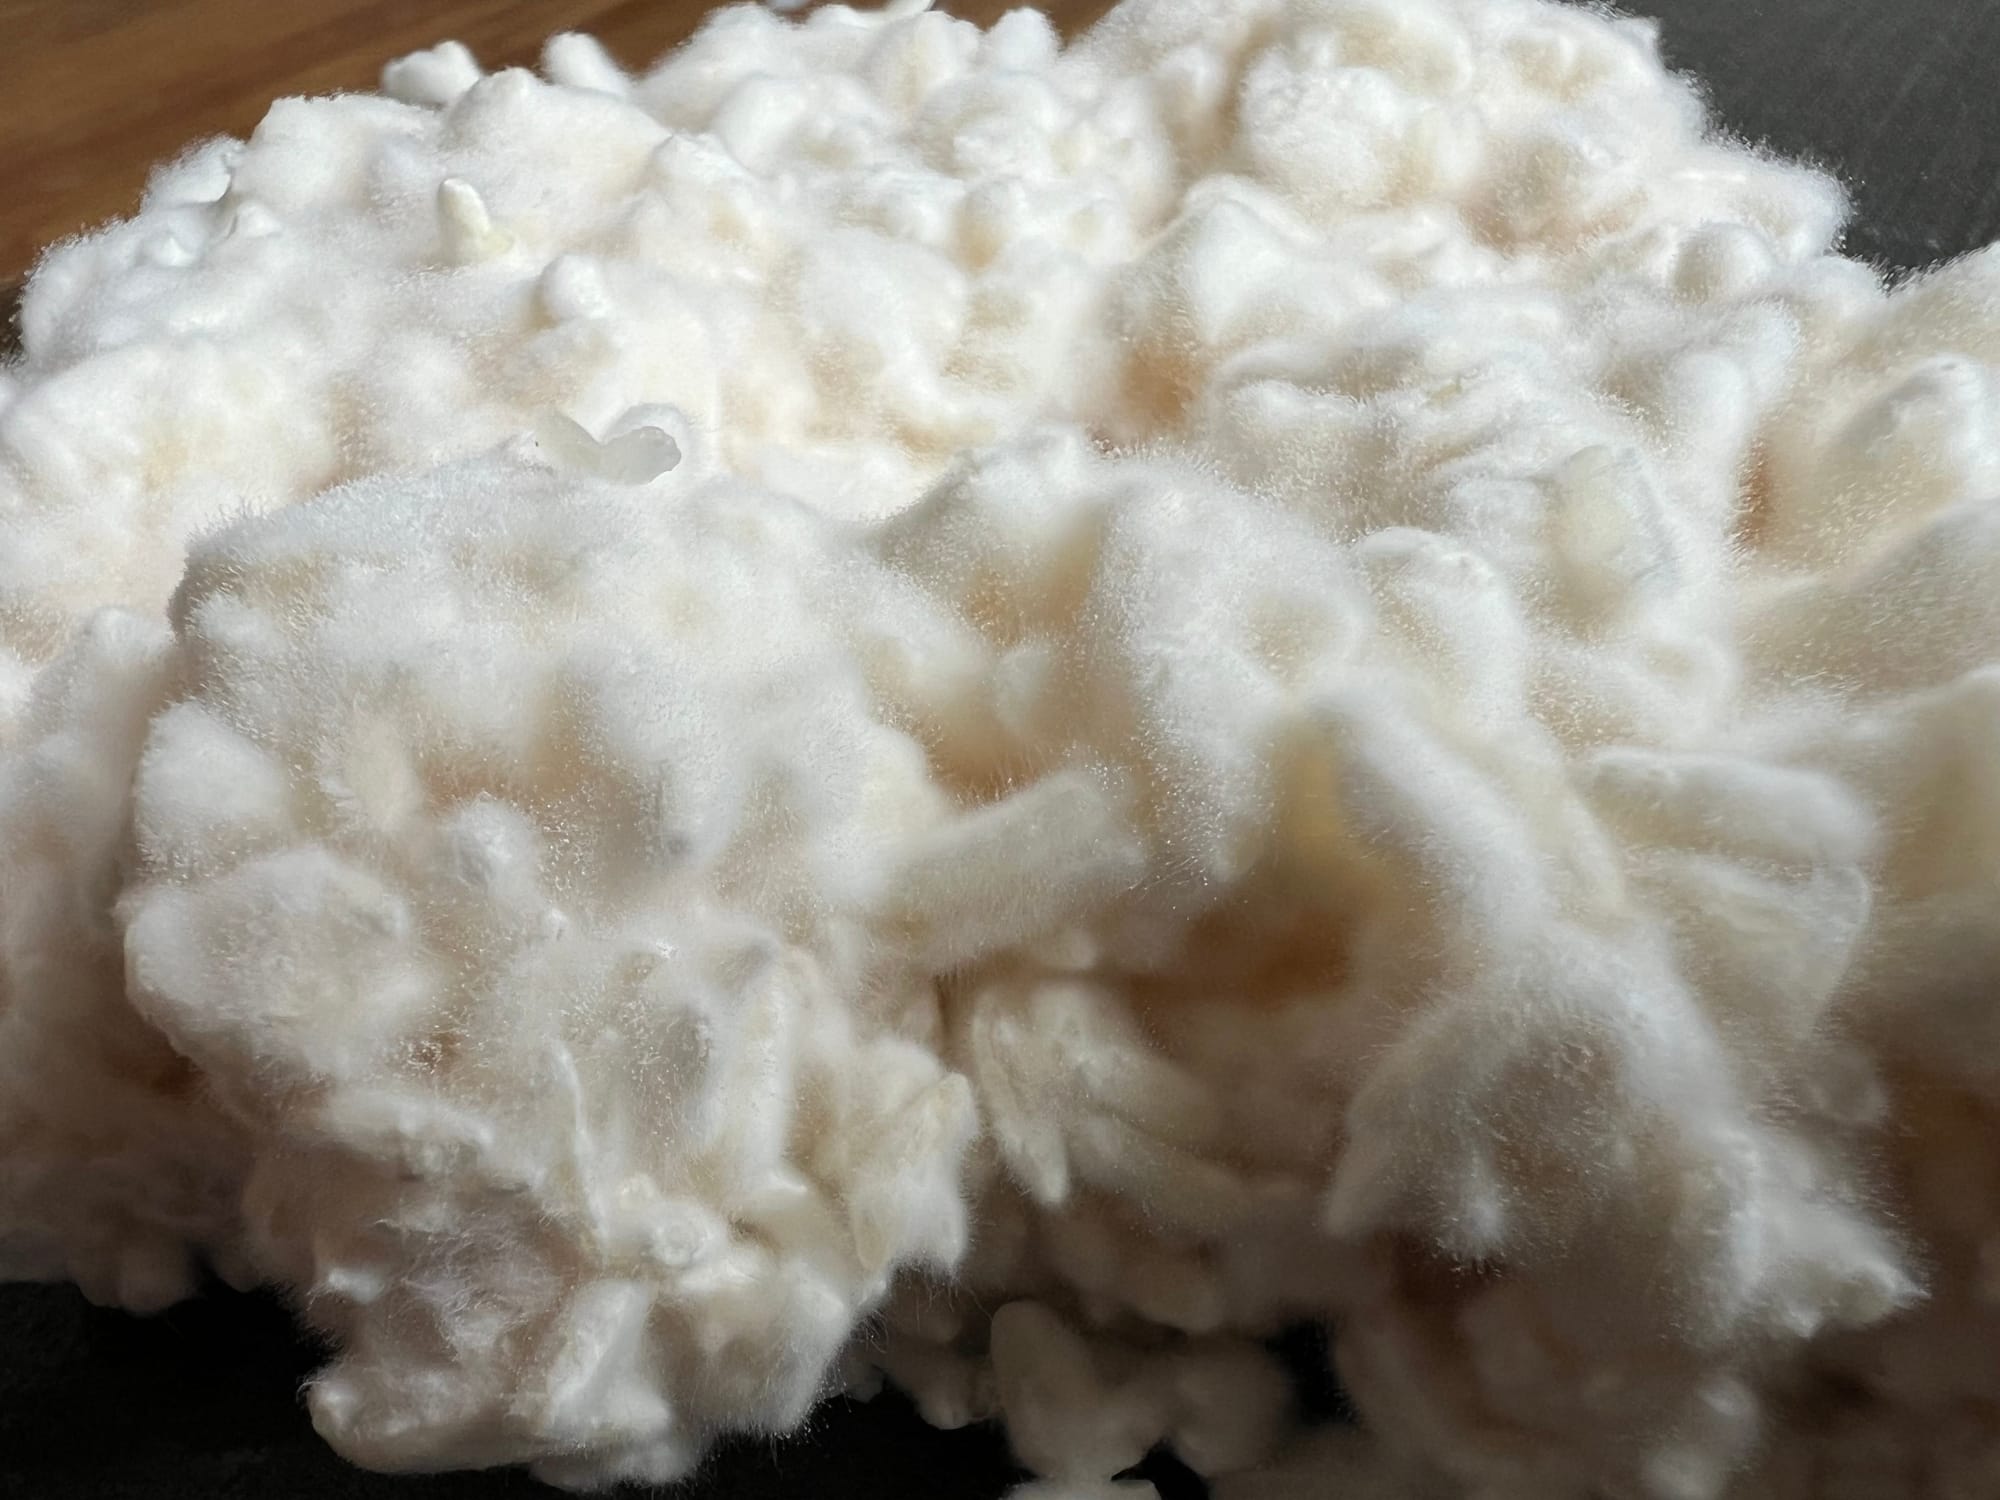
Koji is another ferment, made by growing the mold Aspergillus oryzae on cooked rice (or other) grains. Once the rice is fully colonized, it is then used to transform other foods; at this stage, however, it is the enzymes produced by the mold that are the engine of change, not the mold itself. (Koji makers are essentially “enzyme farmers.”) As it grows, A. oryzae secrets large amounts of amylase and protease enzymes, which it uses to extract nutrients from the grain. Amylase enzymes break down starches into simple sugars; protease degrades proteins. For the mold, this means access to food for survival; for humans, it means access to novel and deeply-flavored foods—things like sake, soy sauce, miso, gochujang, and countless others.
Many koji-based processes are slow to unfold—miso and tamari can take years to produce—but the sakadane process is relatively quick. The initial culture is allowed to sit for a few days at warm room temperature; during this time, the koji amylase unlocks sugars from the rice’s starches, encouraging wild yeast—most likely a rice-loving strain of Saccharomyces cerevisiae, sometimes known as S. sake—to colonize the mixture. (The uncooked rice serves as a source of yeast spores; just as with starting a sourdough starter, organic is preferable here, to ensure a high load of spores.) In a few days, the mixture is bubbling and fragrant; after this point, it is moved to a new mixture of cooked rice, water, and koji every 24 hours to strengthen the culture, which only takes a few days. After this point, it can be held in the fridge and refreshed once a week or so to keep it alive.
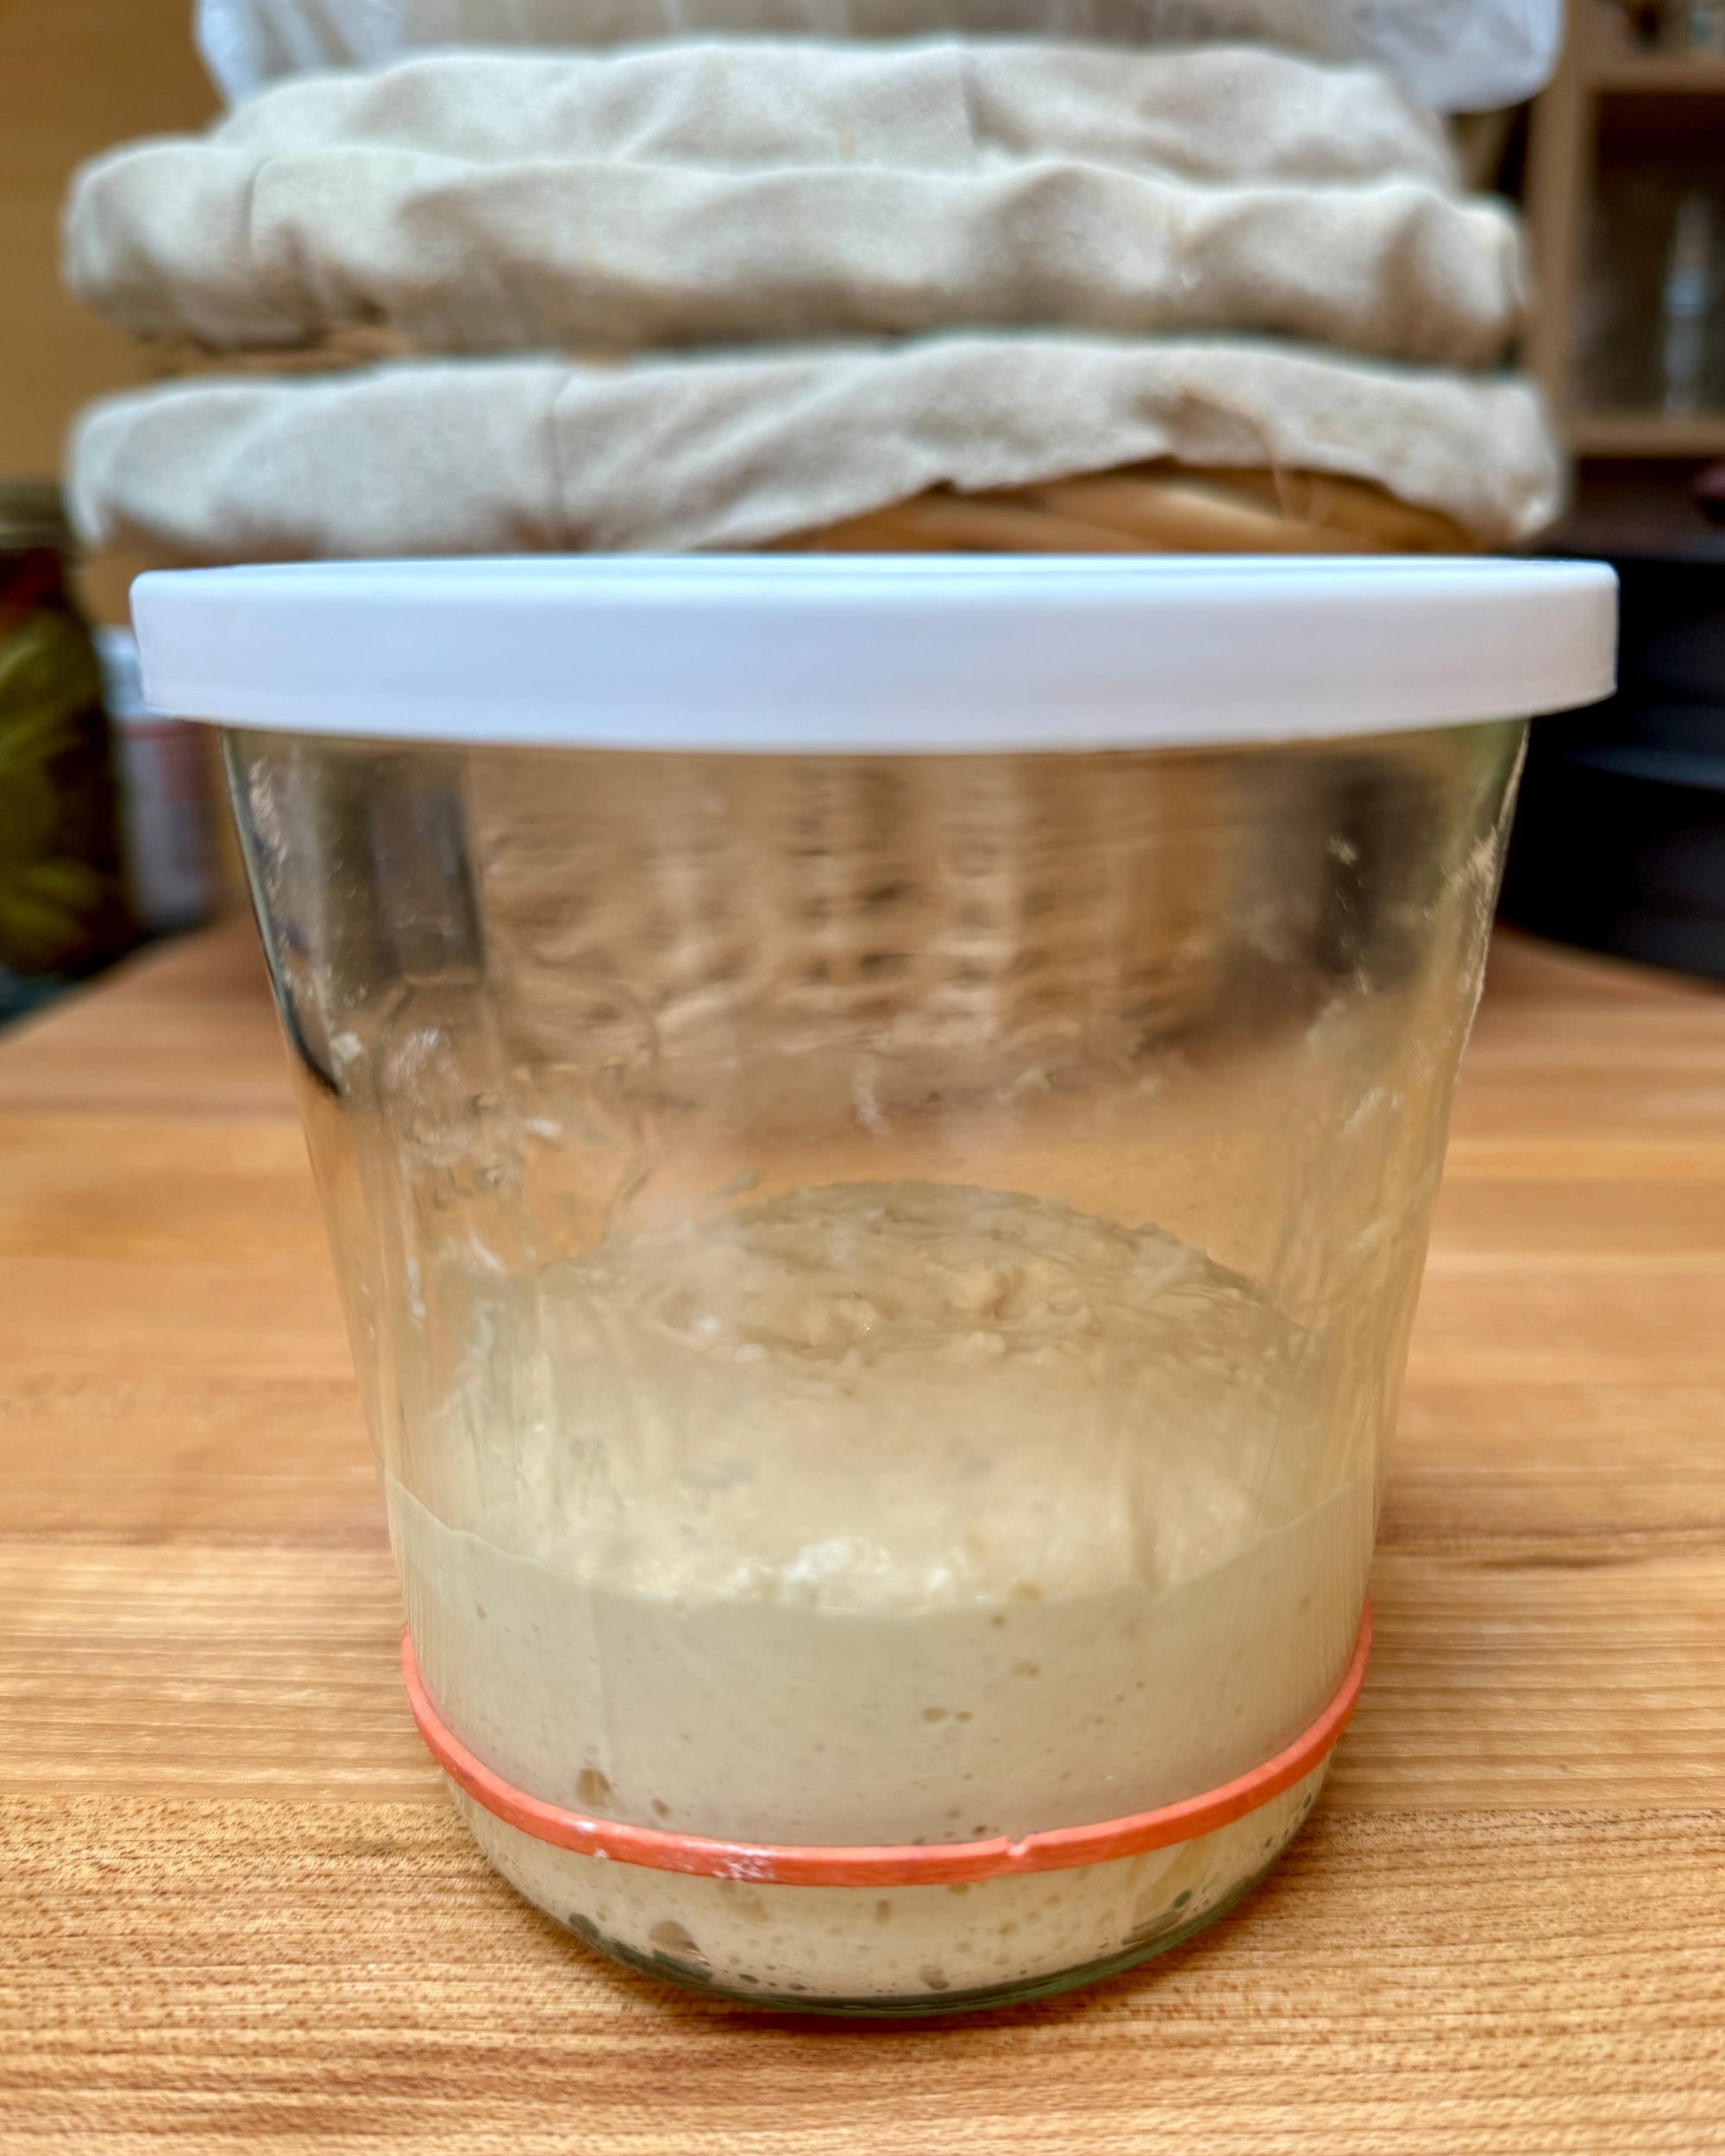
In my experience, creating a sakadane starter is very straightforward, far simpler and quicker than starting a sourdough from scratch. I’ve only done it once, so I can’t promise you’ll have similar results, but it certainly seems easy to do. And, aside from the koji, which you can either make yourself (not something I have done yet myself) or purchase dried, all you need is a bag of organic sushi rice and water. You’ll need to cook the rice before you begin; for the entire process, you’ll need 320g of cooked rice, so a dry cup (185g) should make more than enough. (You can keep the cooked rice in the fridge and take out what you need for each day.)
Starting a sakadane starter
I used the method described in this video:
Here’s the process, in a nutshell:
Day one: Combine 10g1 cooked organic2 sushi (aka medium-grain Japanese) rice with 40g koji grains (fresh or dried), 50g raw sushi rice, and 125g water in a sterilized3 glass container. I used Rhapsody “Red Miso” koji myself; because it was dried rather than fresh, I found I had to add a little more water than directed in the video, just enough to produce a loose, liquid mixture.
Cover and allow to sit at warm room temperature (77–82˚F) until it is bubbling and fragrant, which should take between 24 and 48 hours. Stir the culture once after the first 12 hours to oxygenate it.
Day three: Once it’s clearly alive (if you aren’t sure, just give it the full 48 hours), stir it up, and strain out the liquid into a clean container, pressing on the solids to remove as much liquid as possible. (It should have a milky, tan hue, from the combination of rice starch and yeast.)
Transfer 30g of the liquid to a clean container, and add 100g cooked rice, 30g koji grains, and 50g water. Stir it up, then let sit for 24 hours at 77–82˚F, stirring after 12 hours.
Day four: Repeat steps 4 & 5, using 100g rice, 20g koji, 30g sakadane yeast, and 50–75g water. Proof for 24 hours, stirring after 12 hours.
Day five: Repeat steps 4 & 5, using 100g rice, 15g koji, 30g sakadane yeast, and 60-80g water. Proof for 24 hours, stirring after 12 hours.
By day six, 24 hours after the fourth refreshment, the sakadane starter should be very boozy, with a pungent, floral, and yeasty aroma (it will smell like sake, because that what it is!)
It should also be bubbling and slightly fizzy. It can now go into the fridge and be used for baking.
Refreshing the sakadane starter
The sakadane starter should be refreshed at least once a week to keep it active.
To do so, just repeat step 6 from above:
Combine 100g rice, 15g koji, 30g sakadane yeast, and 60-80g water. Proof for 12 hours at warm room temperature (77–82˚F), then label it with the date and return it to the fridge. (I’ve seen those who proof it for 24 hours at room temperature, but mine is so active after 12 that it doesn’t seem necessary, and the 12-hour approach is fairly common.)
Baking with a sakadane starter
There isn’t a whole lot of information online about baking with sakadane (at least not in English), and I’ve only done a couple of bakes so far, but my sense is that it’s also pretty straightforward. As a few people recommend, it is probably best to use it within a day of refreshing, so that it’s good and active. I’ve only made a few loaves so far, so you are mostly on your own here, though I have a few notes about my experience with it.
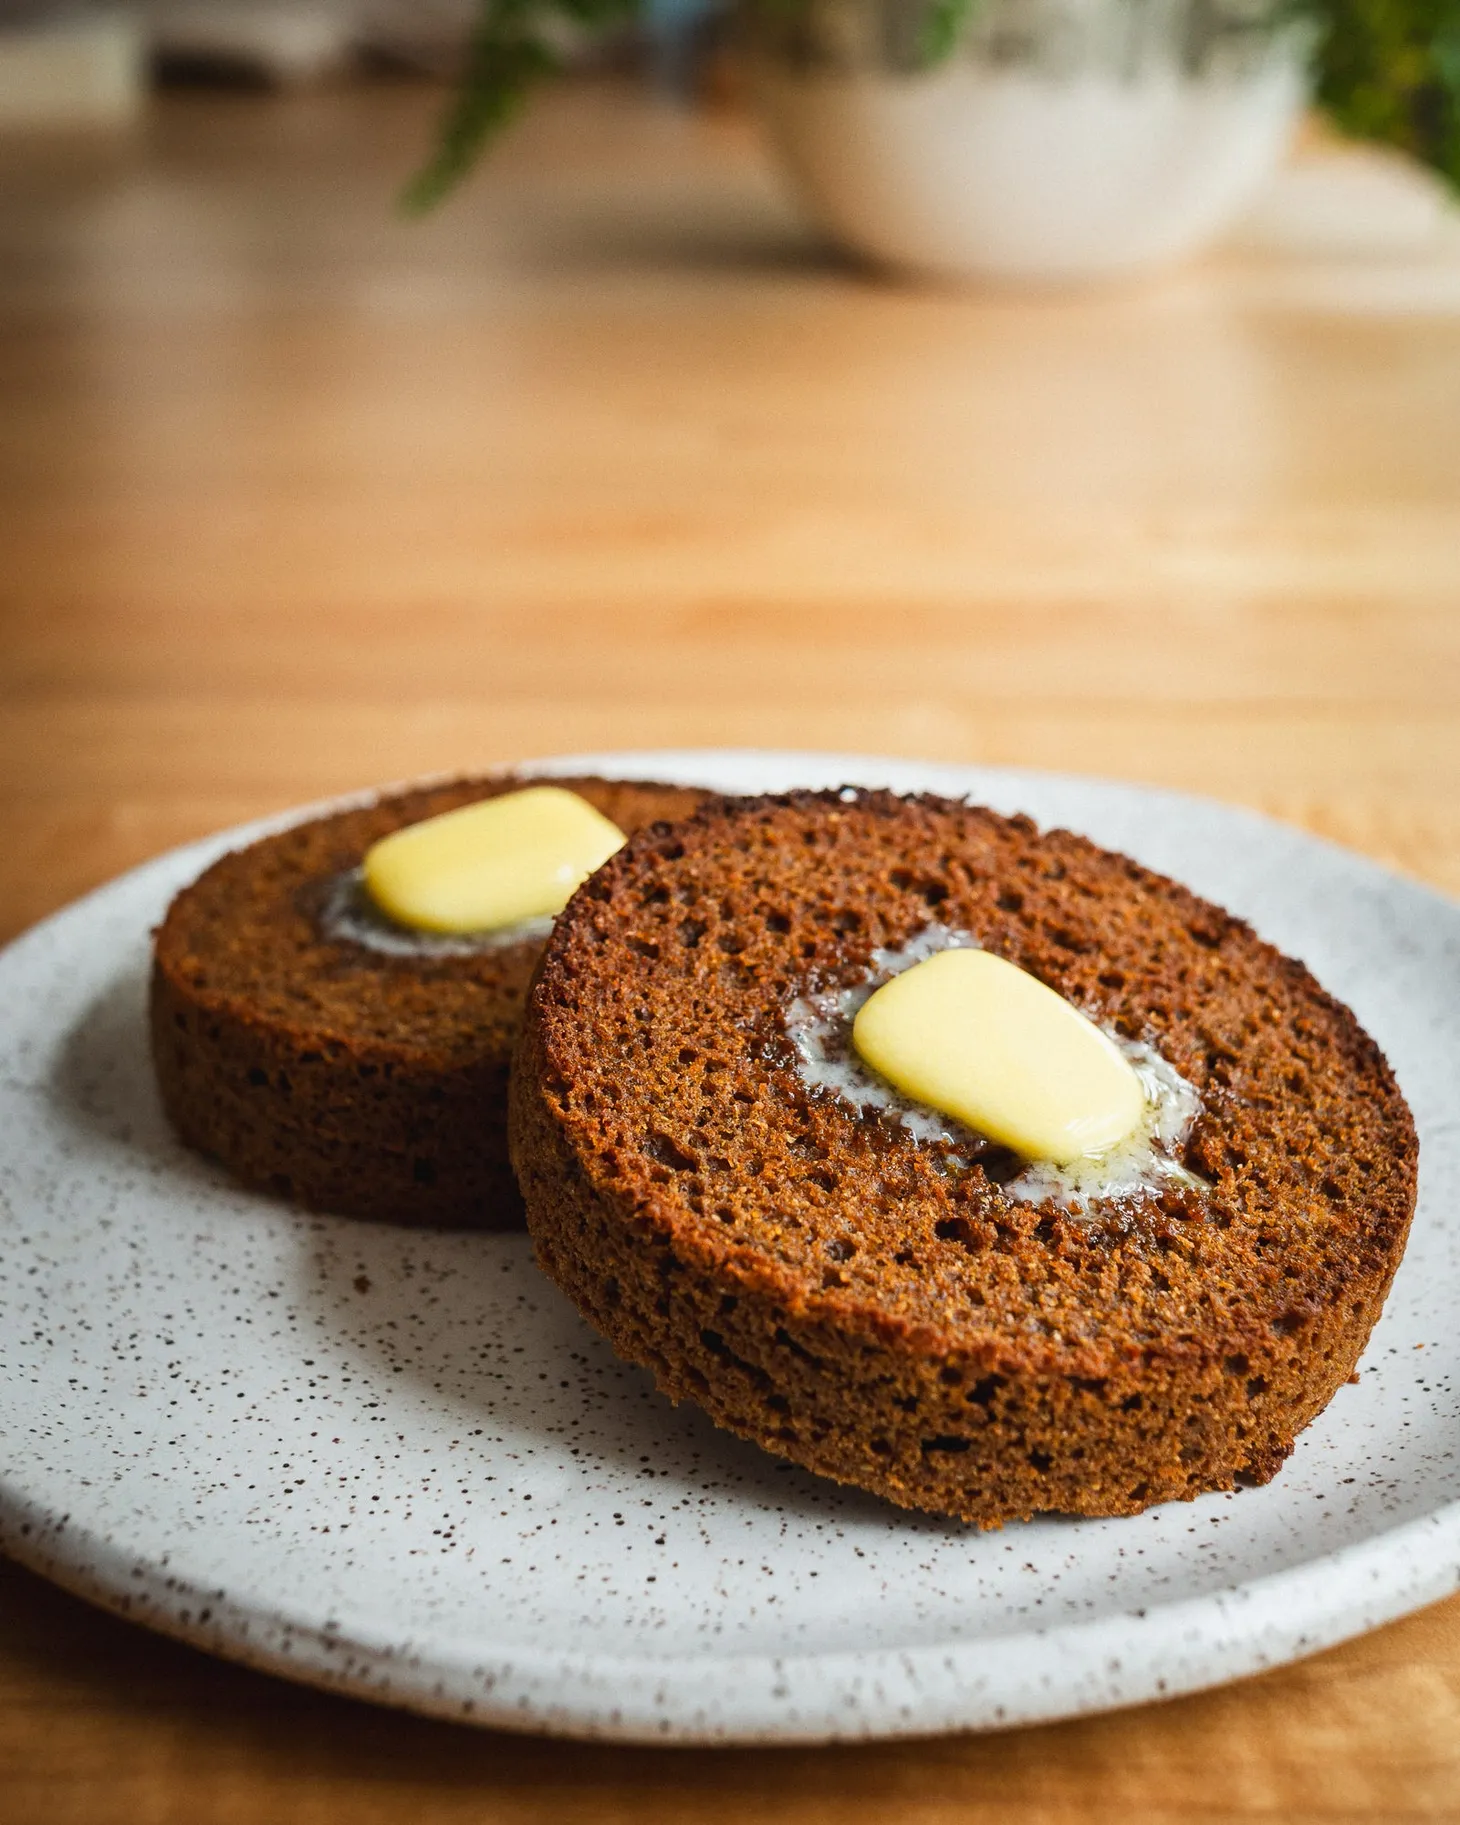
The first loaf I made (pictured at the top of this post) was a version of my shokupain de mie, but without the flour scald, since sakadane alone is thought to provide a similar softness and longevity as a flour scald. It worked wonderfully, though I’ve lost my notes on how exactly it was formulated or where I got the process from (it wasn’t using the milk bread recipe I link to below, since I only found that one recently), so I need to revisit it before I can provide a formula.
I have also used it twice to make a lean country loaf, and while it made some delicious bread, in both cases the texture of the dough seemed to get softer and more slack over time, which I am guessing is thanks to high protease activity from the koji chewing up gluten strands as the dough proofs.
I followed the approach used in the above video, using a fast (2-3h) stiff starter with 10% unstrained sakadane yeast (relative to the total flour in the recipe; including the weight of the rice and koji). While the starter proofs, he autolyses the remaining flour and water, and once the starter has about tripled in size, it’s hand mixed into the dough with the salt. The dough is given a series of folds over about 4 hours (after which it doesn’t appear to rise much), then it is shaped, moved to a banneton, and placed in the fridge for 18–24 hours. Like other retarded sourdoughs, it is baked straight from the fridge.
In the first test, I used a “normal” hydration (75%, with 95% high-protein AP flour and 5% whole-rye flour), similar to the one in the video, and I retarded the loaf overnight. I did not notice a lot of rise after the bulk proof, but I proceeded just the same. The next day, the loaf spread significantly when I turned it out, and it was challenging to score. The loaf was tasty, but it was no looker (hence the lack of photographic documentation).
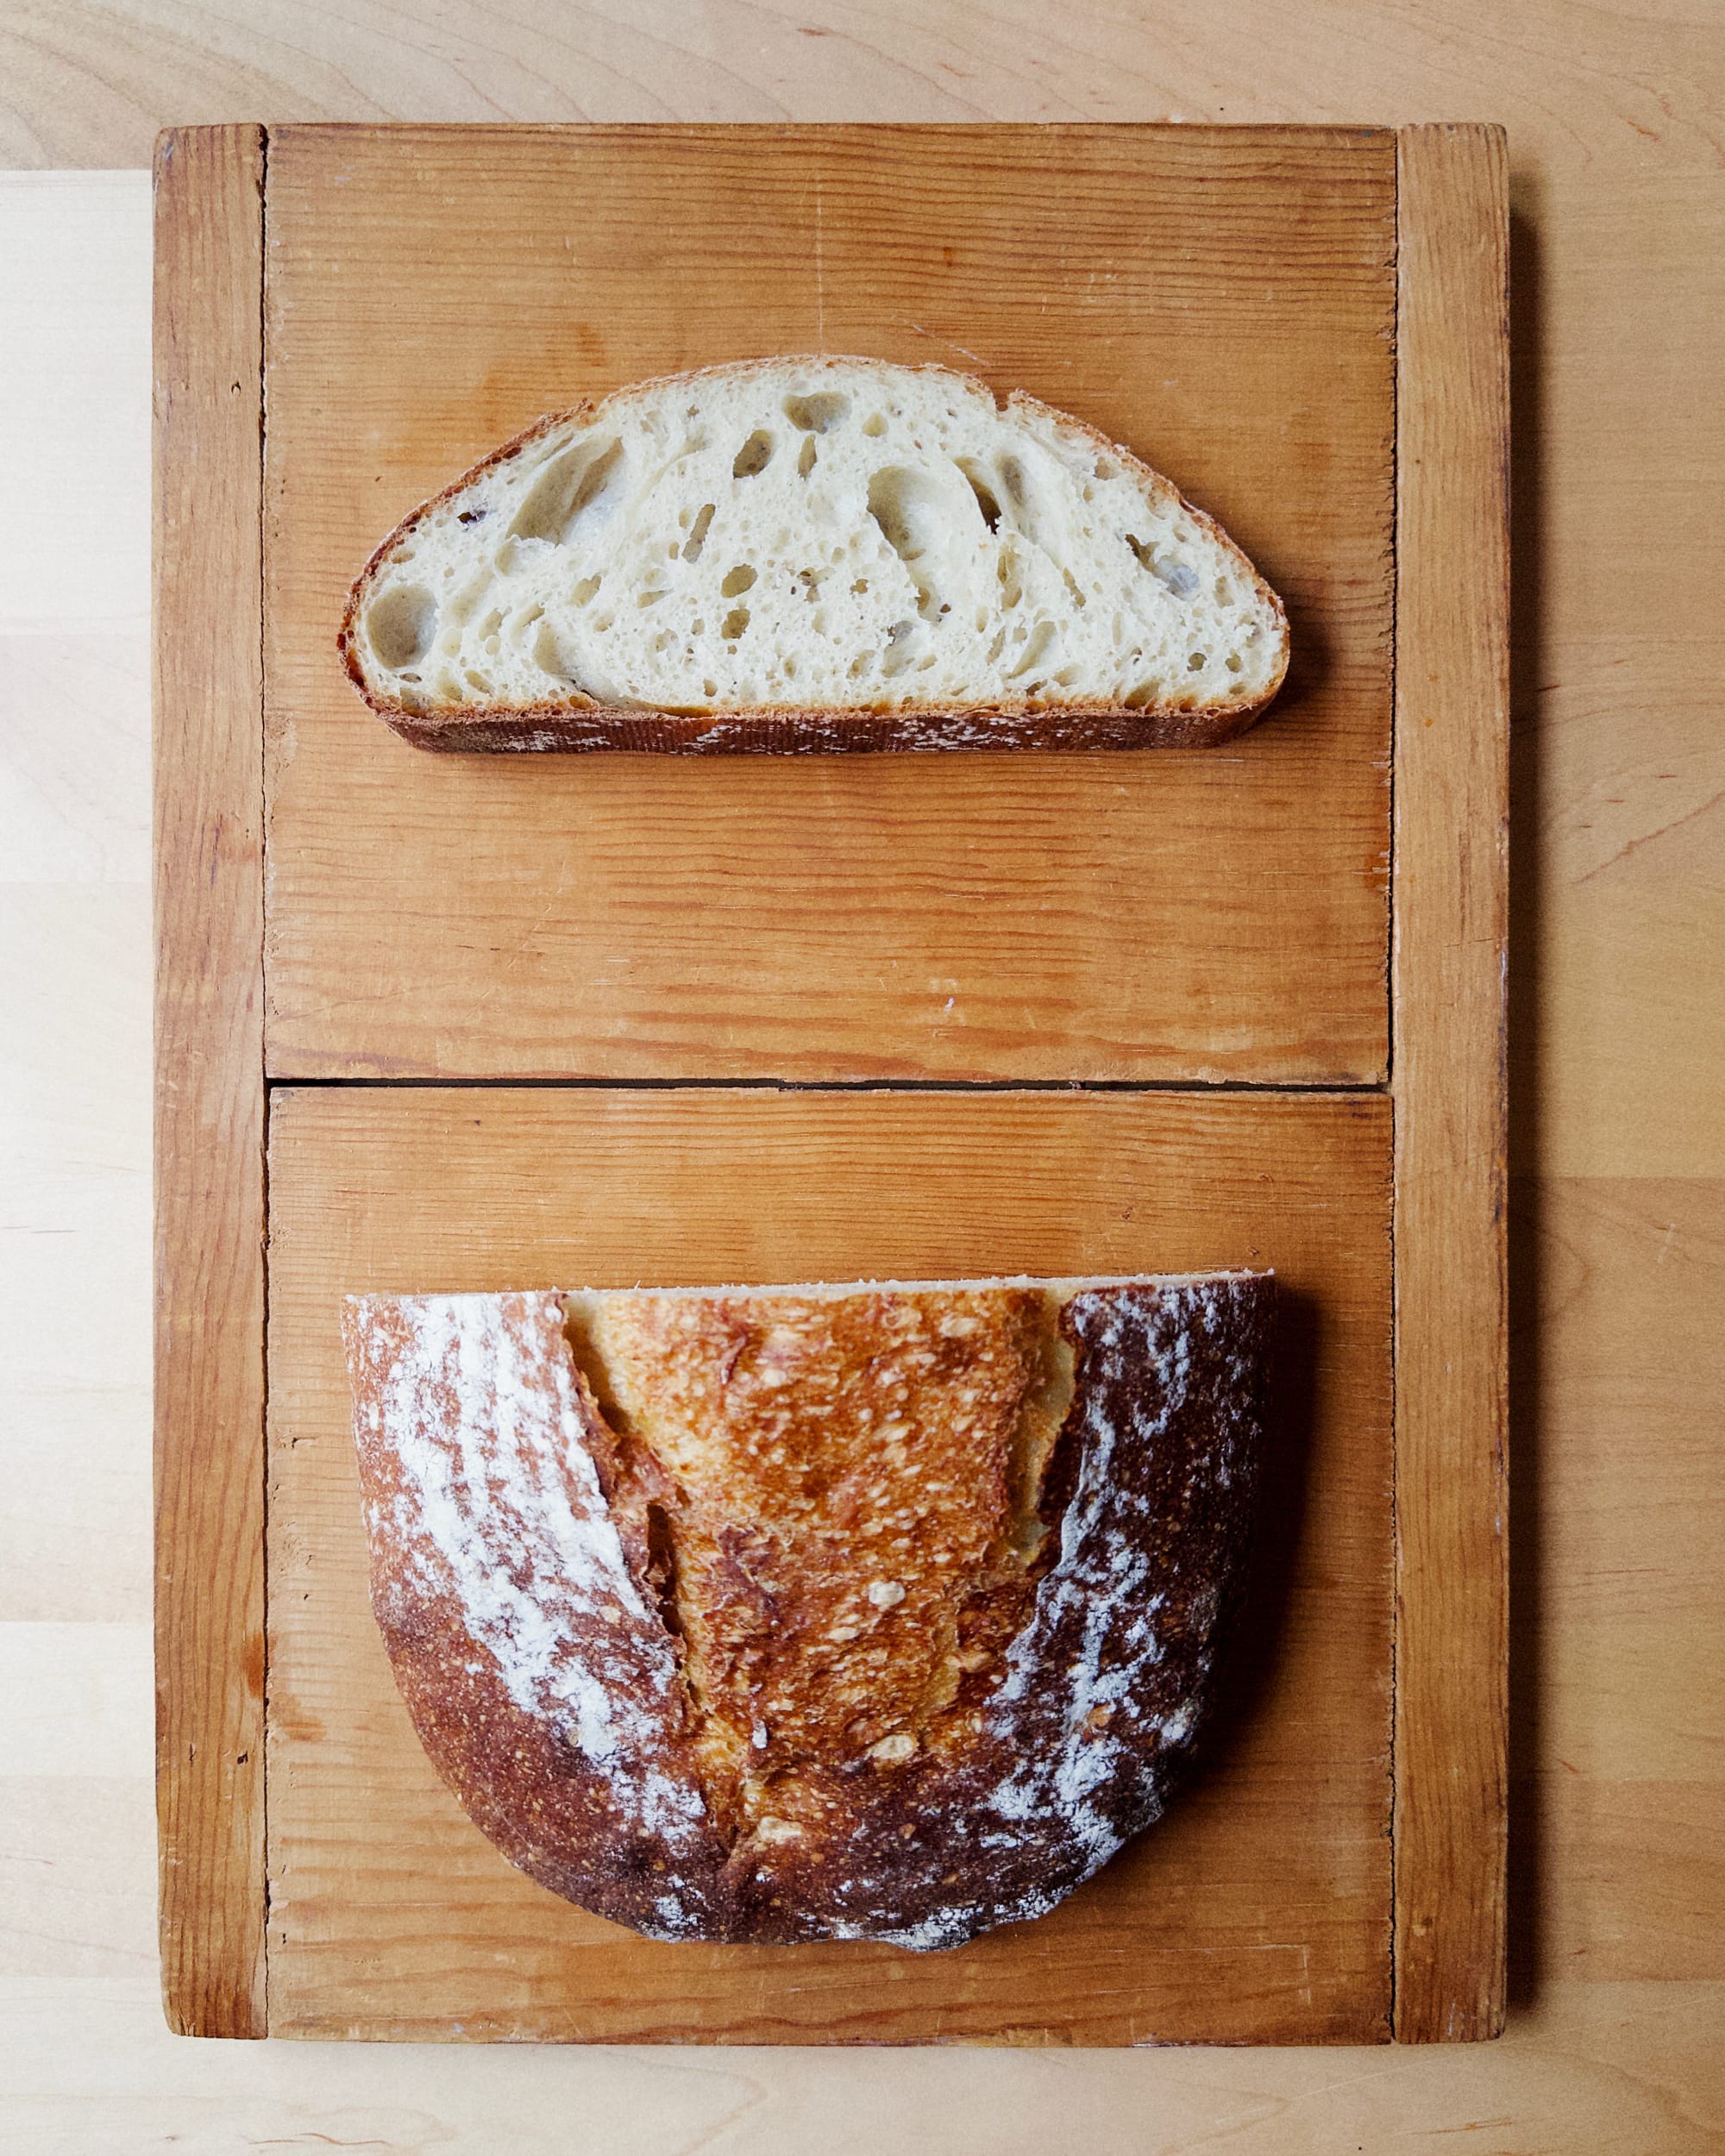
The second time around (pictured above), I lowered the hydration down to 72%, and did an all-ambient proof. Despite the changes, the dough was still pretty slumpy, and the oven spring less than maximal. So I don’t yet know how to avoid the protease issue (or whatever it is); maybe building more strength in the dough during mixing, or lowering the amount of sakadane in the starter. (It doesn’t appear to have been a problem for the person who made that video, so I’m not sure what’s up.)
Still, the flavor, aroma, and texture (of both loaves) was excellent, as was that of the milk bread. There’s no lactic acid bacteria here, so there’s no sourness, but there is a complexity of flavor that is sourdough-reminiscent. There is also a subtle savoriness (particularly in the aroma) that is really nice—it’s not cheesy, but definitely cheese-adjacent. Interestingly, it’s not wine-y in the way the starter most definitely is. The keeping quality of the loaves is definitely closer to sourdough than yeasted—even the lean loaves remained tender for several days.
Some stray research notes
YouTube is definitely the best place to find methods and recipes for working with sakadane breads, at least those with enough English information to work from. Aside from the country loaf above, here are a few recipes worth checking out.
This is a shokupan made by the same person who shared the country loaf, and it s made in a similar way: a fast (2-3h) stiff starter with 10% sakadane yeast, relative to the total flour in the recipe. In this case, after mixing the final dough, it’s retarded in the fridge overnight (without a room-temperature bulk), allowed to warm to room temperature and ~triple in volume (2-3h), preshaped and shaped, then given a final proof of 45–75 minutes before baking.
Not all bakers build a preferment. In this one, 16.7% unstrained sakadane (relative to flour) is added directly to the dough during mixing. The dough is given four sets of folds over a couple of hours, then it is shaped and moved to the fridge overnight. The next day it is baked in a Dutch oven in the usual manner.
And here are a couple of general videos on sakadane bread baking that are worth checking out.
I’m not sure when I’ll have time to continue testing my sakadane starter, so it might be awhile before I have new data to share. In the meantime, if you decide to try it out yourself, share results in the comments below.
—Andrew
I did mine on a half-scale from the video recipe, in case you were wondering. ↩
As with sourdough starter creation, using organic here will help ensure sufficient amounts of wild yeast are present. Once the culture is established, organic rice is likely not essential. ↩
Running it through the dishwasher is sufficient; after this stage, I’ve found that it’s not necessary to sterilize the containers, just make sure everything is squeaky clean. ↩
wordloaf Newsletter
Join the newsletter to receive the latest updates in your inbox.
