Pass the Dutchie
On Dutch oven baking
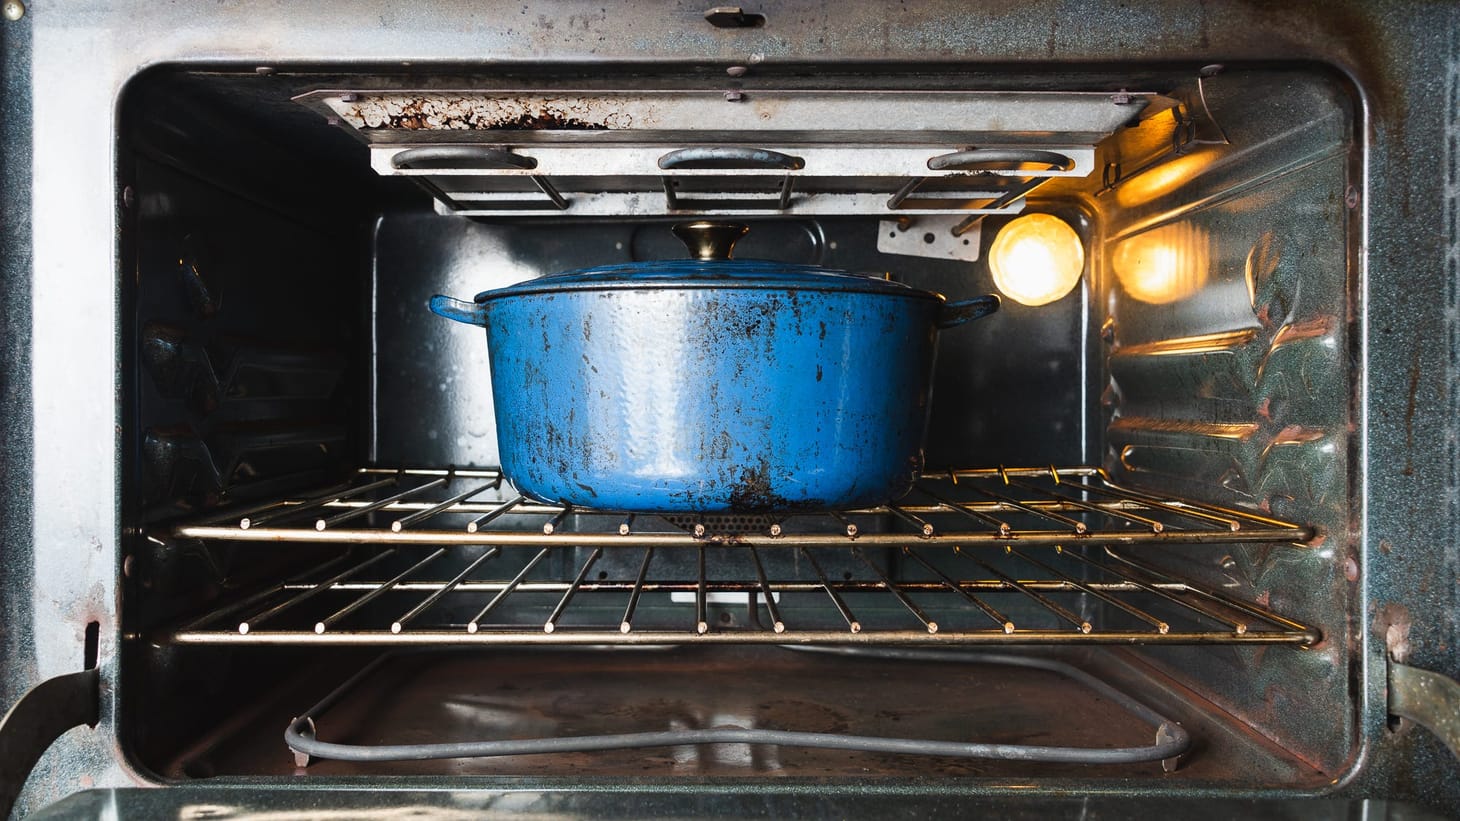
Table of Contents
For years I’ve been recommending a technique for “steaming” bread by pouring boiling water over a preheated pan of lava rocks sitting near the bottom of the oven. While I still think this is one of the best ways for producing an ovenful of steam at the start of baking, I’ve pretty much stopped doing it myself, in favor of simply baking in a Dutch oven instead. Steaming the entire oven is fussy, a little dangerous, and effective only when the oven is sealed tightly enough to retain the steam (which makes the method useless in gas ovens, which vent by necessity). Why bother with all that hassle and uncertainty, when steaming in a covered Dutch oven is so easy and effective?
The point of steaming breads during the first phase of baking is to promote oven spring and produce a crisp, shiny crust. Without steam, lean breads end up squat, with a dull, tough crust. (Enriched breads generally contain enough fat to obviate the need for steam; moreover, these breads are often given a wash of egg, water, or milk before baking, which serves a similar function to steam.)
How steam works to promote oven spring is twofold. One: The steam keeps the crust moist and therefore flexible, so that the loaf can expand without constraint; without steam, the crust will harden before the loaf has inflated maximally. Two: Moist air is a better conductor of heat than dry, so the steam pumps heat into the sides and top of the loaf to help it inflate quickly and evenly.
And as far as how steam helps produce a crisp, shiny crust: It hydrates the starches on the outer layers of the developing crust, so that they form a gel once their temperature exceeds 140˚F. (The shininess is the result of the glossy, reflective nature of gelled starches.) When the steam is removed from the loaf, the gelled starches then heat up further, causing them to expand rapidly and dry out, leaving them airy and crisp. (A very similar process happens during deep-frying.)
There’s another secret to achieving a crisp crust: Making sure the loaf springs (and bakes) quickly. Crispness relies on the crust having a thin shell; the thicker the crust overall, the less impact that outermost layer has on its texture. And the longer the loaf is exposed to steam and/or the heat of the oven itself, the thicker the entire crust will be. Thus the goal is to get the loaf in and out of the oven as quickly as possible. That’s why I tend to bake my loaves hot—475˚F—for 20 minutes under steam, and 15 to 20 minutes uncovered. (More on this below.)
Steaming the entire oven is inefficient, even when the oven can retain steam, because you need a ton of it to fill all that empty space. Meanwhile, within the snug confines of Dutch oven, it doesn’t take much steam to saturate the space around a loaf. So little, in fact, that there’s more than enough moisture evaporating from the loaf itself. (Bakers working in larger bread ovens often produce steam in a similar way: by simply making sure the oven is completely filled with loaves.)
There are a few drawbacks to Dutch oven baking, but they are easily gotten around:
- You can only bake one loaf at a time.
- You can only bake round loaves.
There are a few ways around problem #1. You can, of course, bake as many loaves as the number of Dutch ovens you own and can fit side-by-side in your oven. Or you can do what I do instead: stagger the baking. Since the bread only needs to be in the Dutch oven during the steaming phase, you can take it out once it is fully sprung and finish the bake outside of the pot, freeing it up for the next loaf.
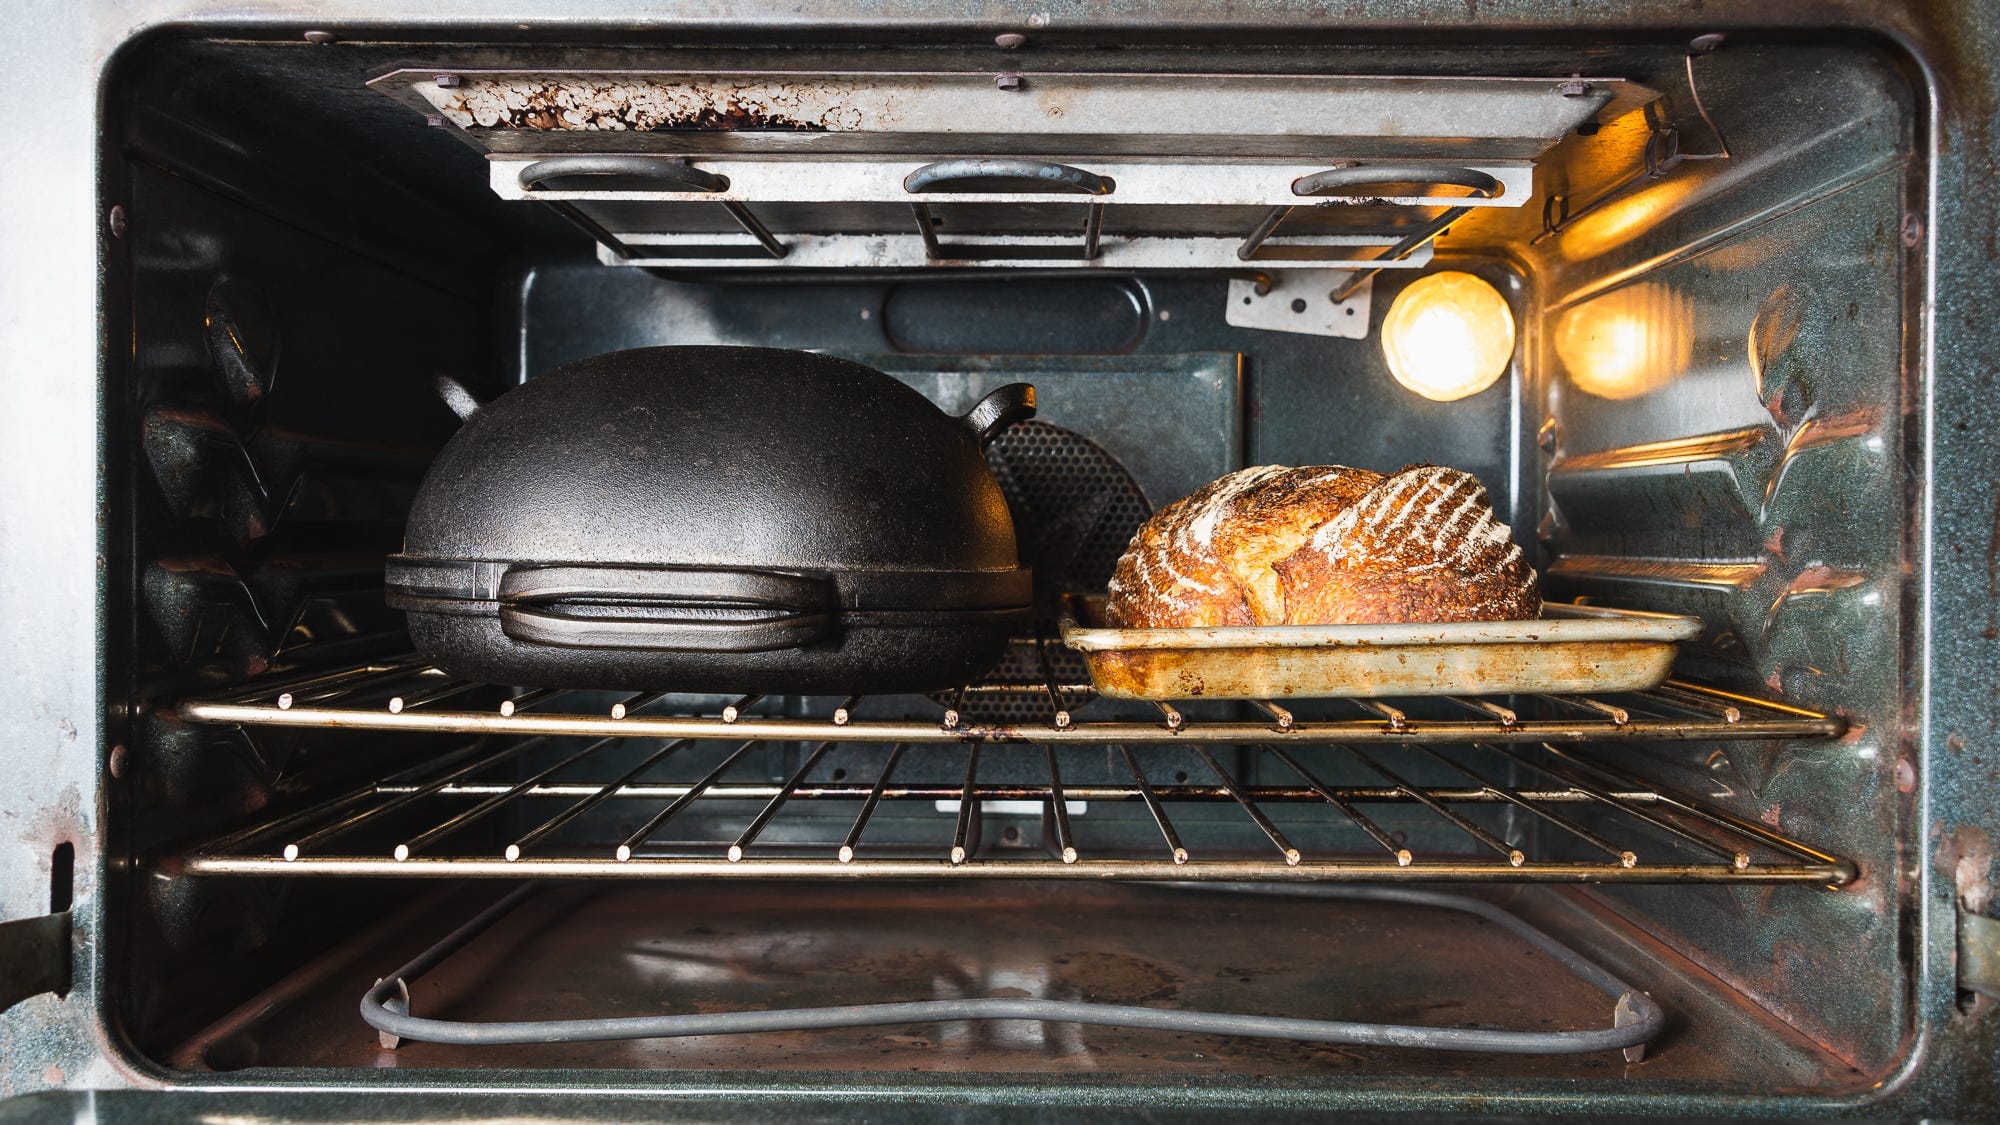
Removing the bread from the pot entirely once steaming is complete is always a good idea, even if you aren’t baking multiple loaves. For one thing, it promotes even, quick browning, since the sides of the loaf are no longer shielded by the sides of the pot. Two, it helps minimize burning on the underside of the loaf, since it’s no longer in contact with the mass of the pot. Finally, it speeds up the bake overall, especially if using the convection fan (as I describe below), making for a crisper, thinner crust. I generally place the loaf on a sheet pan, to shield the bottom of it from the lower oven element.
As for problem 2—roundness—that is easily gotten around as well. An expensive but worth-it-if-you-can-afford-it option is the Challenger Bread Pan, a rectangular cast-iron pot specifically designed for baking bread:
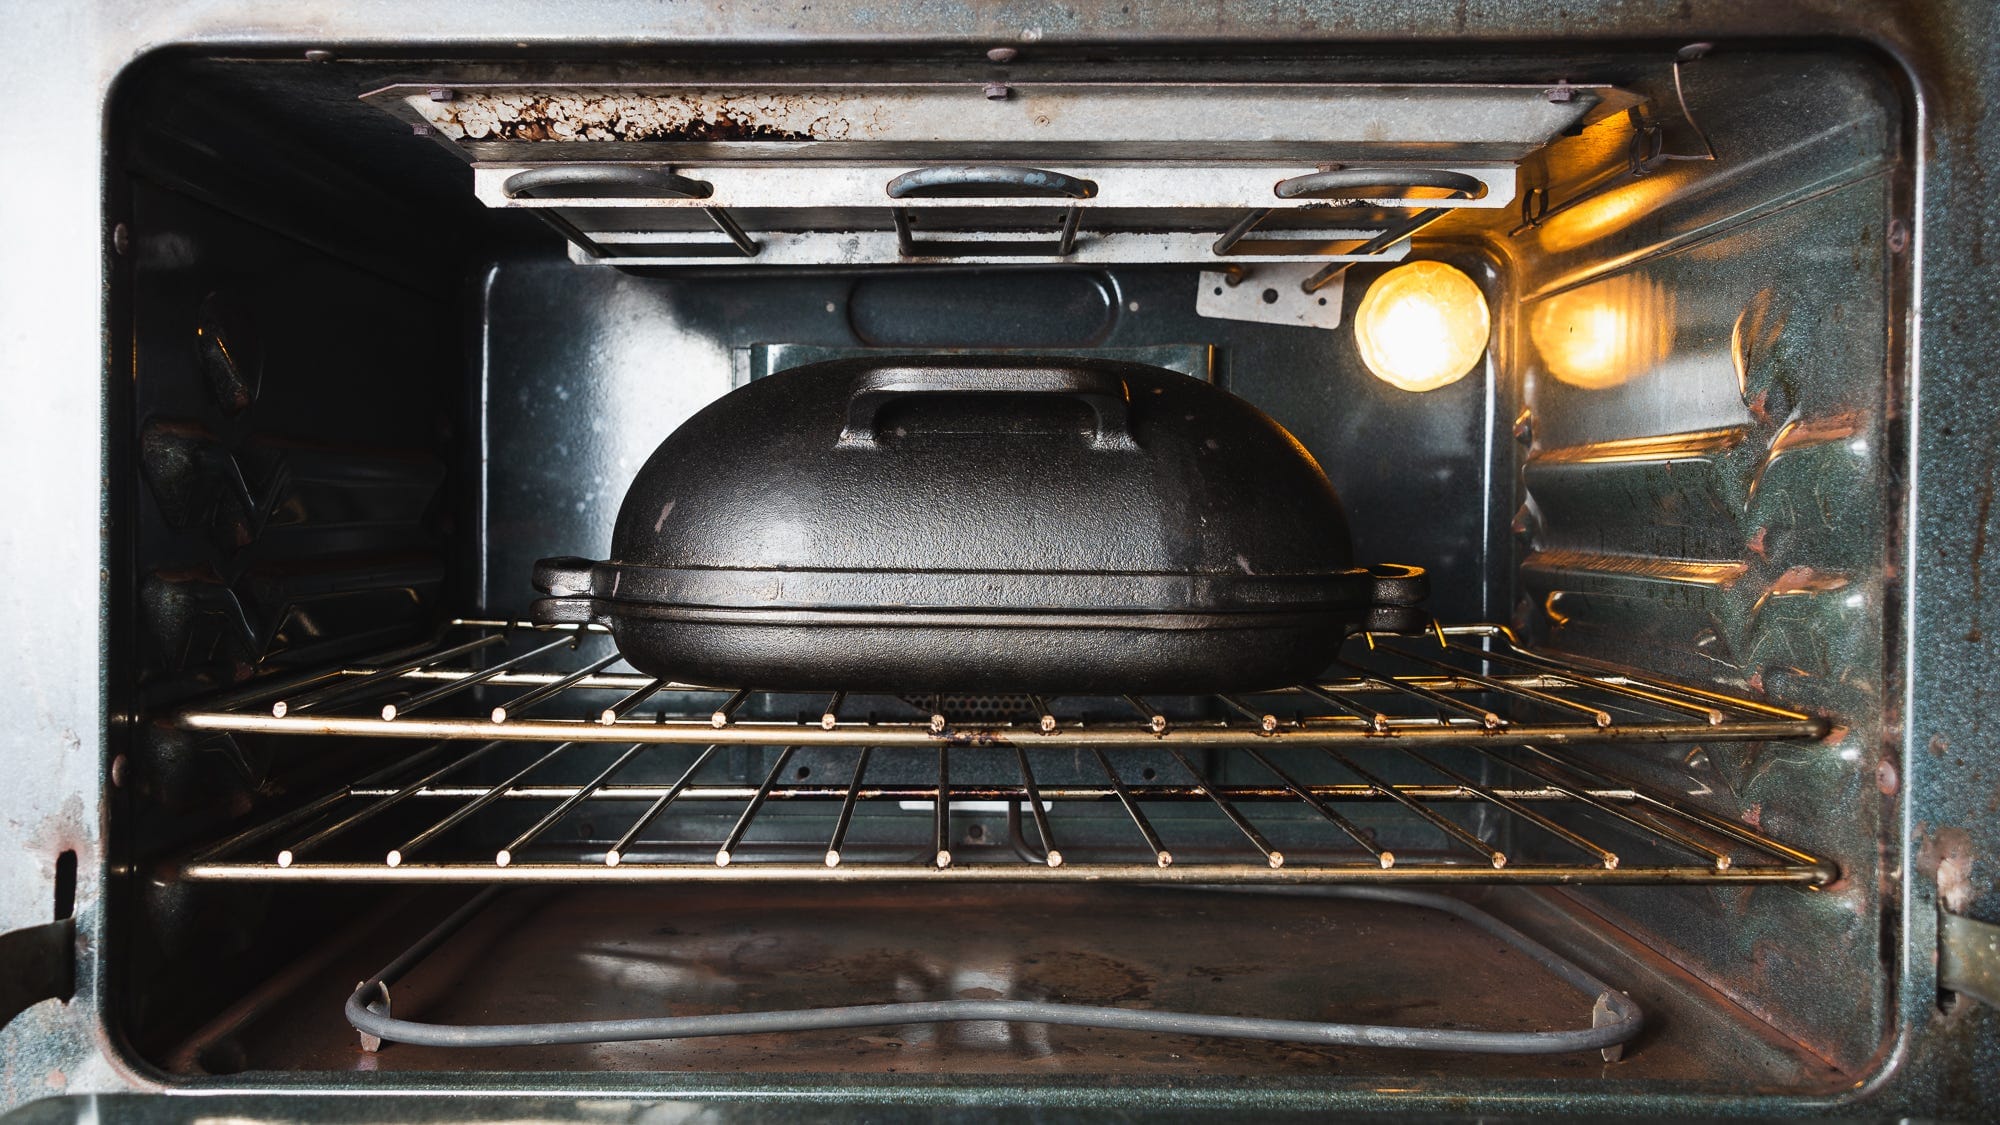
I love my Challenger Pan and use it pretty much all the time, since it is long enough to accommodate the bâtards that are my preferred style of loaf. It is very heavy, and the “lid” forms a very tight seal, so nary a wisp of steam escapes. Moreover, unlike most Dutch ovens, most of the mass of the pot is contained in the lid and not the base, so it pumps more heat toward the top and sides of the loaf. Both of which means that loaves spring up very quickly, usually within 15 minutes at 475˚F.
But you don’t actually need to spend a lot to create conditions close to what a Challenger Pan provides. Instead, you just need to expand your notion of what a “Dutch oven” is.
Anything that can hold steam around the loaf will work nearly as well. And there are lots of rectangular vessels to be found in the average kitchen. But wait, you ask: Isn’t the other reason a cast-iron Dutch oven such an effective bread vessel because it has all that mass?
Indeed, it is. But you can easily mimic the extra mass of a Dutch oven by placing lighter pots or vessels on a baking stone. Hence this is a Dutch oven:
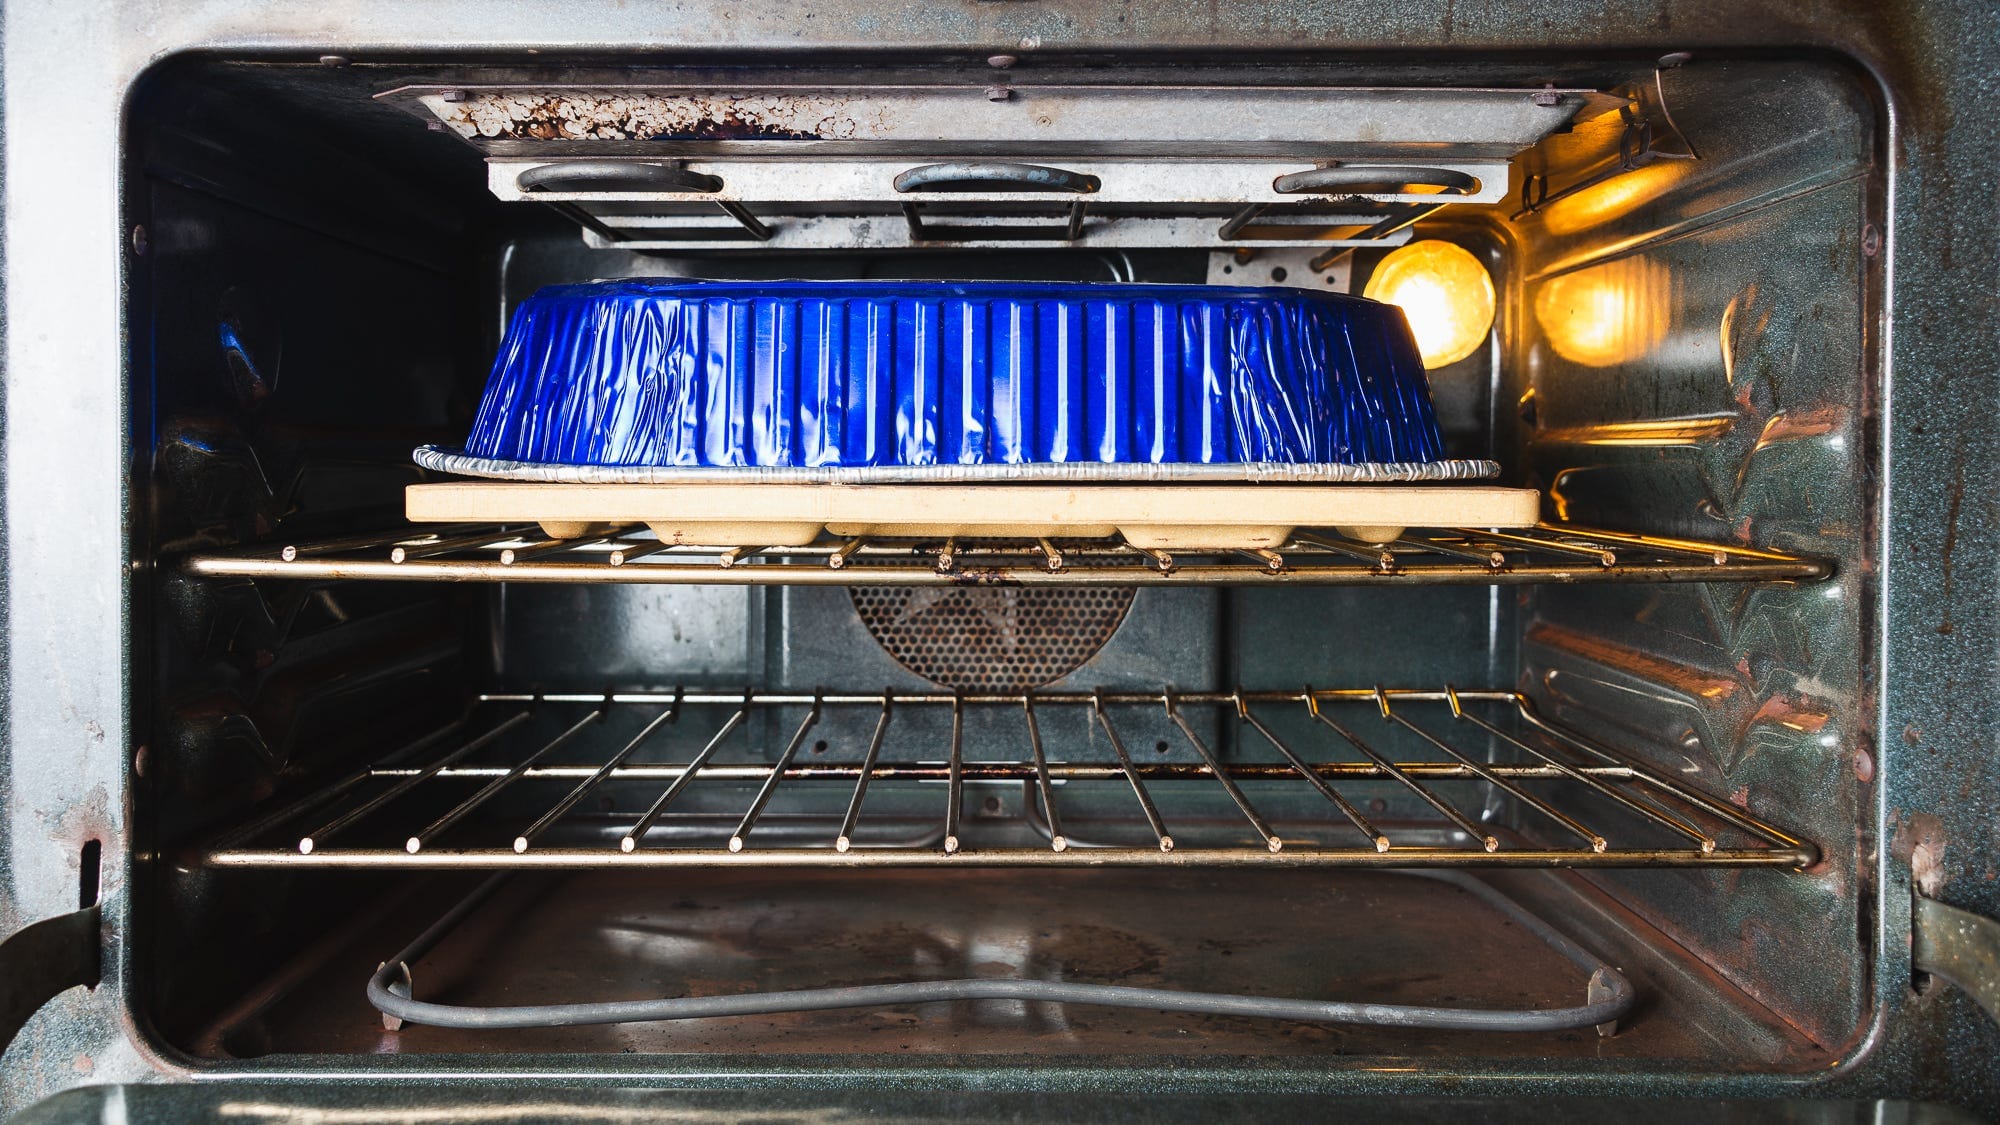
And this is a Dutch oven:
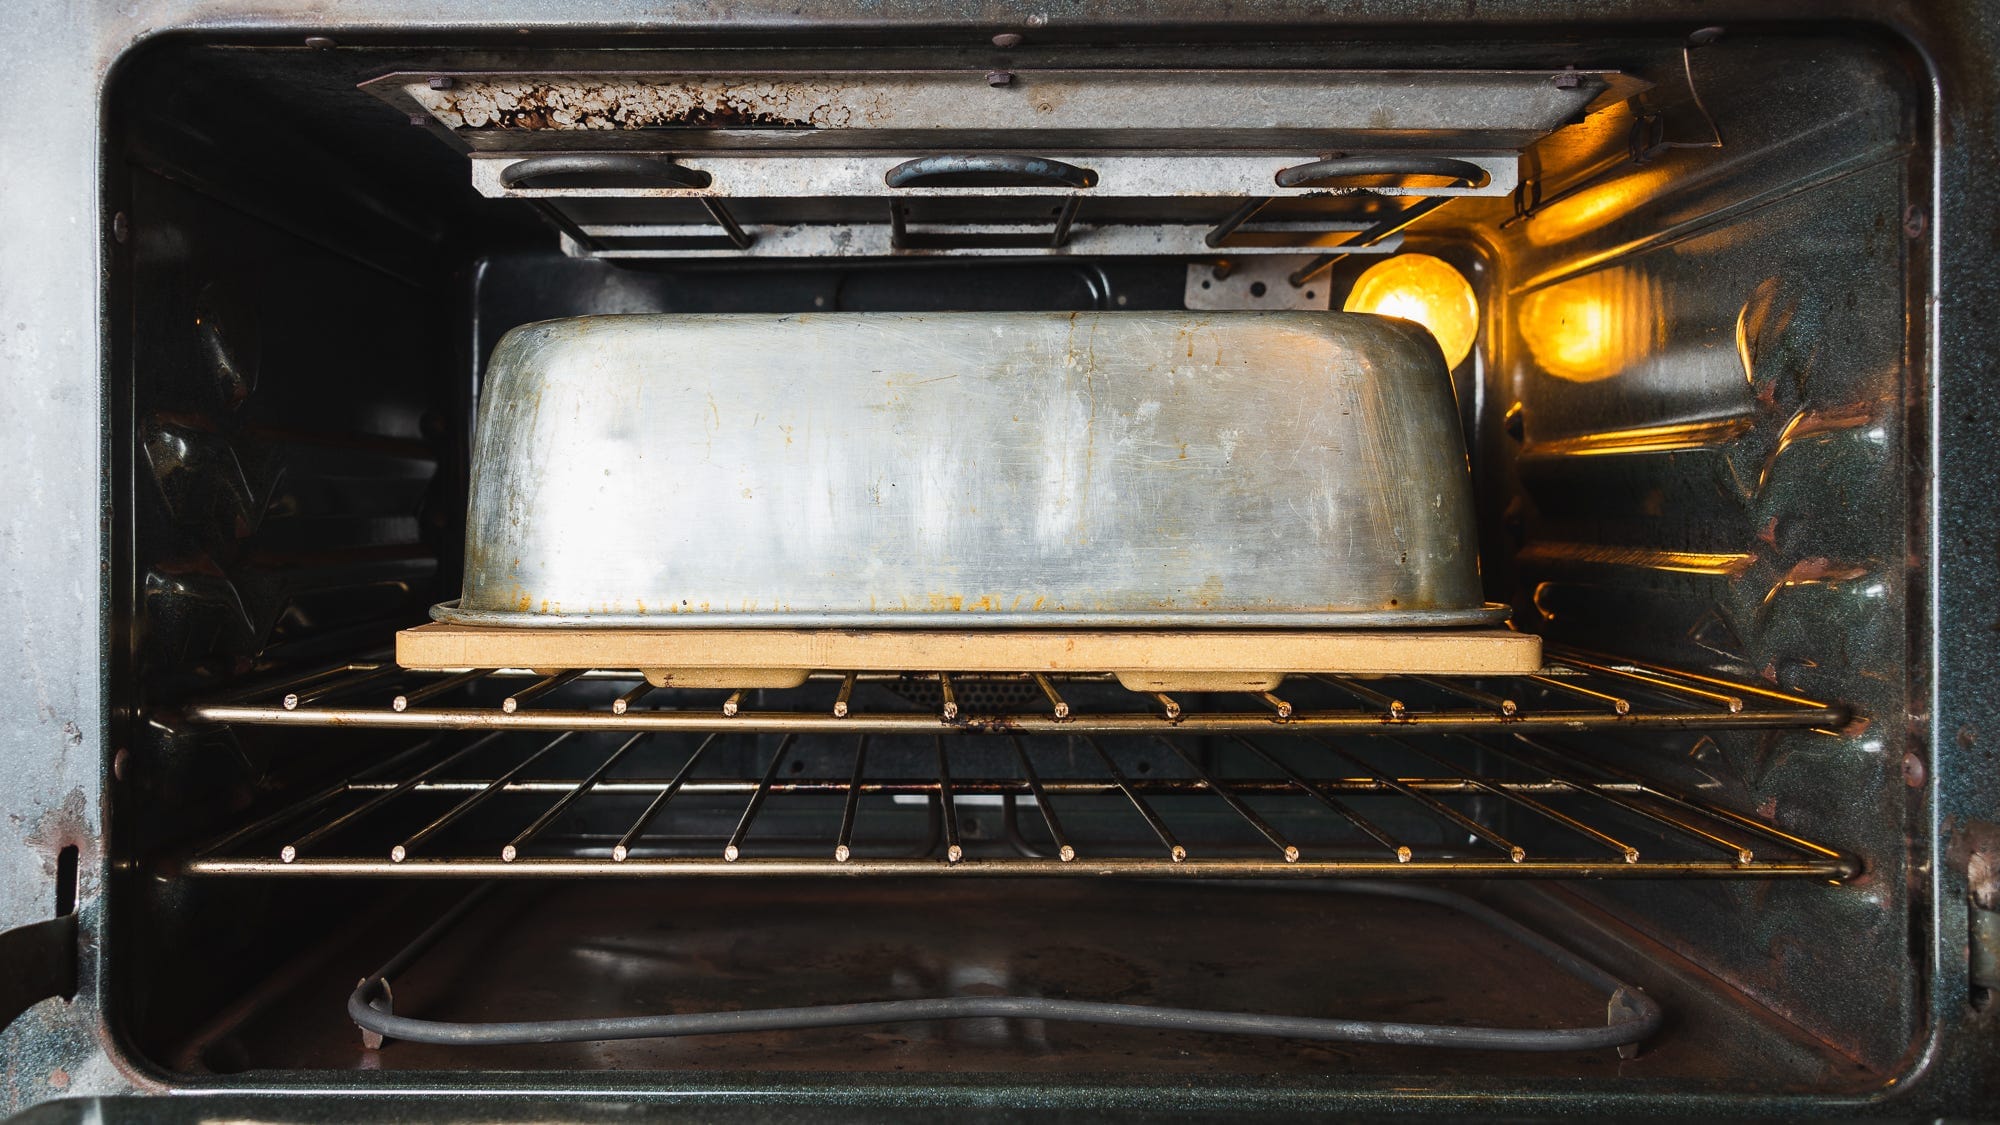
Those last two are particularly effective for baguettes, which are too long for even a Challenger pan to accommodate.
This sort of approach can be used for round loaves as well, if you don’t happen to have a cast-iron Dutch oven. This is a Dutch oven:
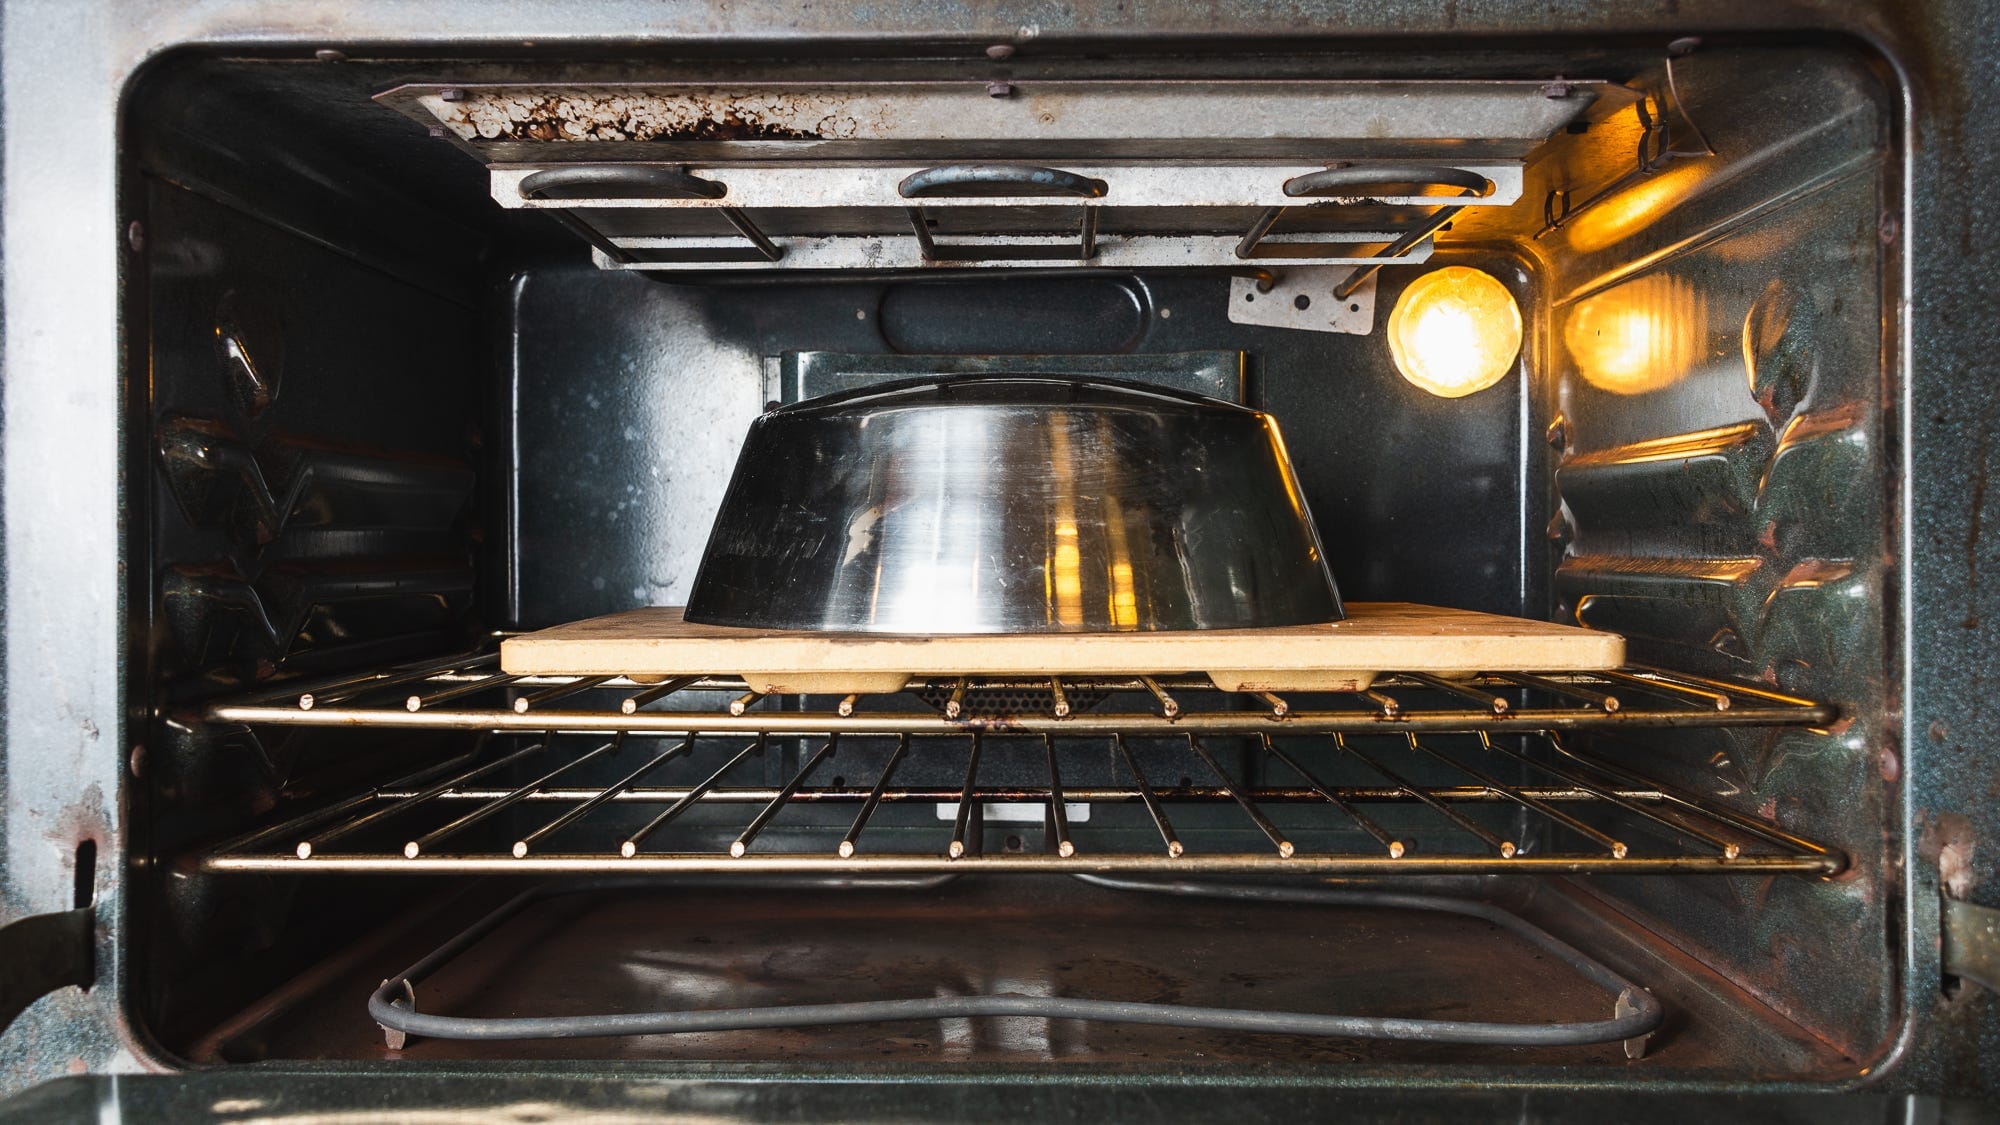
As is this:
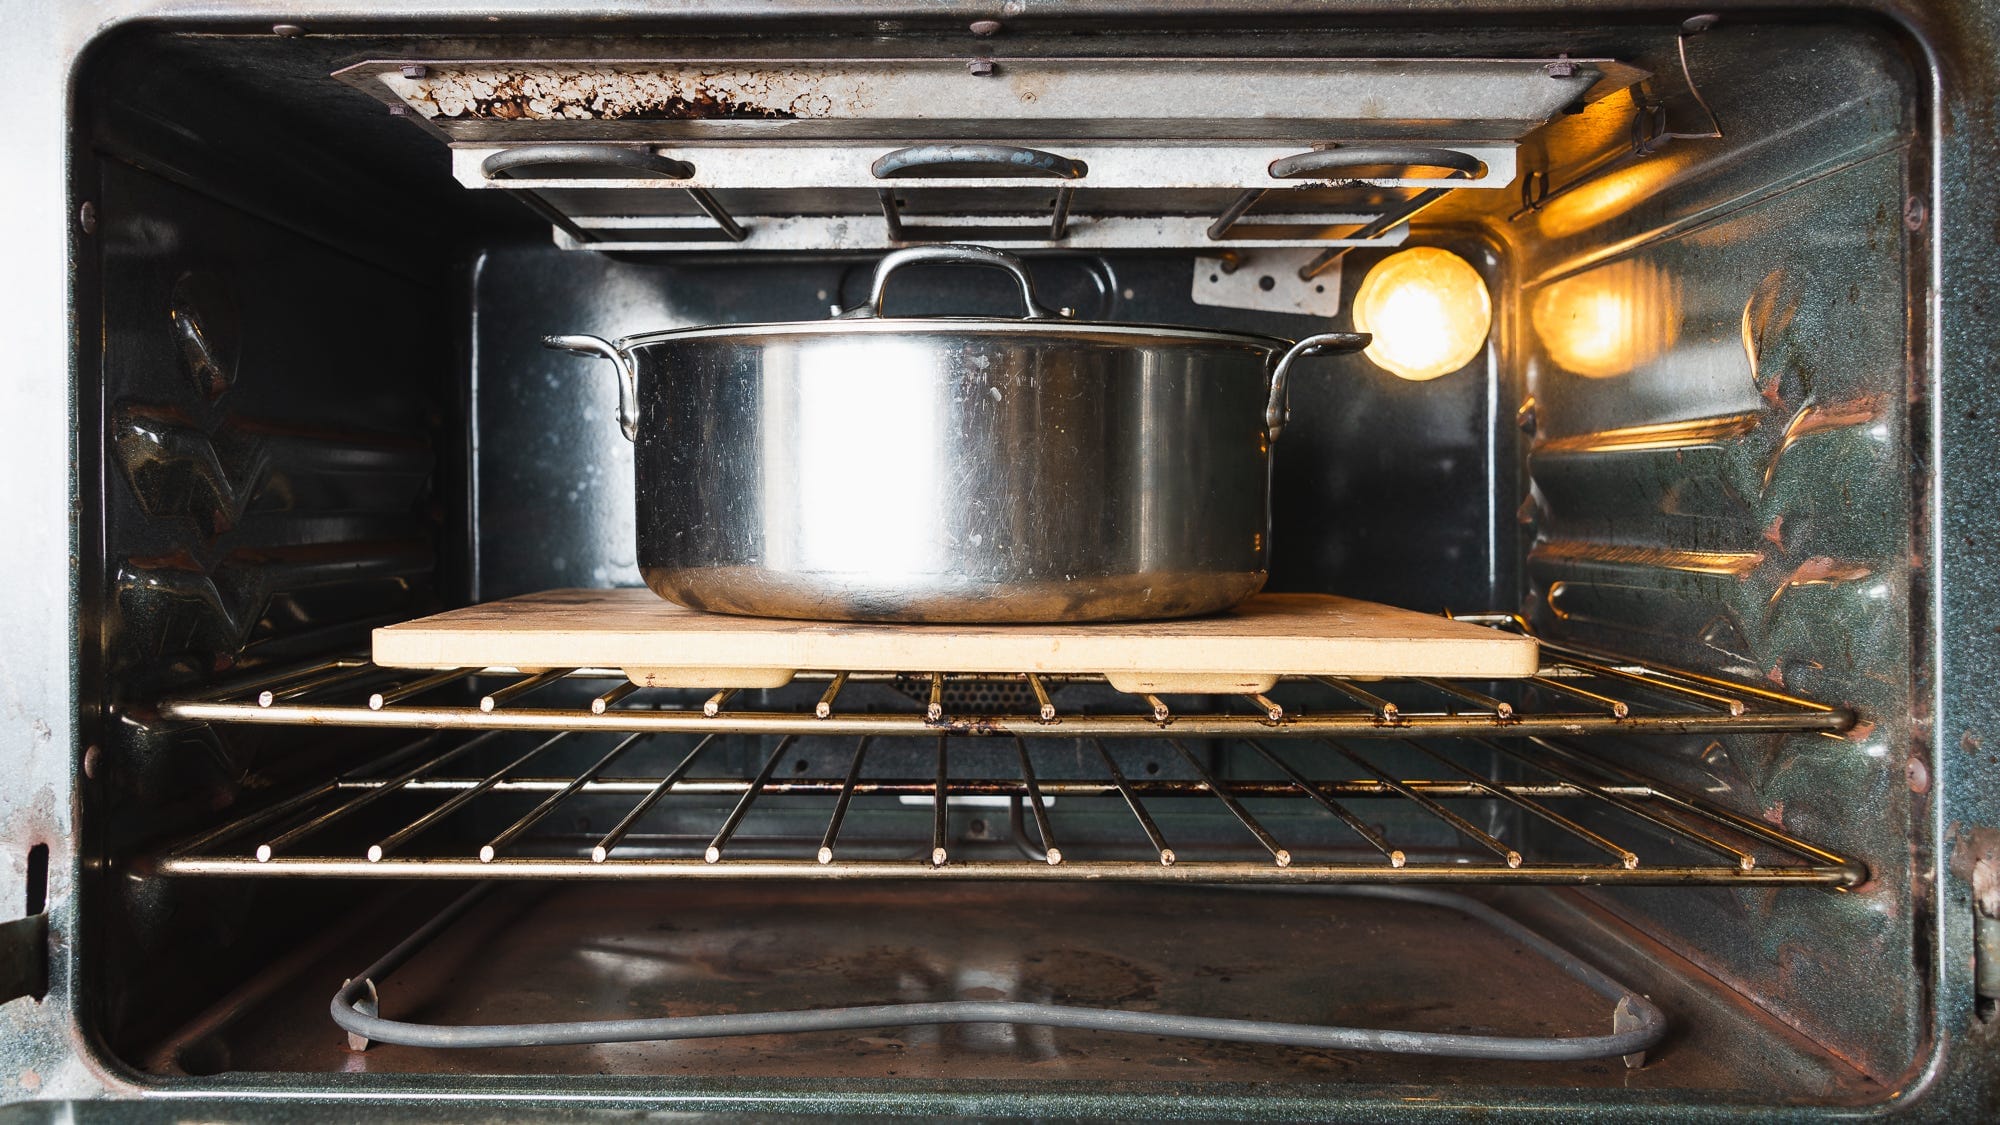
Though none of these vessels seal quite as tightly as a heavy, cast-iron pot, they are sealed enough to do the job in the absence of better ones (and are definitely superior to trying to steam the entire oven).
Cold Start?
Another thing I used to do/recommend but don’t anymore is the “cold start” Dutch oven method. (Some of you probably are aware that I called for it in several Cook’s Illustrated bread recipes.) Here’s how it’s done, in case you’d like to give it a try:
- Place loaf onto a parchment sling slightly longer than loaf itself that has been sprayed with nonstick spray (to prevent bread from sticking to pot or parchment, something that is a real risk with a cold start).
- Transfer loaf to cold Dutch oven.
- Cover pot, transfer to cold oven, and set oven to 425˚F.
- Remove lid 30 minutes after turning oven on. (To be clear: not 30 minutes after oven reaches temperature, but 30 minutes after the bake begins.)
- Continue to bake until loaf is browned, 15 to 30 minutes.
Somewhat miraculously, this method does work. And because it requires no preheating whatsoever, it’s energy efficient and keeps your kitchen cooler during hot weather. And because the pot starts out cold, there’s no risk of burning yourself when loading the bread.
You might prefer this approach for the above reasons, so I encourage you to give it a try at least once.
But here’s why stopped using it. One: In my oven at least, the bottom of the loaf always ends up darker than I’d like. That’s because since the oven is essentially in “preheat” mode the entire time, the lower element is always on. And two: I think that you get slightly better oven spring and a crisper crust with a hot start, because the cold start method takes awhile to get underway.
My DO MO
Most Dutch oven bread recipes go something like this: “Set oven rack to middle position, place Dutch oven on rack, and preheat oven at 450 degrees for 30 minutes. Add bread to pot, cover, and bake for 30 minutes. Remove lid, continue to bake until loaf is evenly browned, 20 to 30 minutes more.” While that’s a good starting point, I actually think one should figure out what works best in your particular oven, with your particular bread(s).
For example, I like a thin crust, so I try to bake hot and fast. My oven is shallow, so I need to be careful the pot isn’t sitting too close to the lower element, or the loaf will burn. I take the loaf out of the pot as soon as it is fully sprung, also to avoid burning (something that is a particular risk with the Challenger Pan’s increased mass). And I use the convection setting to promote rapid, even browning once the loaf is out of the pot.
Here’s my general approach:
- Place Dutch oven on highest rack it will fit on easily, lid included.
- Preheat pot at 475 for at least 30 minutes.
- Invert loaf lengthwise onto a parchment sling slightly longer than loaf itself.
- Score loaf and transfer to pot using sling.
- Cover pot, return to oven, and bake.
- Check loaf after 15 minutes. If not fully sprung, cover and continue to bake for 5 minutes longer.
- When fully sprung, remove from pot and transfer to sheet pan. Return to oven and bake, using the convection fan if available and effective. (This is when I add the next loaf to the pot if I’m doing staggered baking.)
- Bake until deep golden brown—or dark brown, as is my preference—10 to 20 minutes.
I hope that gives you a good sense of the hows and whys of Dutch oven baking. Is there anything I left out? Let me know in the comments below.
—Andrew
wordloaf Newsletter
Join the newsletter to receive the latest updates in your inbox.
