Class Time: Thin Crust Pizza 101: Part 3

At long last, we can get down to the business of actually baking some thin-crust pies. (I warned you that I had a lot to say on pizza.) Like I said at the start of all this, one of the hallmarks of a great thin-crust pie for me is contrast from inside to out, crust to crumb. I want the exterior to be crisp, while the inside is still moist and tender.

[Getty Images]
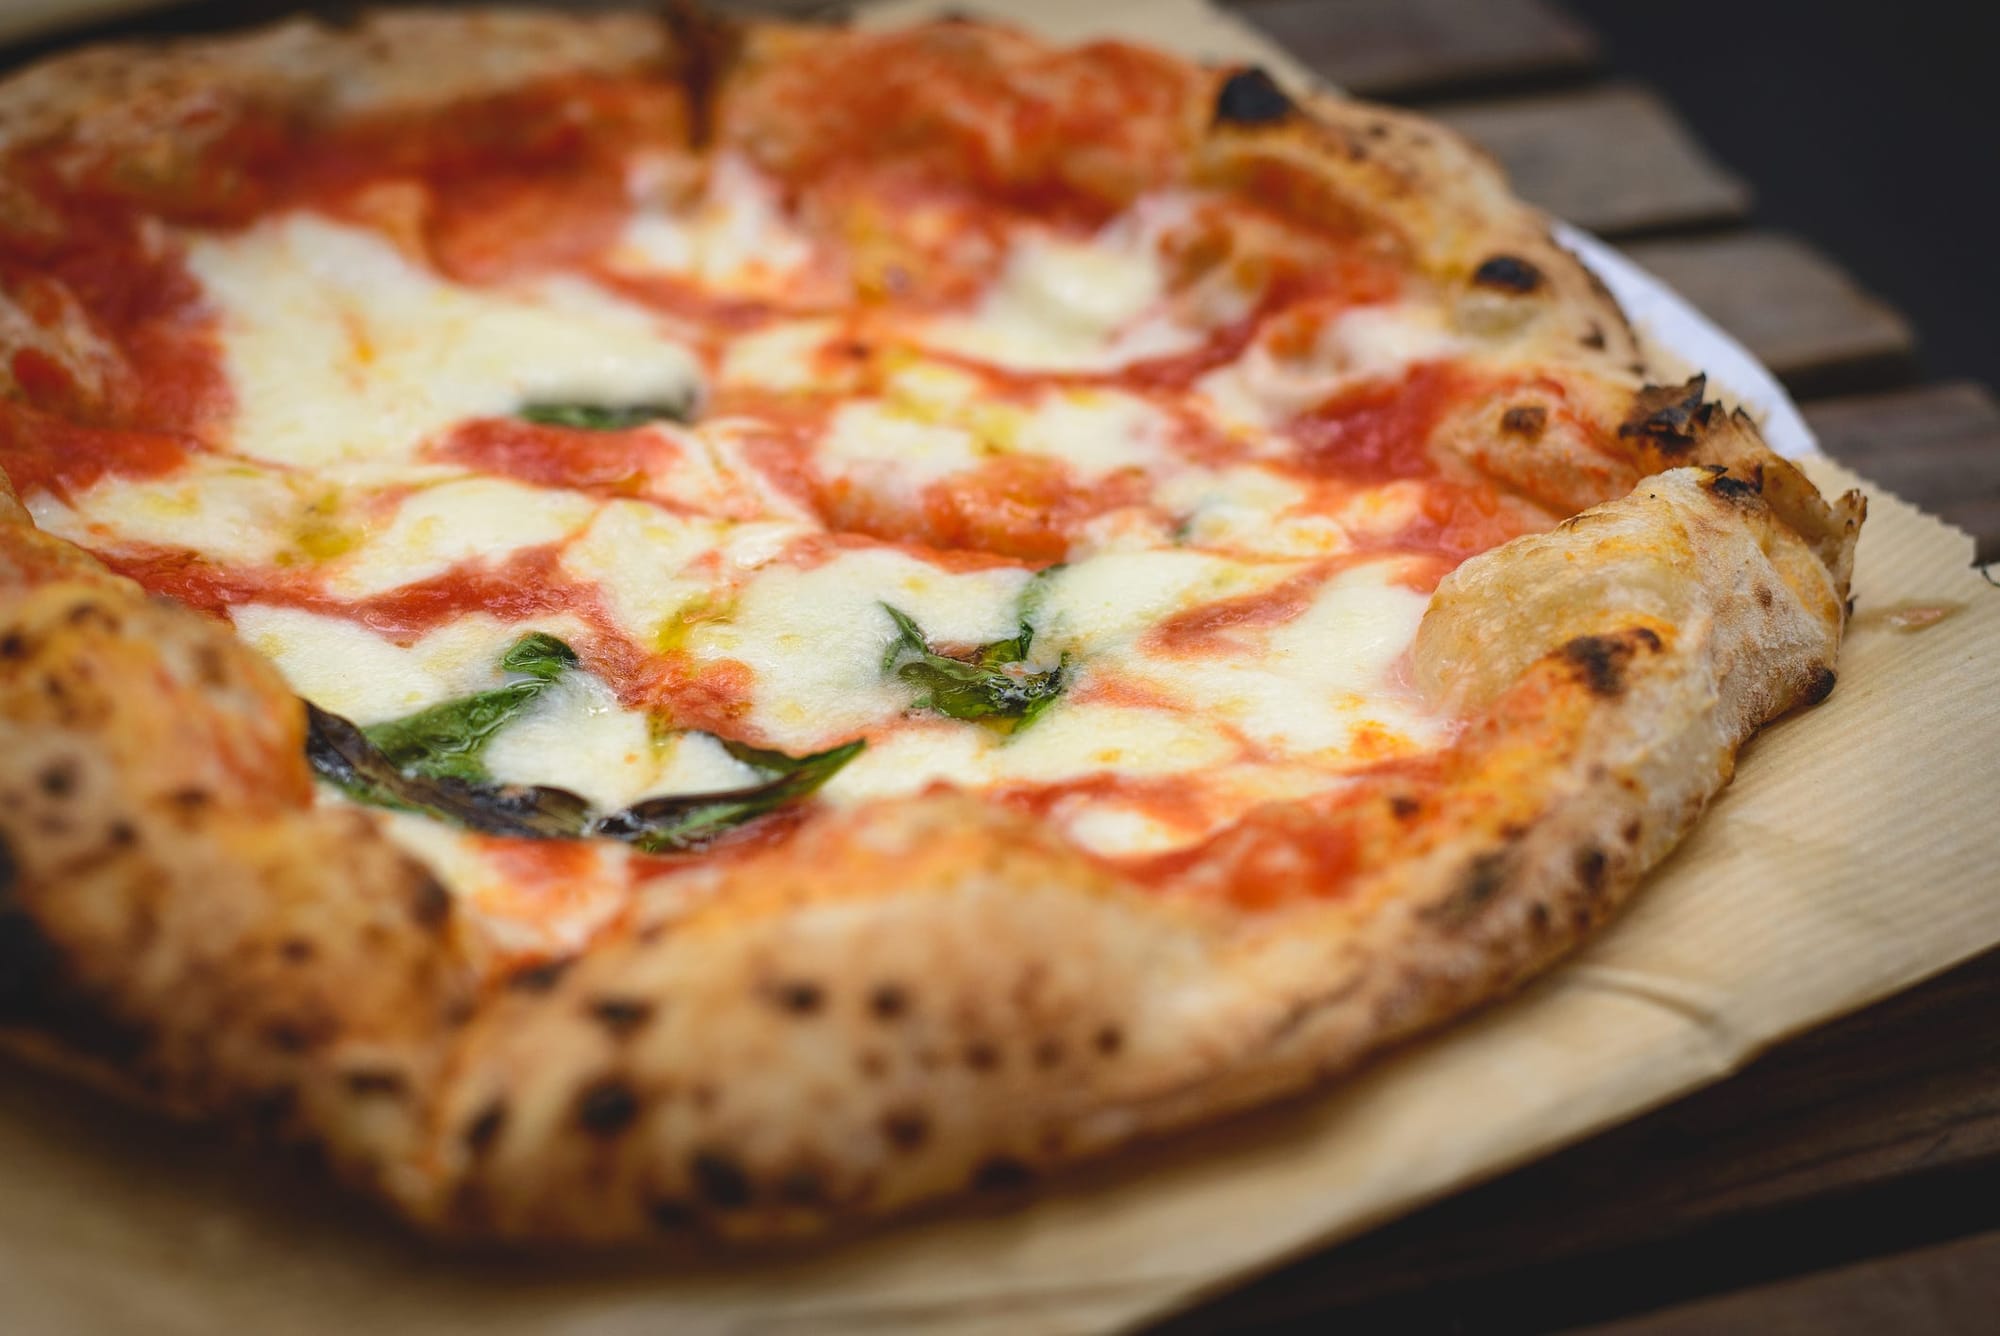
This is the case for nearly all styles of thin-crust pizzas, but is best exemplified by a true Neapolitan pizza. Baked in wood-fired ovens at temperatures of at least 900˚F and made with a fairly high-hydration dough, Neapolitan pies typically cook in less than 2 minutes time. The best ones are blistered, charred, and crisp on the underside and rim, but just shy of raw on the inside. (The toppings, as you can tell from the photo above, are hot, but not usually browned.) Because of this, they are usually eaten with knife and fork, not hands, since the slices cannot hold themselves up beneath their own weight.
While 900˚F temperatures are impossible to achieve in an average home oven—if yours goes all the way up to 550˚F, consider yourself lucky—the goal remains more or less the same: Get the outside to cook fully before the inside is overcooked. Achieving this means cooking the pizza as quickly and as evenly as possible. Quickly because the faster the crust and toppings crisp up and brown, the less likely it is that the inside will overcook. And evenly because if the top and the bottom of the pizza don’t cook at the same rate, the inside of the pie will likely overcook before one or the other has caught up.
Hydration
Cooking a pizza quickly requires two things: sufficient heat and the appropriate amount of water in the dough. Neapolitan pies can stand to be made with a high hydration dough because 900˚F+ temps can quickly vaporize the moisture in the crust to let it brown and crisp. At lower temperatures all that water will take so long to burn off that the pie will be overcooked by the time the crust browns. In other words, you need to tailor the hydration of a pizza recipe for the specific oven temperature it will be baked at. For 500 to 550˚F maximum home oven temperatures, that tends to mean something between 60 and 67% hydration, depending upon the style of pie and the type(s) of flours used.
Conductivity
Getting that heat into the pie quickly requires baking it on some sort of heat-concentrating surface. Until recently, that meant a baking stone, a ceramic or composite tile that soaks up heat from the oven and radiates it back into whatever is placed on it. Baking stones are generally great tools, because they have a lot of mass that can absorb and release lots of thermal energy. But they are not terribly conductive—compared to other materials, stones are relatively slow to release that energy once it’s been absorbed.
Steel, on the other hand, is extremely conductive, which is why most serious home pizza makers use a baking steel nowadays instead. Made of 1/4” thick seasoned steel, it works more or less just like a stone, but transfers energy to the pizza at a much faster rate, so that a pie that cooks in 10-12 minutes on a stone will be browned and crisp in 6-8 minutes on a steel.
(In case you were wondering: No, I don’t use my baking steel for loaf breads, because it’s actually too conductive for them. They tend to burn on the underside before the crumb and top crust are fully baked.)
The other great thing about a steel is that it heats up more quickly than a stone too. Where I recommend preheating a baking stone for at least an hour before use, a steel only needs 30 minutes to be ready.
Battery Backup
If you are planning to make more than a couple of pizzas in a single session, and you happen to have both a steel and a stone, I recommend placing the steel on top of the stone and preheating them together for at least an hour. With that setup, you essentially have a fast-cooking surface with a built-in battery: The steel conducts heat quickly to the pizza, while the stone acts as a heat sink that helps to keep the steel hot during extended use.
Reflectivity
Maximizing the heat output of your baking surface helps cook the underside of the pizza quickly, but a pizza obviously has two sides. So how do you get the rim and toppings to cook quickly too? You need some way to direct heat to that part of the pie. The trick here is to use reflected heat.

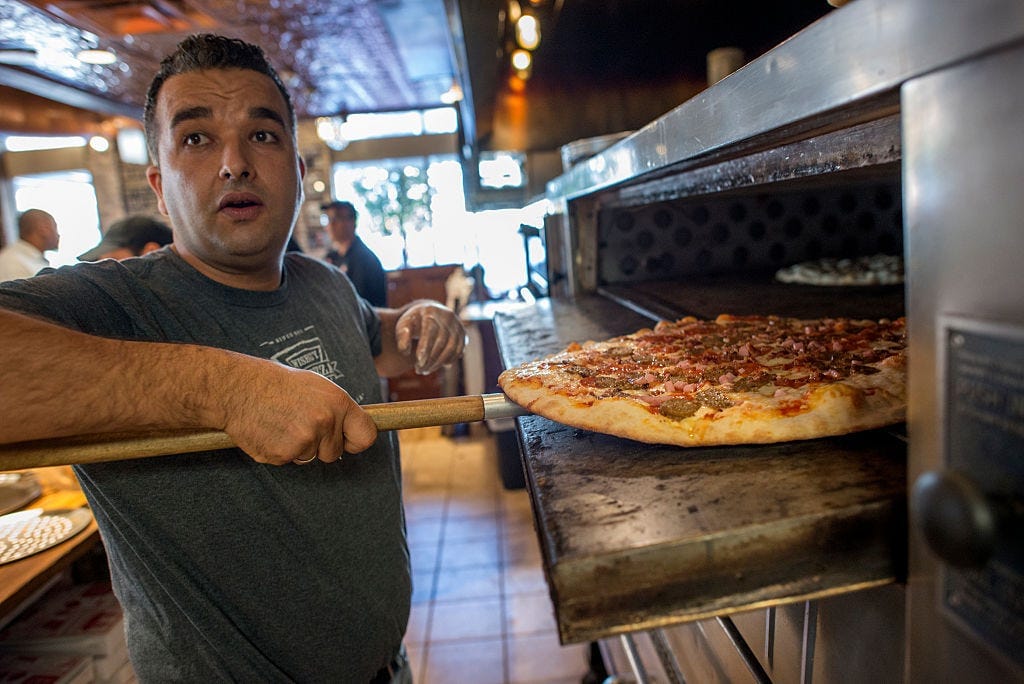
[Getty Images]
Consider the average old-fashioned gas or electric pizza oven, like the one above. Ovens like that are extremely shallow in height, for good reason: they direct energy to both sides of the pizza evenly, thanks to heat bouncing off of the roof of the oven and back down toward the top of the pie.
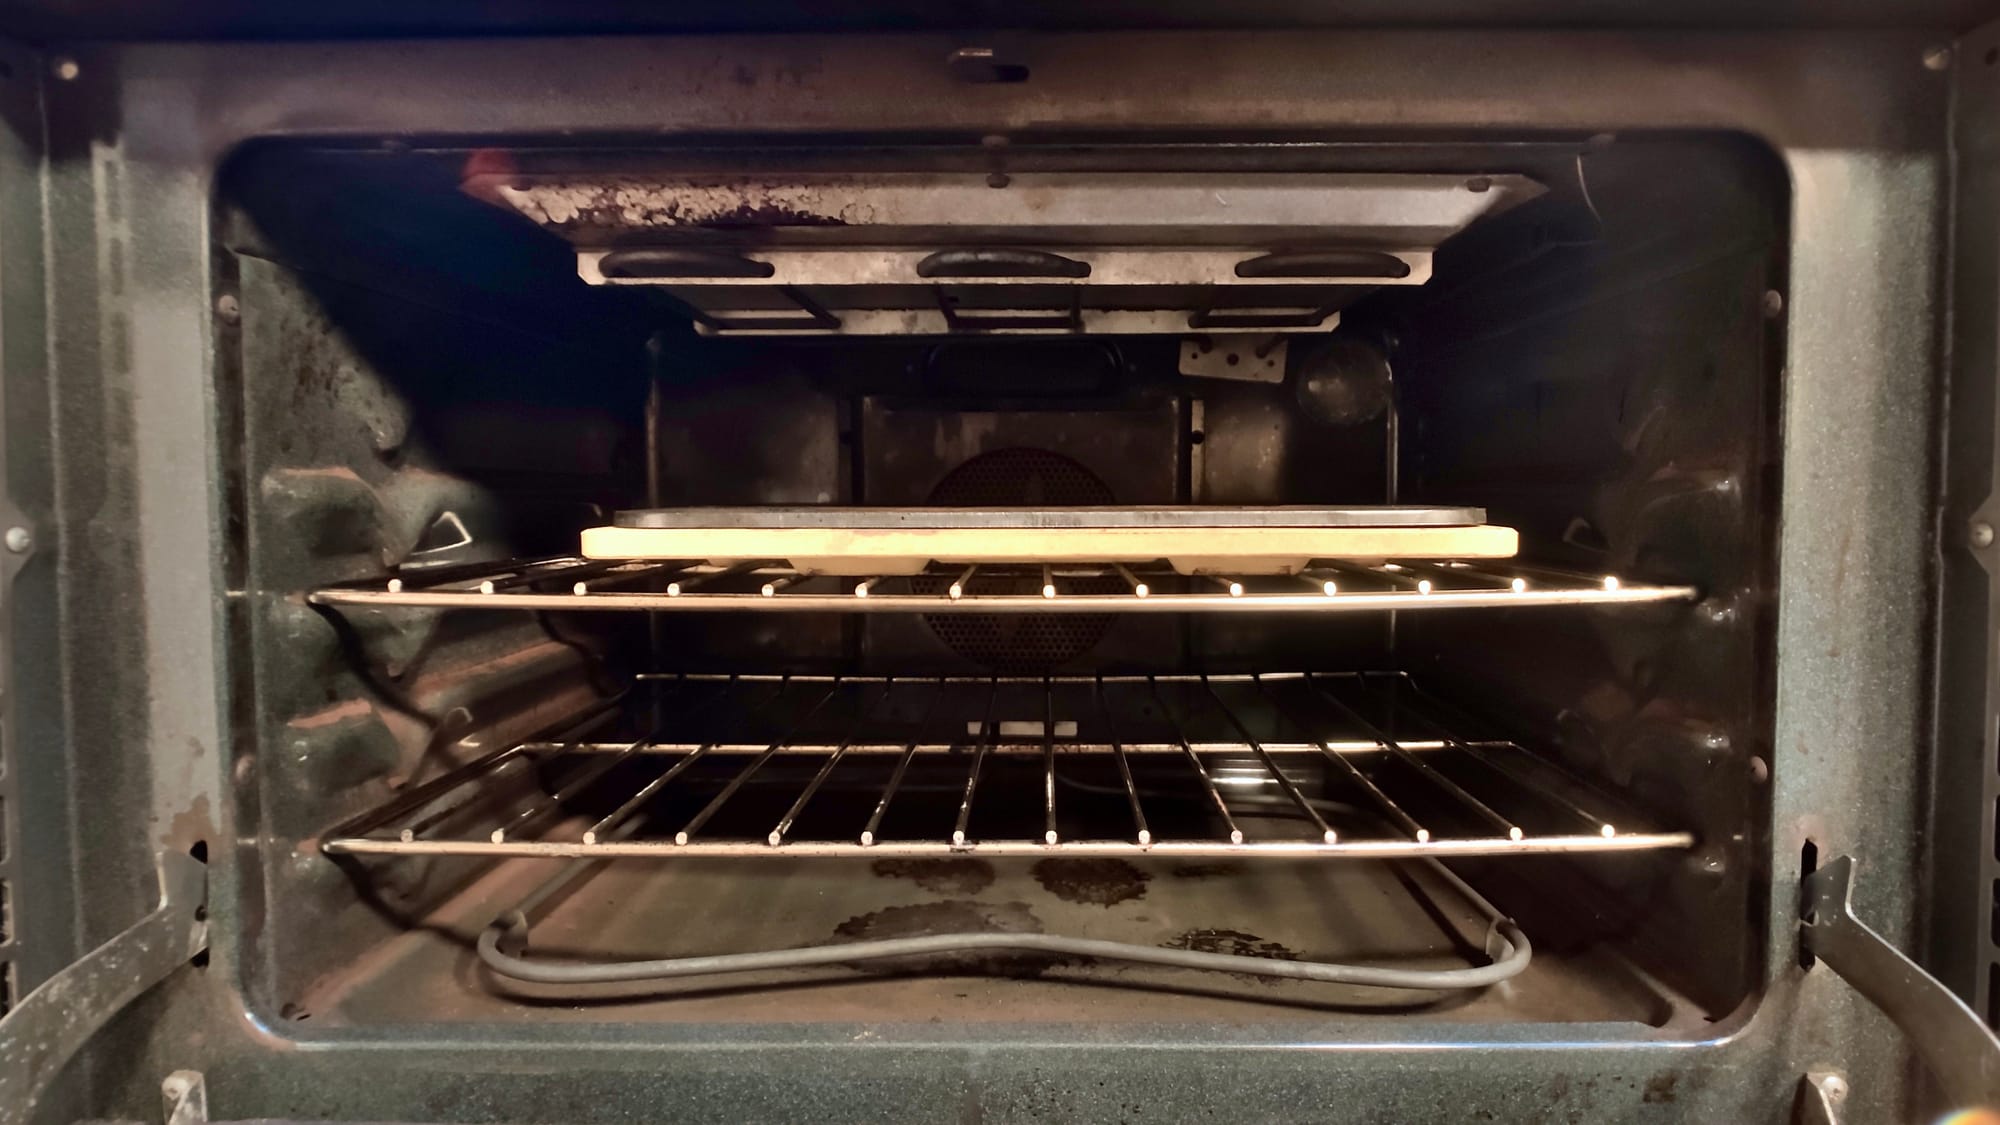
So how to mimic the cramped confines of a real pizza oven in your taller home oven? Simple: Move the stone or steel close to the top of the oven. Depending on the oven, that means placing it on the first or second shelf from the top, whichever gets you as close as possible while still leaving enough room to get the pie in and out without mishaps.
In my oven, it usually looks like this:

Pies generally cook in 6 minutes or less at 500˚F using this setup.
Broil It
Placing the stone or steel close to the top of the oven means you can also take advantage of the nearby broiler element to cook the top of the pie even more quickly. But the effectiveness of this approach depends on the how evenly and quickly your broiler heats. And there’s a definite risk of incinerating the top of the pie using it, so it’s one of those experimental approaches I don’t automatically recommend to everyone. If you do decide to give it a go, you’ll need to play around to sort out what works best for your particular oven. (You might even want to move the baking surface further away from the broiler, depending upon how hot it gets.)
There are a couple of options here:
- Preheat the stone or steel on bake, turn on the broiler for 5 to 10 minutes, then return the oven to bake and load the pie. This method has the additional benefit of superheating the baking surface just before the pizza goes onto it.
- Preheat on bake, load the pie, and then turn on the broiler. You can either leave it on the entire time, or switch back to bake midway through. Burning is a particular risk with this approach, especially if you forget to turn the broiler off (trust me on this one).
Convection
Like the broiler, using the convection setting on your particular oven might speed up cooking even further, but you’ll have to play around to see if it’s worth using. A good convection fan can even out the oven’s heat and brown the top of your pizza more quickly. A bad one might just cause the edge of the pie closest to the fan to brown more quickly, meaning you’ll have to rotate the pizza to even things out.
Rotating
Speaking of which: Depending on your oven, you might need to rotate the pie halfway through baking or so to even out top browning. Again, this depends on how evenly your oven heats. Opening the oven during baking releases a lot of heat, especially from the front half of the oven, so try not to do so any more than absolutely necessary.
I think that’s all I have to say on the mechanics of thin-crust pizza dough making, fermenting, shaping, and baking. I’ll leave what happens after the pie is baked for you to sort out, though someday soon I’ll describe my MO for storing and reheating leftover pizza. And I’ll have a bunch of sauce recipes for you next week, along with that sourdough thin-crust dough recipe I promised.
—Andrew


Member discussion