Bits and Bobs

I’m in the midst of finishing up nearly a dozen freelance recipe projects and writing a b%%k proposal, so I haven’t had time to work on bigger newsletter projects for awhile, even though my to-do list is long on that front. My goal is to have all of this stuff wrapped up by the end of the month, right in time for Pizzember, our annual month-long focus on pizza. In the meantime, I have a bunch of wonderful book excerpts and guest posts to share. And some bits and bobs of my own that normally get bumped in favor of longer-form pieces.
A new fermentation, revised
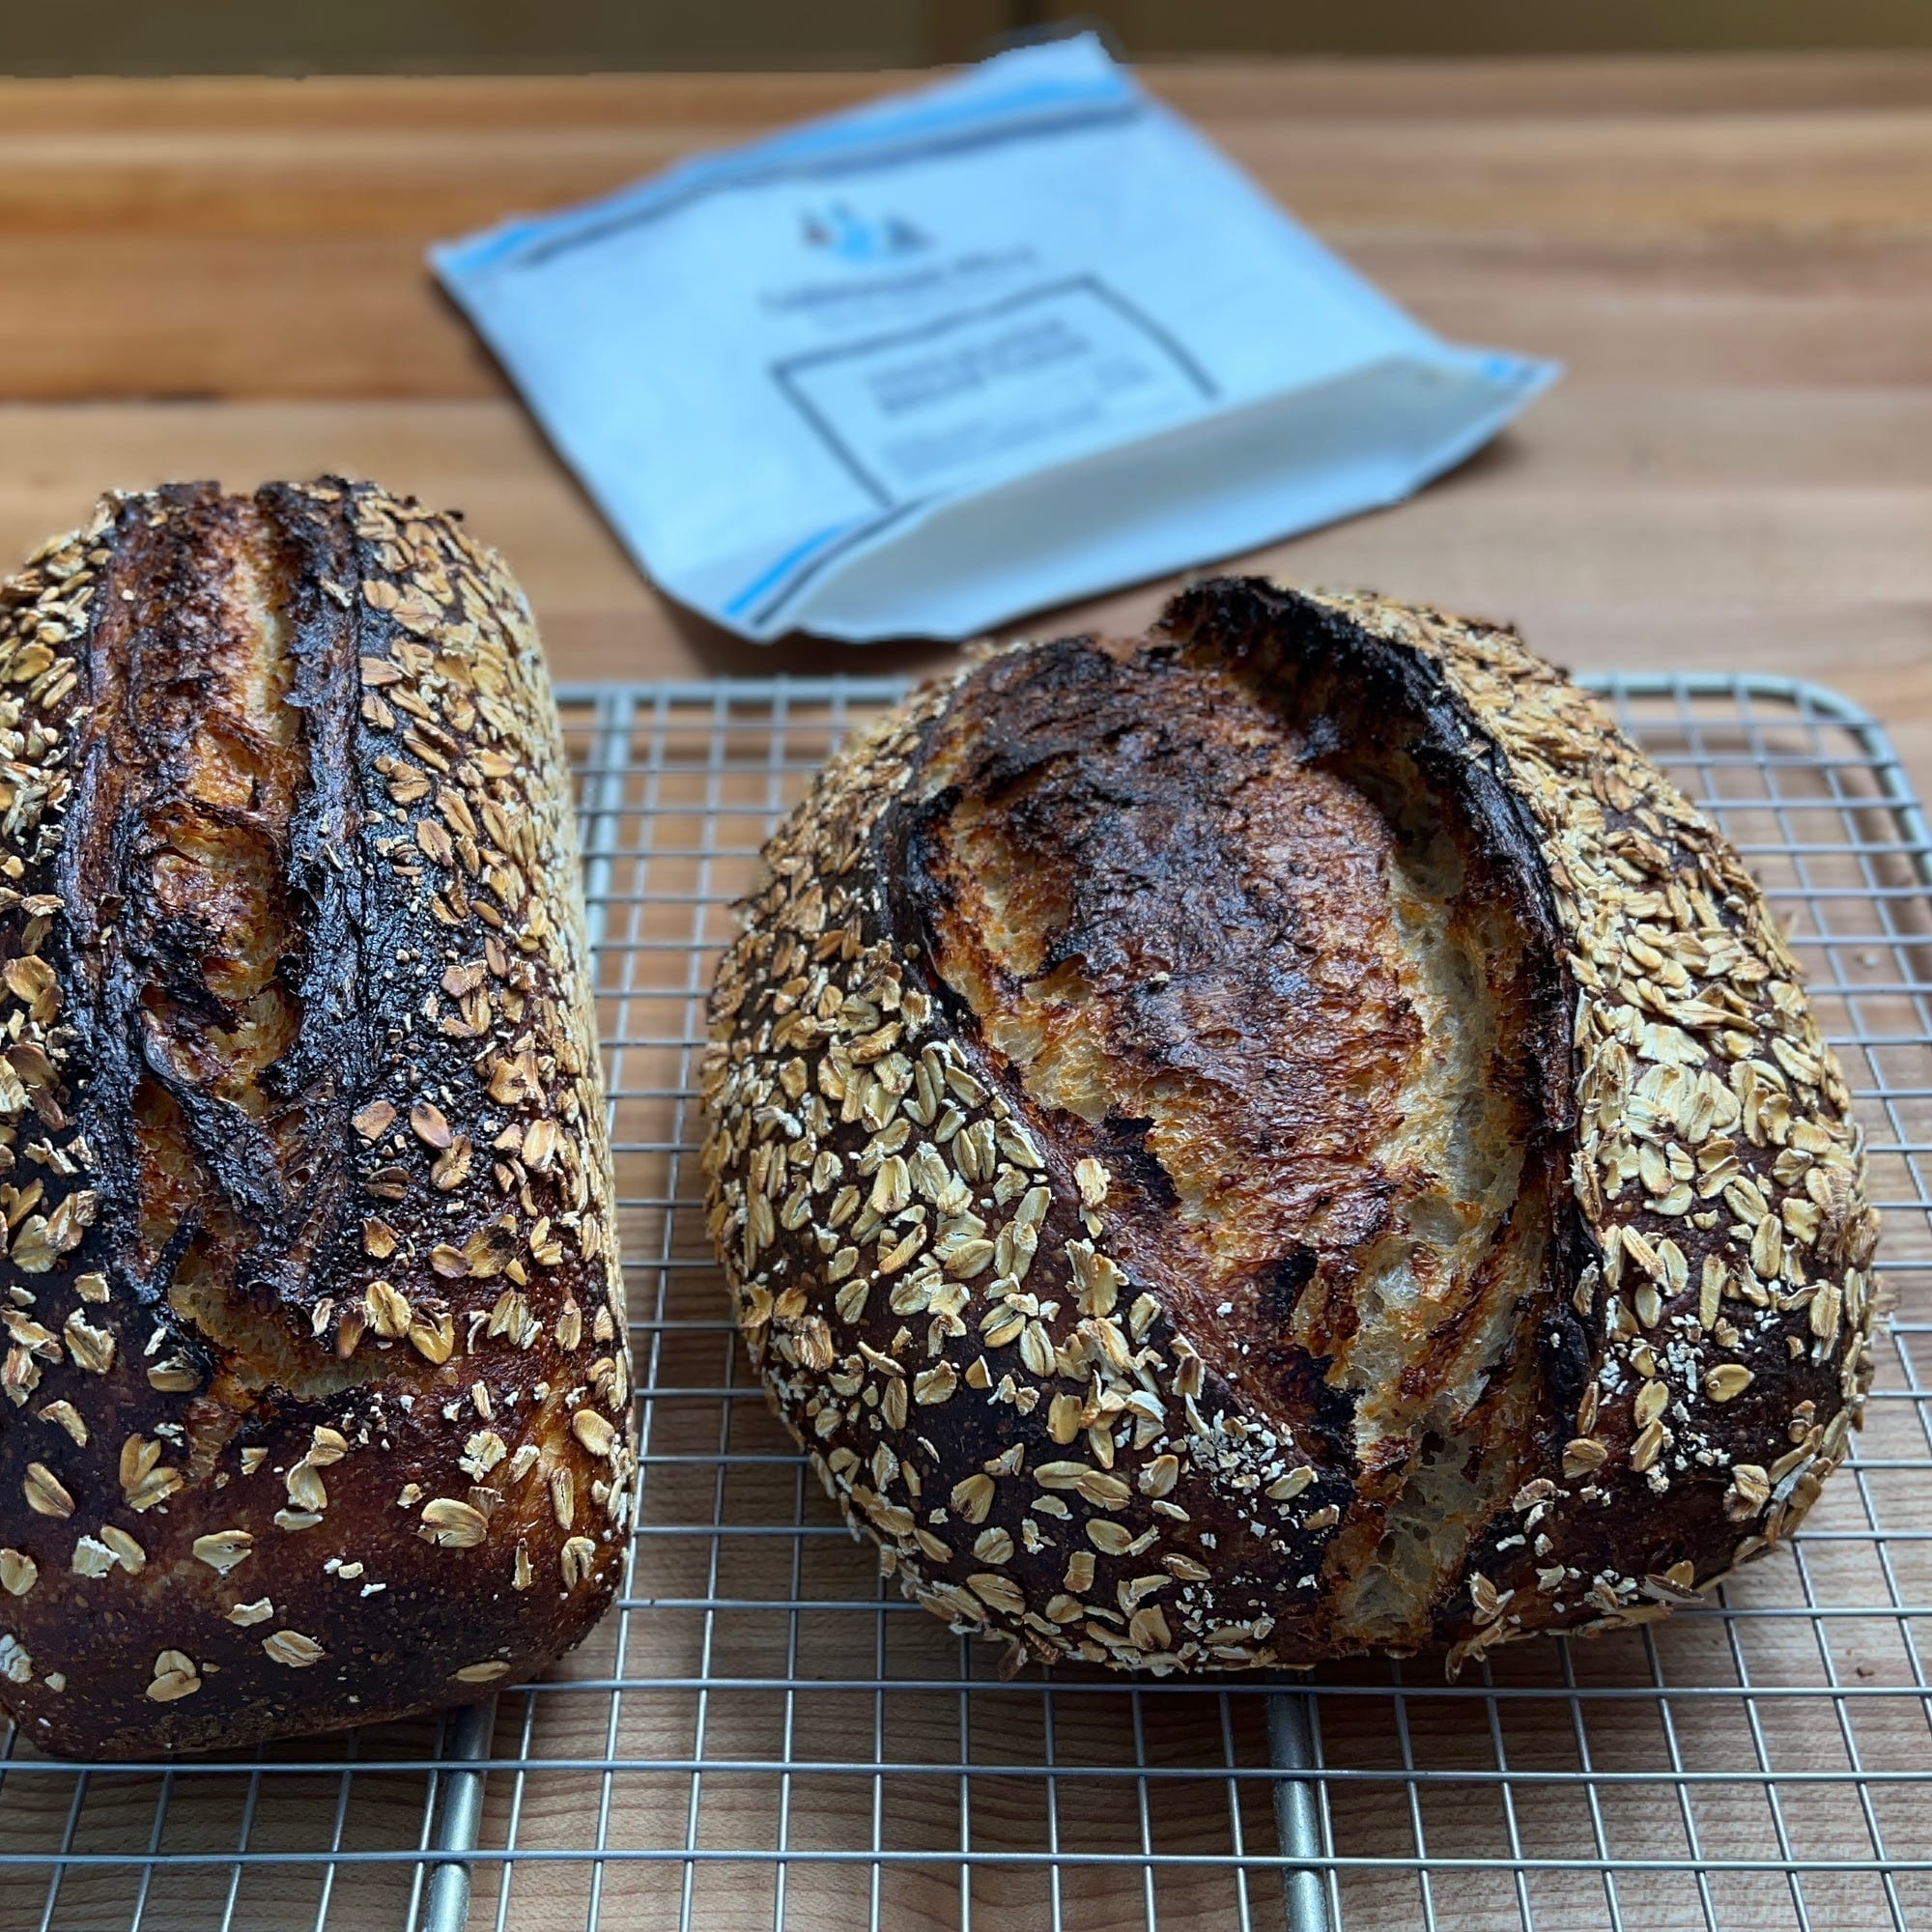
The oatmeal-maple loaves pictured above were one half of a bake I made last week, using my sourdough oatmeal-maple porridge formula, of which those were the pretty ones. In the course of making them, I learned something useful about that formula and ones like it that follow the low-levain, long overnight proof approach of my Loaf 2.0 recipe.
Normally with that recipe, I shape the loaves and leave them out at room temperature for 30 minutes before moving them to the fridge for a long cold proof. This time around I tried applying the alternative proofing approach I picked up from Tara Jensen to them, by letting the loaves sit out at room temperature until they filled the bannetons and passed the poke test, which took about 3 hours. I baked the photogenic loaves right away (without a cold proof) and they came out great, as you can see. The other two loaves I put into the fridge overnight at the same stage (meaning they got about 2 1/2 hours more time at room temperature than they normally do).
When I pulled them from the fridge to bake, I could see that all was not right. (Apologies for the lack of photographic evidence, I was too annoyed by the way things went south to document it.) The tops of the loaves were webs and cracked, and they were clearly on the verge of collapse. They didn’t fall when I scored them, but they also didn’t spring very much in the oven either. Both were perfectly edible, but they were hardly the stunners that the first two loaves were. (And they were a bit too sour for my taste.)
So what went wrong? Clearly, they overproofed, but why? Tara regularly proofs her loaves that way—to near full-proof after shaping, followed by a long cold-proof—so why did these ones fail?
The difference lies in that initial long overnight fermentation. Sourdoughs with a typical, short—4 to 6 hour—bulk proof (like Tara’s) can stand a long proof on the other end just fine, since they are only part way into their fermentation arc when you go to shape them. But with this type of recipe, you are really pushing the fermentation limits of the dough, even before you get around to shaping it. Even just a few extra hours at room temperature risks over-acidification of the dough and collapse when you combine it with a long cold proof before baking.
In other words, you only have two options here: bake the loaves straightaway once they are fully expanded, or move them to the fridge 30 minutes after shaping, and cold proof them for ~12 to 24h.
Cairnspring Mills flour

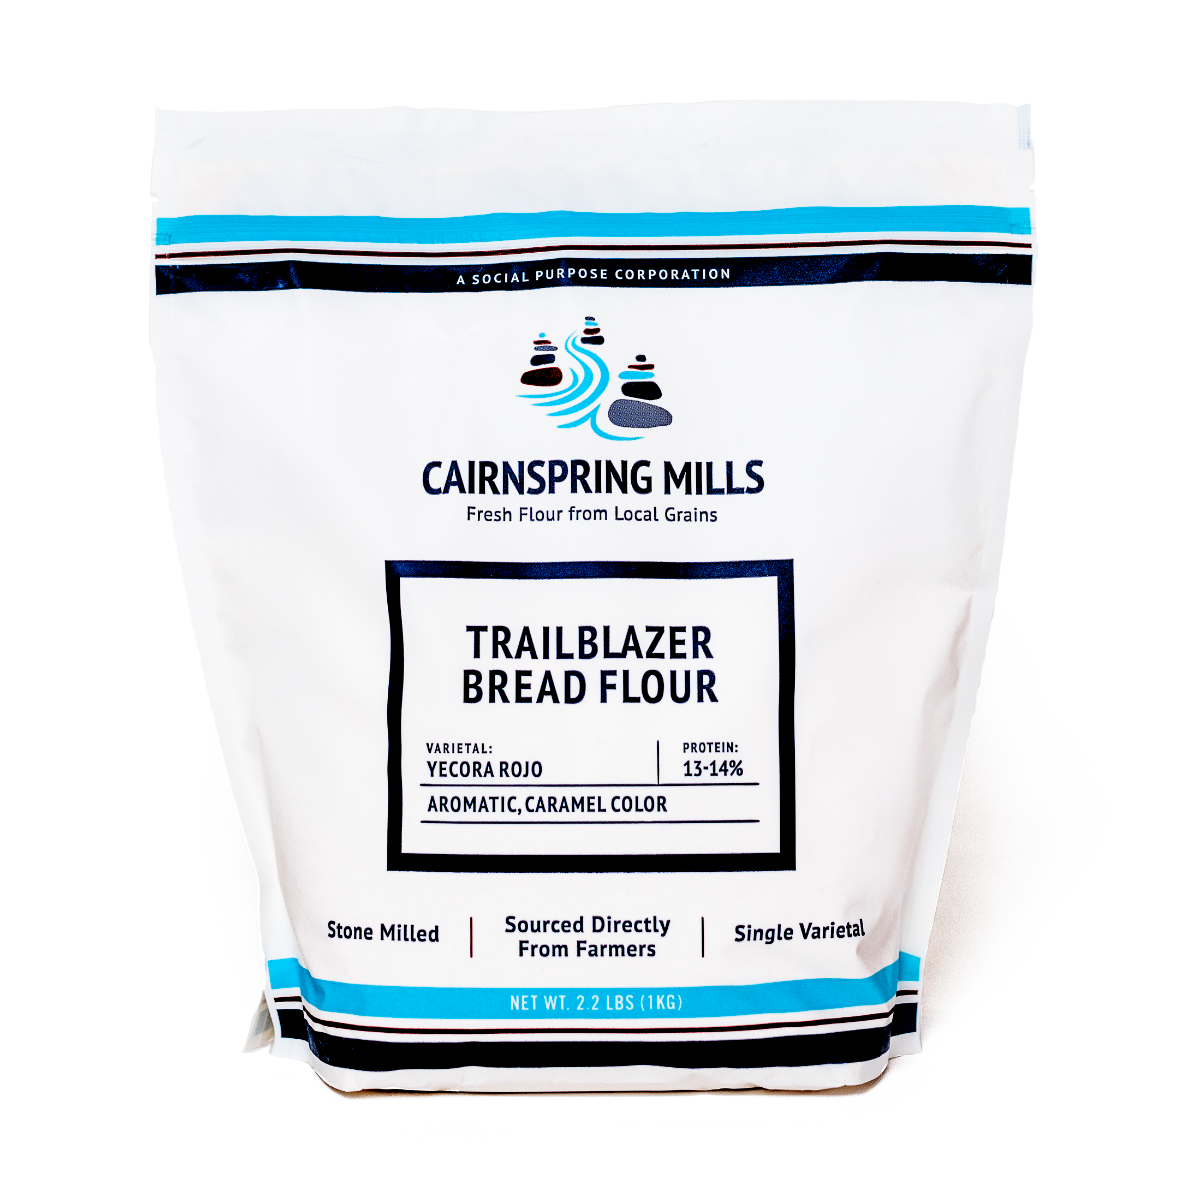
By the by, those loaves were made with Cairnspring Mills lovely Trailblazer bread flour, which I have been using lately since Cairnsprings generously sent me some sample flours to play around with. It’s a high-extraction flour—meaning it contains about 85% of the original components of the wheat—making it thirstier than other bread flours. (So far, I’ve found Cairnsprings recommendation of an extra 5% water to be pretty accurate; in the case of this recipe, that amounts to ~20g added to the final dough.)
Cairnsprings has also let me share a 15% off discount code1 with you all—WORDLOAF15—should you want to try some of their flours too (I’ve used a bunch so far, and all have performed beautifully.) If you order more than $50 worth, the shipping is free too.
Chop chop

One of the students (hi, Dana!) from my recent King Arthur enriched breads workshop asked me to create a video demonstrating the “karate chop” dough rounding method I taught in class, and here it is for the rest of you too.
I teach this method as an alternative, easier-to-see, easier-to-learn version of the traditional cupped-hands, circular-motion rounding technique that most pros use. Both are equally effective, but in the latter version the action is taking place underneath the ball of dough where it contacts with the bench, so it’s almost impossible to see it taking place. In both cases, the goal is to tighten the skin of the ball and close up the seams completely.
With the karate chop approach, you gather the seams of the ball into a short tail that you lie sideways on the bench, and then roll it over itself (around the axis of the tail), pressing the seams together with the side of your hand or your palm. You’ll end up with a short tail of dough left behind, but that will get absorbed back into the dough as it proofs.
Incidentally, I learned this trick from Dan Wing—co-author of the classic baking and wood-fired ovens book, The Bread Builders—who taught the very first bread baking class I attended, right there at King Arthur.
Full disclosure: this is an affiliate link, so I get a tiny cut of any purchases you make if you use it. ↩


Member discussion