As with my Mega Bread Equipment Guide, this is a loooong post, so here’s a table of contents of topics to help you find something specific:
Pizza Resources (Others) (coming soon)
Pizza Books (coming soon)
Pizza Pans (coming soon)
Outdoor Tabletop Ovens and Tools (coming soon)
Please let me know if you see any errors or want me to add sections or items that aren’t here. I’ll fill in most of the (coming soon) sections over the next few weeks.
Sources for Pizza-making Tools, Supplies, and Ingredients
I’d be a hypocrite if I said I never bought anything from the behemoth that is Amazon, but I do try to minimize my purchases from there, because the company is obviously not a force for good in the world. Which is why you won't find many Amazon links here, despite many of the items I recommend being available there. Instead, I'd prefer you patronize a baking specialty store whenever possible, since they cater to bakers specifically and stock all sorts of useful things you can't find elsewhere. Here’s a list of some my favorite places to source items for pizza:
Pizza Resources (Mine)
On Wordloaf:
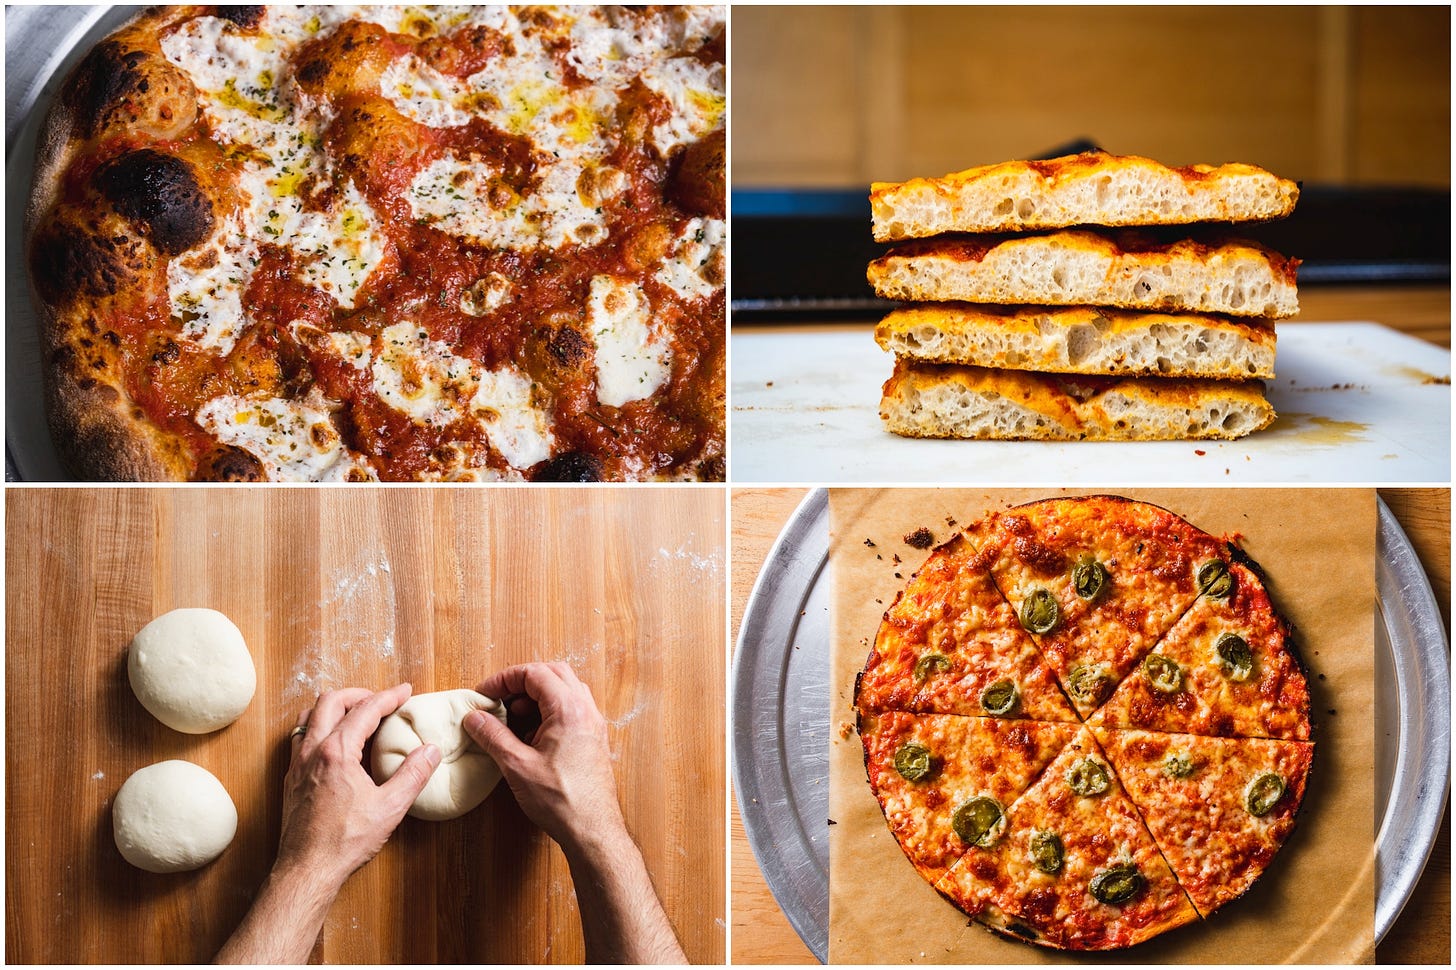
Slab City: An ode to one of my favorite slices
Elsewhere:
King Arthur Baking: How to turn any home oven into a pizza oven
Serious Eats: How to Make Great Pizza in an Outdoor Pizza Oven
Serious Eats: Outdoor Pizza Oven Charred Broccoli Rabe and Anchovy Pizza
Serious Eats: Outdoor Pizza Oven Burst Cherry Tomato, Shallot, and Herb Pizza
Serious Eats: "Armenian" Pizza With Spiced Lamb Sausage, Armenian String Cheese, and Sumac
Pizza Resources (Others) (Coming Soon)
Pizza Books (Coming Soon)
Dough Storage
Most pizza doughs proof in balls or slabs before stretching, so you’ll need containers to hold them in.
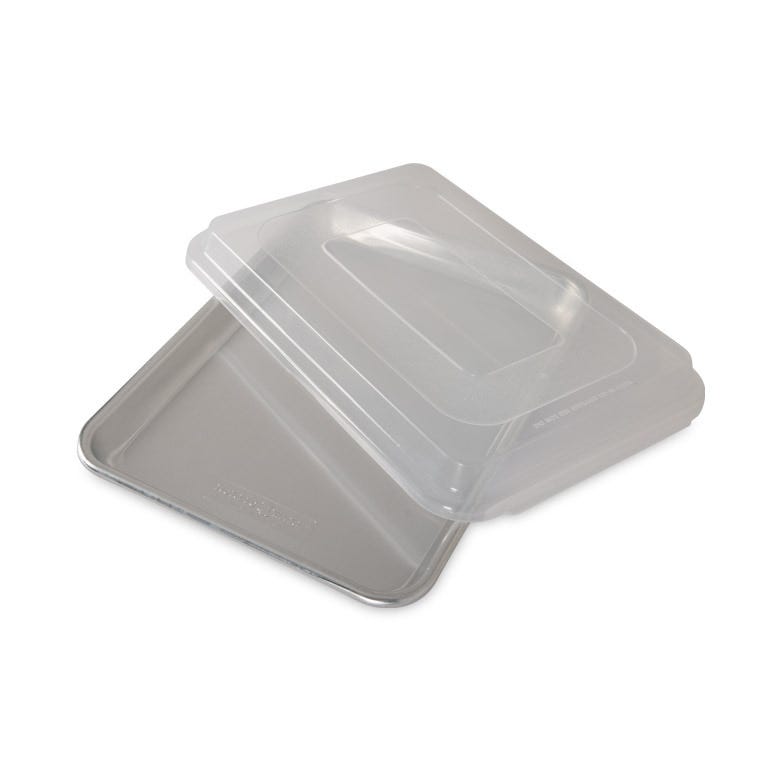
Nowadays, my go-to pizza & flatbread dough ball storage container are the Nordic Ware Lidded quarter and half sheet pans, which obviously double as baking sheets. The pans are very solid on their own, and the lids make them doubly useful. The quarter sheet ones fit easily in most fridges and hold 4 to 6 dough balls depending upon size. (I do try to avoid overloading the pan; the dough balls shouldn’t touch one another or the sides of the pan, even after the long cold proof.)
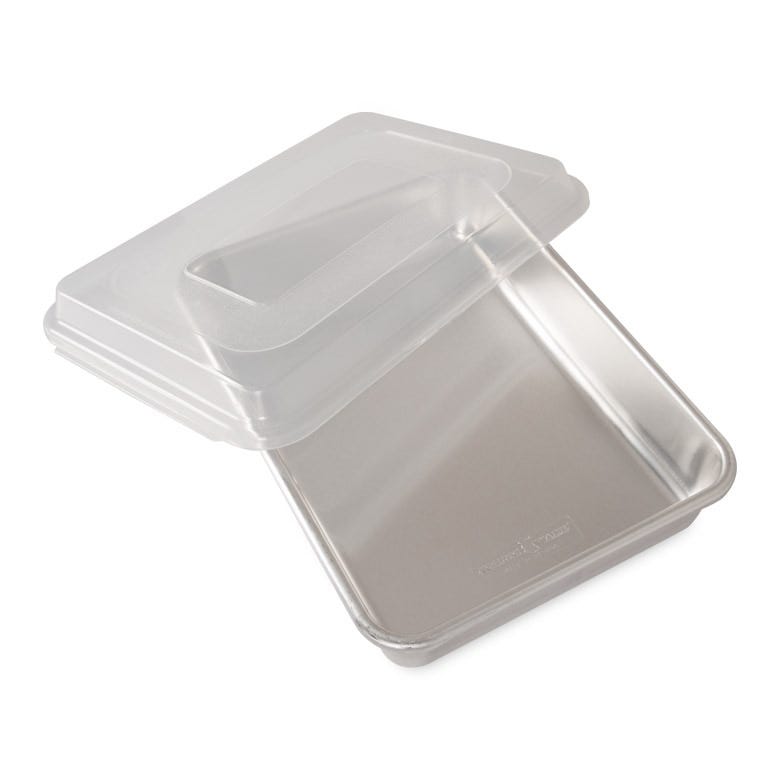
Nordic’s 9x13 cake pan also takes the same lid as the quarter sheet, making it similarly useful (it’s a good one to cold-proof larger amounts of dough for sheet pan pizzas). You can buy the lids and the pans separately or in kits.
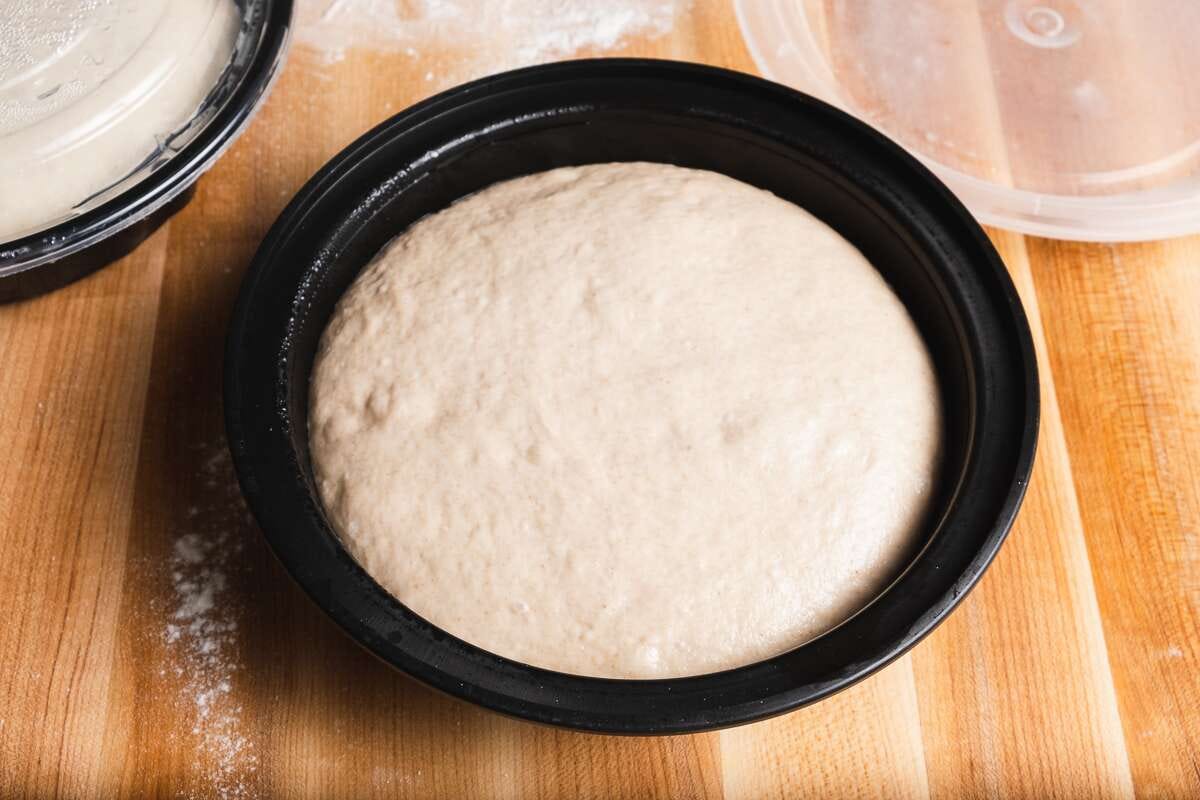
If I’m only storing a handful of dough balls, I’d instead use round plastic takeout containers like these, which you probably already have. An experienced pizza maker can move dough balls out of a wide container with a light touch, but a beginner might want to start by storing them in individual containers. Not only does doing so prevent the dough balls from kissing one another, making them hard to separate without tearing, it means you can handle each ball as gently as possible, to avoid overworking the dough before it is shaped. Here’s how I use them:
Peel Sessions
To prep the pizza and load it into the oven, you’ll need at least one peel, and a dedicated pizza maker will probably want to have two different peels: One for loading the pie into the oven, and another to remove it. Or to spend more money for one perforated peel, which works nicely in both cases.
For loading pizzas, I usually recommend a cheap, uncoated wooden peel, like the one pictured above, since it is able to wick moisture away from the dough, buying you a little more time to get the pie topped and into the oven before it starts to stick. But wooden peels are generally too thick to slide easily under the pie, so they are less useful than metal ones once the pie is in the oven. That said, a pizza that has stuck to a peel is way more disastrous than one that is a little difficult to remove from the oven, so if you can only afford one type of basic peel, I’d go with a wooden one.
The best tool for rotating and removing the pizza from the oven is an aluminum peel like the one pictured above, because it is flexible and thin enough to slide beneath the pie without pushing it around on the baking stone. The problem with a metal peel for loading the pie is that its slick, non-porous surface traps moisture and makes the dough likely to stick unless you overload it with bench flour.
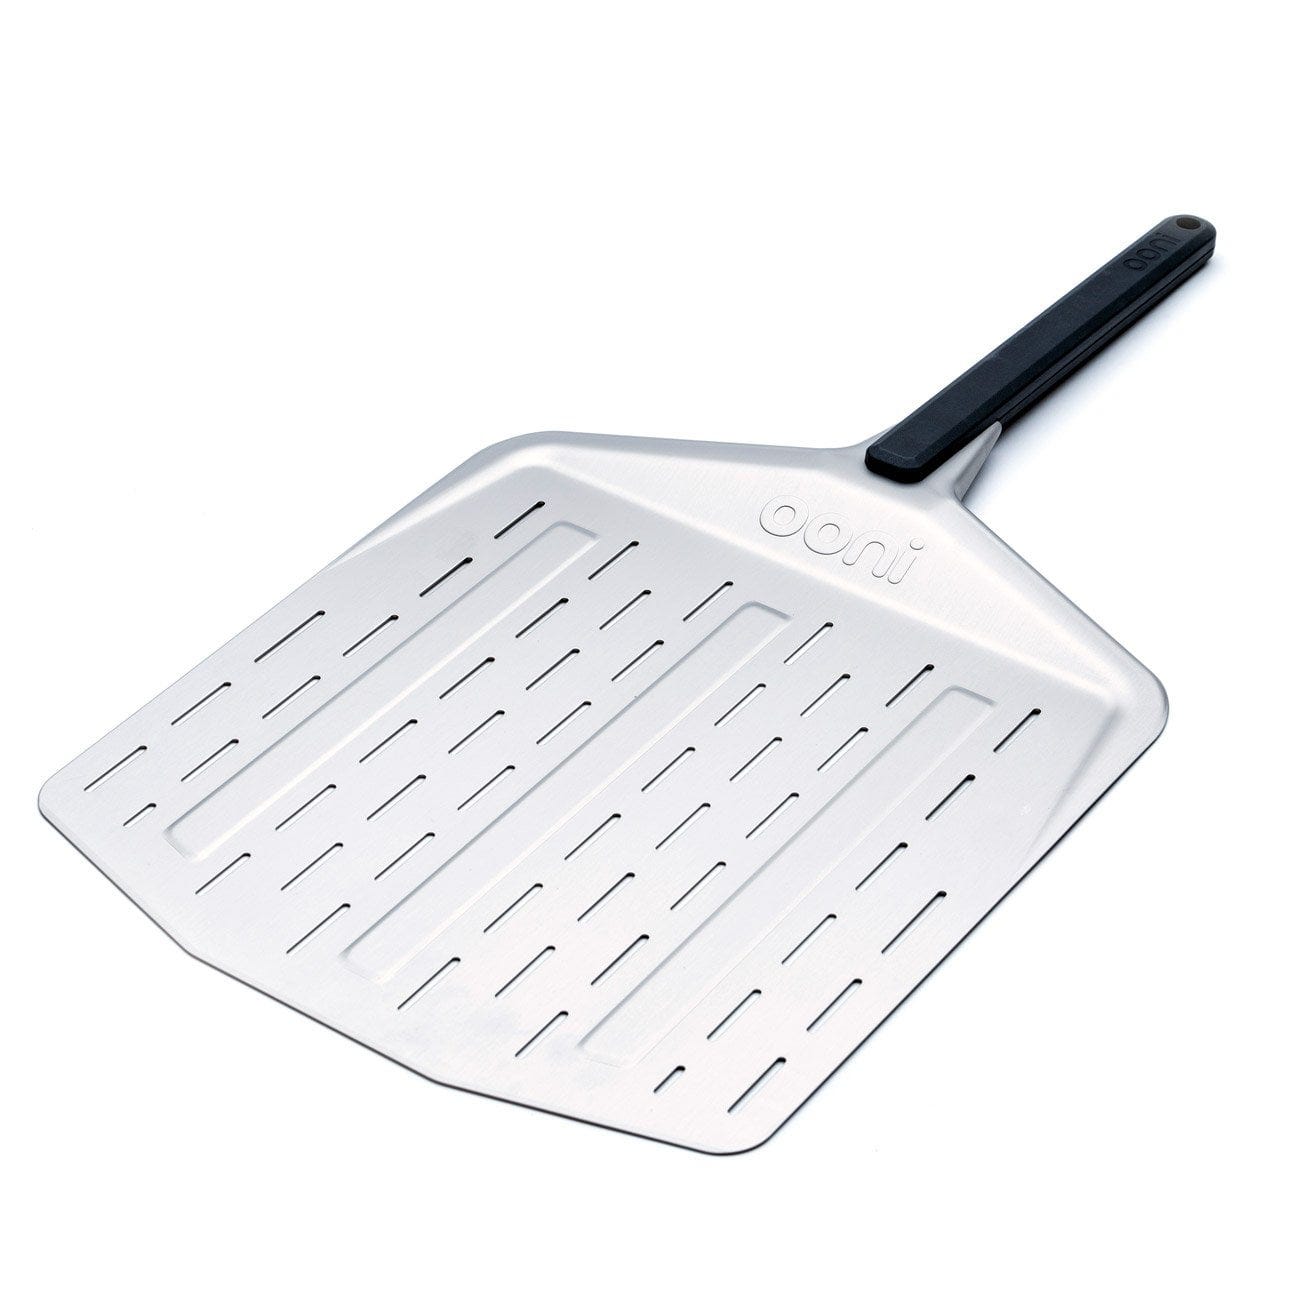
One way around this is to use a perforated peel, like the one pictured above from Ooni. I started using one of these when I got my first Ooni, and it has quickly become the only one I use (aside from the SuperPeel). The perforations help minimize sticking while also allowing excess bench flour to fall away with a quick shake. Because of this, it is important to use a generous amount of bench flour on the peel. (I generally try to avoid too much bench flour on the underside of a pie, especially when baking indoors at home-oven temperatures, but I’m not a stickler about this, and think it is better to err on the side of caution, especially when starting out and/or working with a wet dough.) At $60-$70 dollars, the Ooni perforated peel is not cheap, but if you are serious about pizza you might want to just drop the extra money and start here, since it can do pretty much all you need.
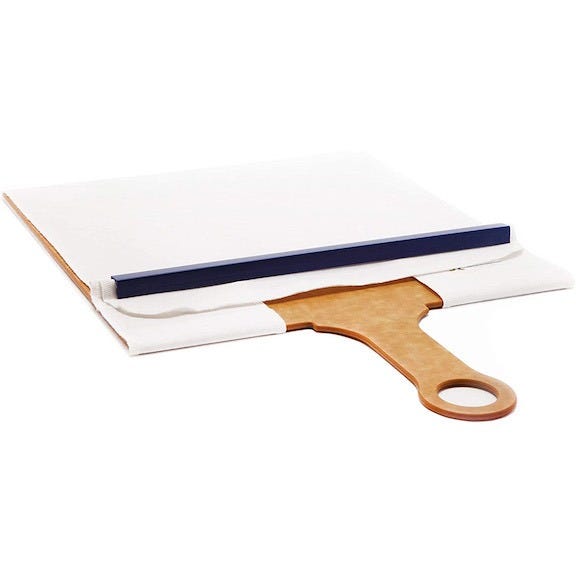
And then there is the Super Peel, the conveyor belt for pizza (and bread, too). It’s identical in function to the loaders that professional bakers use to get bread into a deck oven, except scaled way down in size. What makes it such an effective tool is that you can load a dough onto it without adding any bench flour at all. More importantly, you can take your sweet time getting the pie into the oven, since there is virtually no risk of the dough sticking. That’s because instead of sliding the pie off of the peel, you pull the belt out from underneath it, and it simply drops straight down onto the baking surface, not unlike a magician’s “tablecloth” trick. And if you use the Super Peel for loading and a metal peel for unloading, you can save time by shaping and topping the next pie while the first one bakes.
Using a Super Peel definitely takes practice, but it’s something you can work on outside of the oven, using some other flat, wide item as a stand-in for the pie. Here’s how it works: You grip the plastic bar in one hand and the handle in the other. You then place the peel directly over the baking stone, hold the bar in place, and pull the handle backwards. (Your natural inclination will be to instead slide the bar forward and hold the handle in place, which will just push the pizza toward the back of the oven. Don’t do that.)
You cannot use a SuperPeel to remove a pizza from the oven, so you’ll still need a standard peel, preferably a metal one.
Baking Surfaces (For Indoor Ovens)
Unless you pies are baked in a pan (and sometimes even then), you are going to need a surface to bake them on, either a baking stone or a steel. Baking pizza on a preheated surface concentrates heat where it is most needed: the bottom crust. Crisping and browning the crust fast means also not overcooking the interior crumb and/or the exposed crust and toppings.
There are two main kinds of baking surfaces: stones or steels. Baking “stones” are a misnomer; most are formed from either terracotta clay or a mineral compound known as corderite, fired at high temperatures like pottery to make them solid and heat-resistant. A few stones are made from another mineral called mullite, which is similar to corderite, if purportedly more conductive. Baking steels are just that: thick sheets of raw steel cut to size, polished to remove sharp edges, and seasoned and sealed with oil to prevent rusting.
Stones are less expensive than steels, but they aren’t nearly as conductive. Conductive materials absorb and release heat more quickly than less-conductive ones, and steel is far more conductive than corderite or mullite. This allows steels to pump heat into the bread far more quickly than stones do. (A pie that takes 8-10 minutes to brown and crisp on a stone will take only 4-6m on a steel.) It also means that steels absorb heat more quickly than stones, cutting down on preheating time; stones usually need a good hour of preheating before use, while steels are ready to go in as little as 30 minutes. If you are serious about baking pizza in a home oven, then you are really going to want to invest in a baking steel.
As far as the shape and size of the surface, I think most people are best served by one that is a) rectangular or square, and b) slightly smaller than the average oven rack. Rectangles and squares are better than round ones, because both give you a bigger, more forgiving target for the bread or pizza (not to mention they provide enough room to bake long breads that would overhang a round surface, like baguettes). And leaving a gap around the surface will guarantee good heat & air circulation in the oven. For most people this means something that is 14-15 inches long and at least 12 inches wide.
A side note about loaf breads and baking surfaces: In my experience, steel is often just too conductive for loaf breads, since the bottom of the loaf can burn before the rest of the crust or the interior has cooked sufficiently. While there are plenty of people who do use baking steels for loaf breads successfully, it is something I generally do not recommend. (You don’t have to take my word for it, though: Baking Steel, the original baking steel company, sells special heatproof silicone rings meant to shield loaf breads from the intensity of the steel, so they know it is a problem too.)
The OG baking steel manufacturer is Baking Steel, and you cannot go wrong with one of their steels. The standard model is 16” x 14” x ¼” thick, weighs 16 pounds, and costs $120. They make bigger ones, if you have a larger oven, and thicker ones, if you want extra heat-holding capacity, but I don’t really recommend either unless you have both the extra braun to deal with the additional weight (27 pounds in the case of the 3/8” thick ones) and the extra scratch to handle the price increase.
The thing is, steel is steel (is steel), so you can’t really go wrong with any well-manufactured, well-seasoned baking steel, and there are numerous less-expensive alternatives. While I don’t own one of their steels, I have bought other well-made items from 222 Steel on Etsy, and their equivalent of the above model is only $78 (and has many positive reviews.)
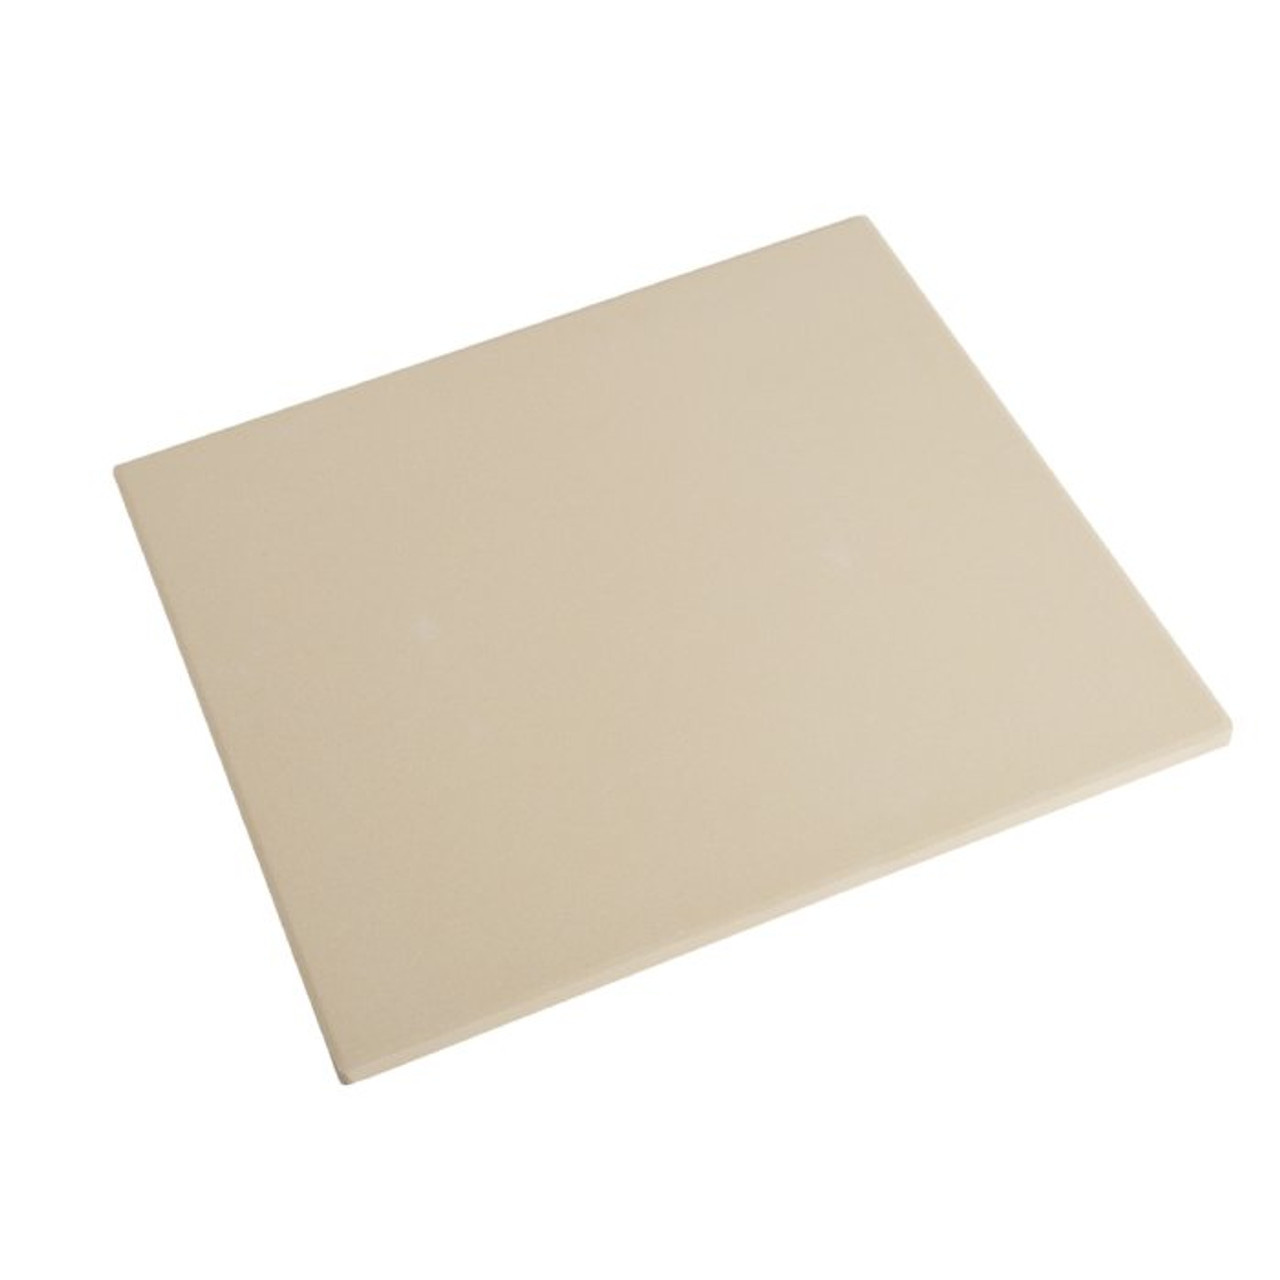
If you really can’t afford (or lift) a steel, look for a corderite baking stone that is 16” x 14” x 1/2”, like this one from King Arthur, which is $60, or this one from the evil shop, which is $30. (Both weigh about 8 pounds.)
Pizza Pans (Coming Soon)
Outdoor Tabletop Ovens and Tools (Coming Soon)
Pizza Finishing Tools
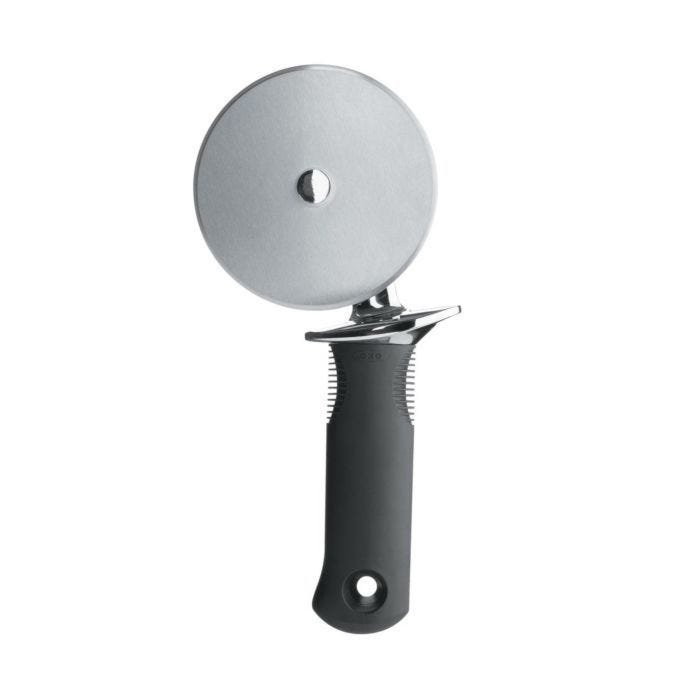
I haven’t really tested a ton of pizza cutting wheels, but I have been using the same Oxo 4-inch wheel for years and it’s worked great. (Though it strikes me I probably need to replace mine, which is surely dull after all these years of use.)
My friend Grace Kelly recently tested a slew of cutters for Serious Eats, and the Oxo was one of their winners too.
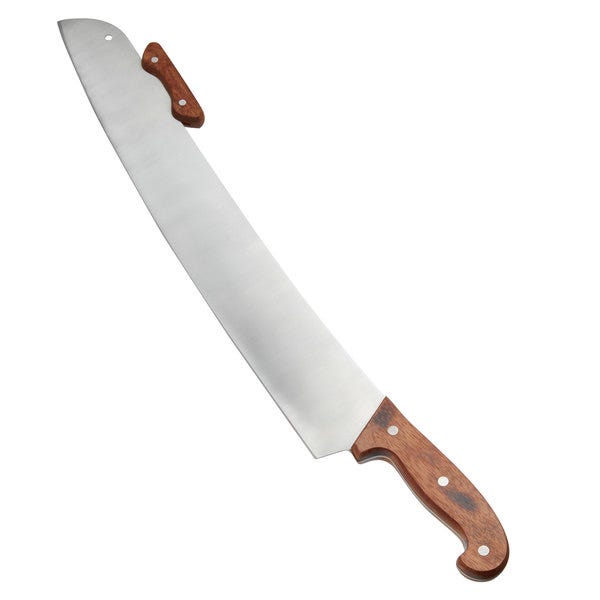
I did recently purchase this giant American Metalcraft double-handled rocker knife, which I kind of love, especially for square pies, which a wheel can make a royal mess off. It’s so heavy (and you apply force on both ends) so it makes extremely clean cuts, even across thick, long pies. It’s only $30, but isn’t the most compact thing to store, so keep that in mind.








Hi Andrew, love the pizza guide. I got the Bertello outdoor pizza oven for Christmas and it works great. Came with the perforated peel and an IR thermometer. I suggest adding the thermometer to your guide. I've made pizza several times using your Serious Eats dough recipe. It makes great dough, very easy to shape. Also made salmon and asparagus in the Bertello so it has been fun experimenting. The only mishap was when Boomer escaped out the door when we were going in and out with each pizza. Never a dull moment ...