Strong Doughs, Strong Opinions
On great bagels
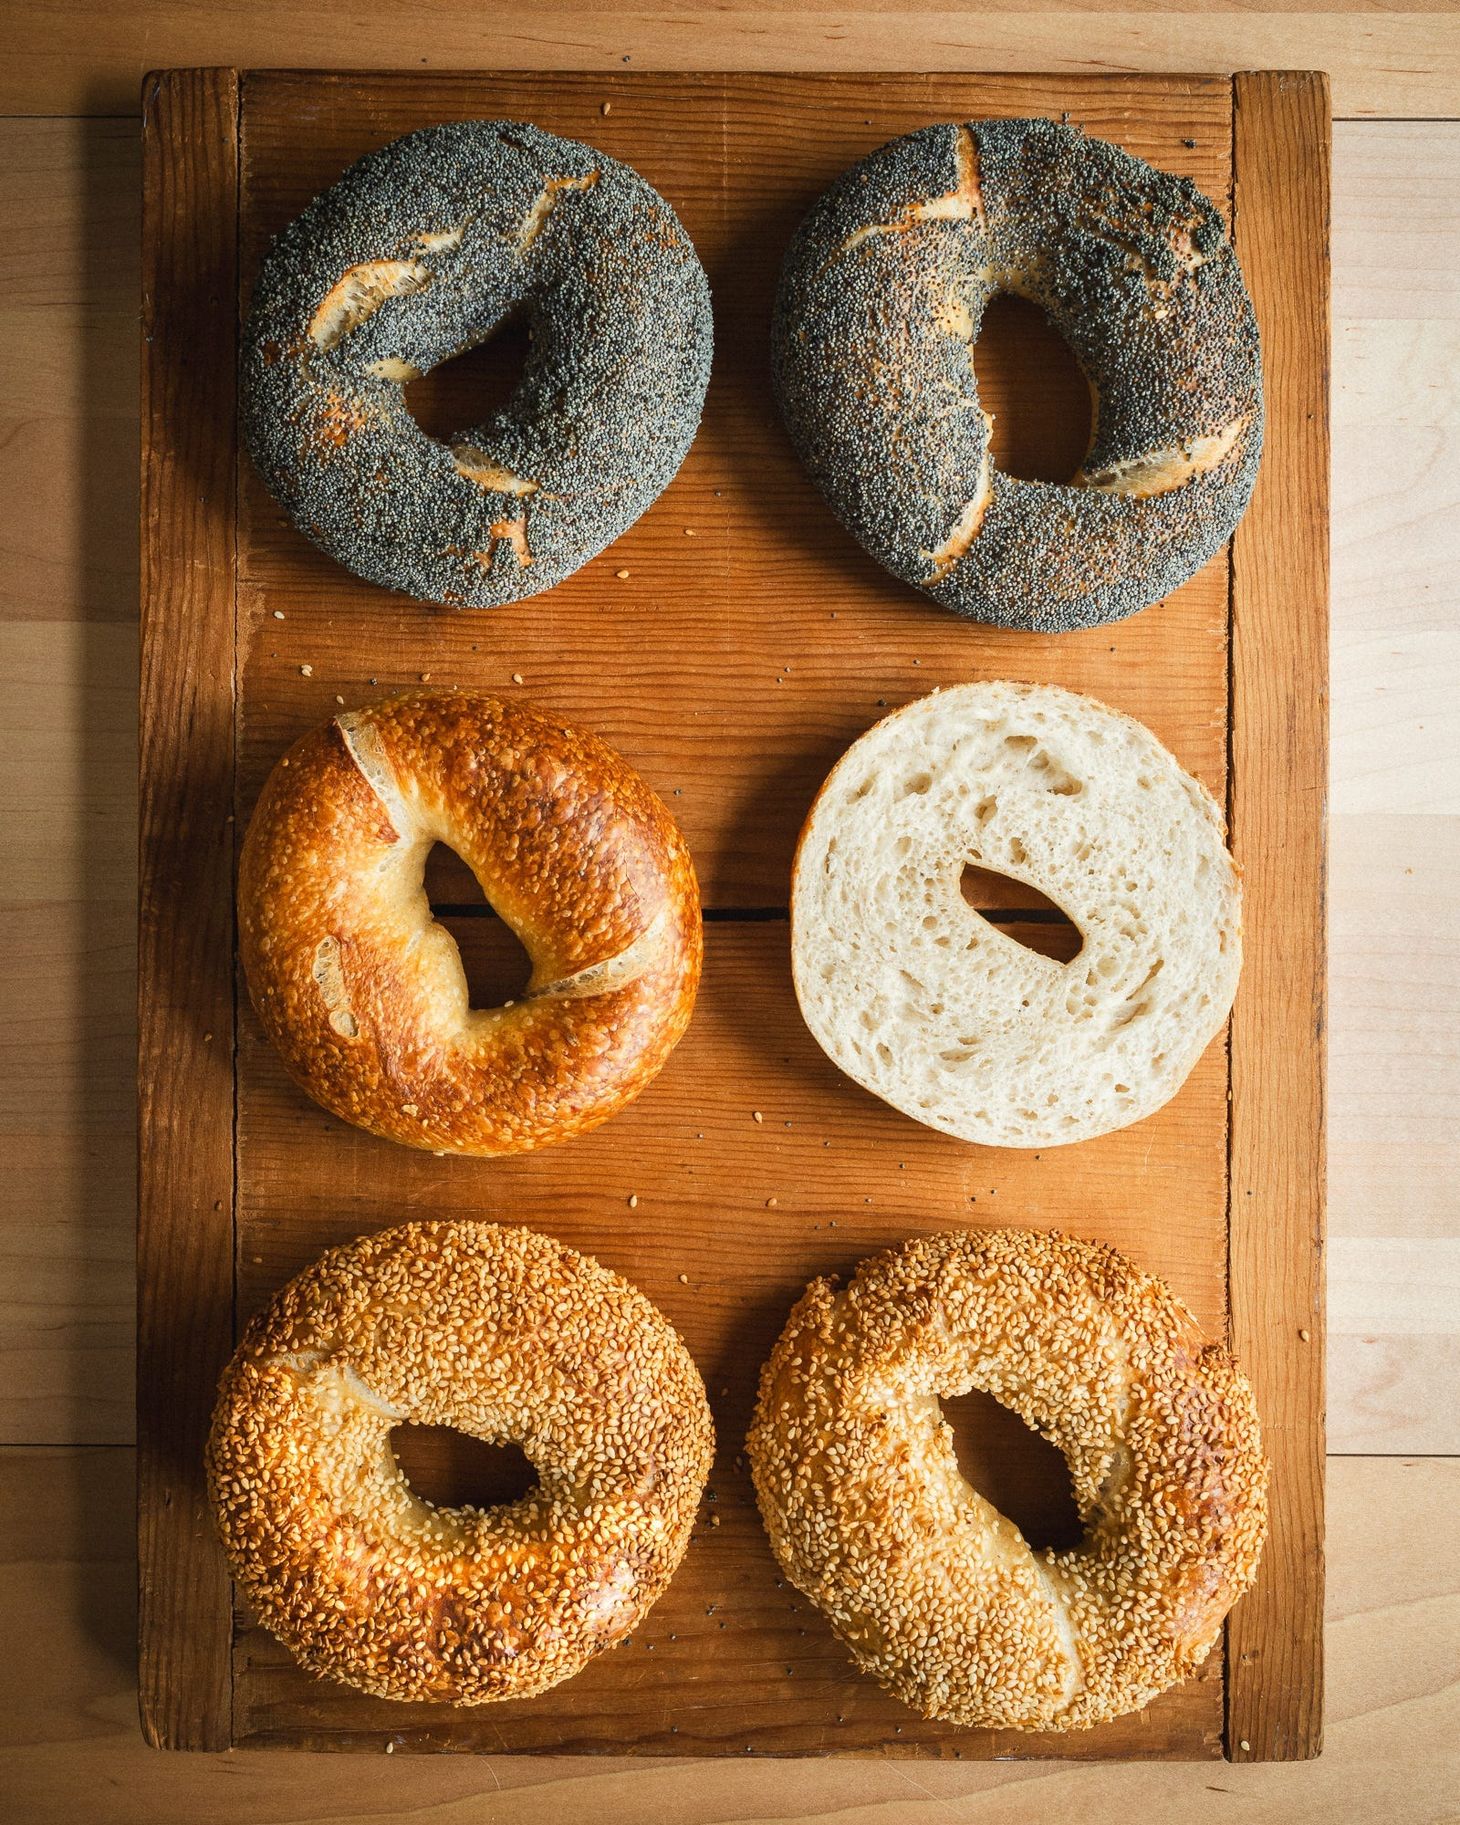
Table of Contents
I made bagels for the first time when I began developing my “New York-style bagel” for ATK 10 years ago. That recipe is not half bad, especially given how naive a baker I was back then. But I’ve been working on a new set of recipes for the book —both yeasted and sourdough—that are loads better, mostly thanks to an assortment of tiny refinements, many of which—such as the use of “specialty” tools and ingredients—would not have flown at ATK anyway, even if I’d known of them.
My perfect bagel
Even so, I got most things right with that recipe, at least in terms of what I think a great bagel should be, of which I have very strong opinions. Here‘s what I aim for in mine:
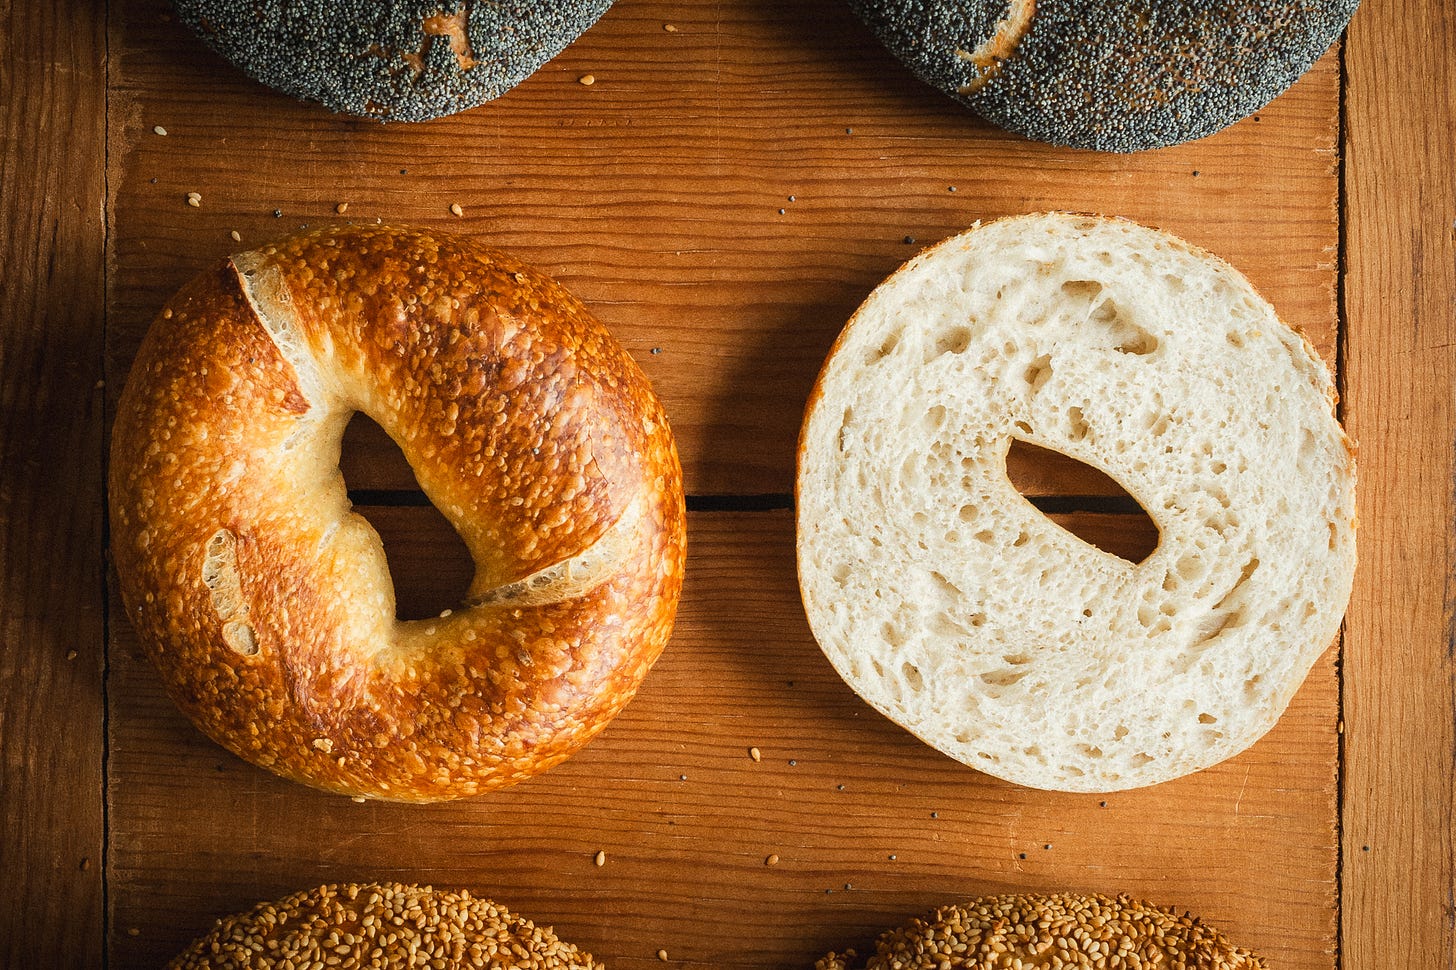
- Inside: It should have a moderately-fine crumb; not tight, but it shouldn’t have many large alveoli. And a tender-chewy texture; I like a little chew, but not too much.
- Outside: It should have a deep-golden brown and very glossy crust, with a thin, crisp texture. Blisters are nice, though not essential.
- Shape: It should have a cylindrical cross-section, a wide hole at the center, and a near-perfect circular shape overall.
- Flavor: Whether made with sourdough or yeast, it should have a well-fermented, complex flavor, but not be sour. Nor should it taste sweet, except for a faint kiss of caramel on the crust itself.
The pros know
When it comes to “specialty” breads like bagels, I take my cues mainly from professionals, the sorts of bakers that make superlative versions of them day-in, day-out. If anyone knows the secrets of making perfect bagels, it’s the pros. So lately I’ve been studying their approaches and trying to incorporate them into my own.
Here’s how I think great bagel makers achieve the sorts of results I want in mine.
Flour
You want to use a strong flour, which yields the appropriate chew. Many bakers use high-gluten flour, with protein percentages upwards of 15%; I prefer to use bread flour with 12-13% protein, to give the bagel a bit more tenderness. I’ve even made them with a soft bread flour like King Arthur all-purpose, which makes them a tad more tender, but not inappropriately so.
Water
There’s an often-repeated (and false) idea that the source of your water dictates how good your bagels come out, but the amount of water you use does matter greatly. The best bagels are made with a very stiff dough, one that is challenging to mix in a home stand mixer. (It even puts an Ankarsrum through its paces.) It is also a little challenging to shape, at least without practice.
With more water, you get a dough that is easy to shape, but one that tends to soften and puff up during the final fermentation. This presents three problems: One, it makes the bagels very hard to handle when it comes time to boil and bake them, which leaves them misshapen. Two, they tend to slump, leaving the bagel with a flat cross-section. And three, the crumb can open up beyond what is acceptable for a bagel. An ideal bagel dough should remain firm from mix to bake.
Other ingredients
There shouldn’t be any, other than salt and one optional one used by many professional bakers that I consider essential, especially for home bagelers: diastatic malt powder. Some bakers add malt syrup or sugar to their doughs (including me back when I was at ATK), but I’ve come to prefer the “clean” flavor of an unsweetened bagel.
As for diastatic malt power, its inclusion is especially helpful for getting rapid, even browning, something that is challenging to achieve with doughs that have been retarded, since the natural sugars in the dough tend to get consumed. Adding a small amount of diastatic malt powder—an enzyme that promotes the conversion of starch to sugar, not a sugar itself—keeps the amount of sugar in the dough more constant, so that browning happens rapidly. (Which in turn keeps the bagels from over-baking and ending up tough and dry.)
Fermentation
Bagels are fermented in a somewhat unusual way: The final dough is bulk fermented only briefly at room temperature (or none at all), then the bagels are immediately shaped, placed on trays coated with semolina or cornmeal, and (usually) moved to the fridge for 6–24h. They are then boiled and baked directly from the fridge. Not only does this build a ton of flexibility into the process—bakers can hold bagels in the fridge and sell them hot from the oven throughout the day—but it also keeps them firm, so they are easy to handle. It also lets them develop flavor without over-fermenting and softening further.
Many bagel doughs also include a preferment, whether sourdough or yeasted, which can further add flavor without compromising the firmness of the shaped bagels.
The blisters that form on many bagels are the result of the cold fermentation: in the fridge, a thin skin forms on the surface of the dough, which traps tiny amounts of carbon dioxide within it. When the bagels bake, the bubbles of trapped gas expand, forming blisters.
Shaping
There are two main ways to shape a bagel: the “belly-button poke” and the “rope-and-twist.” The latter is the one used by most pros, and makes a far superior bagel IMHO.
The belly-button poke starts by shaping the dough piece into a round, which is allowed to relax awhile. The bagel is then shaped by pressing a finger into the center of the dough to form a hole; to widen the hole, the baker twirls the bagel around both index fingers, stretching it out.
This works, but there are two big problems with it. One, it does not build enough tension into the bagel, which compromises both the firmness of the shaped bagel and the chew after it is baked. (In truth, it decreases the tension in the dough, because the otherwise-taut dough gets “cut” into with the poke.) And two, the hole tends to close up, forming a sphincter at the center and a fat, roll-like shape, like this:
The rope-and-twist method is instead done like this:
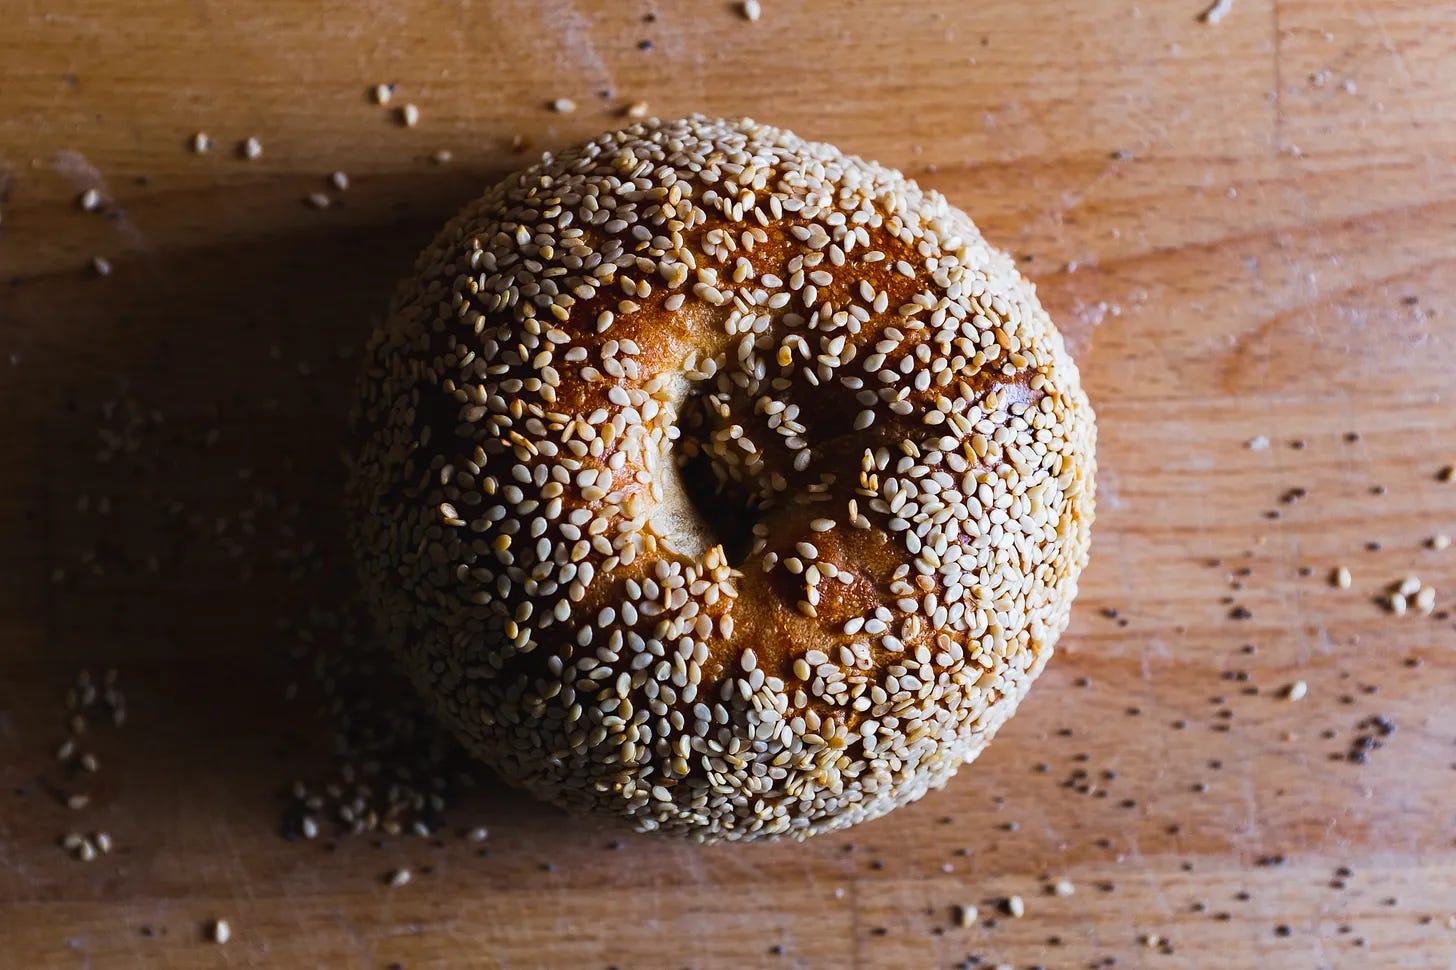
The dough is cut from a large slab into a long rope (without any sort of preshape). A 10–12-inch length of rope is twisted around itself, then the ends are sealed together to form the bagel. It’s quick to do (essential when making upwards of a thousand bagels a day), and it builds tension into the dough, while yielding a wide hole that stays open after baking. As a result, the best bagels often have a spiraled, twisted appearance to them, which I find attractive. But this twist is more than mere aesthetics: It’s a sign (to me) that the bagel has been shaped the “right” way, and it is usually more than skin-deep.
How bagel shops achieve a dough that is firm enough to be shaped with a lot of tension, but still relaxed enough to be cut into ropes with a knife like a slab of butter, I'm not entirely sure. While some of it might be the result of specialty flours or additives, I bet a long, thorough mix would get it most of the way there. But that requires the use of a powerful mixer, preferably a spiral. You'd also need the scale that pros work on—it's not possible to cut long ropes of dough unless you have a massive slab to sculpt from.
The good news is that, while it takes a bit more braun, you can still make a well-developed, firm dough on a small scale at home, even by hand. In fact, unless you have a spiral mixer, doing it by hand is the only practical option, since the dough is simply too dry to keep your KitchenAid from walking off the counter long before the dough is mixed. My new recipes include simple procedures to minimize the amount of effort required.
Boiling
All bagels are boiled before baking: dunked briefly into a simmering vat of water and (often) a sugar, usually malt syrup. Some baths include a mild alkali like lye or sodium carbonate, either instead of or in combination with the sugar. This does many important things:
- It warms up the dough after retarding it, jump starting fermentation to guarantee the bagel will expand in the oven.
- It softens the proteins and gelatinizes the starches on the skin, which helps the ideal crisp-chewy crust texture and a glossy appearance form during baking (much like steam helps crust formation on baguettes and other lean loaf breads).
- The sugars in the boil impart a modest sweetness to the crust, while promoting rapid browning and further increasing gloss.
- The use of alkali raises the pH of the skin, which also promotes browning (just as a stronger lye bath does for pretzels).
Home bagel recipes have you make the same bath solution that the pros use, and it works, but here’s something I realized recently: bagel shops use the same bath all day long, not just once, which has major implications for how glossy the crust gets. The good news is that it is easy to recreate a “well-used” bagel bath at home, but I’ll leave that for you to figure out on your own, or to find out when I reveal my new recipes.
Baking
A fellow bagel-loving friend and neighbor recently made some bagel boards for himself, and since he had extra materials on hand, he made two for me:
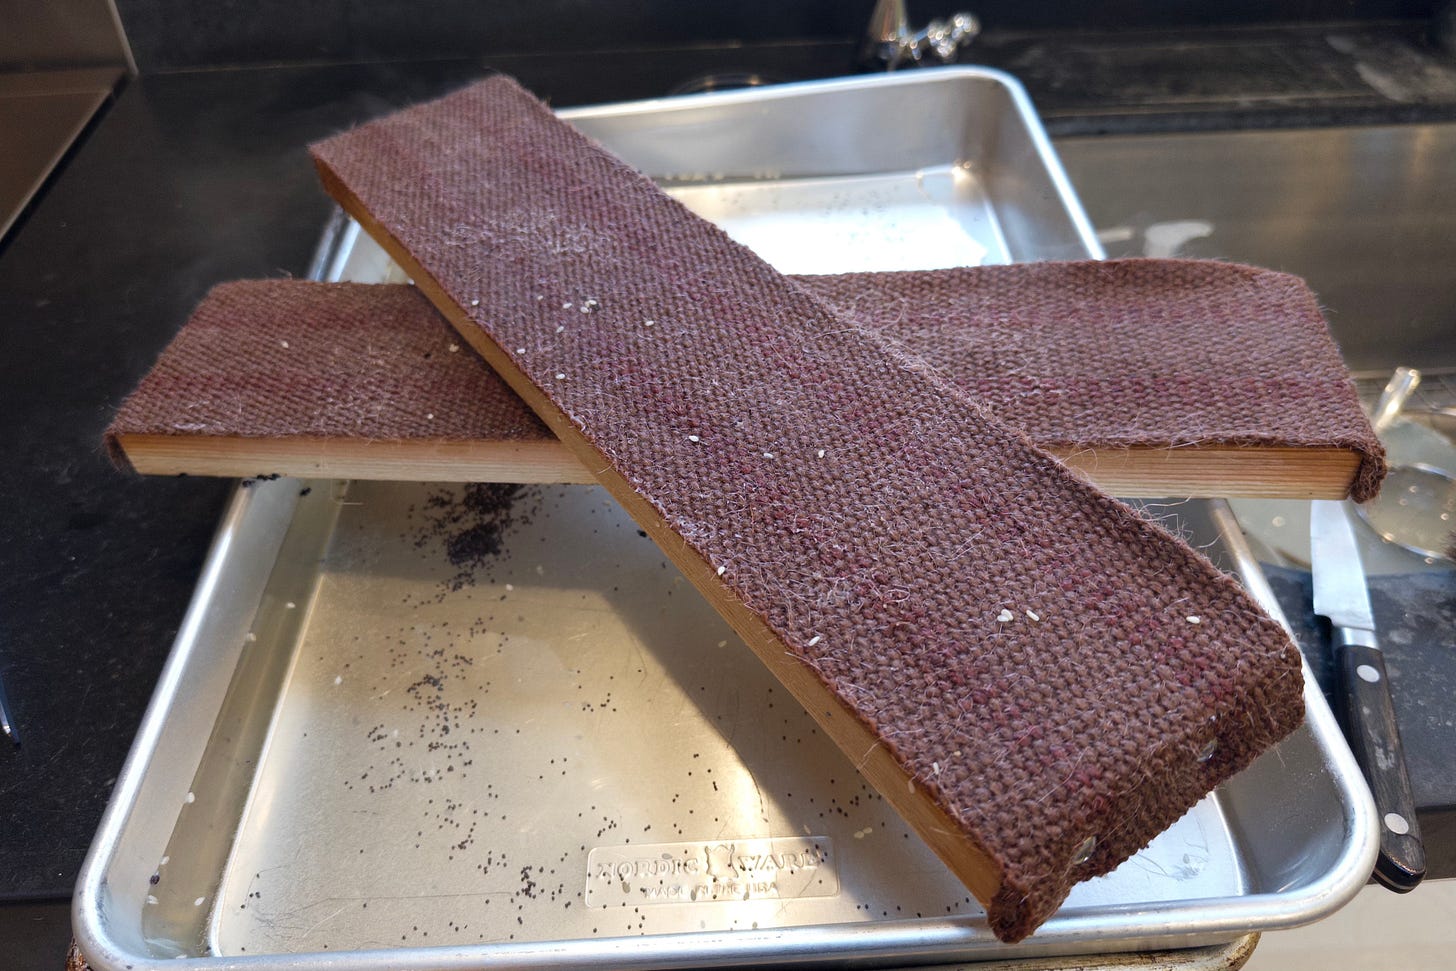
Bagel boards are strips of linen or burlap stapled to wooden planks. Before baking, the boards are soaked in water, saturating both the fabric and the wood itself. After the bagels are boiled, they are placed onto the boards “face” down (i.e., with the side that was “up” during proofing and coated with optional toppings sitting on the fabric). The boards are then set into the hot oven, directly onto the hearth or baking stone. After five minutes or so, the bagels are flipped over onto the hearth and the boards are removed.
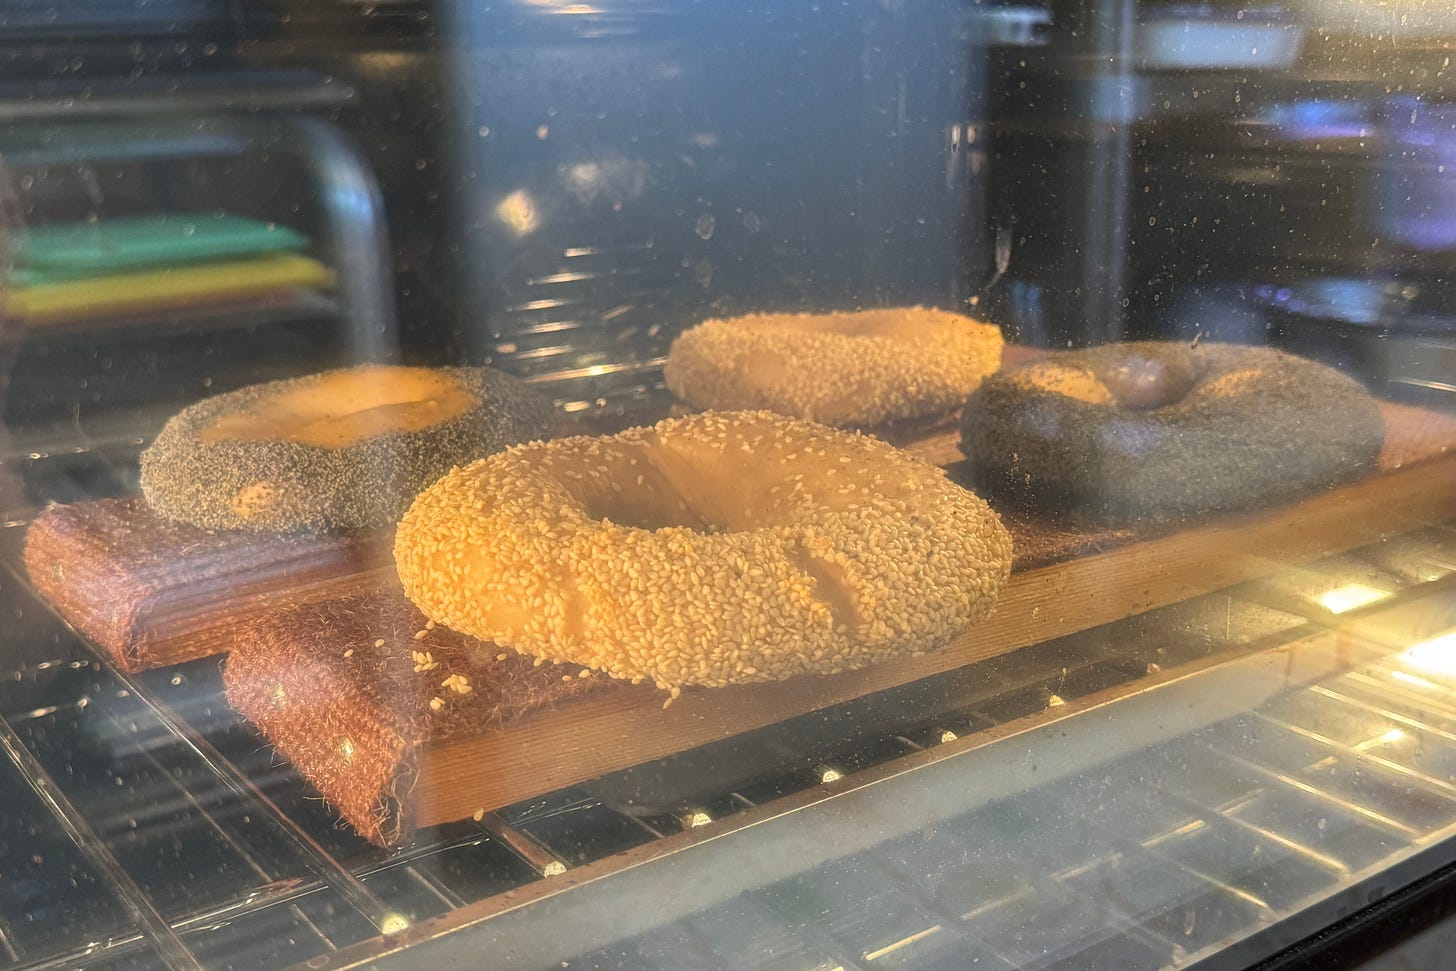
I’d never used a bagel board before being gifted these, and I was skeptical about them, but obviously I had to give them a try. And now I get it: bagel boards really do make a difference, for a couple of reasons.
One, the wet fabric adds steam to the oven, helping the bagels spring up before they set. And two, the boards protect the bagels from browning too quickly, while letting them dry out just enough to flip over easily. The moist fabric (and the board) shields the “nice” side from the heat of the hearth, so that it doesn’t brown it makes contact. During the initial phase of the bake, the bagels puff up and dry out, so that once they are flipped onto the hearth, they are mostly set, but not beginning to color. The only portion of the bagel that gets at all dark is the underside, where it kisses the hearth.
I don’t think using bagel boards is essential to making bagels at home, and TBH, they are a little fussy to work with: When hot, they are a challenge to manipulate without burning yourself or dropping the barely-baked bagels. But the benefits are real and they are worth using if you are up for it. And they are easily made, or more easily purchased online.
That said, I am not calling for bagel boards in my book, because I have come up with another approach that works just as well but is simpler and cheaper to acquire, and easy to use without risk of third-degree burns. But again, I’ll save my this trick for the recipe reveal.
Speaking of which, I think I am going to run an online workshop once I nail these recipes down, which will likely be the only place I share them before the book comes out. So let me know in the comments if you might be interested in this. I’ll probably schedule it for sometime this spring. (Along with one for the new baguette formulas for the book, which I am actively working on right now as well, and which have taken a very similar trajectory—a decent recipe for ATK and a better one for Serious Eats, and finally one I think is as good as it gets, at least at home.)
What are your criteria for an ideal bagel?
—Andrew
wordloaf Newsletter
Join the newsletter to receive the latest updates in your inbox.