Improving Your Sourdoughs
A few things to consider
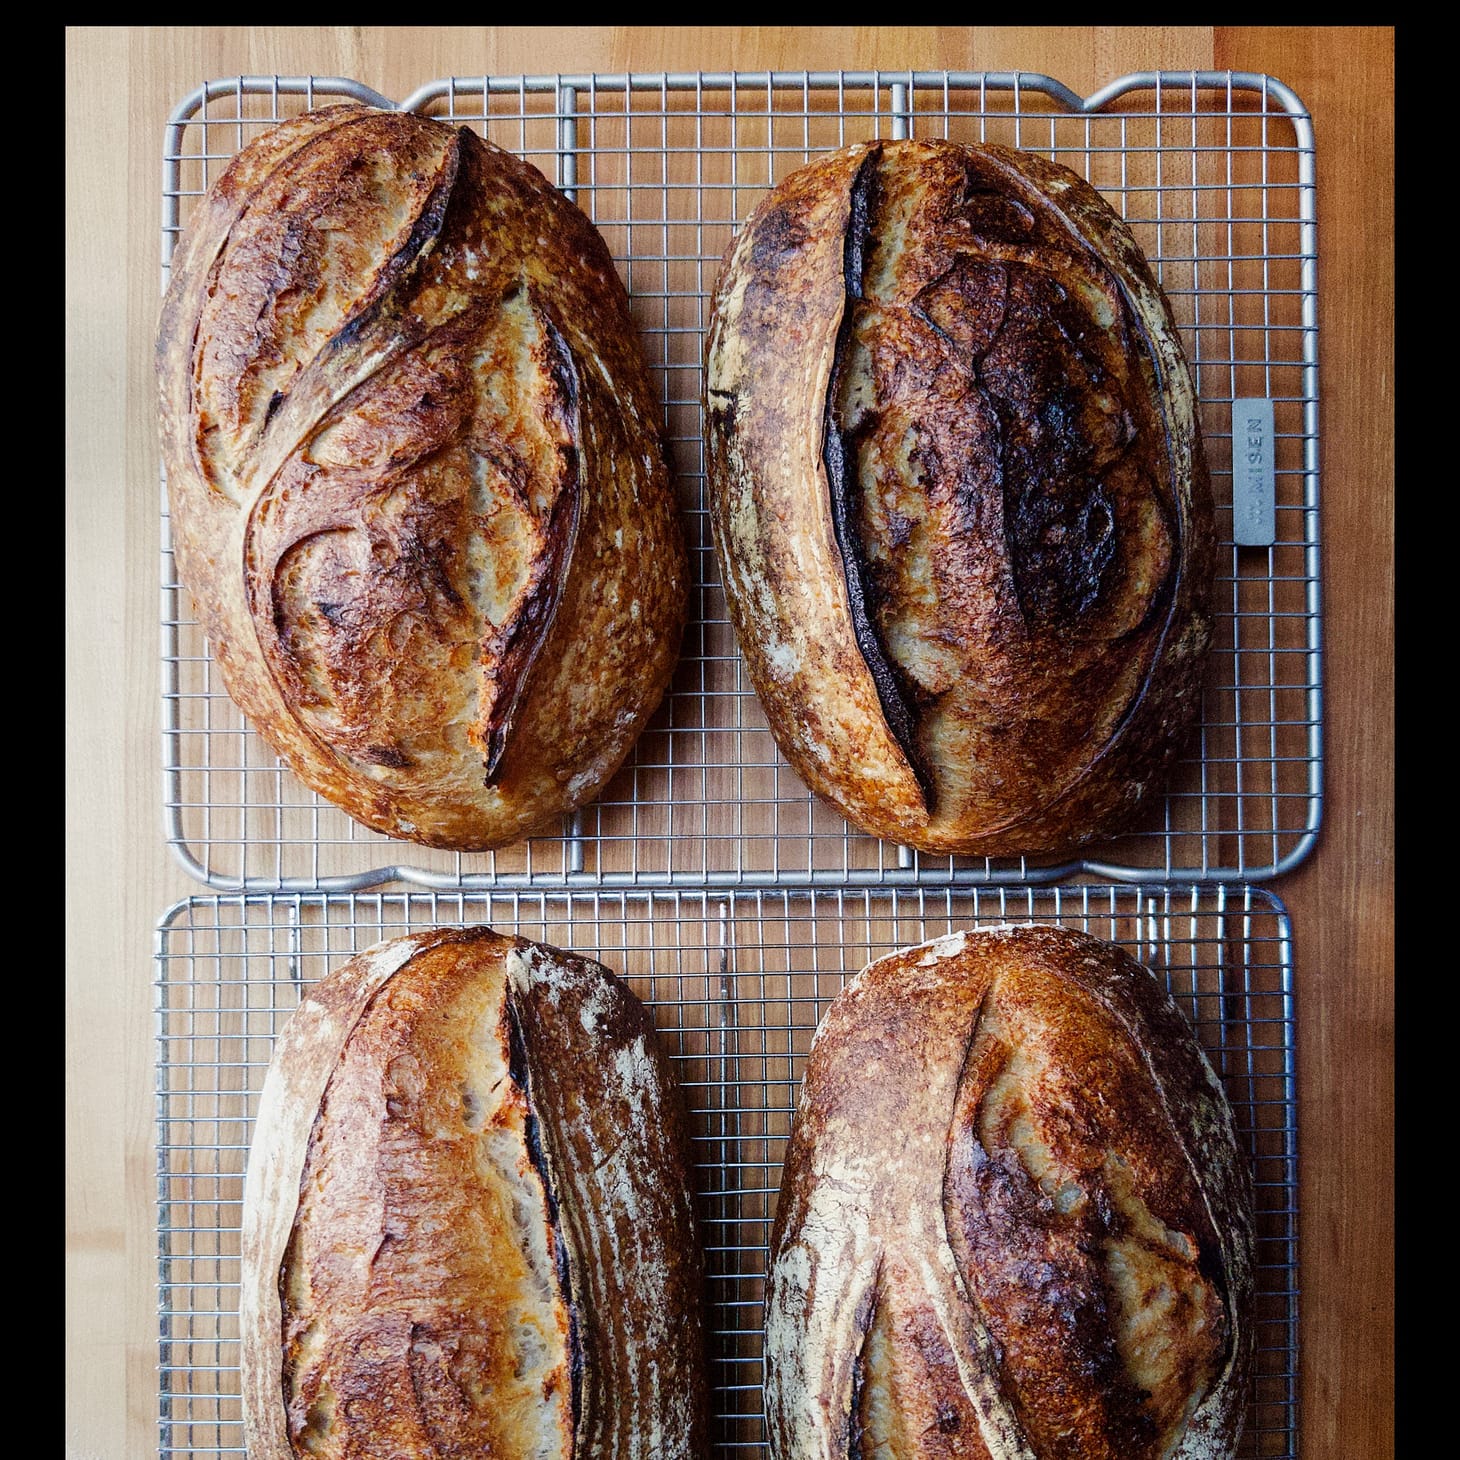
Table of Contents
Well, I am back from my annual Wordloaf summer break. I spent part of the month in Provincetown, where the weather was beautiful, the water warm, and COVID was everywhere. Of the five of us in our rental house, I somehow managed to be the only one who did not come down with it, thankfully. Still, it made for a somewhat less-relaxing-than-usual getaway.
The rest of the time was spend plugging away on my book, and preparing for and presenting my Sourdough Office Hours workshop, on 8/24. In it, I taught two basic-but-fundamental sourdough formulas, a retarded loaf using a young levain for mild acidity and high yeast activity, and an all-ambient-proofed loaf that goes from bowl-to-bake in less than six hours. The class was more than five hours long, and when I wasn’t focused on the formulas, I presented a collection of ideas on how to improve one’s sourdough, and answered any and all questions people had that weren’t addressed already.
From the feedback I got, it was a success, and I will likely run it again sometime, in case you missed out on it. I probably won’t have time to teach it before the end of the year, but in the meantime, you can still purchase the video and handout to watch at your leisure:

As always, paid subscribers get a 20% discount on the cost of classes, using the discount code found at the top of your emails.
In the meantime, I thought it might be useful to share a just few of the insights I shared in the workshop around what I now think are the most important ways to improve your sourdough breads and baking. As in the workshop, I’ll break them down by category.
Starter Maintenance
Broken record here, I know, but I think the number one way to improve your sourdough breads is to maintain your starter at room temperature rather than keeping it in the fridge in between bakes. I know that for many of you this is not something you think you’d have the time to do, at least not forever, but why not try it out for a week or month and see what happens? You can always go back to fridge storage, and your starter will be all the better for it.
If that’s not in the cards, then at least try to give it as many daily feedings as you can before using it to build a levain.
I also think that starters are happier (and more stable when stored in the fridge) when maintained at reduced hydrations. I keep mine at 75% hydration for this reason.
Levains
I think the default hydration for a levain should be on the stiff side, rather than liquid. I reserve liquid levains for those breads that want the extra extensibility they confer. Otherwise, I build them at 75% hydration. Not only does that constrain the enzymatic activity they contain, it leaves them with a wider window of usability.
I also think that people tend to under-ferment their levains before using them in a dough. Try letting your levains proof longer than you normally do—look for them to flatten out or collapse slightly before using. As long as it doesn't collapse completely, it is likely to be just-right.
For overnight levains, proof them at lower temperatures (68-70˚F). This will also restrict enzymatic activity, so they don’t overproof before you can get to them.
For faster levains, proof at higher temperatures (80-85˚F; 82˚F, ideally). I usually use 90˚F water here, since it will get the levain good and warm right away.
Dough Mixing & Development
Don't sweat the autolyse. I have moved away entirely from mandating an autolyse in formulas (sourdough or yeasted). I still think a short rest before the salt and levain is added is helpful in getting the flours hydrated, but I don’t really use a longer, true autolyse myself unless there’s a good reason for it—a need for extra extensibility or a lot of whole-grain or high-extraction flour where a longer soak will help hydrate the flour. Otherwise, any benefits an autolyse provides can be made up for during mixing and bulk fermentation. Try it both with and without and see if you notice a difference.
Use a stand mixer to develop your doughs instead of folds alone, if you have one. You might find it gives more structure in your doughs and taller loaves than mere folding can do alone. Look to mix to "medium” strength, not full: the dough should be smooth, stand up on its own, and the sides of the bowl should be clean of dough. (Don’t bother with the “windowpane” test. I don’t use it, and if you can pull a windowpane then you are probably over-mixing the dough.)
In my Ankarsrum, I usually mix for 8 to 10 minutes on low (1:30 on the dial) and 1-2m on medium (3:00). For a stand mixer with a dough hook like a KitchenAid, use 2 for low and 4 for medium; you may need to mix slightly longer than I do to get to the same level of development.
You will likely need to give the dough fewer folds during the bulk fermentation if you develop it ahead of time.
Add a bassinage when the final dough is high in hydration and wet. Hold back 5-10% of the total water, develop in a stand mixer as above, then slowly add the remaining water and mix until smooth. (You can’t do this at all without using a stand mixer, since you can’t add the extra water until the dough has some strength already.)
Hydration
Try making lower hydration doughs than you usually do, especially when doing all-ambient proofs. The dough will be far easier to handle, and you may like the results as well as higher-hydration doughs, especially if you ferment both the levain and the dough fully.
Lower-hydration doughs will generally benefit from up-front development in a mixer, since folding is less effective with stiffer doughs.
Temperature control
If possible, find ways to control ambient temperature for your levains and doughs. Because home bakers work on small dough scales, the temperature of the space and container is far more important than dough temperature at the end of mixing (DDT), since doughs and levains will quickly adjust to the ambient temperatures. (If you are doing a fast levain build, be more precise with your water temperature, since time is of the essence.)
Proof your doughs warmer than many bakers recommend. Many bakers have moved toward using the same conditions used by panettone makers, and it works great. Doughs proof faster, and the results are as good if not better. The ideal is 82˚F, but you can go as warm as 85˚F if necessary. I set my proofer box to 82˚F with all of my sourdoughs these days, and they’ve never been better.
Fermentation
Ferment longer! I think that novice bakers tend to under-ferment everything—levains, doughs, and (ambient-proofed) loaves. I understand the fear of overproofing, because it feels tangible, but a levain, dough, or loaf will not overproof in an instant, and the consequences of under-proofing are greater than overshooting the mark a little.
Look for your bulk-fermented doughs to be lively and very jiggly before you divide and shape them. If you have any doubt, let them go longer!
Proof your loaves at ambient temperature instead of retarding them in the fridge, at least some of the time. I retard my loaves all the time, but mostly for convenience and ease of scoring. But I like the look and stature of my all-ambient loaves more, and the flavor is great. (It helps to have a formula that can go from start to finish in less than six hours, like the one I taught in the workshop.)
Folding and bulk fermentation
Fold dynamically, not robotically: Space therm farther apart during the first half of the proof (every 45m-1h) when folds are less effective at building strength, and closer together during the second half (20-30m). Fold occasionally (and gently) to keep fermentation going and even out the temperature of the dough; fold more often when you want to build strength.
Watch how the dough structure evolves, both over time, and between each fold. Early on, the dough will spread out to fill the container between folds. Keep an eye on how much it spreads each time around; when spreading slows, fold less often or stop altogether.
Remember that the acidity from fermentation makes doughs stronger and that most of the fermentation happens late in the bulk. Don't over fold your doughs before the added strength provided by fermentation arrives. If you find your dough too taut and bouncy at shaping time, do fewer folds next time around.
Try bulk fermenting longer than you usually do! Have patience, and don't move to shaping until the dough is really lively.
Dividing and preshaping
If the dough is very taut and bouncy at shaping time, and already in a round-ish shape, consider skipping the preshape. (One of the "secrets" of open crumb baking done by Addie Roberts and others is to push the bulk fermentation a long time, skip the preshape, and do the final shape very gently, retaining as much volume as possible.)
If the dough is slacker than you'd like, pre-shape more forcefully to build more tension into the dough.
Shaping
Before shaping, rest the dough long enough to allow for ease of shaping, not on a schedule. If the dough is slack, keep the rest short; if it is taut, let it sit longer.
Don't be afraid to use a generous amount of bench flour when shaping, as long as you contain it to the outside of the loaf. Avoid getting it on the parts of the dough you need to stick to one another.
The final proof (retarded)
It takes about 3 hours for a loaf to cool completely to refrigerator temps, which means it will continue to proof at a near-full clip for awhile. For this reason, a bench rest—usually 30 to 60 minutes—is not mandatory before moving to the fridge. Do it if you think it needs more "floor" time because the dough was slow to proof or you shaped on the early side. Or skip it if the dough was very lively before shaping. Try it both ways and see if you notice a difference.
Also consider skipping the bench rest if you need or want to proof the retarded loaves longer than 16 hours.
I think the benefits of long fridge fermentations are overrated, and I try not to leave mine in the fridge longer than 12 hours, to maximize loaf volume. I never leave them in the fridge more than 16 hours.
The final proof (ambient)
If you are proofing your loaves at room temperature, let them proof until they spread out to fill the banneton or pan, just begin to slacken, and the top surface of the loaf flattens out. This can take two to four hours under normal conditions, or about 50-100% as long as the bulk fermentation. Proof longer than you think you should; it's worth risking a collapsed loaf to learn exactly what "fully-proofed" looks like.
Do the poke test early and often; you need to observe how it changes over time rather than just check its state at a specific moment. If you do so, you'll be able to see the fermentation slow down, a sign it is getting close. Aim for a poke test to not spring back at all, the loaf to spread into the basket fully, and the top of the loaf to flatten out, signs that expansion has slowed.
If your baked loaf ends up with a rounded rather than flat base (and a tight crumb), it's a sign you should have let it proof longer. Again, it is worth risking an over-proofed loaf to know how far is too far.
If you are worried your loaf is going to overproof before your Dutch oven is hot, move it to the fridge while it heats. It will slow the loaf down and may cool the skin enough to make scoring easier.
To make scoring cleaner on ambient-proofed loaves, reduce the hydration of the dough 3-5% below normal, to give a drier dough.
To further improve scoring on an ambient-proofed loaf, dust it liberally with flour after inverting it, and—if it is not too slack—let it sit for 5-10 minutes to dry out slightly.
I’ll write up a longer post about all-ambient sourdoughs soon, but in the meantime, hit me up if you have any questions about anything I’ve suggested above.
—Andrew
wordloaf Newsletter
Join the newsletter to receive the latest updates in your inbox.
