This is a loooong post, so here’s a table of contents of topics if you are looking for something specific. And it is a work-in-progress, so I have marked those sections that I’m still planning to fill out.
Where to Find Bread & Baking Tools, Supplies, and Ingredients
Pizza & Flatbread Tools (coming in January!)
Please let me know if you see any errors or want me to add sections or items that aren’t here.
Where to Find Bread & Baking Tools, Supplies, and Ingredients
I’d be a hypocrite if I said I never bought anything from the behemoth that is Amazon, but I do try to minimize my purchases from there, because the company is obviously not a force for good in the world. Which is why you won't find many Amazon links here, despite many of the items I recommend being available there. Instead, I'd prefer you patronize a baking specialty store whenever possible, since they cater to bakers specifically and stock all sorts of useful things you can't find elsewhere.
Also, full disclosure: Some of the following links are affiliate links (marked with a ‡), meaning that I stand to receive a cut of the money you spend on them. You are entirely free to buy them elsewhere or without using the link, but I hope you’d see it as another form of support for the work I do here. I wouldn’t recommend anything that I don’t 100% stand behind myself.
Here’s a list of some my favorite places to source items for baking:
TMB Baking (San Francisco Baking Institute)
Rackmaster (UK)
Bakery Bits (UK)
Storage
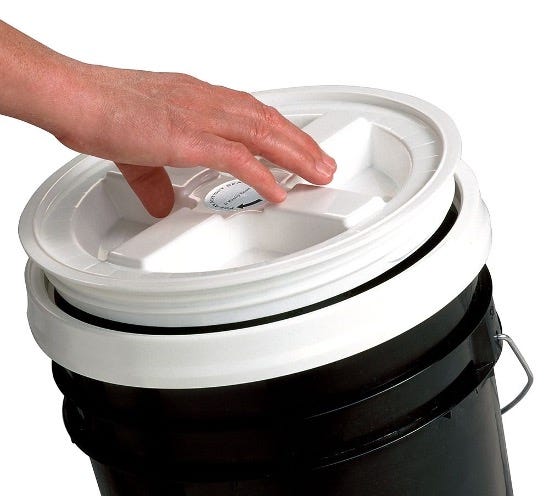
Gamma lids and plastic pails. I store most of my flour and grains in 5 or 3.5 gallon buckets nowadays. While they are larger than what the average home baker needs, they do make smaller versions for 2 gallon pails. I used to have all sorts of issues with pantry moths, but since switching to these airtight buckets (and tons of pheromone pantry moth traps, which I replace every three months), I've managed to eliminate them. Another version of the larger lids are also available at Lowe's. Note: some pails are not sized to match the bigger lids, so you probably want to buy them from the same source. They should snap on with just a little bit of force; if not, look for another brand of pail.
For smaller amounts of grain, flour, beans, sugar, and spices, I use a variety of sizes of also airtight mason jars. I tend not to leave perishable dry goods in paper or plastic bags unless I am going to use them up within a few weeks.
Dough Preparation
While a standard fine-mesh kitchen sieve can remove a decent amount of bran, when I want to convert my whole grain flour into a true high-extraction flour (of about 85% extraction), I use a 50-mesh drum sifter, which can take out much more of the bran.
For dusting bannetons and couches, I use this sugar sifter, which I keep filled with rye flour, though a small wire mesh sieve works just as well. (As does the tea ball that others use.) Oxo makes one that looks like it would be nice.
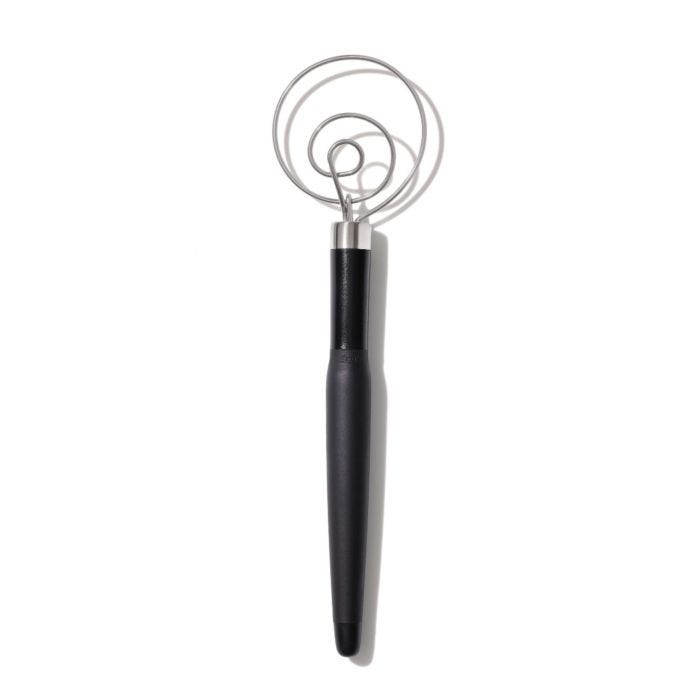
If I am not using my hands or a stand mixer, I use a Danish dough whisk to mix all of my doughs and batters. I wrote a love letter to this tool for Serious Eats awhile back. Oxo makes a very nice one which I use, and Brod & Taylor also came out with one recently.
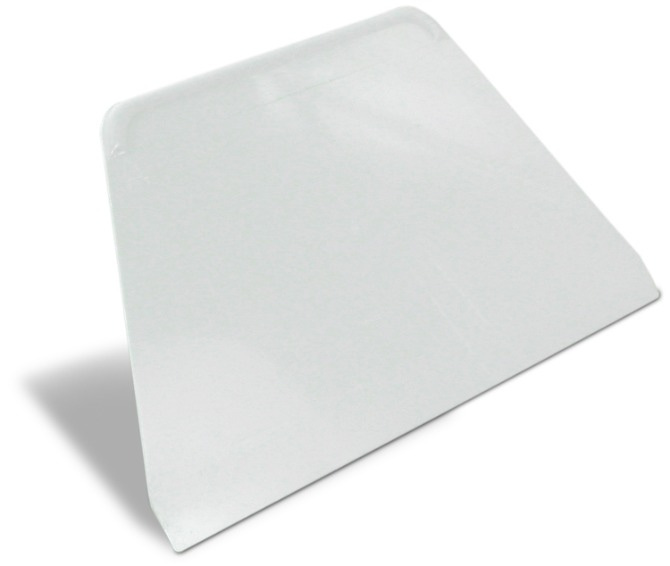
For dividing and moving doughs around, I use a variety of plastic and metal bench scrapers. I especially like these 8-inch wide stiff, trapezoidal plastic ones, along with similar smaller ones. I have two of these in fire-engine red, which I got as a gift from a friend, and I’ve never seen them anywhere, but the linked ones are otherwise identical.
Hardware stores are also places to look for dough dividing tools, like the stainless drywall taping knife pictured above, which I use when working with large quantities of dough or when shaping extremely wet doughs on a benchtop.
When working inside bowls, I tend to use flexible, curved-edge plastic scrapers.
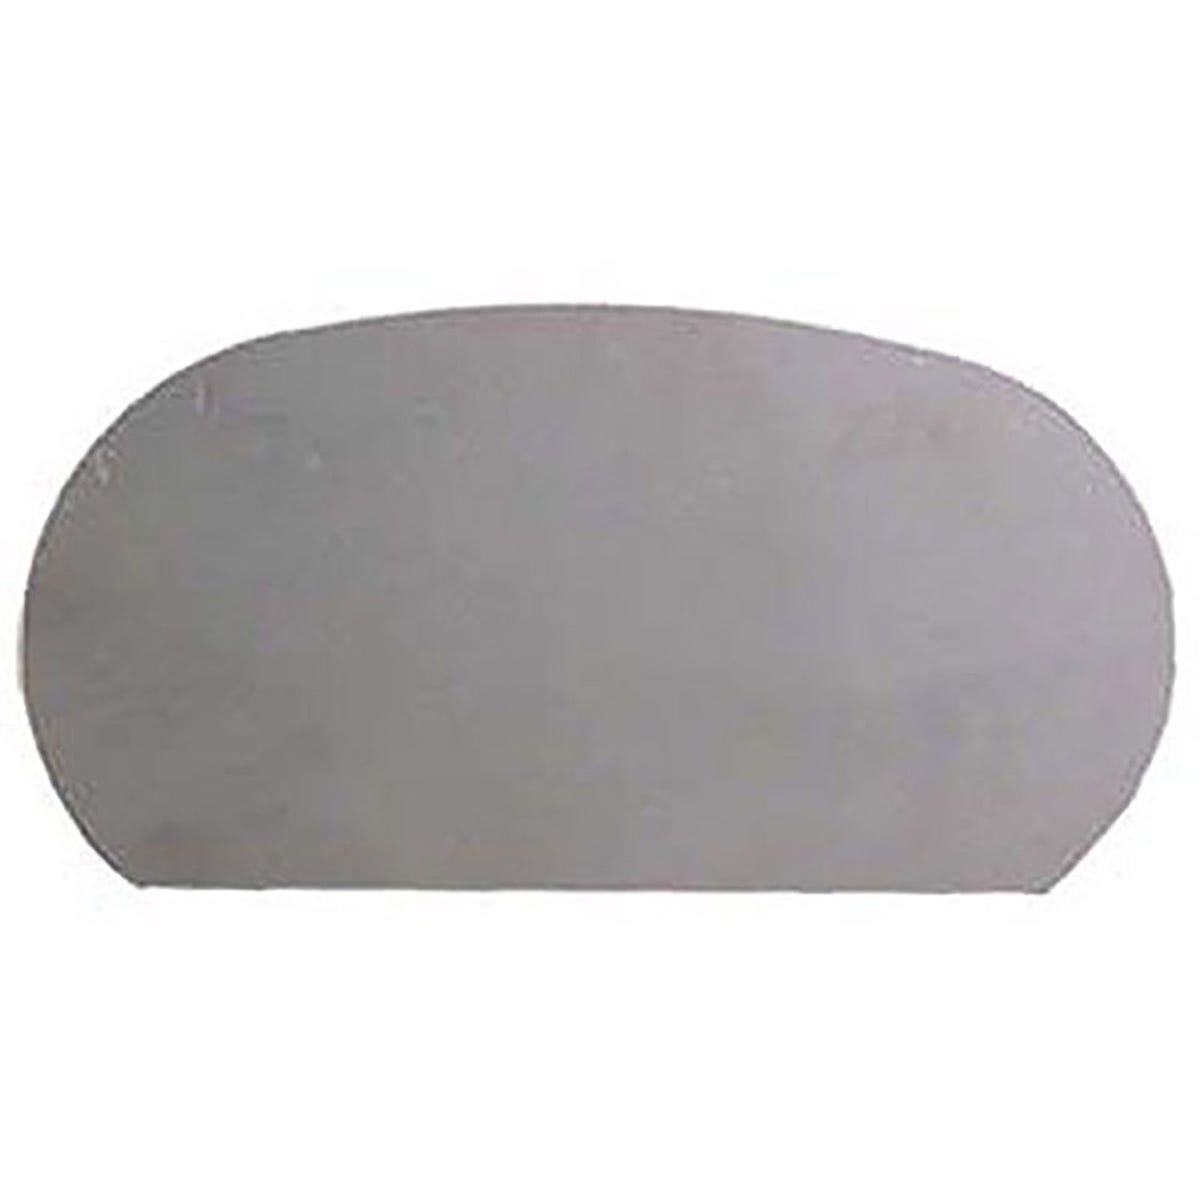
For cleaning my bowls and containers of crusted-on dough, I use a flexible metal clay shaping tool, something you can find at most artist-supply stores. They are flexible enough to both conform tightly to the shape of the container and soft enough to avoid scratching it.
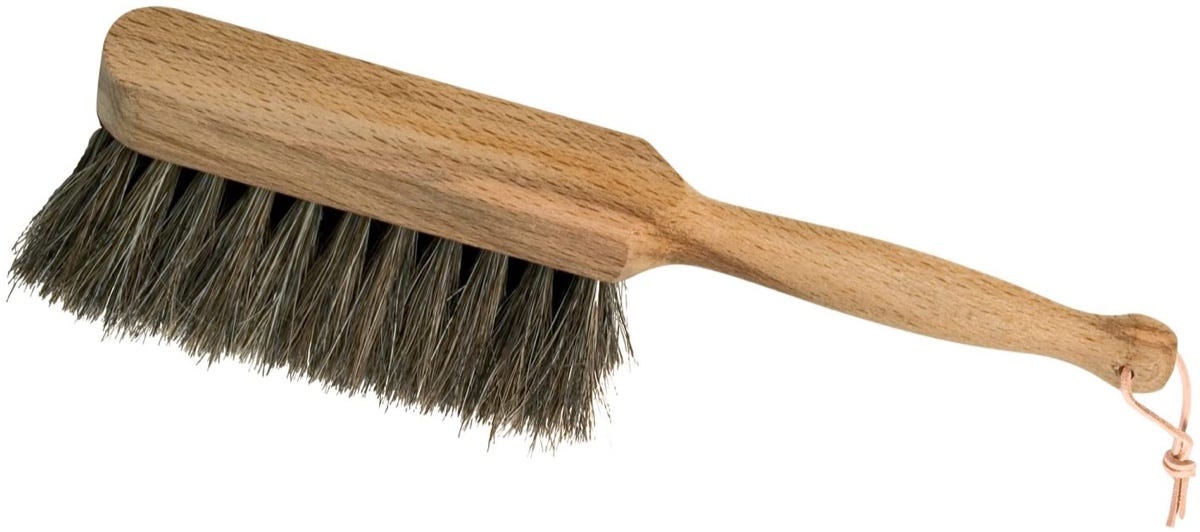
For cleaning flour and other dry messes from my countertop, I use a short horsehair “child's” brush, which so far I’ve only been able to source from the evil website.
Appliances
I trust you have a decent, accurate kitchen scale already. If not, there’s this excellent one from Challenger‡. I'm also a fan of Oxo scales, which are a little pricier, but come with a lifetime guarantee (if one ever breaks, just call Oxo and they will send you a free replacement, no questions asked.)
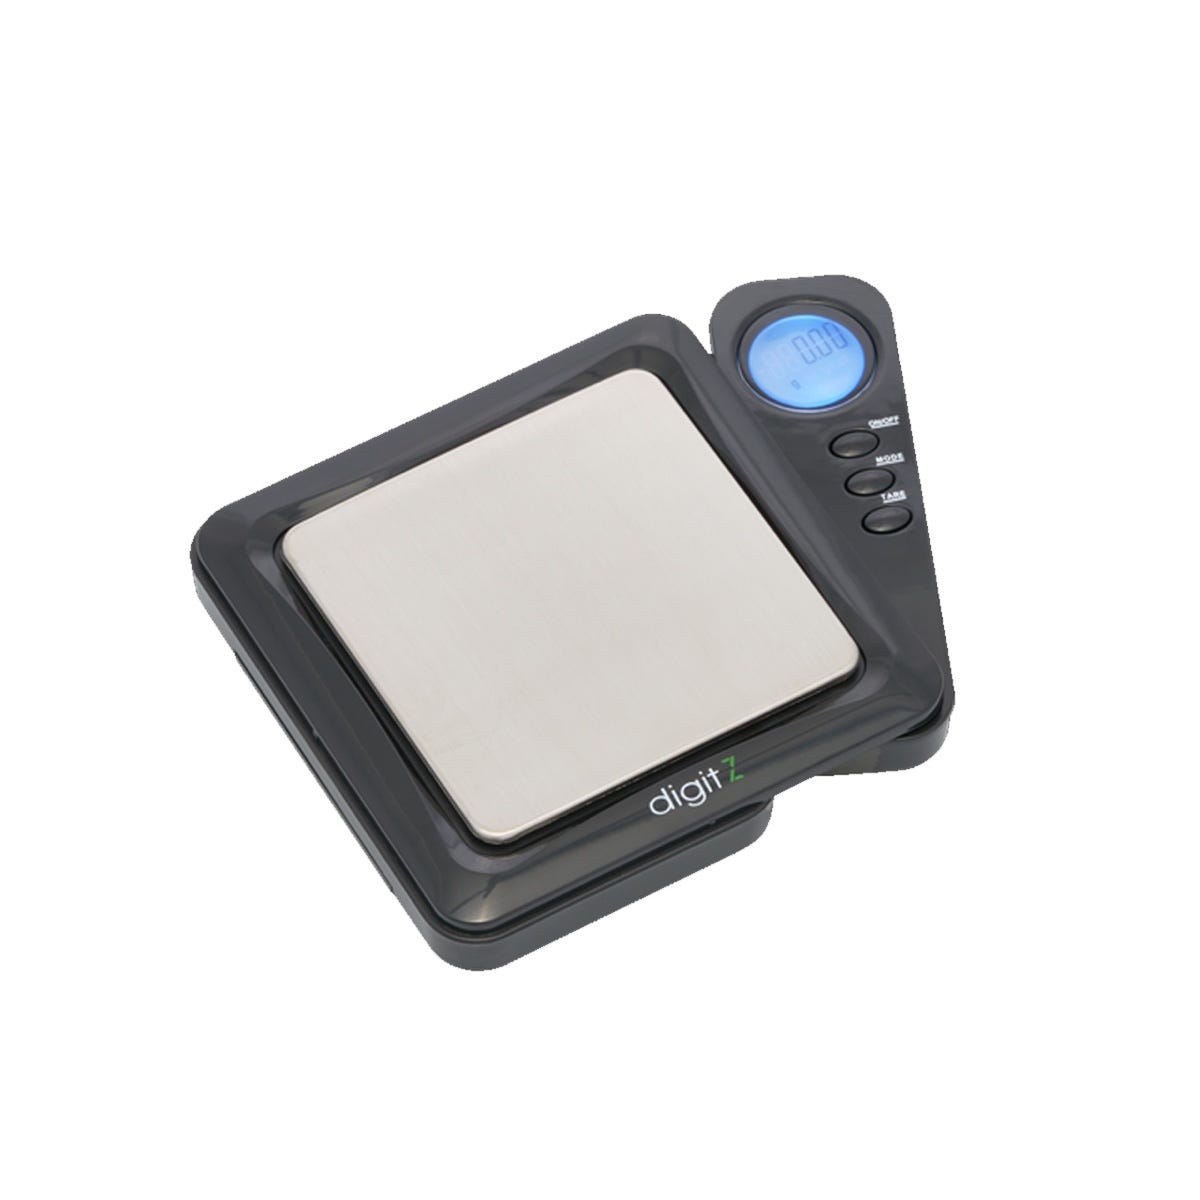
Even the best high-capacity digital scales are not going to be accurate when measuring <5g quantities, and none measure <1g quantities, which is why you also will want an inexpensive-but-surprisingly-accurate pocket digital scale, the kind used by drug dealers the world over. I am a big proponent of those sold by American Weigh, which come with a 10-year warranty. You need not buy one with anything more than 0.1g accuracy, though you might consider one with a >1000g capacity (like this one), which doubles as a nice travel scale.
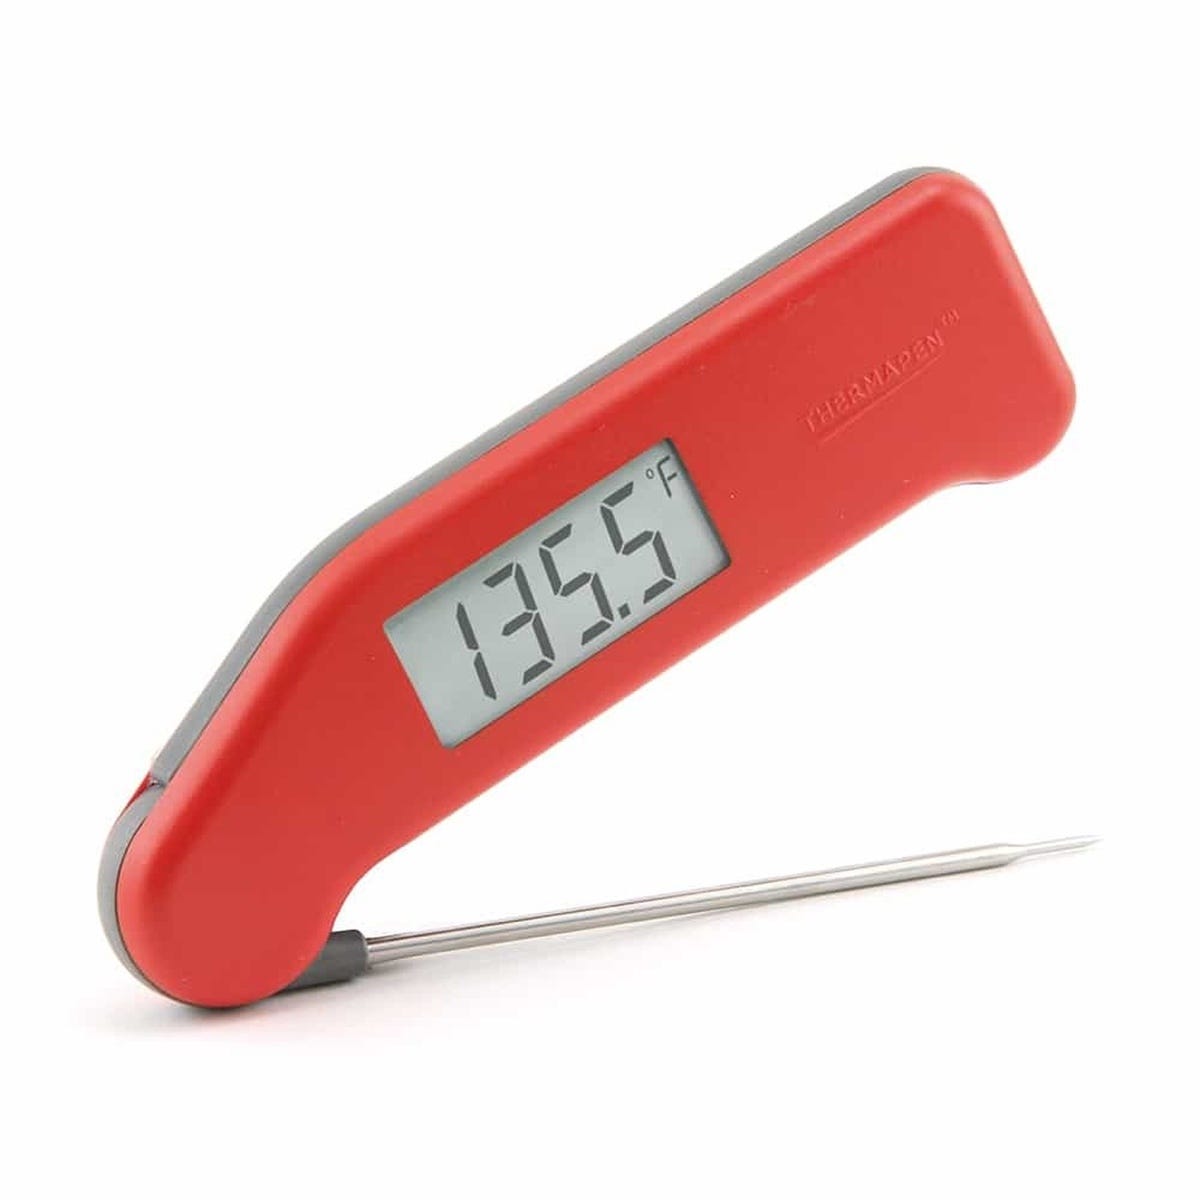
An instant-read thermometer for measuring dough, flour, and water temperatures. I’ve always been a big fan of my Thermapen, but Thermoworks makes a variety of more affordable and nearly-as-quick alternatives, like the ThermoPop, or the Exec.
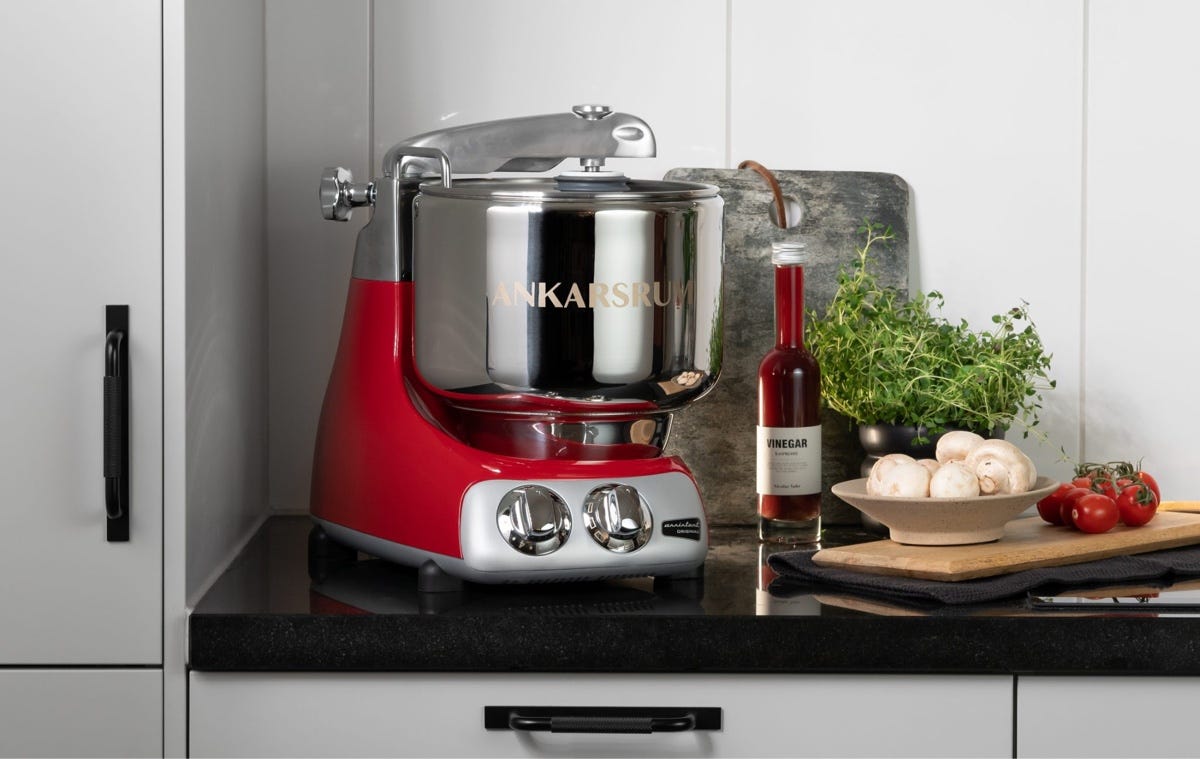
I have owned a variety of stand mixers over the years, including a Kitchen Aid 600 Pro and a Viking Professional 700, both of which are fine if you have one already. But recently I switched to an Ankarsrum Assistent‡, which has both more power and more capacity than either of those. (And, unlike the Kitchen Aid, it doesn't come with a manual that tells you expressly not to mix bread doughs on anything greater than low speed, or risk breaking the motor.) Because the Ank doesn't work at all like other stand mixers, it has something of a steep learning curve, but once you figure it out, it is a workhorse, and I love mine. I plan to write more about it here, but in the meantime, I wrote a love letter to my Ank for Epicurious.
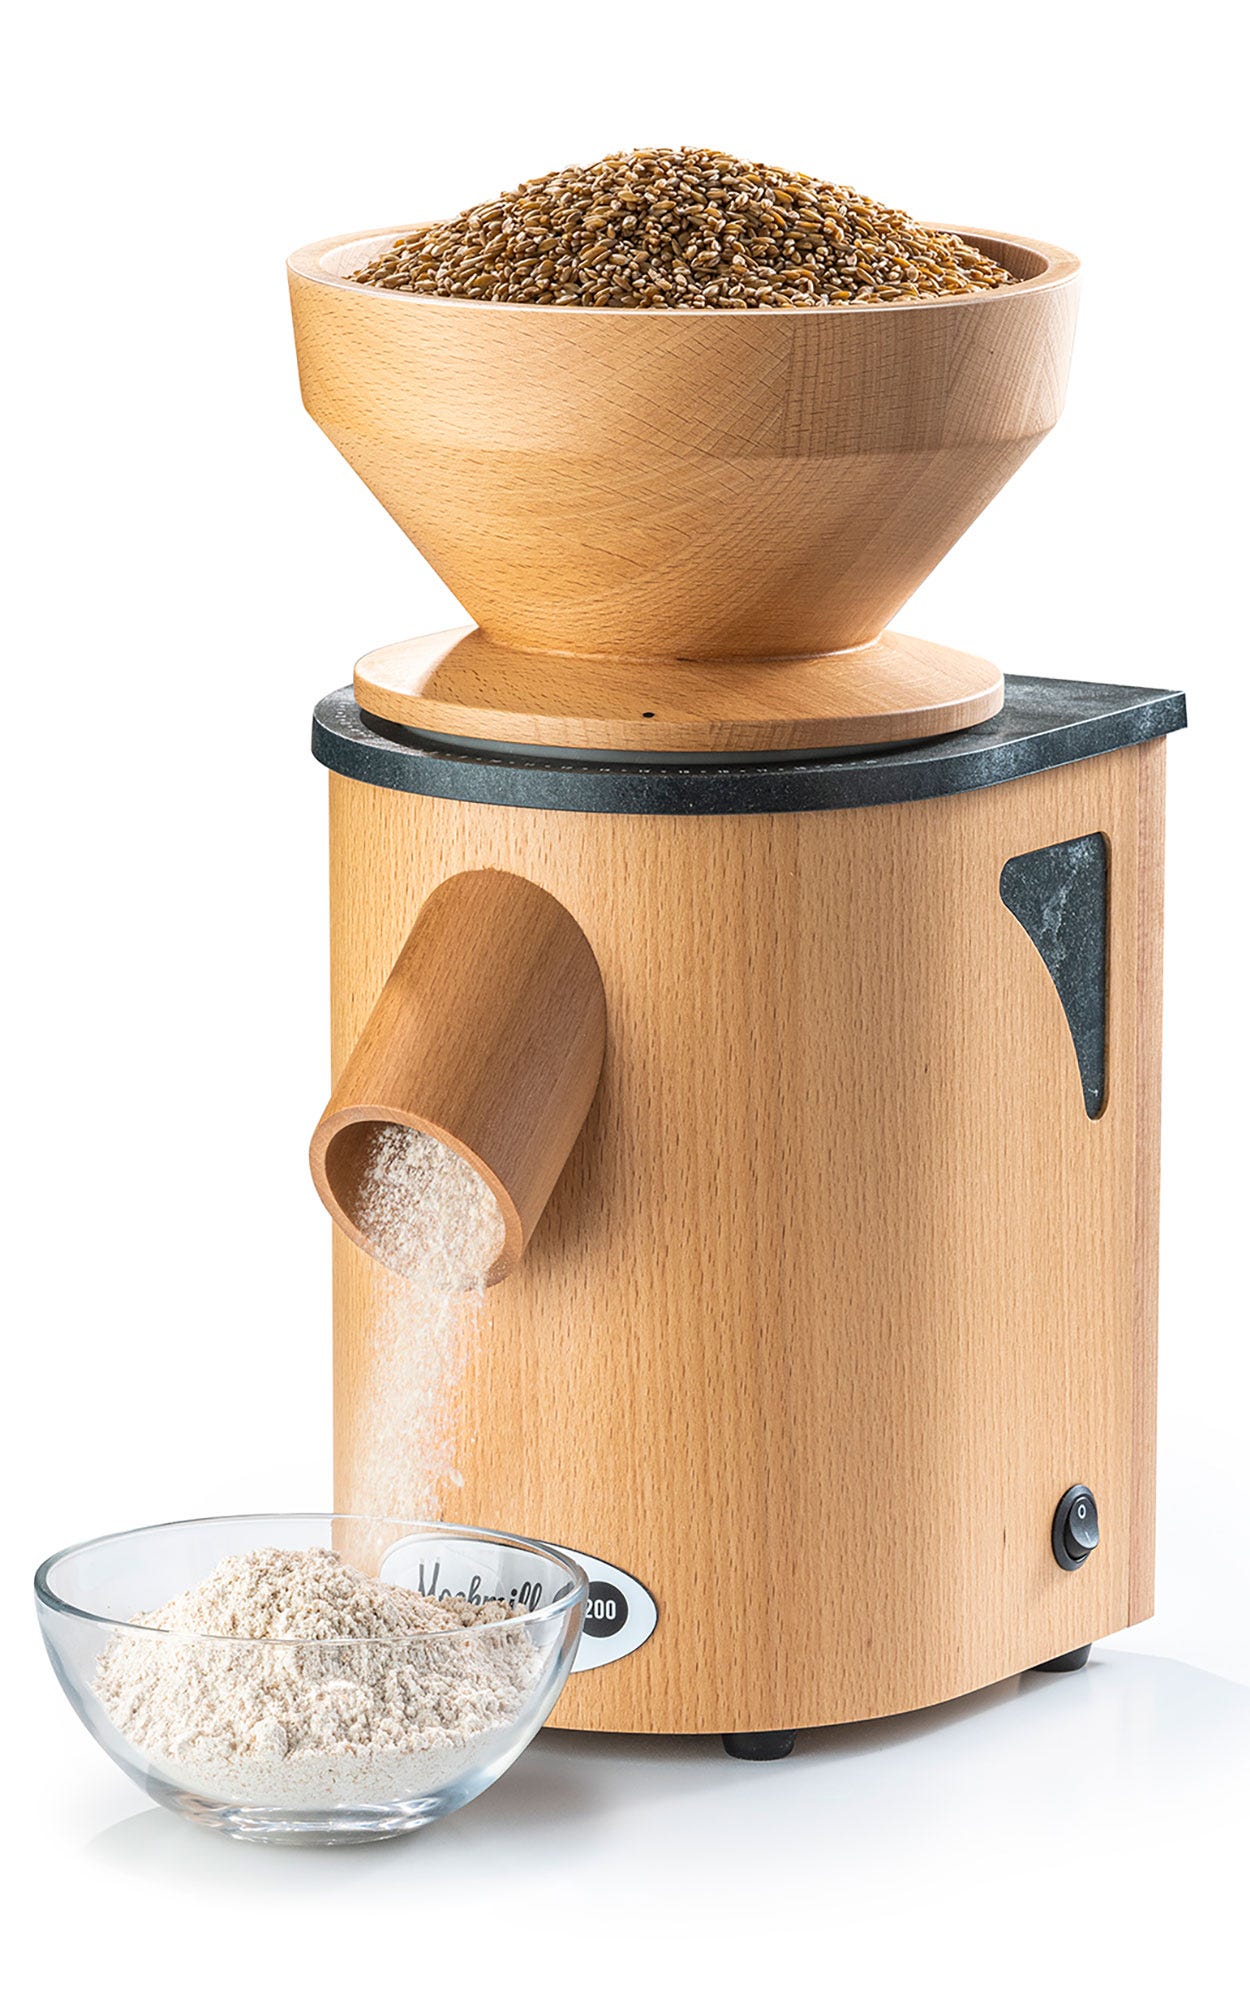
I mill flour from wheat, rye, spelt, and other grains using a Mockmill Professional 200 tabletop mill, designed by Wolfgang Mock, which has served me well for a few years. Before that I had and loved a KoMo Fidibus Classic, also designed by Mock. As for which style of mill to get generally, I'd recommend a standalone one over a stand-mixer attachment if you have the money and space, though the latter is a decent option otherwise. (I had the Mockmill attachment for awhile and it worked well, at least for milling small quantities.)
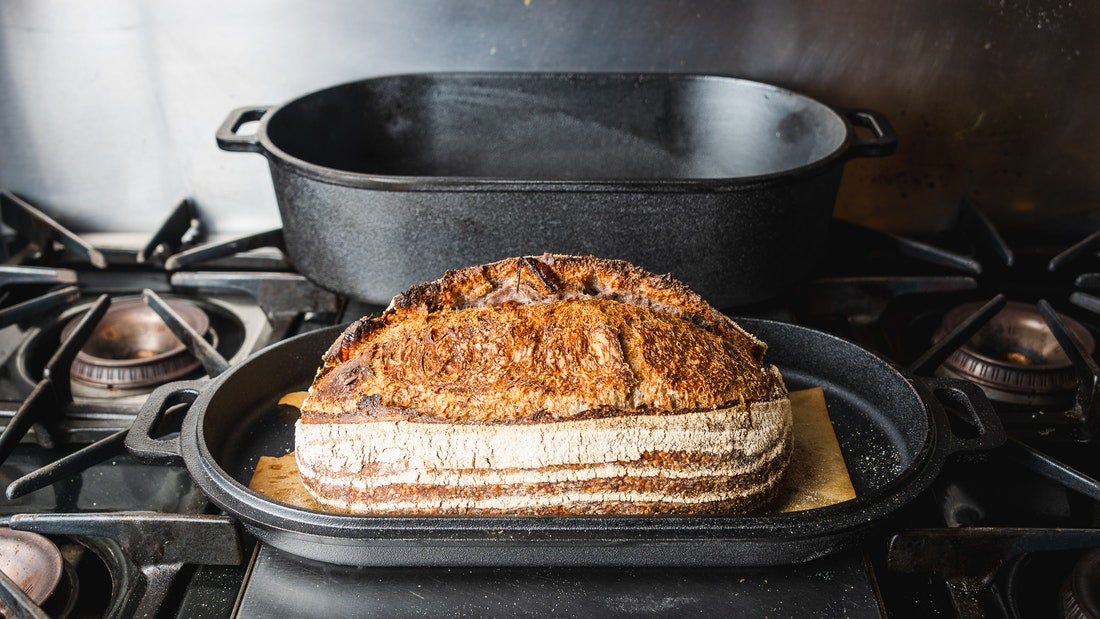
A Challenger Bread Pan‡. You might not think of a pan as an appliance, but in my mind, this one is. I've talked about my enthusiasm for this pot many times elsewhere (including in the extensive review/love letter I wrote for Business Insider), but I consider this pan the single best upgrade one can make to one's loaves, particularly if you like to bake long rather than round ones, as I do. It holds in steam better than a Dutch oven, and has enough extra room to add an ice cube, to generate way more steam than the loaf can by itself, which will take your crust to the next level.
I also recently did some testing for Serious Eats, comparing the Challenger pan to the Fourneau Bread Oven, and ended up liking it as much as the Challenger. You’ll be able to read the details soon, but the bottom line is that both work equally well to make great loaves, but each has its advantages and disadvantages. The Fourneau is easier to use if you find the Challenger on the heavy side, since it doesn’t need to be moved once placed in the oven (it has a cast iron door to enclose the loaf during steaming) and comes apart in pieces. But it takes up a ton of room and is best for those with lots of kitchen storage or (better yet) a double wall oven, so you can leave it set up and ready to use all the time. The Challenger is heavy, but no bigger than any other Dutch oven, so it works best for those with limited space (and lots of muscles).
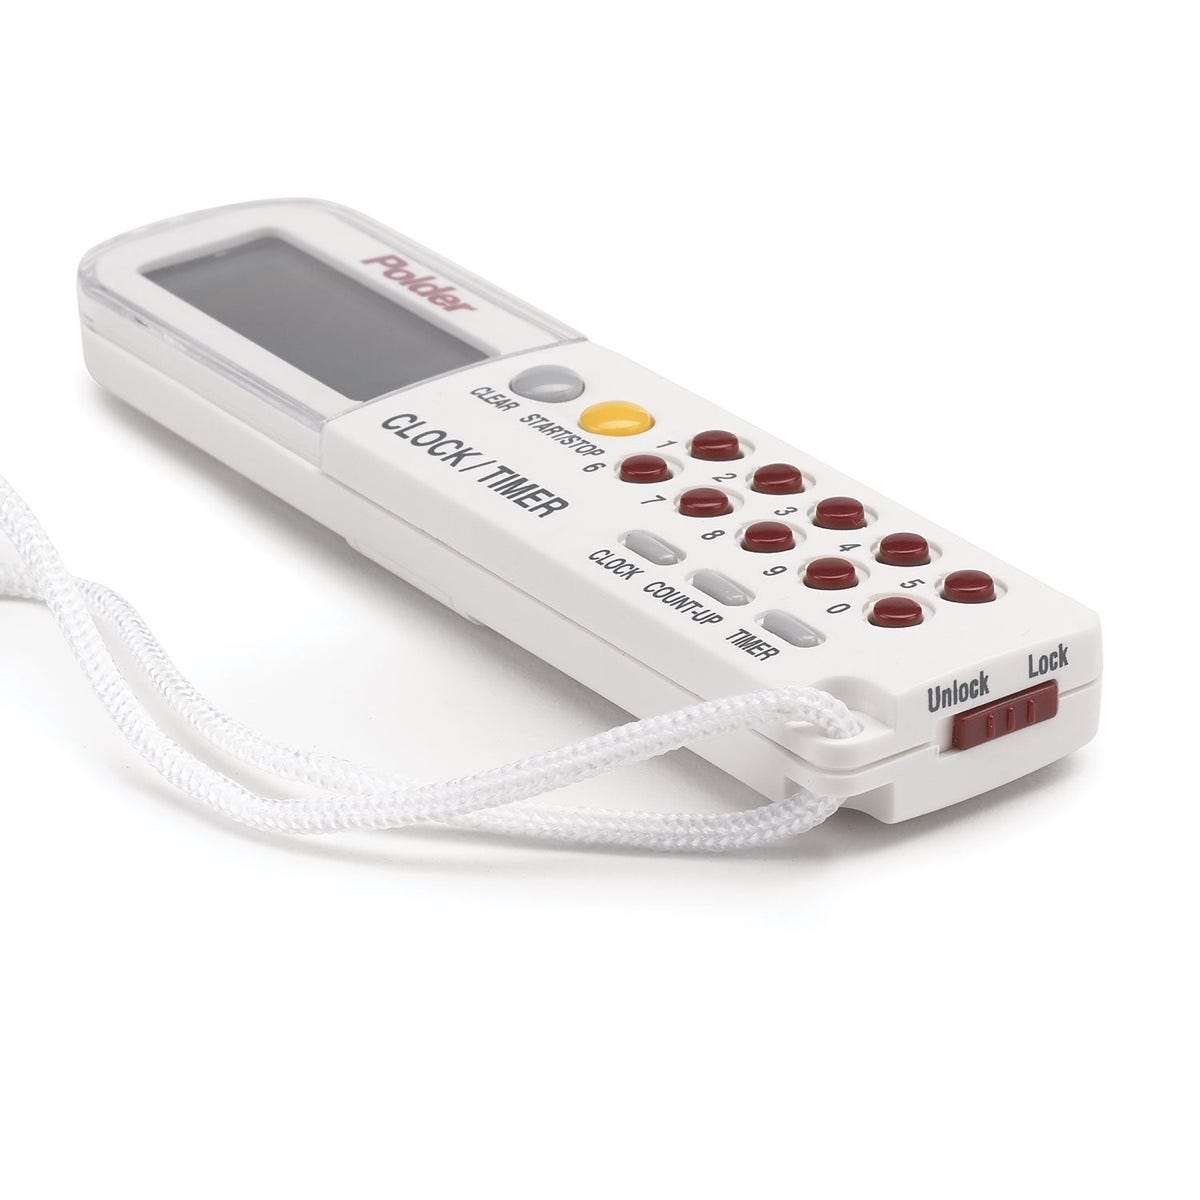
Kitchen timers. I use these ones from Polder, which I like because, being small, they are easily kept with the container in question. I’ve owned multi-timers before and decided it’s easier to have separate timers for each thing I am timing, since I can set the timer near or on it. One nice thing about the Polder is that you can run a “count-up” timer at the same time as a count down, which is useful for tracking the total time at the same time you are counting down between stages. (In other words, you can set an interval timer for something like dough folds, while also counting up the total amount of time the dough has been proofing.)
Proofing
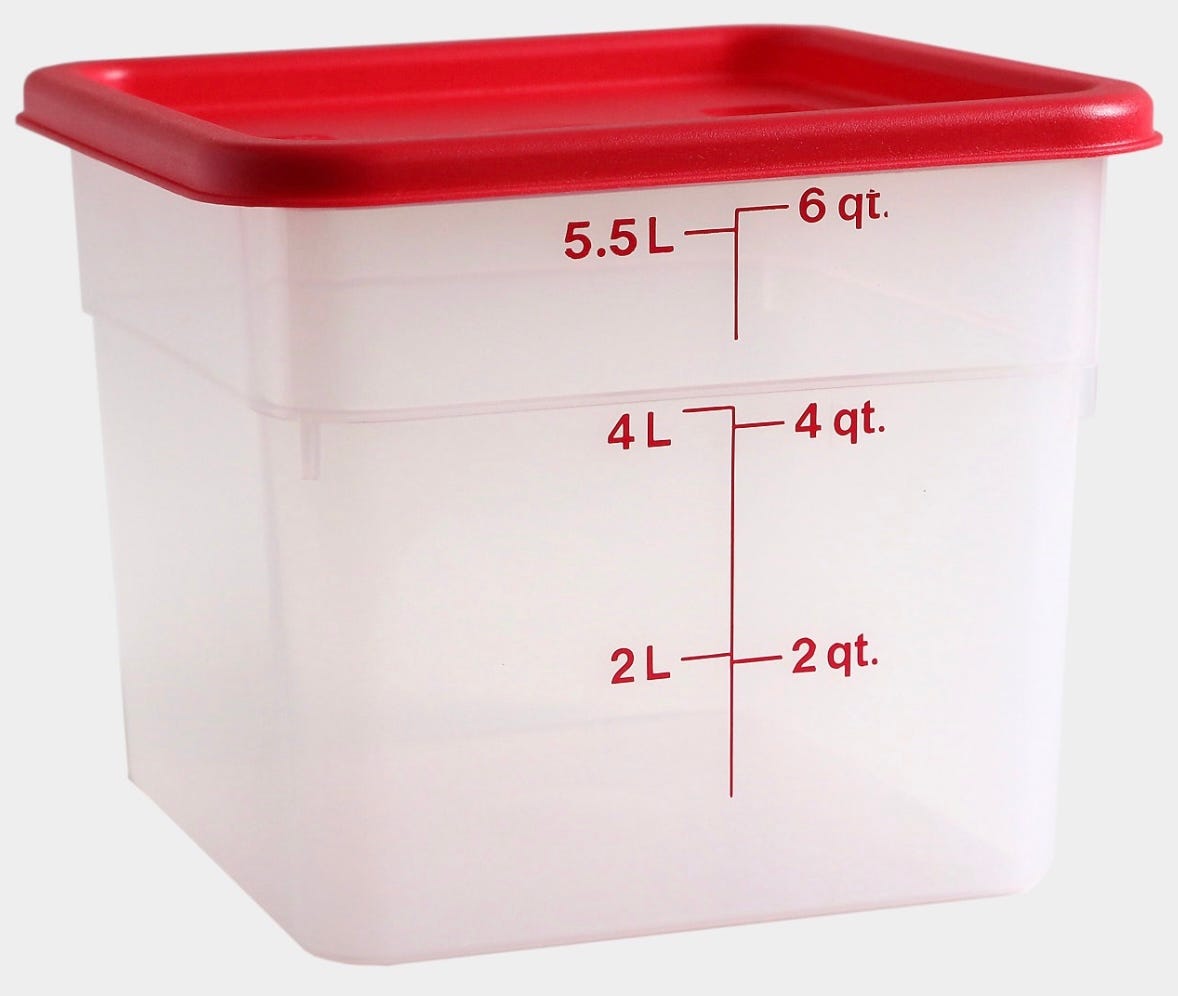
Straight-sided, translucent container(s) for proofing doughs and visualizing dough expansion. The 6-quart Cambros that I use are on the large size for single-loaf batches of dough, but it's better to have extra room than not enough, and they are perfect for double- or quadruple-loaf batches. These are optional, but helpful for accurately visualizing dough expansion.
Alternatively, you might like these dough boxes created by Challenger‡, which are flat and wide, making them efficient for folding dough, and stackable, for multiple batches. Being shallow and opaque, they do make it more difficult to visualize dough expansion. (Eventually you'll be able to tell when a dough is ripe just from the feel of it, at which point measuring expansion is unnecessary. I usually just proof my doughs in stainless work bowls.) These also double nicely as pizza dough ball containers.
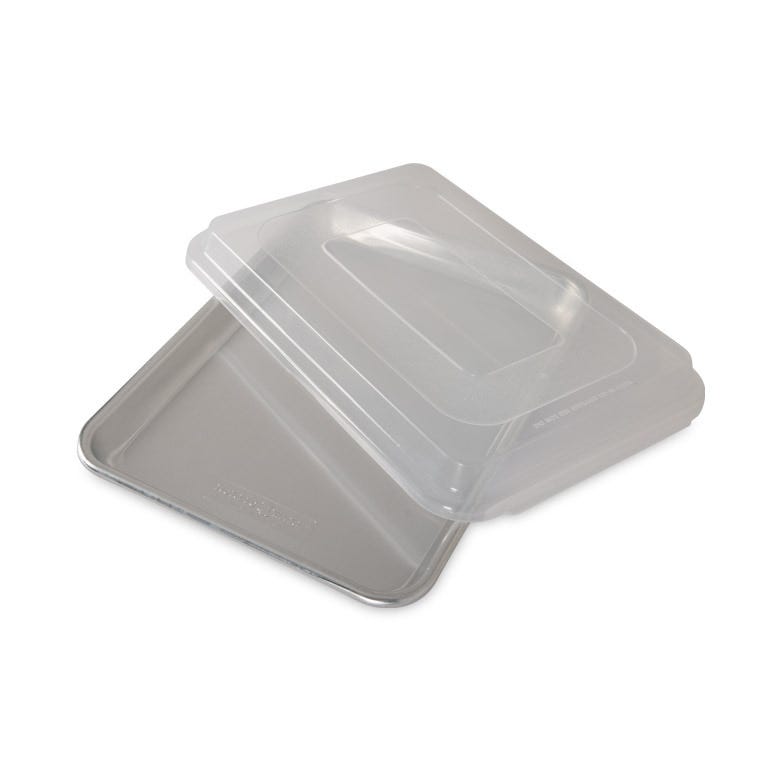
Lidded quarter and half sheet pans from Nordic Ware, which are useful both as baking sheets and as containers to easily store dough balls for things like pita and pizza. The pans are very solid on their own, and the lids make them doubly useful. The quarter sheet ones fit easily in most fridges and hold 4 to 6 dough balls depending upon the size. This 9x13 cake pan also takes the same lid as the quarter sheet, making it similarly useful (it’s a good one to cold-proof dough for baguettes or sheet pan pizzas). You can buy the lids and the pans separately or in kits.
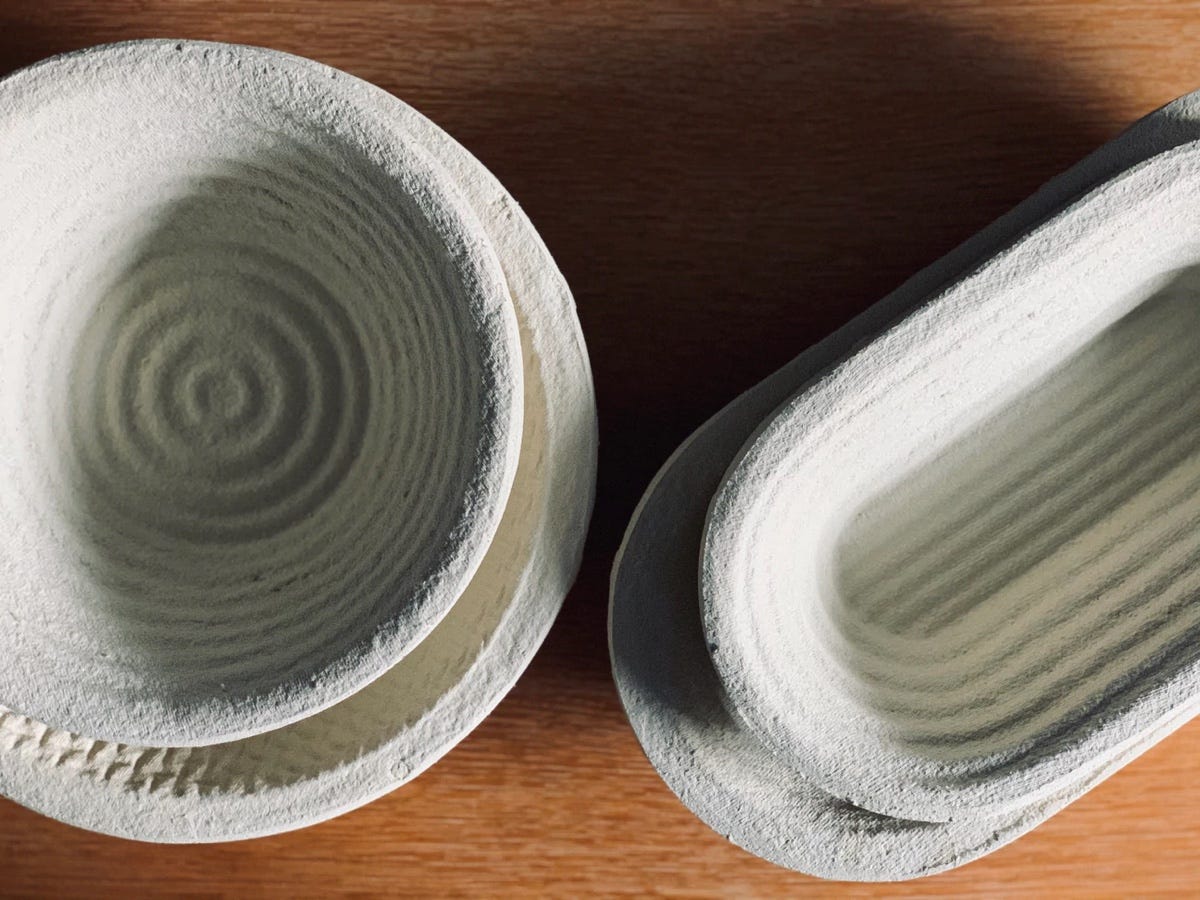
Bannetons (aka brotform), round or oval ones, sized to fit at least 1.5lb of dough. (Larger is generally better here, because large ones can accommodate doughs of various sizes, while smaller ones cannot.) I love these wood pulp ones from Flourside, which not even the wettest of doughs will stick to, but they are often sold out, including now. Get your name on their mailing list to find out when more become available. (Etsy and eBay are two other places to find them, though shipping can be steep. The good news is that most wood pulp bannetons seem to be made in the same factory somewhere in Eastern Europe, so they are all more or less identical.)
And recently I discovered that these identical ones from Bulka are available from the evil store, which you are forgiven for patronizing since these are otherwise so hard to come by.
Challenger‡ is now selling some nice rattan/bamboo bannetons with removable liners, in boule (round), batard, and baguette versions. (There IS a round one, but I can’t find the link right now, you’ll need to ask them for it.)
Other rattan bannetons are available from Breadtopia.com and elsewhere. A cheap alternative to bannetons are the 8-inch-wide plastic, fine-mesh colanders you can find at Asian supermarkets or dollar stores (these will require lining with flour sack towels).
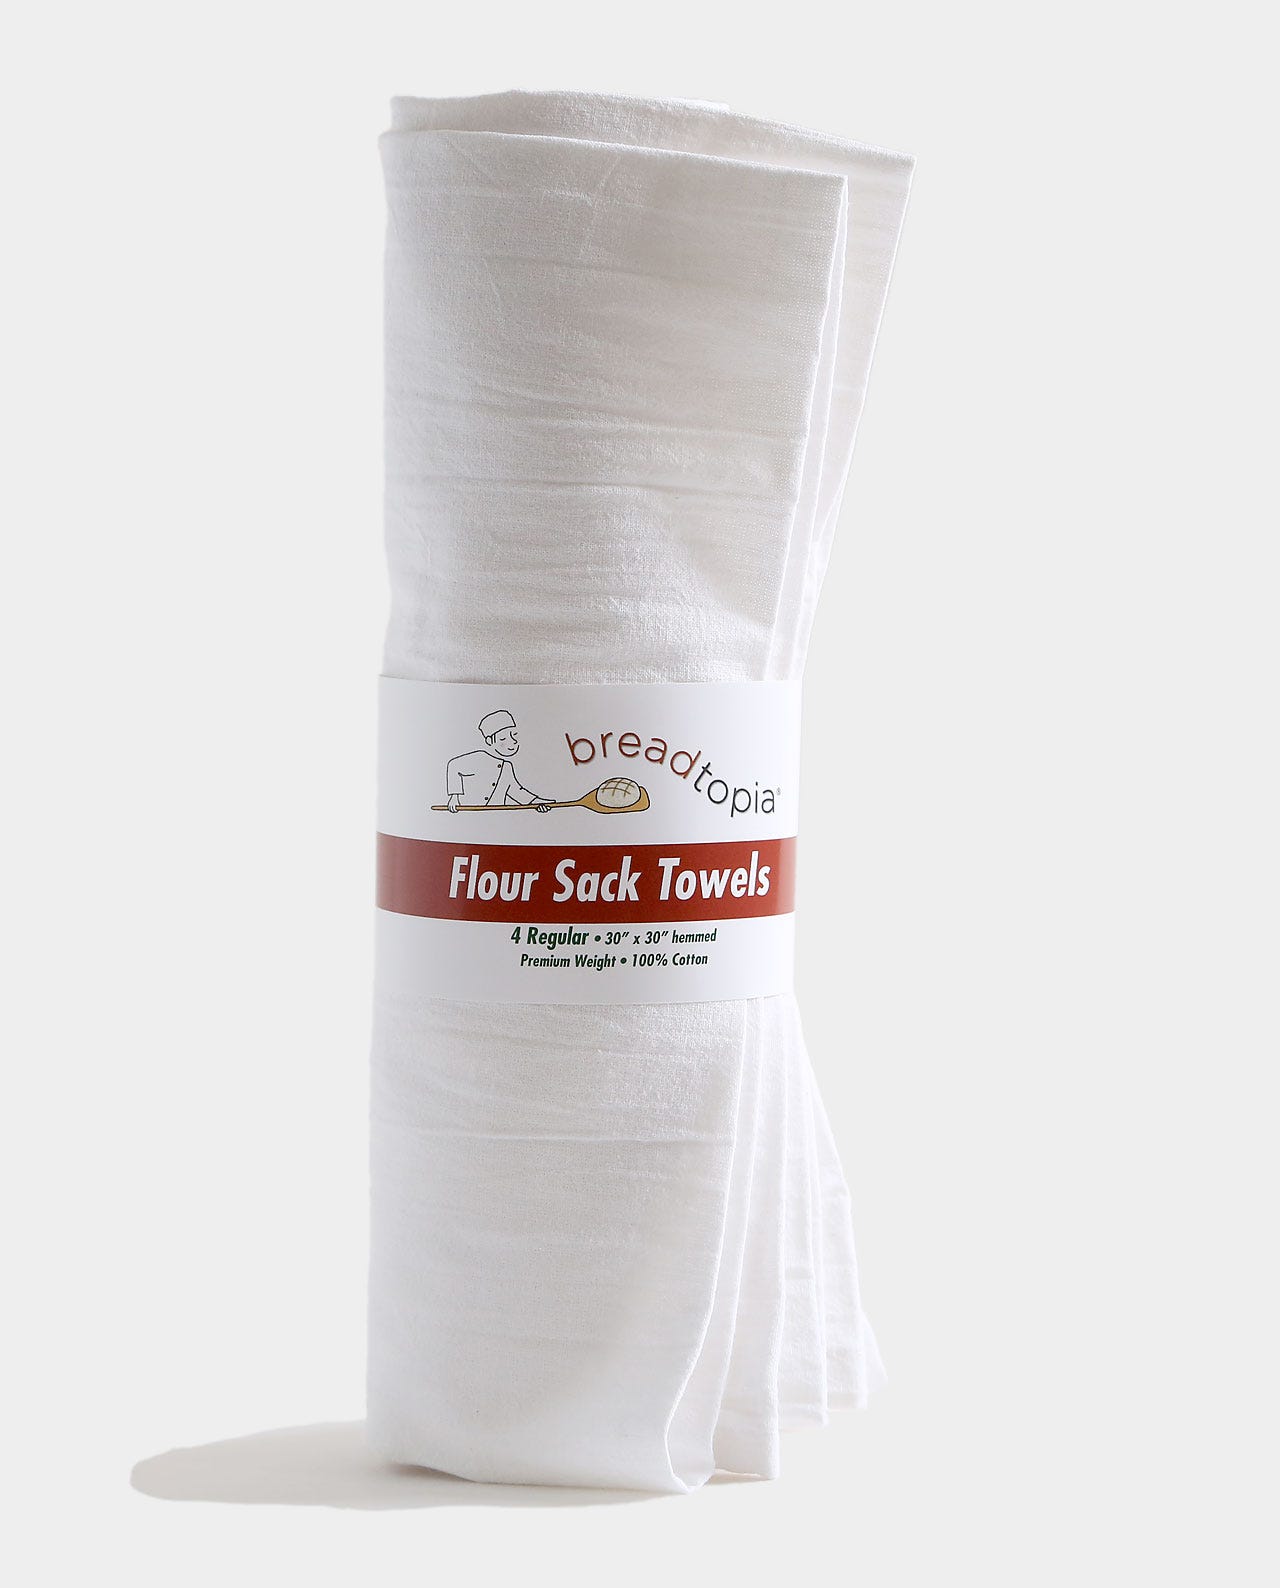
100% cotton flour sack towels like these (with a label designed by my pal Johanna Kindvall). Not essential unless you are proofing in plastic baskets, but they can be helpful when working with wet doughs and/or starting out. (You can always line a traditional banneton with a towel if you don't want it to leave a pattern behind on the loaf.)
For baguettes and free-form loaves: One or more canvas or flax linen couches, preferably 18" wide by at least 36” long, like this one from SFBI. Wider ones—like these from Breadtopia and King Arthur—will work, but they overhang half-sheet pans, which I find super annoying.
My fave apron maker White Bark Workwear makes very nice hemp baker’s couches too. Be sure to get the 18x36 one if you are making home-oven sized demi baguettes.
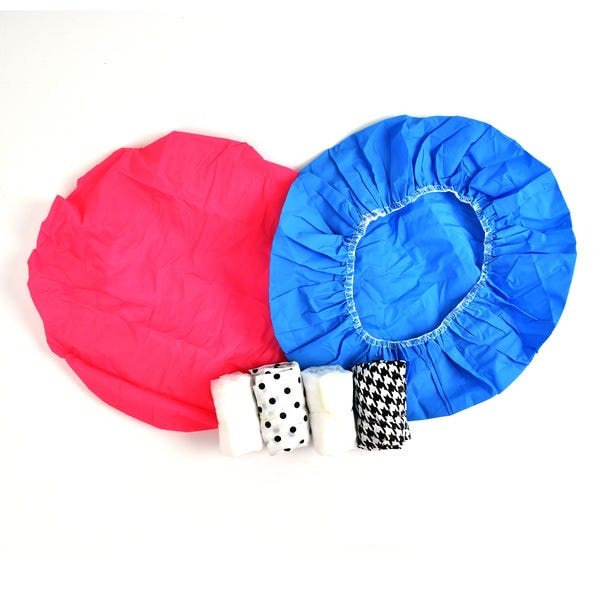
Bowl/banneton covers. Challenger sells biodegradable ones that are excellent for covering bannetons, but they aren’t stretchy enough to fit over larger bowls. Recently, I've started using reusable thicker plastic shower caps, which can be rinsed, dried, and reused many times over. You can find the Conair-brand ones I use at most major pharmacy chain stores in multi-packs. The standard-sized shower caps are fine for most uses; if you find “XL”-sized ones (usually sold individually), those are good for covering larger pans and bowls, though you might need to snip out the frilly lining on some of them.
For baguettes and rolls: “Super jumbo” sized plastic disposable shower caps, for covering proofing baguettes or other tray-based breads (rolls, buns, etc.). You should be able to find them at most pharmacies, and they can be used many times over. Large plastic garbage bags will work as well.
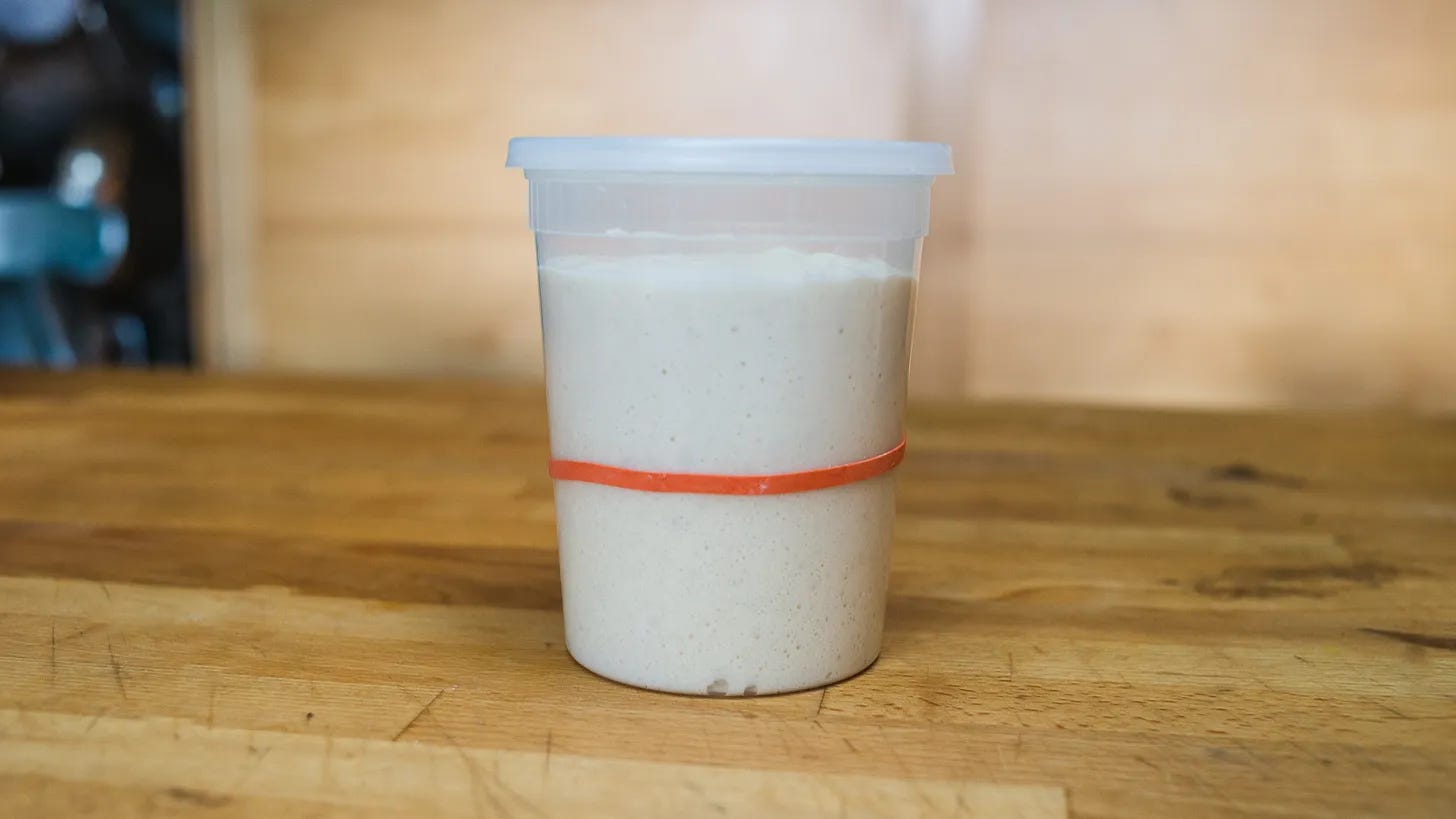
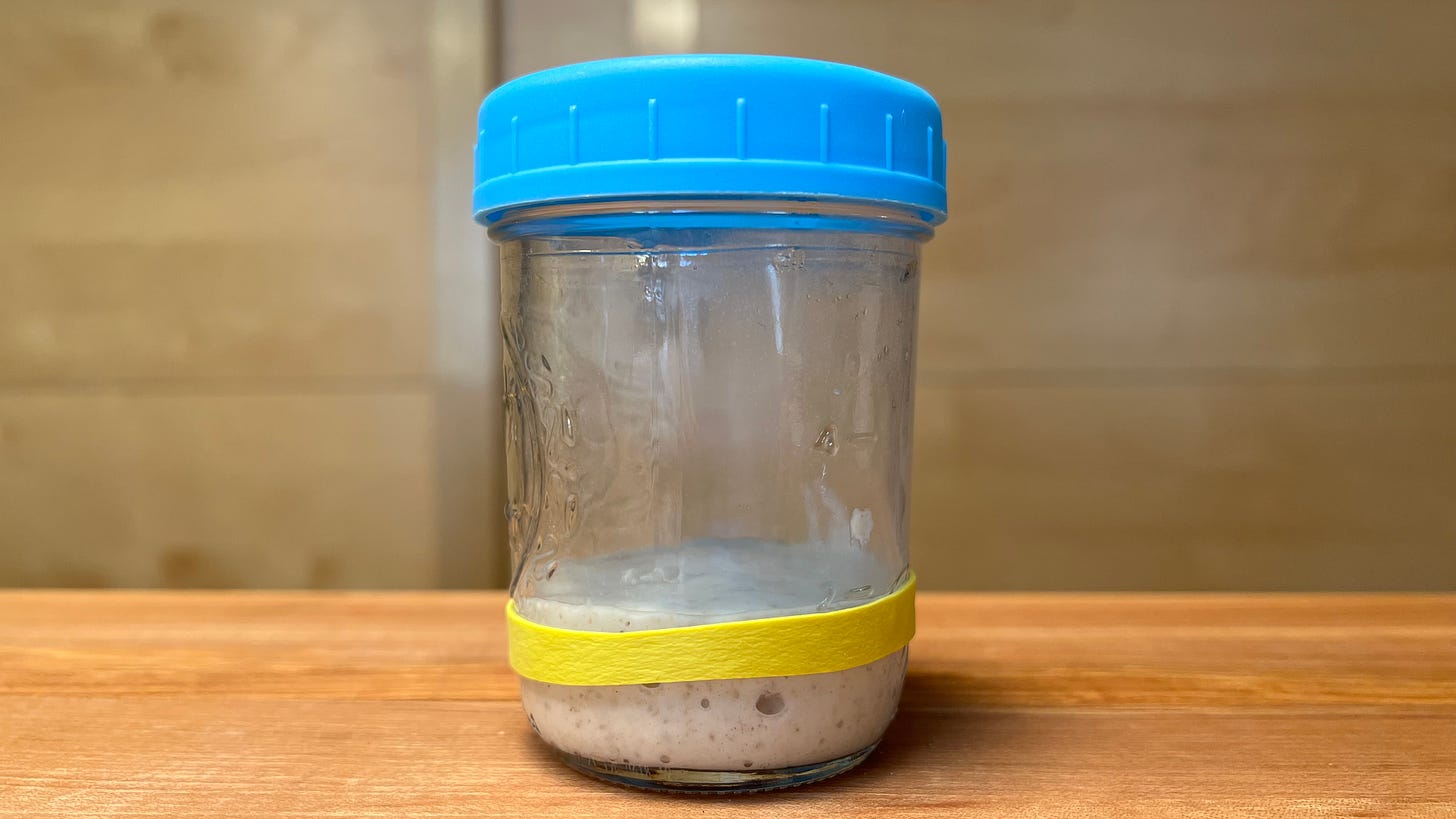
For proofing my levain, I generally use 1-quart deli containers with a rubber band around the sides as a marker for the starting line and a hole poked in the lid with a thumbtack to let the container breathe.
For smaller quantities (like when I am doing small-scale batches to “exercise” my starter), I use half-pint jars with plastic lids (or an inverted metal lid).
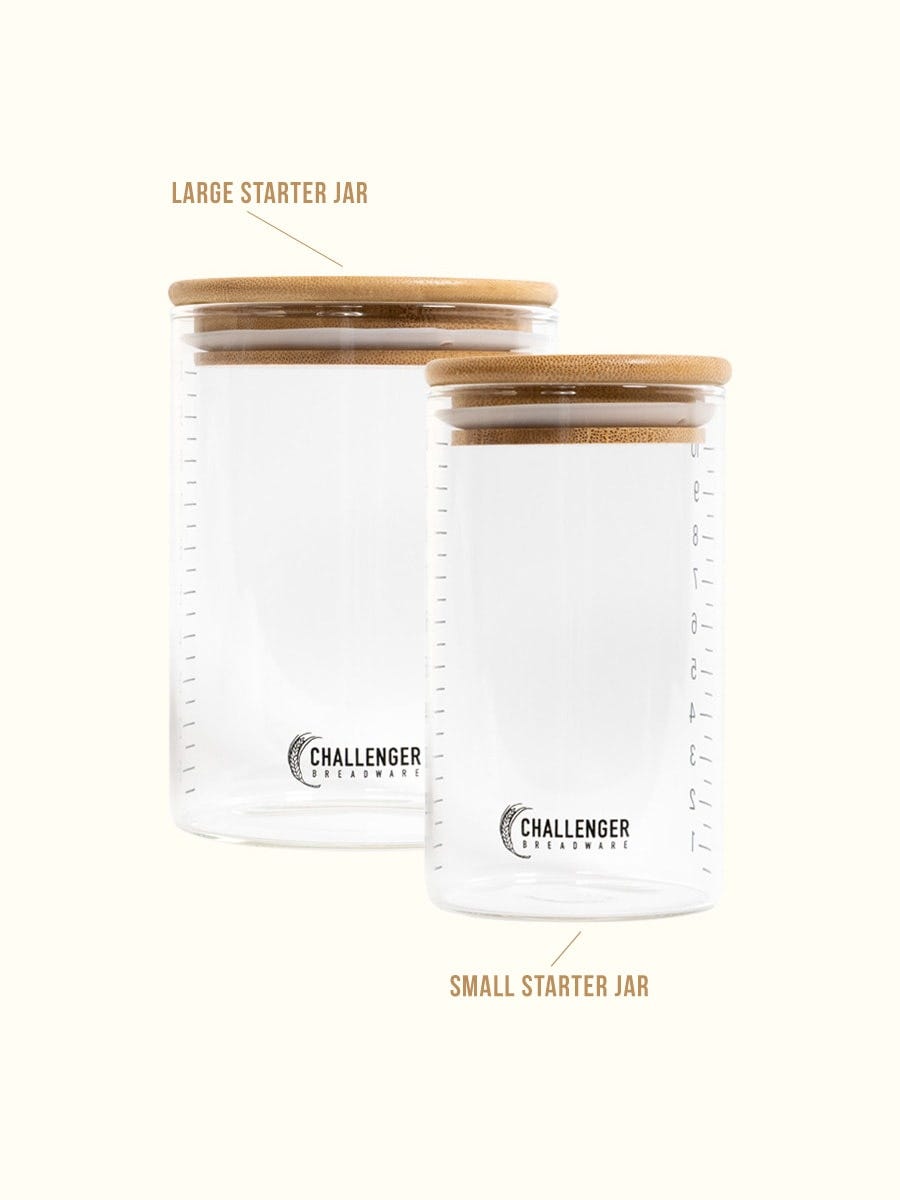
If you are looking for a container specifically designed for starter proofing, Challenger‡ sells fancy ones.
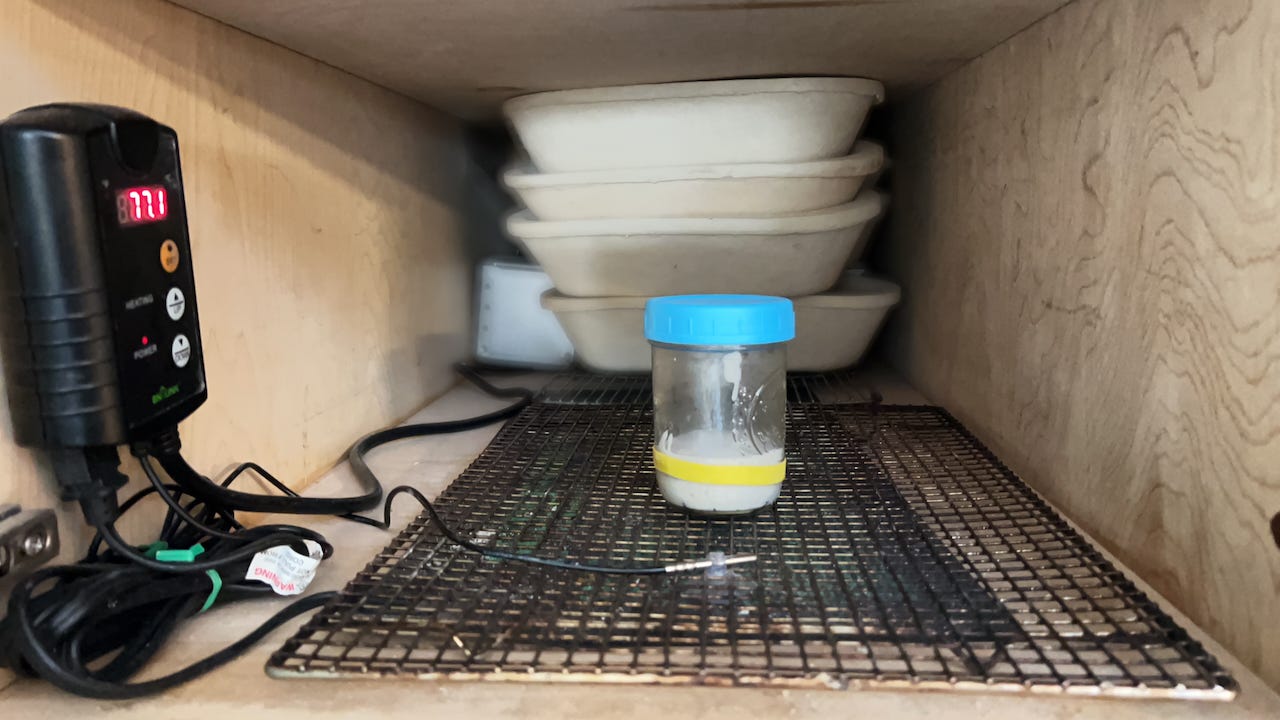
My proofing cabinet is made up of three components (other than the cabinet, that is):
A seedling heating mat, like this one.
A heat mat thermostat controller, like this one from BN-LINK Digital.
A cooling rack to place over the mat, to separate the bowls or breads from the heat source.
If you don’t have a similar cabinet space you can use as a proofing chamber, you could place all of these things in a large cooler instead.
Baking
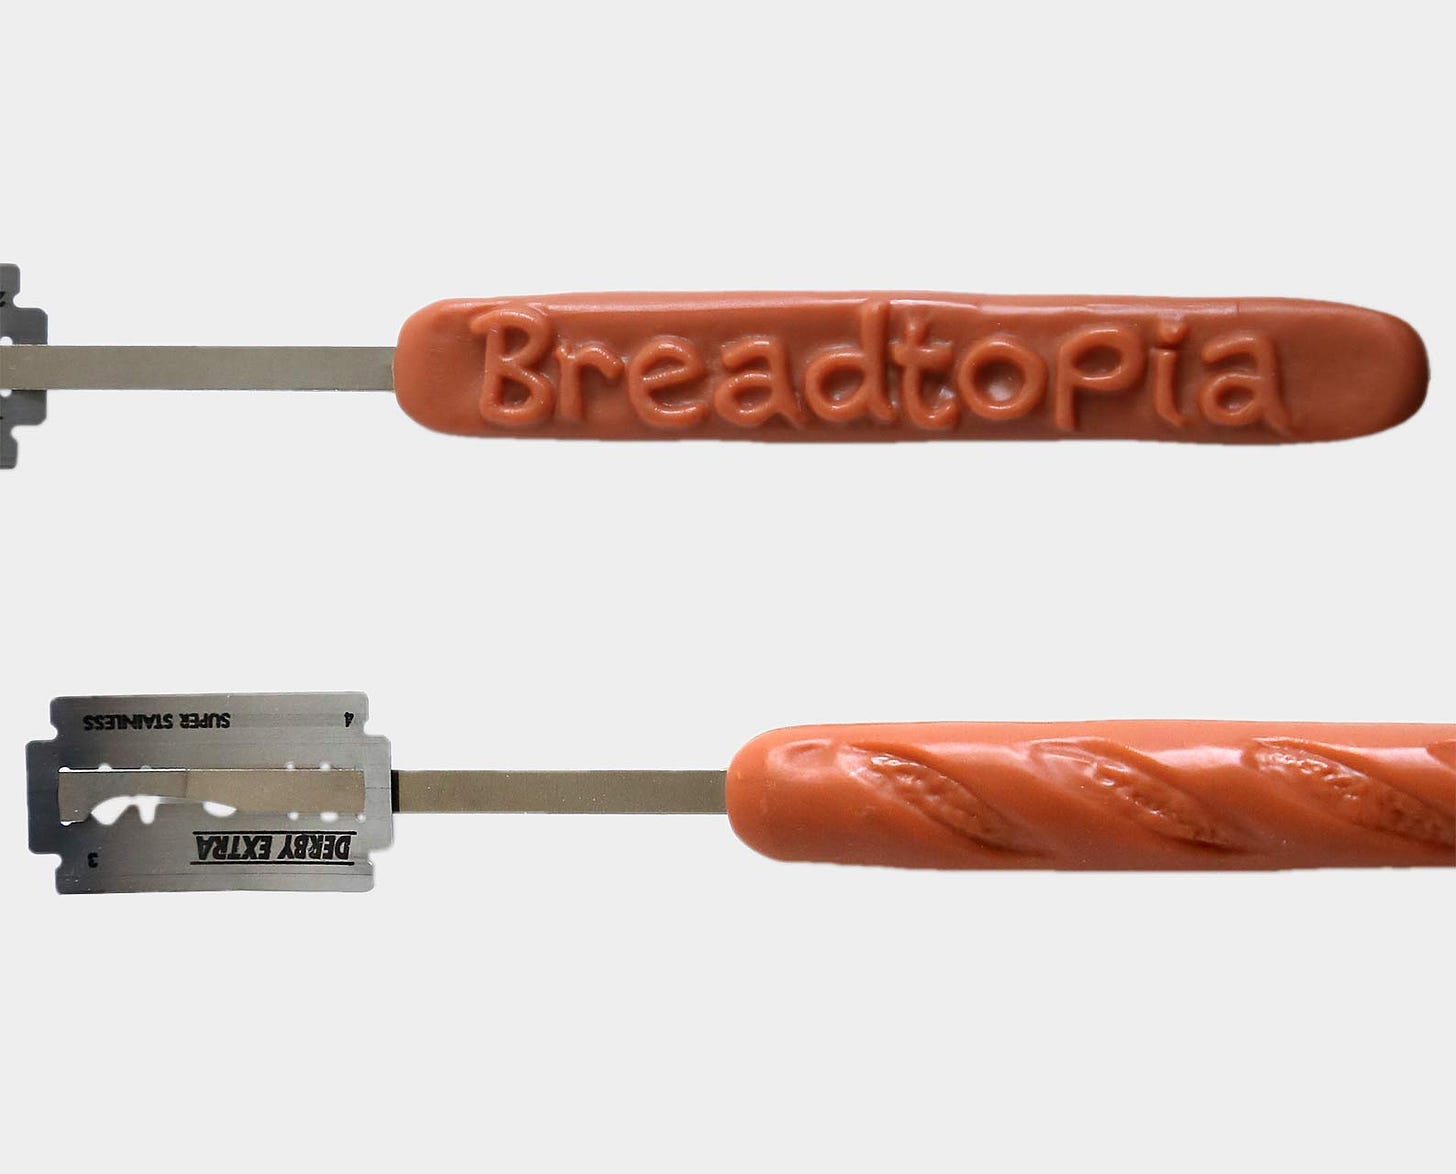
A lame for scoring loaves. I prefer ones with a) replaceable blades and b) the ability to adjust the curve of the blade by bending the holder. (Check out Jesse Raub’s recent Serious Eats review of bread lames, with quotes from yours truly.) These are both nice: Breadtopia lame; Baker of Saville stainless adjustable angle lame.
Wiremonkey UFO Lames‡ are nice too, though I tend to use a curved-blade lame—which they do make—more often than a straight one, and I tend to prefer a long-handled lame. I do love my UFO lame for travel baking.
Heatproof gloves. I am a big fan of these ones from Challenger‡, they really do work (though be careful not to touch the outside of them after taking them off, they get very hot!) Don’t use “potholders”, they don’t give sufficient protection. If I'm not using gloves in my kitchen, I use these large side towels.
I also use these checked side towels from JB Prince to move hot things around. They are long and wide, so they can be folded in half and still used to grab both handles of a big pot. They are best used as shields for your hands and not towel towels, since if they get wet they lose their heatproof capability. (I use these far more often than my oven gloves.)
A cast-iron Dutch oven, preferably 7 quarts or larger (make sure it has a heatproof lid handle—you can buy replacement handles if yours is plastic). While you can bake round loaves in smaller ones, you won't be able to put a loaf pan inside of them, something I recommend all the time to "steam" pan breads.
Or, better yet, a Challenger Bread Pan‡, which I covered above.
The Pit Boss 6-Qt Cast Iron Roaster, which I have talked about previously, is a ~$70 alternative to the Challenger that is worth a look if you want to bake long loaves and don’t want to spend the extra money. It’s narrower than the Challenger (or a round Dutch Oven for that matter), but is plenty long and you can bake on the lid just as you do with a Challenger.
A small round or square corderite baking stone (7 to 10 inches in diameter) is useful as a place to put the half-baked loaves on in the oven rather than setting them on the bare oven rack, where they can sometimes be prone to burning. This is especially useful when you are doing staggered baking (ie, removing the first loaf from the Dutch oven and starting another one while the first one browns), as I commonly do. They can be hard to find, but you can find packs of 4 at Home Depot or the evil website. You can also use a quarter sheet pan (or two, stacked together) as a shield for loaves.
Half sheet-sized parchment paper: Breadtopia; King Arthur. Do NOT use rolled parchment, it will drive you mad with curling. You can cut down these sheets into squares or strips to line your Dutch oven loaves.
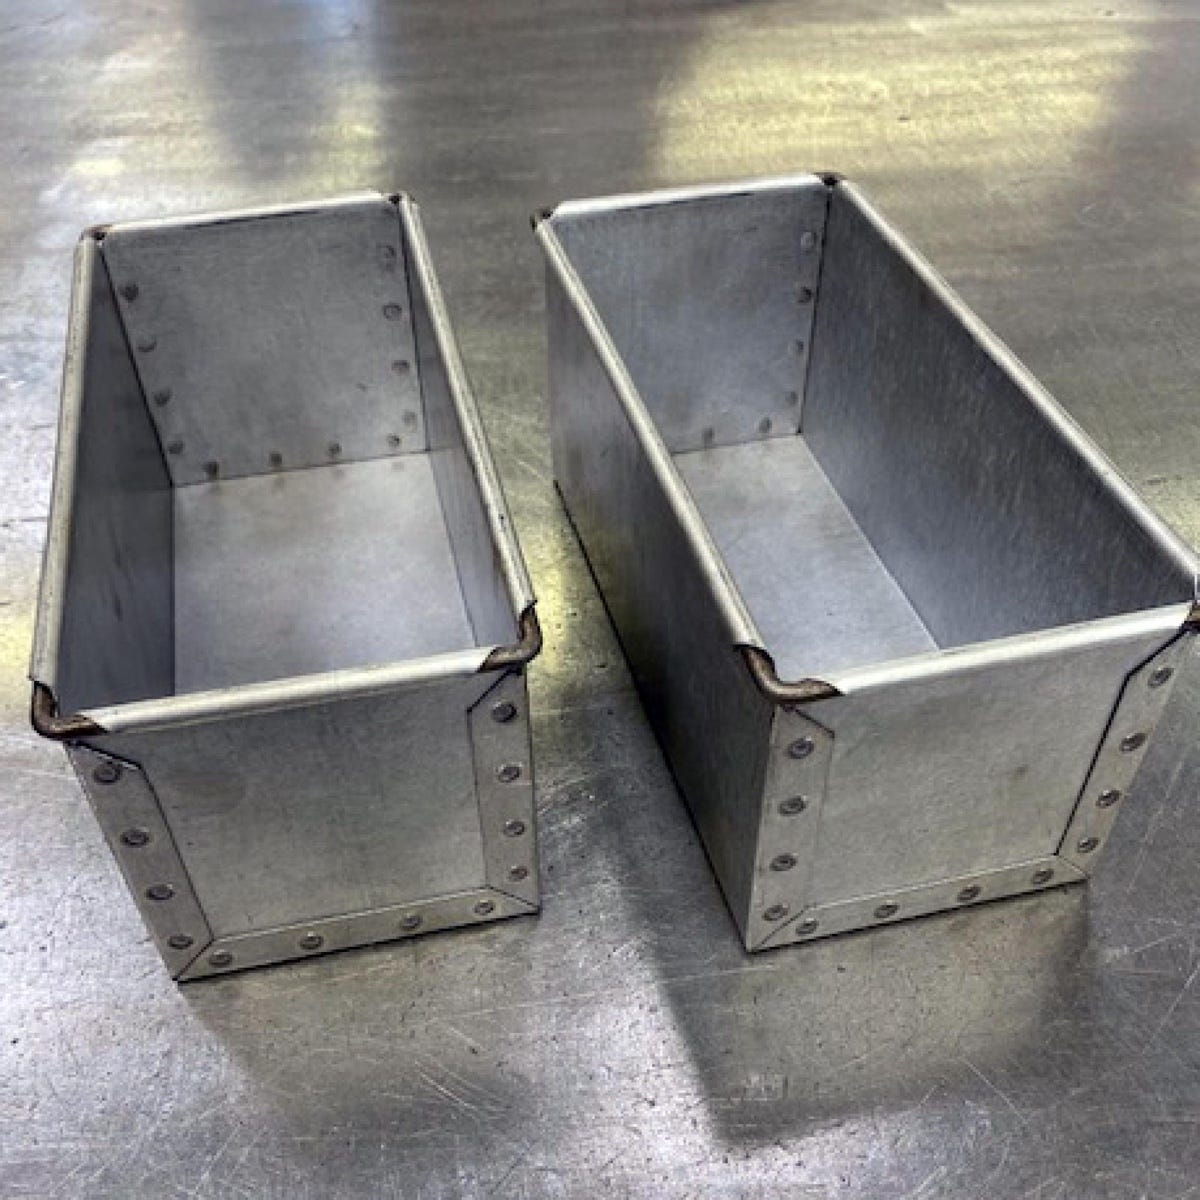
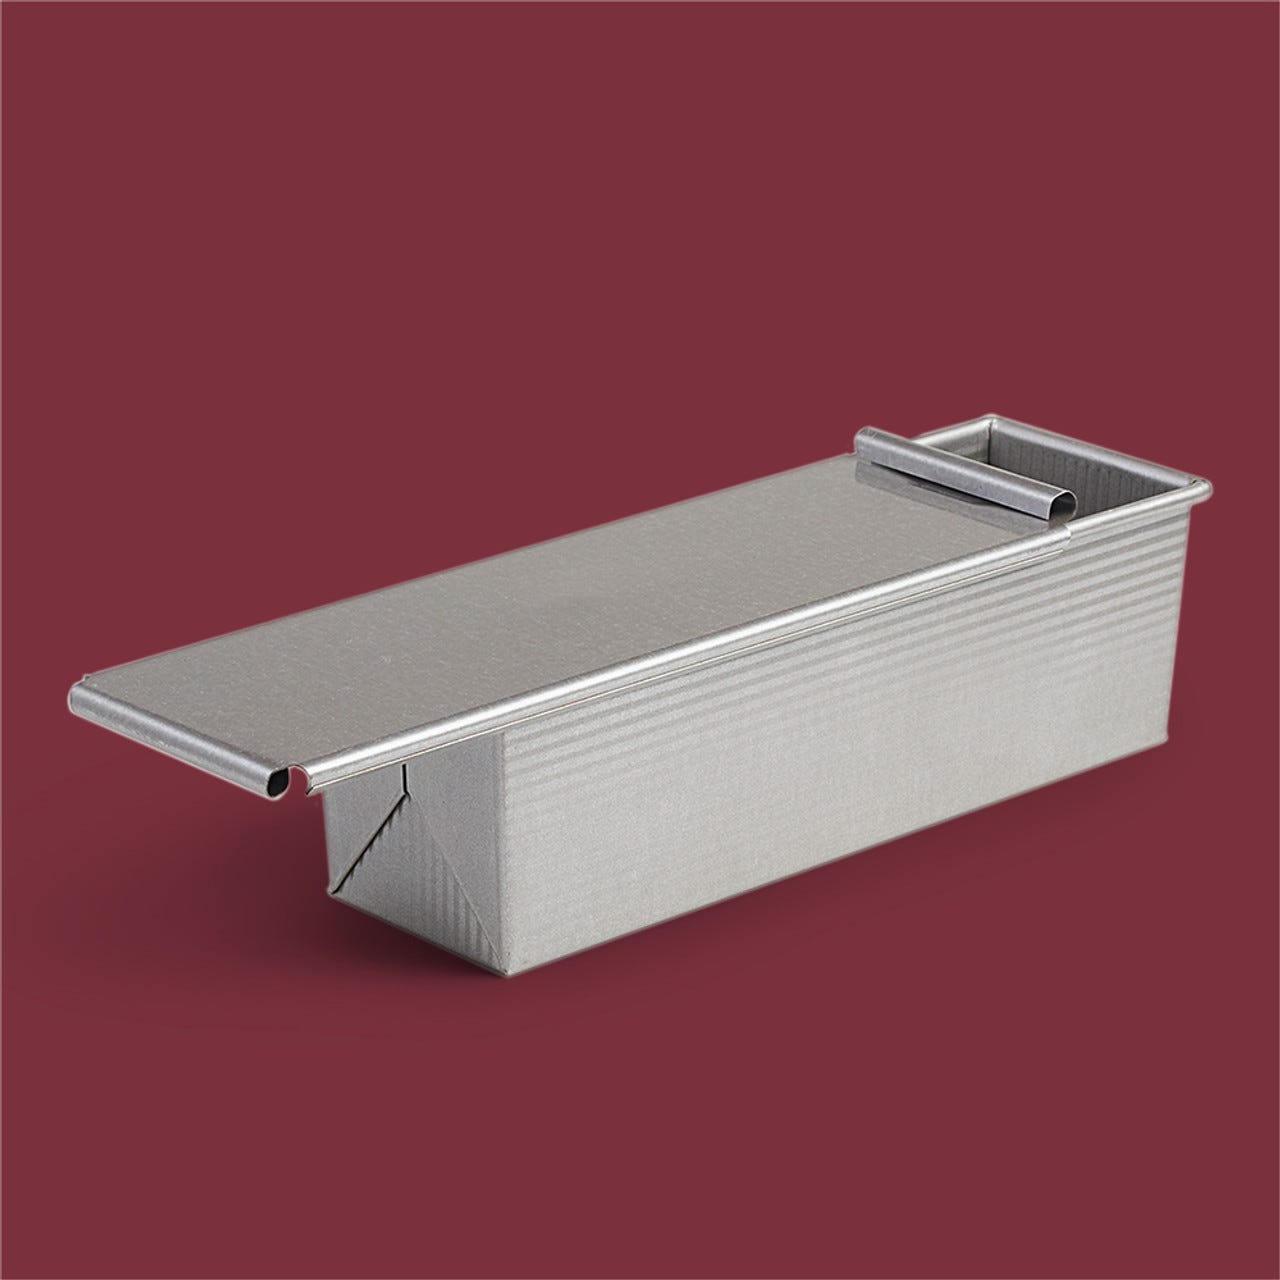
Loaf pans for pan breads. I usually develop my pan loaf recipes for 9x4x4-inch square-sided pullman pans. (If you use angled 8.5x4.5-inch loaf pans, you’ll probably need to scale down the dough as described in this post.) I am a huge fan of these steel pans from Rackmaster in the UK, both because I prefer the look of a square pan bread, but also because these pans have matching lids, which let you bake mini Pullman loaves in them too. (The lids also serve to keep the loaf protected during proofing.) Shipping used to be surprisingly inexpensive to the US, especially if you bought a bunch of items at once, but prices appear to have gone up significantly in the last year or so. But you can now get many of Rackmaster’s items here in the the US from Pleasant Hill Grain, who are the US reseller for their Rofco-style ovens.
King Arthur sells a nice pullman pan as an alternative to the Rackmaster (be sure to get the 9-inch one if you are making my pan loaf recipes), though it has ribs, which I don’t love.
For baguettes: A transfer peel, for moving the baguettes from the couche to the parchment paper. King Arthur; Breadtopia; SFBI. In a pinch, you can tape two 16” by 4” pieces of clean cardboard together with packing tape.
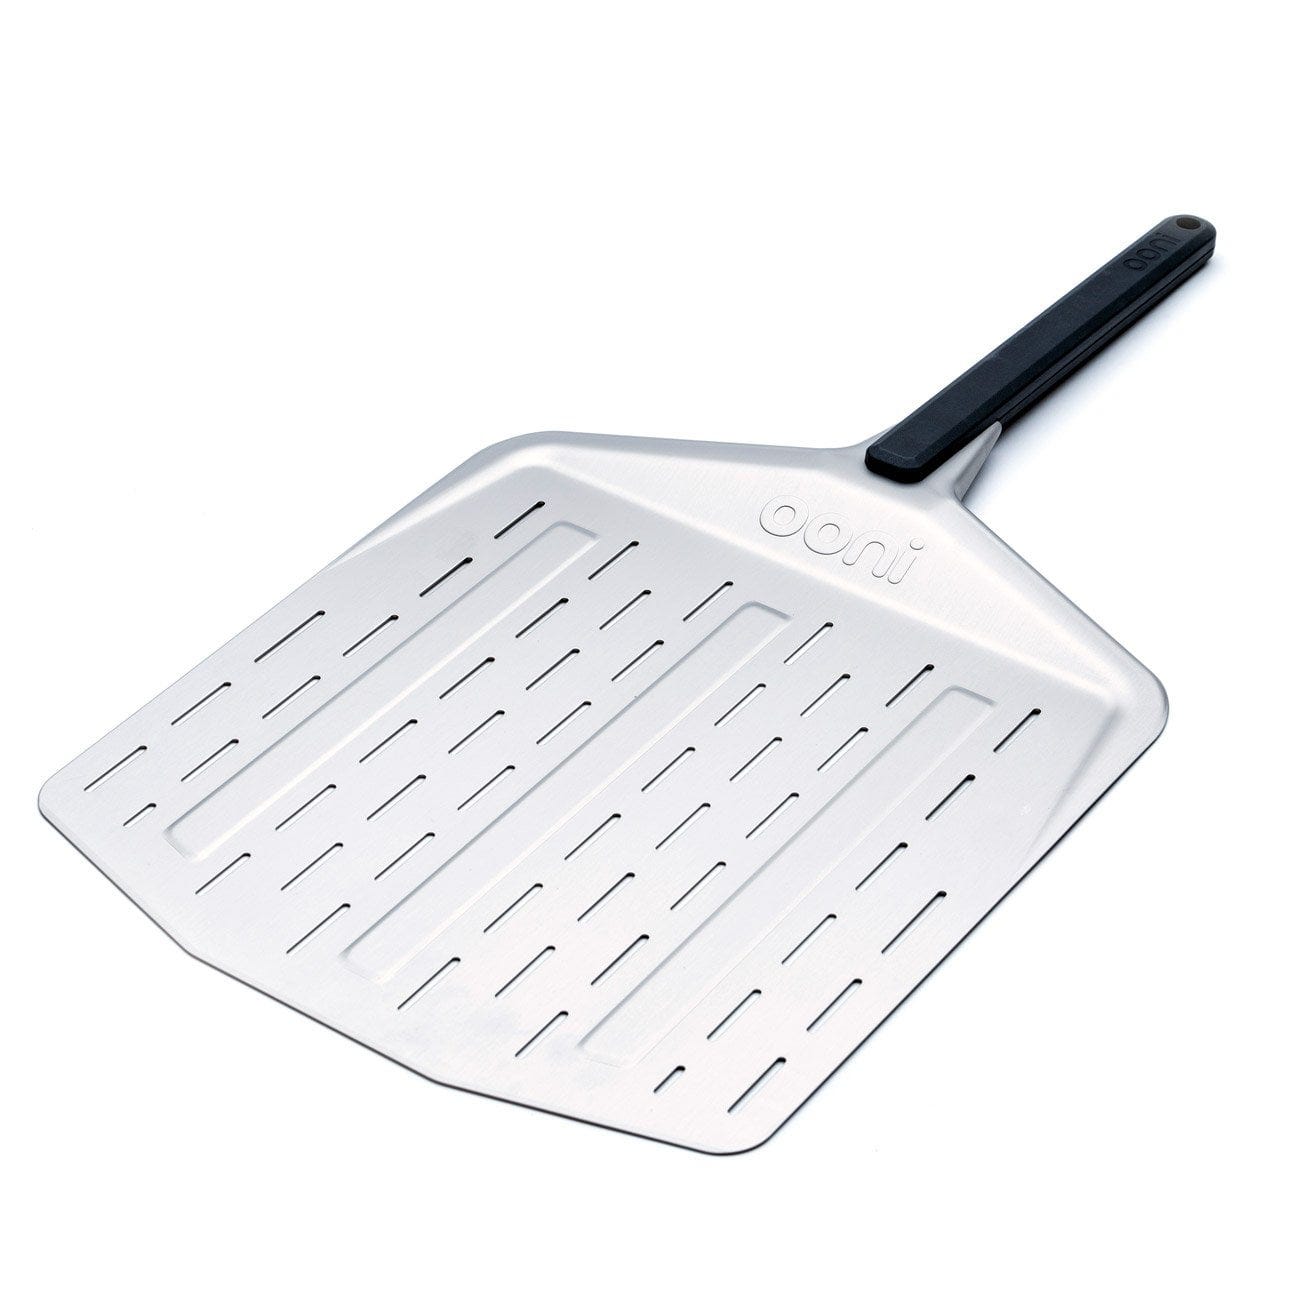
For baguettes: A baking peel or a rimless cookie sheet, for transferring the baguettes to the stone. The minimum width for either should be 14 inches. I use the Ooni one pictured above these days, and love it. Peels: King Arthur; Breadtopia; Ooni. Cookie sheet: King Arthur. (Rimless cookie sheets are useful as well as platforms for proofing the baguettes, so it's nice to have more than one.)
For baguettes, extra-large loaves, & flatbreads: A rectangular baking stone, one that is at least 16" x 14”. Breadtopia; King Arthur.
For flatbreads: A baking steel will work, though it can run a little hot for baguettes (and bread in general), especially if—like mine—your lower oven element is exposed, so it is not my preference. One way around this is to bake the baguettes on a rimless cookie sheet like the larger one here from King Arthur. Even so they may get too dark on the underside. (I love my baking steel, but really only for flatbreads.)
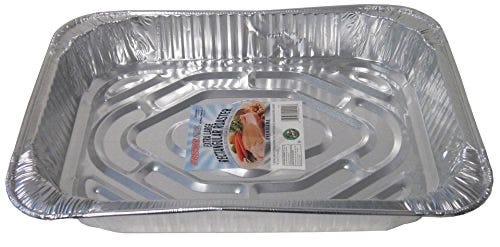
For baguettes: A disposable aluminum turkey roasting pan (17.5- by 13- by 3-inches) to cover the baguettes like a cloche during the first half of the bake. You’ll also need a roll of 18-inch wide aluminum foil to seal it closed.
A water mister bottle. For misting the outside of loaves in certain situations or the underside of a roasting pan when baking baguettes. You can find one at any hardware store.
General Equipment/Misc
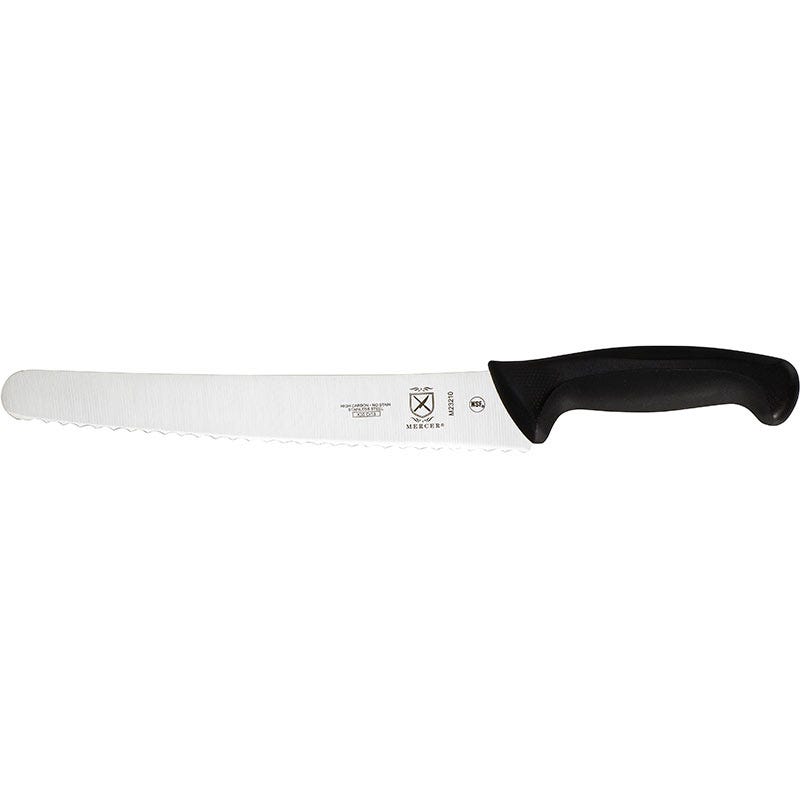
I’ve not tested a ton of bread knives, but I do have one I like, the Millennia
Wavy-Edge Wide Bread Knife, from Mercer. (There is also a curved model, which I had earlier.) It stays sharp a long time; hopefully you have a local sharpener who can restore the blade after it dulls, but if not, it is cheap enough to replace every few years without much pain. (You can find them in lots of places, including the evil place.)
Large bowl(s)
Small prep bowls, for mising ingredients
Heatproof liquid measuring cups
Cooling racks
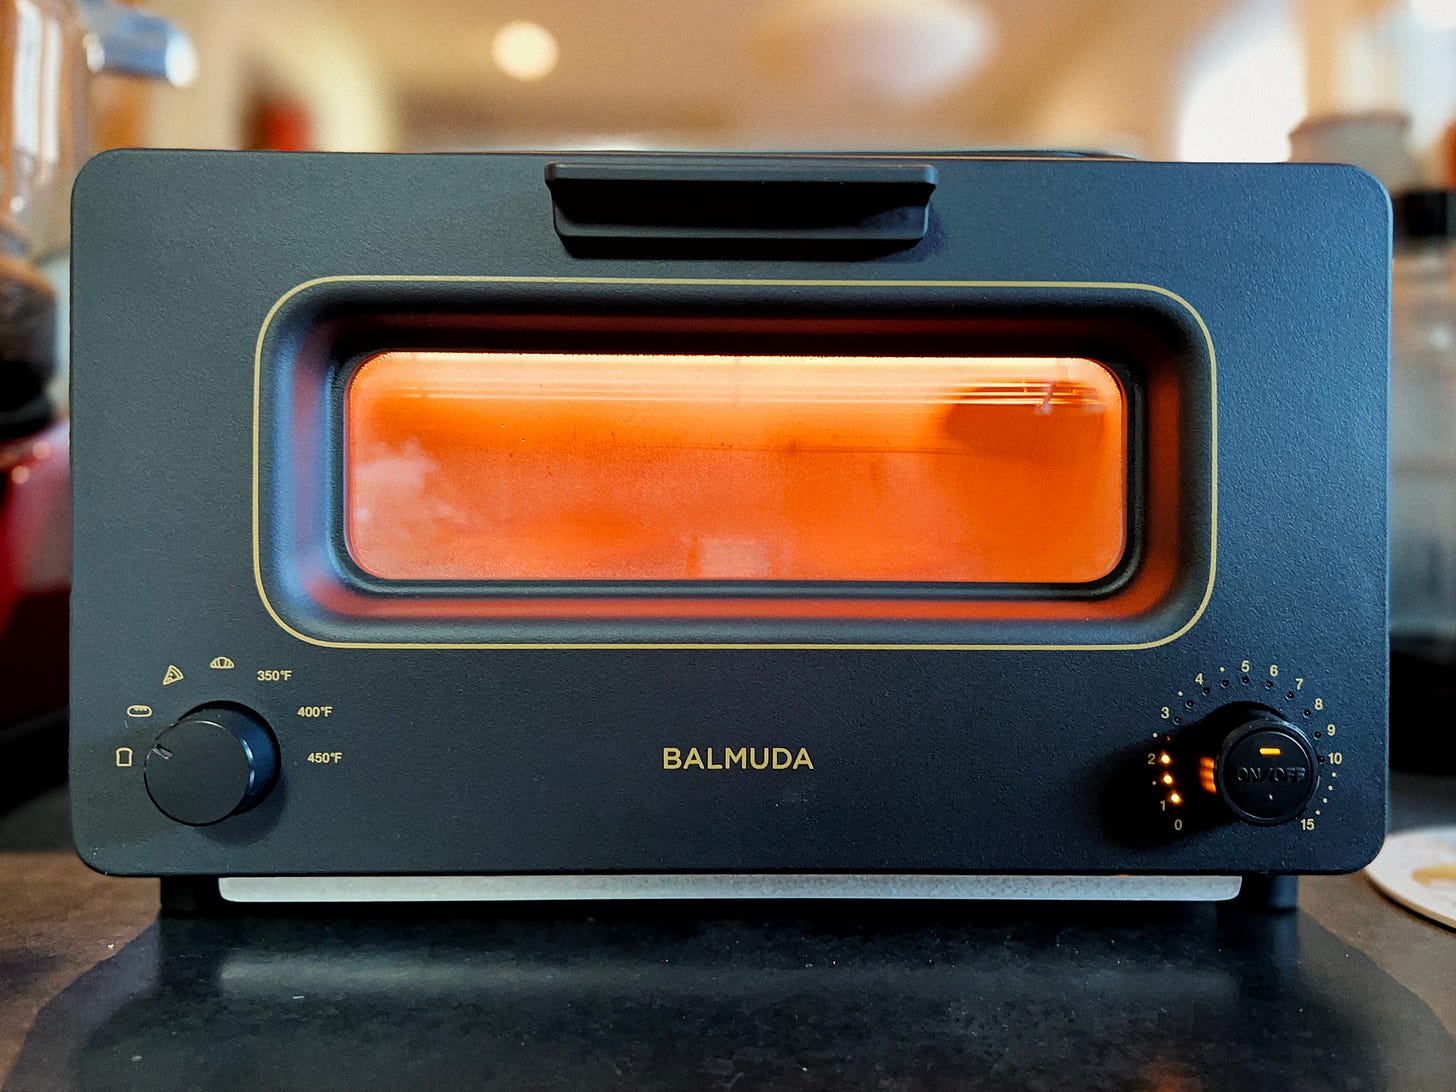
I am sure are plenty of options for good and reasonably-priced toasters or toaster ovens, but man do I love my Balmuda toaster oven. I’m testing and reviewing one for Serious Eats right now (expect a detailed report soon), so I didn’t pay for it, which means I cannot tell you for sure if it is worth its $300 price tag. But what I can say for sure is that it makes amazing toast, even out of bread that is well past the point of no return for other toaster ovens, thanks to the fact that it steams the bread before it starts toasting it. It works perfectly on pastries and pizza too.
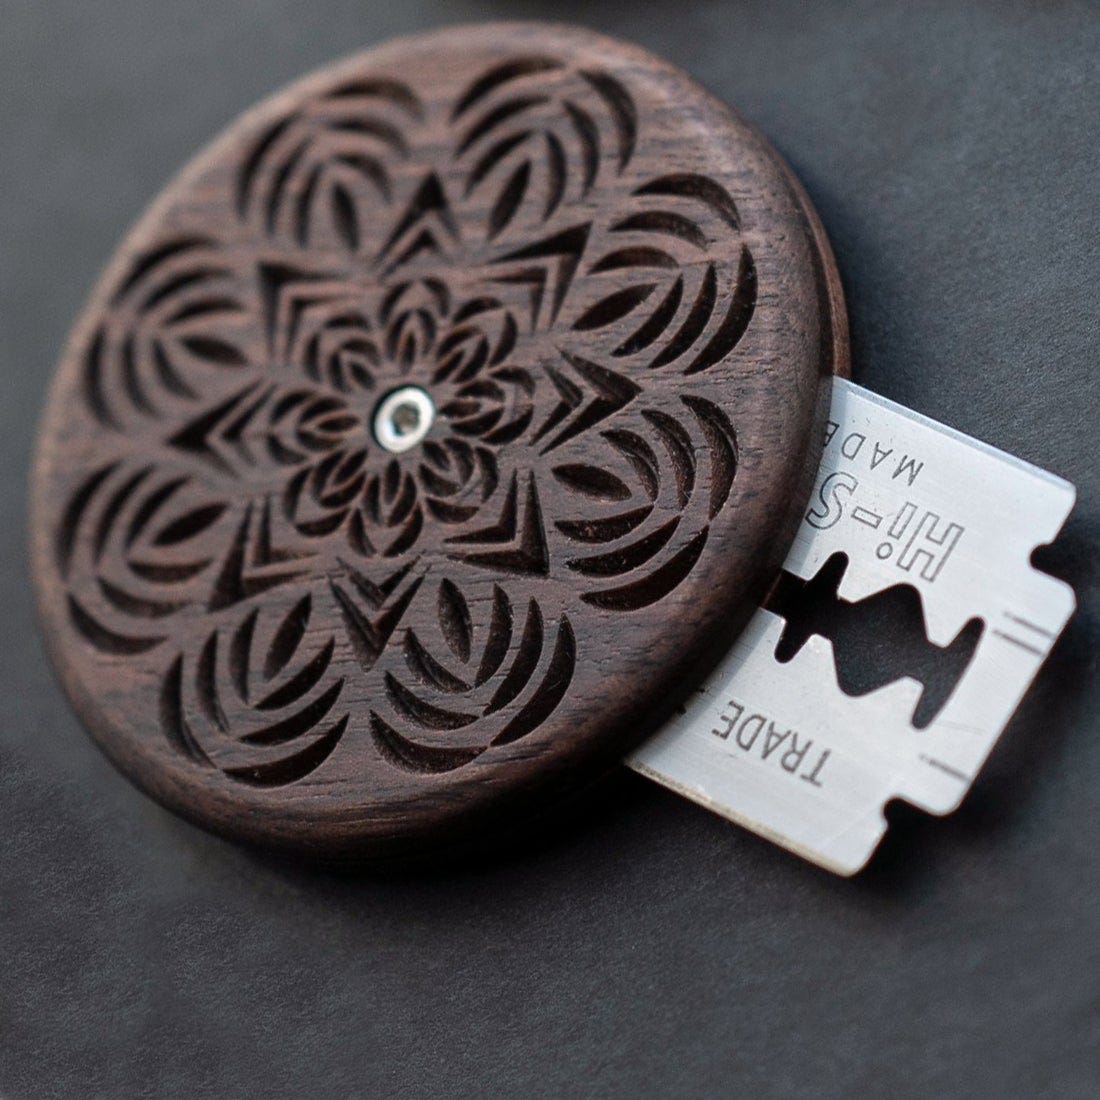
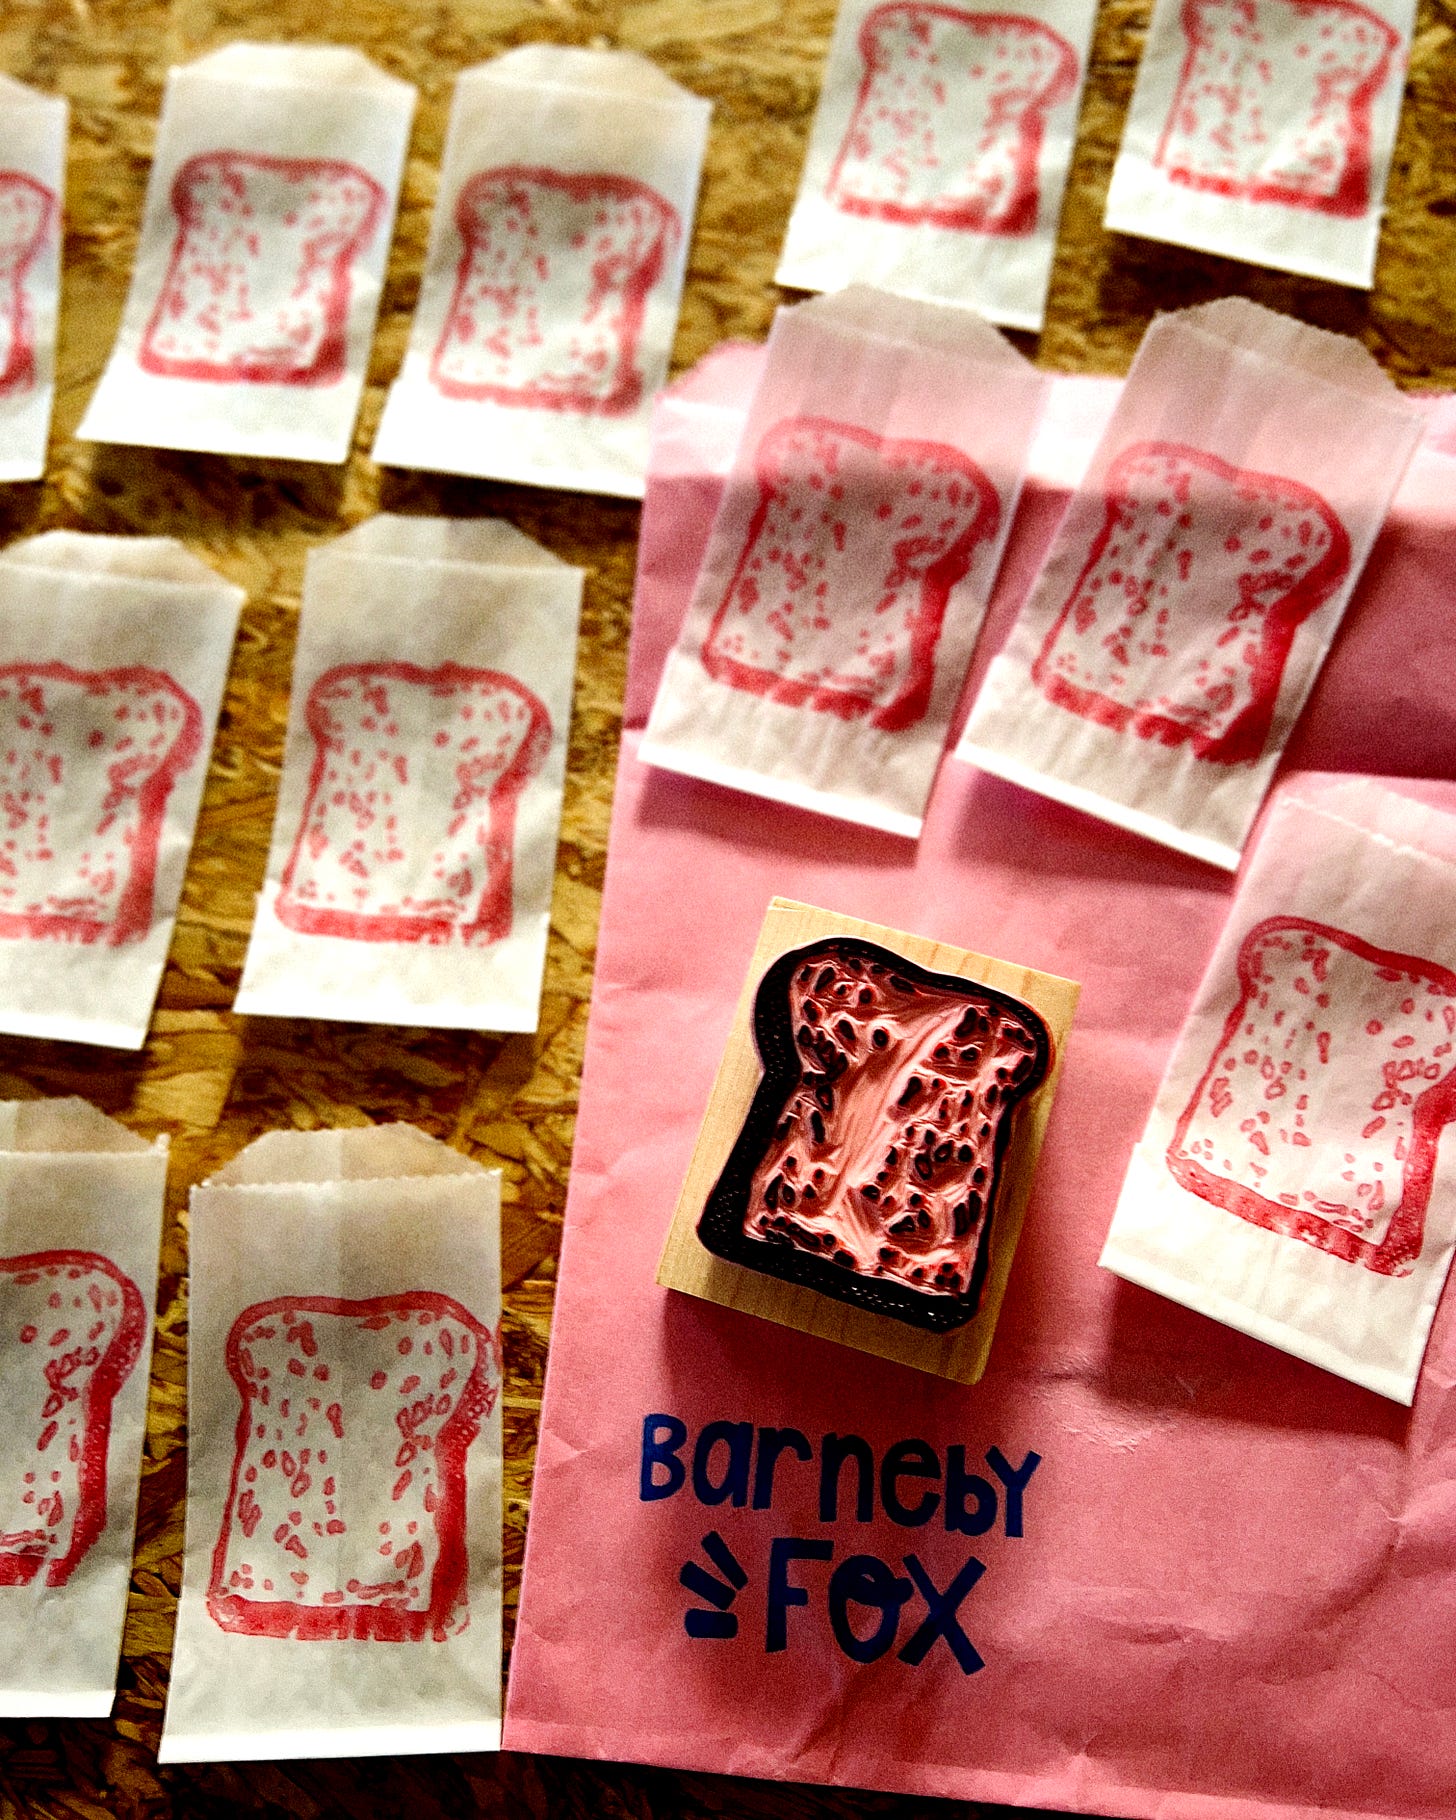
If you got a booklet or dried starter from me, you’ve probably seen my bread stamp. In case you are looking for a similar custom stamp, I can highly recommend those made by Simone Bryant at Barneby Fox.
Flours and Other Ingredients
Flours from Holyoke, MA’s Ground Up Grain, my “local” miller and the source of most of the non-commodity grain and flour that I use. They have a new Wapsie Valley Cornmeal that I can’t wait to try.
Flours from Washington’s Cairnspring Mills‡. I’ve been using Cairnspring’s flours a lot recently, and really love them. If they are local-ish to you, I highly recommend them. (My feeling is that you should patronize the millers closest to you to reduce the carbon footprint of your baking, if possible.) Use the code the code WORDLOAF22 for 20% off your orders.
Ditto for my friend Jen Lapidus’ Carolina Ground flours, especially if you are in the south.
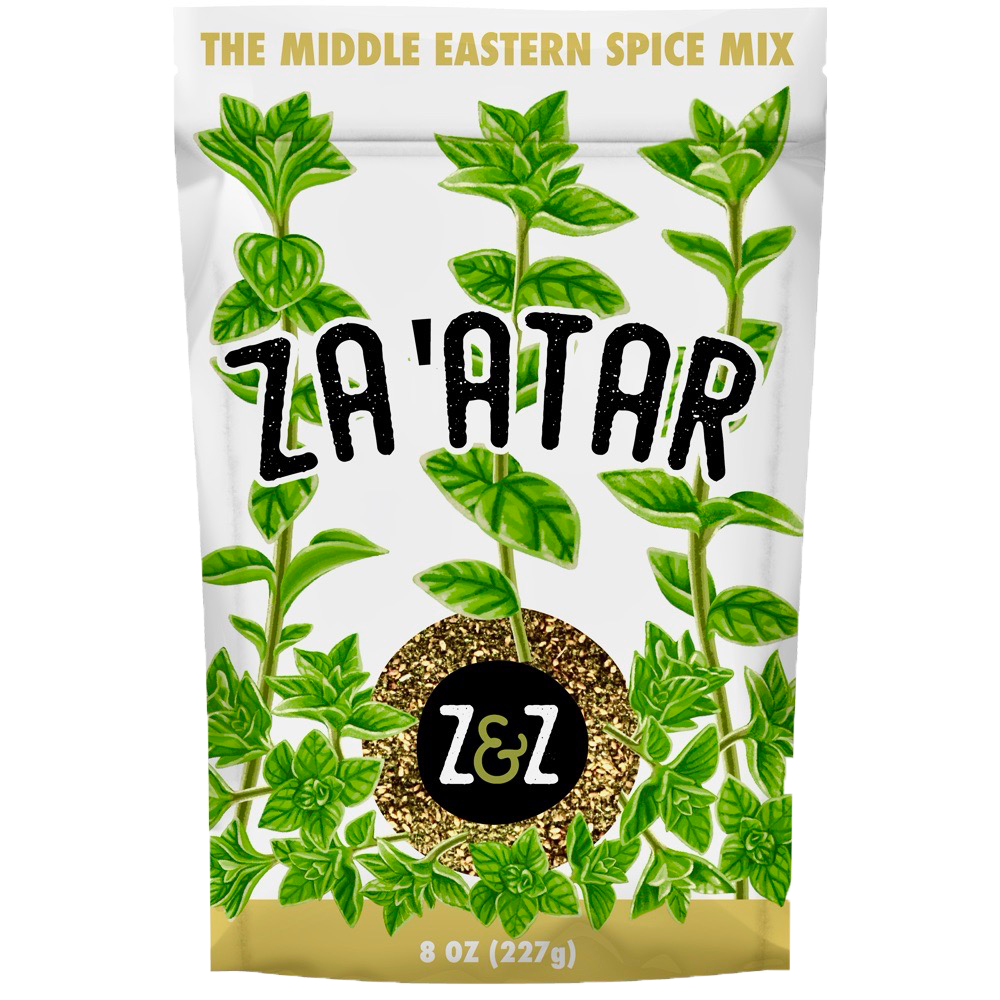
Z&Z’s Palestinian za’atar, Aleppo pepper, salt and more. I love this place, and their za’atar is some of the best I have ever had.
Burlap and Barrel’s spices and spice blends, including this new cardamom extract which I have not yet tried but ordered as soon as I learned about it (will add a full report once I do, but I have no doubt it is amazing). By the by, 2023 is the year in which I finally finish work on my own B&B Armenian spice blend collaboration, something that has been in the works awhile now.
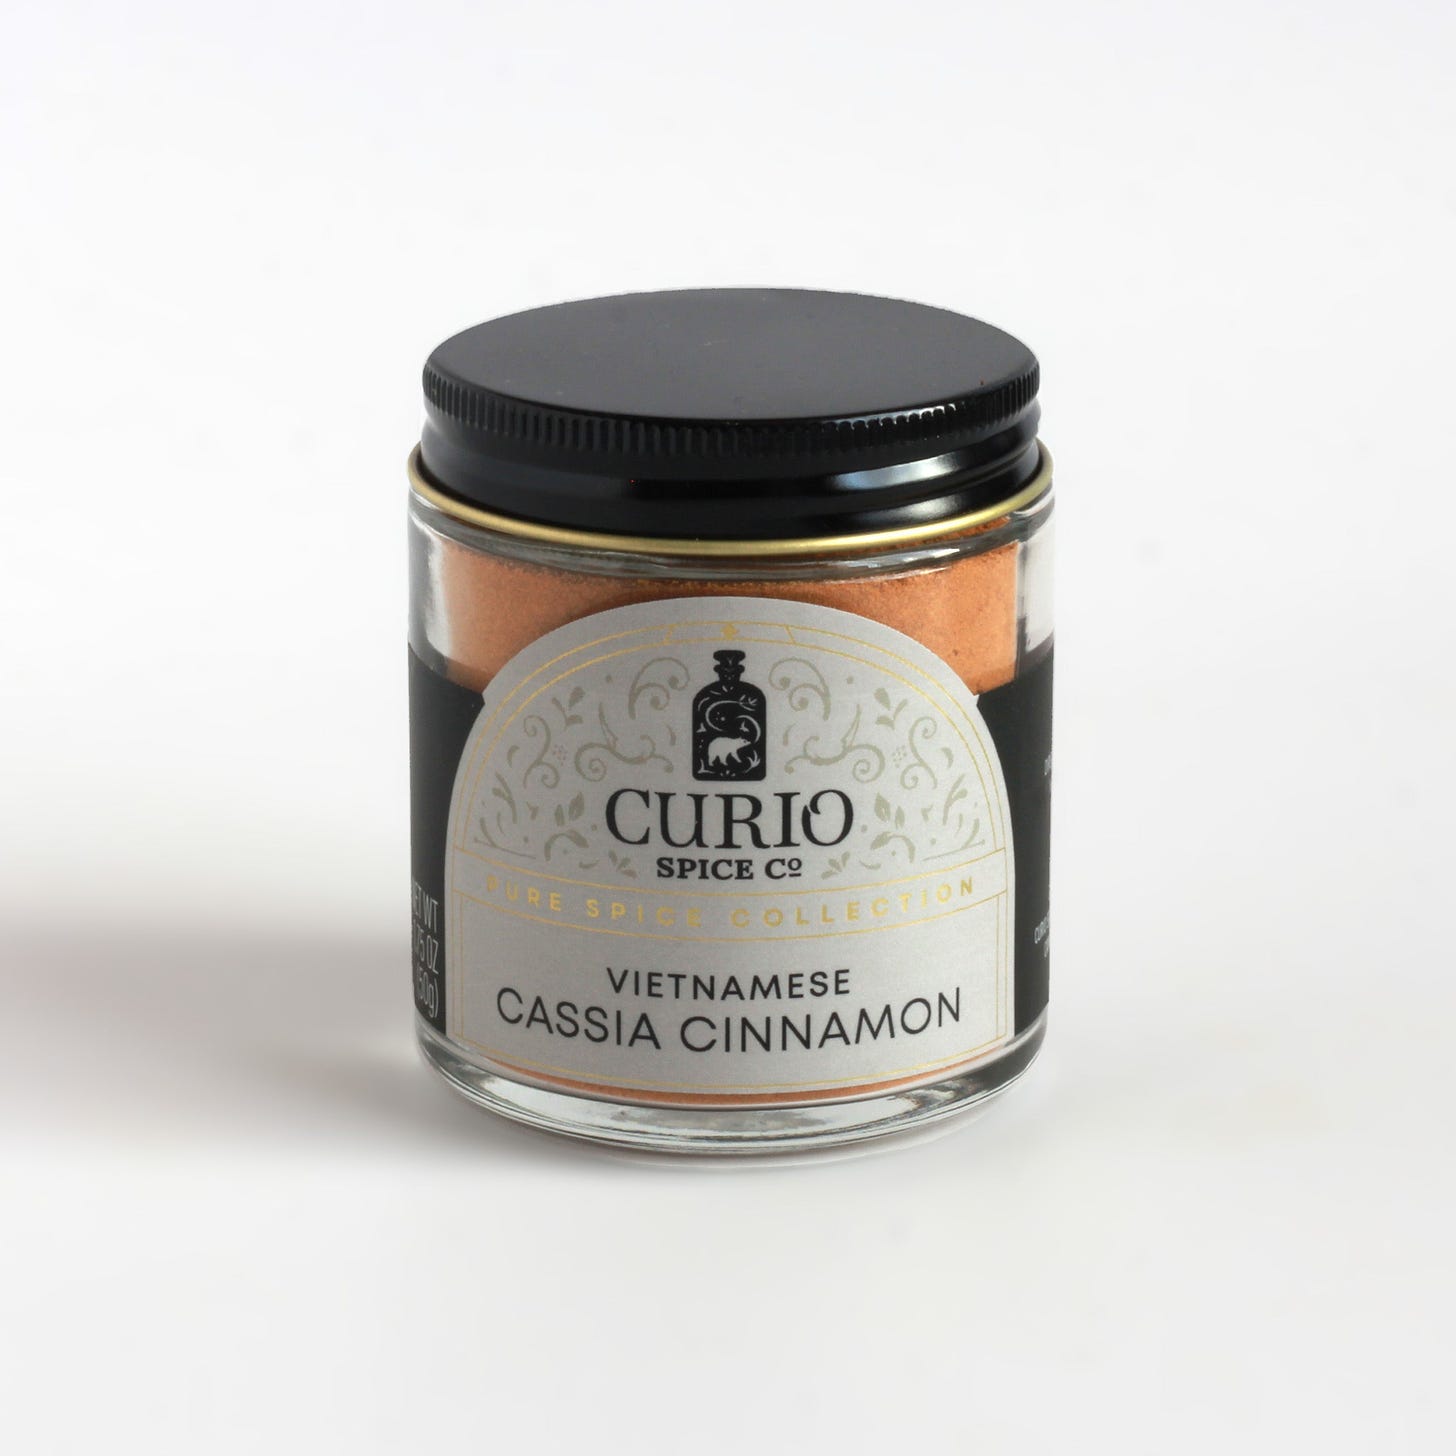
Anything and everything from my local, wonderful spice merchant, Curio Spice‡, but especially their new line of Vietnamese spices and blends, including cassia cinnamon, Bốn Viet Quatre Épices, and Da Lat coffee-rub blend. If you place an order, be sure to use the code the code WORDLOAF for 10% off.
Pizza & Flatbread Tools
Coming next, for pizza month in January 2023!

















OMG, it's like bread baker's porn!
As an FYI/update for folks on the Rackmaster pans, as of my checking today it appears Rackmaster no longer ships to the US. Instead, the website directs US orders to contact info@pleasanthillgrain.com. I went instead to Pleasant Hill Grain's website and was able to order the pullman loaf pan and lid with free shipping on a > $75 order (though the prices are a bit higher than the Rackmaster website).